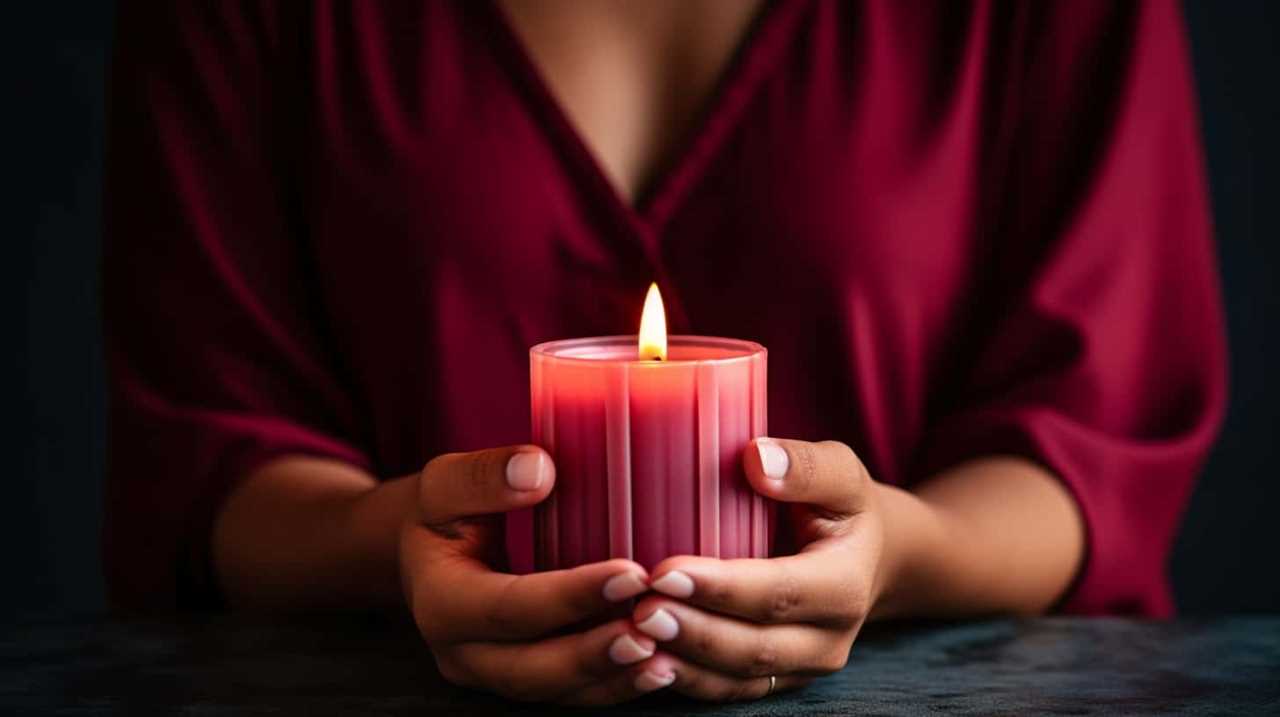

Soy candles are created using soy wax sourced from sustainable materials. In contrast to traditional candles that use paraffin wax, soy candles are toxin-free and emit minimal soot.
In addition, soy candles burn more slowly and evenly, resulting in a longer-lasting candle. Because of these advantages, soy candles have become increasingly popular in recent years. However, some people worry that soy candles may negatively impact the environment.
While it is true that soybean crops require large amounts of land and water to grow, the majority of soybeans grown in the United States are used for animal feed, not for making soy wax. As a result, the environmental impact of soy candles is relatively tiny. When choosing a candle, consider all the factors involved to make the best decision for you and the environment.
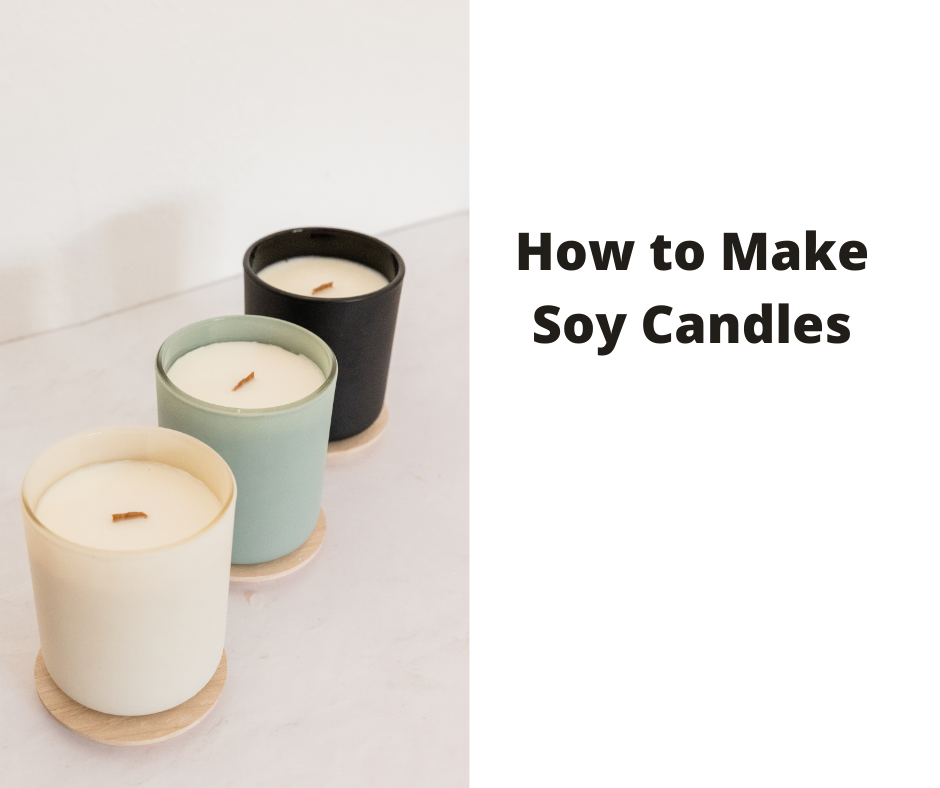
How to Make Soy Candles
Candles are a popular way to add ambiance to any room, and soy candles are an excellent option for those who want to avoid using traditional wax made from petroleum. Making soy candles is a fun and easy project that can be done at home with just a few supplies. And because soy candles are made from a natural material, they tend to be cleaner burning and produce less soot than traditional candles. Best of all, handmade soy candles make great gifts for friends and family! This step-by-step tutorial will show you how to make your soy candles in just a few simple steps.
You will need:
- 1 pound of soy wax flakes
- 1 inch wicks
- essential oils (optional)
- a double boiler
- a candle mold or jar
- a candy thermometer

Step-By-Step Tutorial
This tutorial is a quick-start soy candle guide.

SoftOwl Premium Soy Candle Making Kit – Full Set – Soy Wax, Big 7oz Jars & Tins, 7 Pleasant Scents, Color Dyes & More – Perfect as Home Decorations – DIY Starter Scented Candles Making Kit
- Complete Candle Making Kit: Includes wax, jars, scents, dyes, and tools
- Ideal for Beginners: Easy-to-follow instructions for new crafters
- Family-Friendly Activity: Perfect for creative family bonding
As an affiliate, we earn on qualifying purchases.
As an affiliate, we earn on qualifying purchases.
Step 1: Set up Your Workstation
Set up your workstation. Choose a well-ventilated area to work in, as soy wax can be fuming when melted. If you are using a candle mold, place it on a heat-resistant surface. If you use a jar, ensure it is clean and dry. Place the wicks in the mold or pot, making sure they are centered and standing up straight.
Step 2: Prepare the Wax
Prepare the wax. Pour the soy wax flakes into the top of a double boiler. If you do not have a double boiler, you can improvise one by placing a glass bowl on top of a saucepan filled with water. Place the double boiler over low heat and stir the wax until it is completely melted. If using essential oils, add them to the melted wax now.
Step 3: Pour the Wax
Pour the wax into the mold or jar. Fill the mold or jar to just below the rim. Allow the wax to cool undisturbed for at least four hours or until it is completely set.
Step 4: Trim the Wick
Trim the wick. Once the wax is set, trim the wicks to ¼ inch. Your soy candles are now ready to enjoy! Be sure to store them in a cool, dark place when not in use. Lit candles should always be placed on a heat-resistant surface and monitored closely. Never leave a lit candle unattended.
Recommended Kit : Oraganix DIY Candle Starter Kit and Candle Making Supplies
[affiliatable id=’99861′]