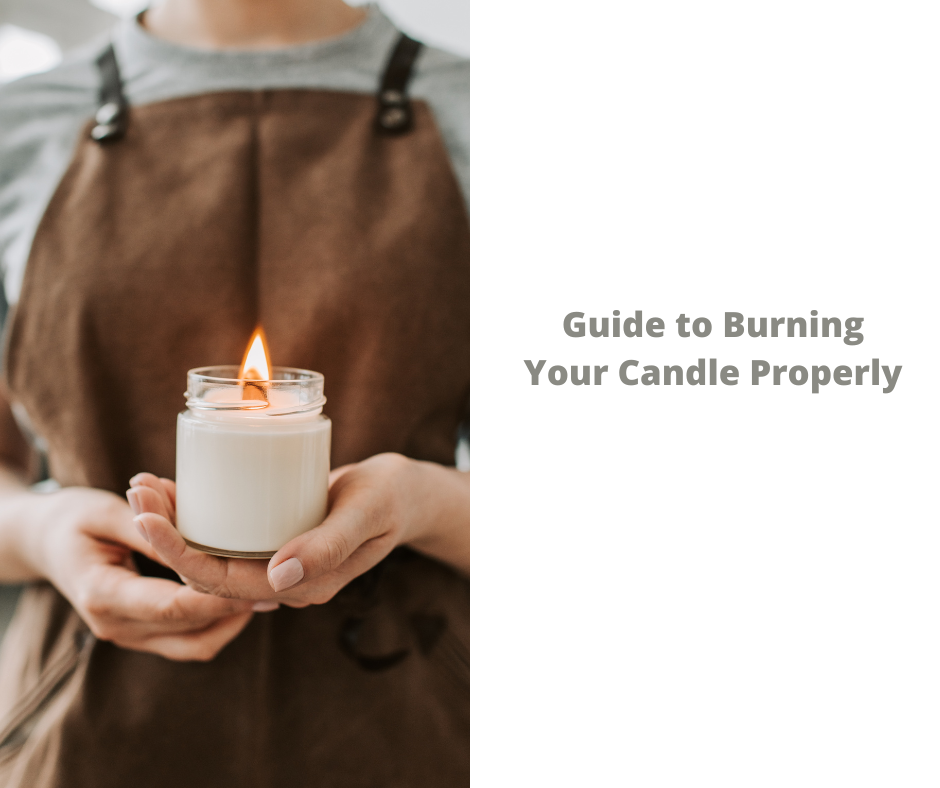

If you’re looking to create a serene or inviting atmosphere with candles, it’s essential to understand the correct way to burn them. Take a look at this brief guide to candle basics to enhance your candle-burning experience!
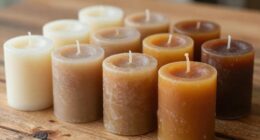
The first thing you need to do is choose the right candle. Ensure the wick is made of natural fibers like cotton or linen and that the wax is of good quality. Once you have your candle, trim the wick before you light it. This will help the candle burn evenly. Remember always be careful when burning candle’s. The size of the candle varies the danger stays the same, always be careful and light it for about 3 to 4 hours the first time you burn it.
Guide to Burning Your Candle Properly (Ultimate Guide)
When you’re ready to light your candle, ensure it’s in a safe place where it won’t be knocked over. Then, use a wick trimmer or long lighter to light the wick at the base. Allow the flame to catch and then blow it out so that only the wick is lit.

Now it’s time to enjoy your candle! The general rule is to burn your candle for an hour for each inch of diameter. So, if you have a 4-inch diameter candle, you should burn it for 4 hours at a time. This will help ensure that the wax melts evenly and liquefies completely.
Just be sure to keep an eye on your candle while it’s burning. Never leave a lit candle unattended! While enjoying your candle, extinguish the flame by gently blowing it out.
Following these simple steps, you can enjoy your candles safely and effectively!

CHEFBEE Candle Wick Trimmer, Black Polished Stainless Steel Wick Clipper Cutter, Scissors, Reaches Deep Into Candles to Cut Spent Cord, Allow Cleaner Burn and Prevent Soot Buildup
- Ideal Size for Deep Candles: Measures 18 x 6 x 2 cm for deep reach
- Sturdy Stainless Steel Construction: Rust-proof and durable for reliable cutting
- Effortless and Precise Trimming: Ensures clean cuts and safe, optimal burns
As an affiliate, we earn on qualifying purchases.
As an affiliate, we earn on qualifying purchases.
We’re All Burning Candles Wrong
We’ve all been there- it’s the middle of a romantic dinner, the mood is perfect, and your date reaches for the candles. You watch horror as they grab the lighter and start tilting the flame towards the wick, thinking, “No, no! Don’t do it!”
But it’s too late, they’ve already set the candle ablaze, and now the entire restaurant can smell like singed hair.
Why does this happen? Because we’ve all been burning candles wrong. The correct way to light a candle is by briefly touching the wick to the flame, then allowing it to self-extinguish.
This will heat the wax around the wick, making it easier for the candle to stay lit. So next time you’re setting the mood, remember to light your candles with a quick touch, not a long hold. Your date (and your nose) will thank you.
What Makes a Candle Flame?
A burning candle is a classic example of a fuel-oxidizer reaction. The heat from the flame melts the wax near the wick, vaporizing the liquid wax. Vaporized molecules are then drawn into the flame, reacting with oxygen from the air to create heat, light, water vapor (H2O), and carbon dioxide (CO2).

The heat generated by this reaction melts more wax, which is then drawn up into the flame, keeping the Candle burning. For a candle to burn, there must be a constant supply of fresh oxygen to support the combustion reaction. That’s why you often see candles flickering in a drafty room-the. Draft decreases the amount of oxygen available to the flame, causing it to flicker or go out altogether.
What Does “Candle Tunneling” Mean?
When a candle “tunnels”, it means that the wick is only burning the wax near the wick. This results in a longer burn time because less wax is consumed. However, it also means that less wax is available to be melted and drawn up the wick, so the flame may start to flicker and eventually go out if left unchecked.
Candle tunneling can be prevented by ensuring that the wick is trimmed to the correct length and with enough wax in the container to submerge the wick. If a candle has already started to tunnel, you can try tilting it so that the molten wax runs towards the unburned areas or gently heating the wax with a hair dryer to encourage it to flow evenly.
Why Does Tunneling Happen?
When you burn a candle, the flame’s heat melts the wax near the wick. This liquid wax is then drawn up the wick by capillary action. The flame’s heat vaporizes the liquid wax (turns it into a hot gas) and starts to break down the hydrocarbons into molecules of hydrogen and carbon. These vaporized molecules are drawn up into the flame, where they react with oxygen from the air to create heat, light, water vapor (H2O), and carbon dioxide (CO2).
The problem with tunneling is that it can happen when you burn a luxury candle for the first time. When you burn a candle, the flame’s heat melts the wax near the wick. This liquid wax is then drawn up the wick by capillary action. The flame’s heat vaporizes the liquid wax (turns it into a hot gas) and starts to break down the hydrocarbons into molecules of hydrogen and carbon. These vaporized molecules are drawn up into the flame, where they react with oxygen from the air to create heat, light, water vapor (H2O), and carbon dioxide (CO2).
The problem with tunneling is that it can happen when you burn a luxury candle for the first time. The heat from the flame melts the wax around the wick, but because the wax is solidifying as it cools, it can’t be drawn up into the flame as quickly. This causes the liquid wax to pool around the wick, and eventually, the flame will start to flicker and go out.
There are a few ways to prevent candle tunneling. The first is to ensure that the wick is trimmed to the correct length. The second is to provide enough wax is in the container to submerge the wick. And finally, if a candle has already started to tunnel, you can try tilting it so that the molten wax runs towards the unburned areas or gently heating the wax with a hair dryer to encourage it to flow evenly.
Are Scented Candles Toxic?
Ah, candles. The perfect way to set the mood, fill your home with a pleasant aroma, and… poison yourself and your loved ones? That’s right, folks – those scented candles you so enjoy may be slowly killing you.
But don’t worry, there’s an easy way to avoid this potentially fatal mistake: don’t use scented candles. Or, if you just can’t give up that jasmine-scented candle from Bath & Body Works, at least make sure it’s adequately ventilated when you use it.

The danger of scented candles is that they’re made with synthetic fragrances. These fragrances are made up of many chemicals, many of which are toxic. When you burn a scented candle, these chemicals are released into the air, where everyone in the room can inhale them. Inhaling these chemicals has been linked to various health problems, including headaches, dizziness, and asthma.
In some cases, they can even cause cancer. So if you want to keep your family safe, ditch the scented candles and opt for unscented ones instead. Your lungs will thank you for it.
Are Soy Candles Toxic?
What’s the big deal with soy candles? It seems like everyone is talking about them these days. And for a good reason – they’re eco-friendly, long-lasting, and smell great. But are they safe? Some people are concerned that soy candles may be toxic.
So, are soy candles safe? The short answer is yes. Soy candles are made from soybean oil, a natural, renewable resource. And while soybeans contain a small amount of mercury, the amount used in soy candles is negligible and not considered harmful.
Still not convinced? Here’s something else to consider – paraffin wax, commonly used in traditional candles, is a byproduct of petroleum refining. It can contain harmful chemicals like benzene and toluene, which can be released into the air when burned. On the other hand, Soy candles are non-toxic and help purify the air when burned.
So go ahead and enjoy your soy candle – it’s good for you and good for the environment!
Blowing out Your Candles
Blowing out a candle is more than just a way to make a wish. It’s also a powerful act of air pollution control. That’s right, every time you snuff out a flame, you do your part to improve air quality.
How? When you blow out a candle, you reduce the amount of particulate matter in the air. Particulate matter is made up of tiny particles that can be inhaled deep into the lungs, where they can cause respiratory problems. So, by blowing out candles, you’re helping to reduce the amount of particulate matter in the air and improve air quality. Not bad for something that’s usually seen as a simple act of a birthday celebration.
What Happens when Candle Is Burnt?
When a candle is burnt, the flame’s heat melts the wax near the wick. This liquid wax is drawn up the wick by capillary action. The flame’s heat vaporizes the liquid wax (turns it into a hot gas) and starts to break down the hydrocarbons into molecules of hydrogen and carbon. These vaporized molecules are drawn up into the flame, where they react with oxygen from the air to create heat, light, water vapor (H2O), and carbon dioxide (CO2).
Why Can’t You Burn Candles for More than 4 Hours?
You can’t burn candles for more than 4 hours because they are made of wax, and when the wax burns, it produces heat. If the candle is left unattended, the heat can build up and cause a fire.
How Do You Properly Burn a Candle?
To properly burn a candle, you must ensure that the wick is trimmed to 1/4 inch before each use. This will help prevent the flame from getting too big and soot forming on the glass. You also want to make sure that the candle is in a draft so that the flame doesn’t go out.
How Long Should You Burn a Candle?
You should burn a candle for about 1 hour for every inch in diameter. For example, if you have a 4-inch diameter candle, you should burn it for about 4 hours. This will help ensure that the candle is burned evenly and doesn’t tunnel.
When you first light a candle, allow it to burn until the wax melts to the edge of the glass. This will help prevent your candle from “tunneling.” Tunneling occurs when the flame only burns the wax in the middle of the candle, leaving a ring of unmelted wax around the edge.
To extinguish a candle, use a snuffer or dip the wick into the melted wax. DO NOT blow out a candle, as this can cause the hot wax to splatter.
Burning a candle is a simple way to enjoy its fragrance and ambiance. But it’s essential to do so safely. Use these tips to help you burn your candles properly.
What Actually Burns in A Candle?
The element that burns in a candle is made of hydrocarbons. Hydrocarbons are molecules consisting of both nitrogen and chlorine. The most common hydrocarbon is methane (CH4). Methane is the main constituent of natural gas. Other hydrocarbons include butane (C4H10), propane (C3H8), and acetylene (C2H2).
When you light a candle, the flame’s heat vaporizes the liquid wax near the wick. This vaporized wax then breaks down the hydrocarbons into hydrogen and carbon molecules. These vaporized molecules are drawn up into the flame, where they react with oxygen from the air to create heat, light, water vapor (H2O), and carbon dioxide (CO2).
The typical candle is made of paraffin wax, a petroleum product. However, there are also soy, beeswax, and other types of natural waxes.
Where Does the Wax in A Candle Go?
The wax in a candle doesn’t disappear. It just goes through a process called combustion. In combustion, the hydrocarbons in the wax are broken down into molecules of hydrogen and carbon. These molecules are then drawn up into the flame, reacting with oxygen from the air to create heat, light, water vapor (H2O), and carbon dioxide (CO2).
So, you see the burning of hydrogen and carbon when you look at a candle flame. The combustion of these molecules creates the light that you see.
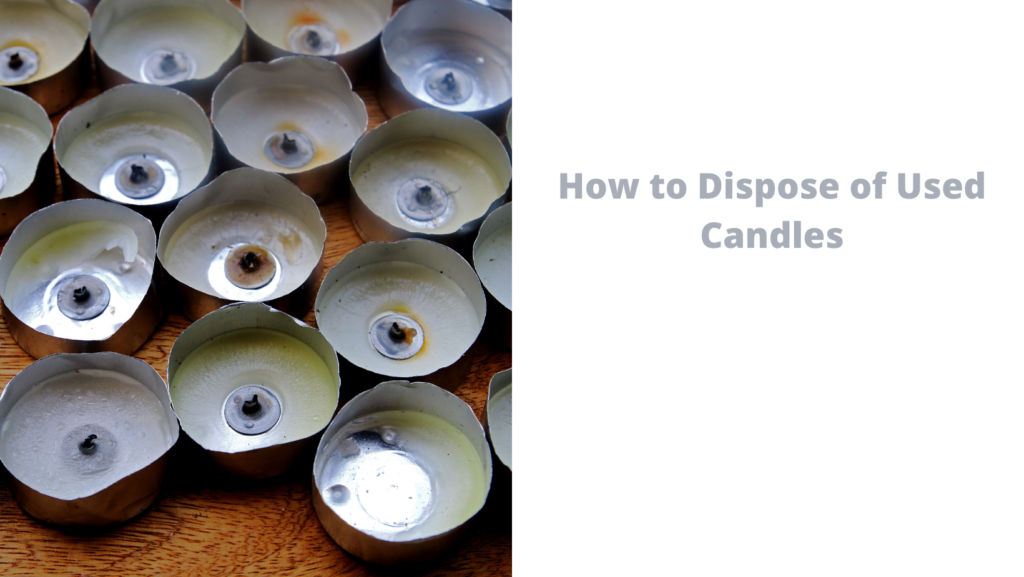
How to Dispose of Used Candles
When you’re finished using a candle, dispose of it properly. The best way to do this is to cut the wick off the candle and put it in a sealed container. You can then put the container in the trash.
You should never throw a used candle in the garbage can without first cutting the wick off. The wick can continue to burn and start a fire.
What Happens to Candle Wax when It Burns?
When you burn a candle, the flame’s heat vaporizes the liquid wax near the wick. This vaporized wax then starts to break down the hydrocarbons into hydrogen and carbon molecules. These vaporized molecules are drawn up into the flame, where they react with oxygen from the air to create heat, light, water vapor (H2O), and carbon dioxide (CO2).
So, when you look at a candle flame, you see the burning of hydrogen and carbon. The combustion of these molecules creates the light that you see.
How to Prevent Soot When Burning a Candle
If you notice soot buildup on your candles, you can do a few things to prevent it.
Trim the wick to about ¼ inch before each use. A longer wick will create a more significant flame and produce more soot.
Make sure the room you’re burning the candle in has good ventilation. Burning a candle in a stuffy room can cause soot to buildup on the sides of the jar.
Use a candle snuffer to extinguish the flame. Blowing out a candle can cause hot wax to splatter and create soot.
Choose a candle made of natural, lead-free wicks. Lead wicks can produce more soot than other types of wicks.
How Do Candles Run out Of Wax?
As a candle burns, the flame’s heat melts the wax near the wick. This liquid wax is then drawn up into the flame, vaporizing it and breaking it down into hydrogen and carbon molecules. These vaporized molecules are drawn up into the flame, where they react with oxygen from the air to create heat, light, water vapor (H2O), and carbon dioxide (CO2).
Over time, the amount of wax near the wick decreases as it’s drawn up into the flame. Eventually, there’s not enough wax left to sustain the flame, and the candle goes out.
Is Burning a Candle a Chemical or Physical Change?
When you burn a candle, the wax undergoes a chemical change. In this change, the hydrocarbons in the wax are broken down into molecules of hydrogen and carbon. These molecules are then drawn up into the flame, where they react with oxygen from the air to create heat, light, water vapor (H2O), and carbon dioxide (CO2).
So, when you look at a candle flame, you see the burning of hydrogen and carbon. The combustion of these molecules creates the light that you see.
What Is Candle Burning Called?
The burning of a candle is called combustion. In combustion, the hydrocarbons in the wax are broken down into molecules of hydrogen and carbon. These molecules are then drawn up into the flame, where they react with oxygen from the air to create heat, light, water vapor (H2O), and carbon dioxide (CO2).
Is Burning a Candle Unhealthy?
The burning of candles is generally not considered harmful to health. However, some people may be sensitive to the smoke and fumes produced by candles. If you’re concerned about the health effects of burning candles, it’s best to use unscented candles made of natural materials like beeswax or soy wax. You can also try using an electric candle diffuser, which doesn’t produce any smoke or fumes.
How Long Does a Candle Burn?
The average candle will burn for 4 to 8 hours. However, the size and type of candle you’re using can affect this. For example, a large candle made of beeswax will burn for longer than a small candle made of paraffin wax.
What Is the Safest Way to Burn a Candle?
The safest way to burn a candle is to use a glass jar or holder. This will help contain the flame and prevent hot wax from splattering. Make sure the room you’re burning the candle in has good ventilation, and trim the wick to about ¼ inch before each use. Extinguish the flame with a candle snuffer, and never leave a burning candle unattended.
What Happens if You Burn a Candle Too Long?
If you burn a candle for too long, the heat from the flame can cause the glass jar or holder to crack. This can be a fire hazard, so it’s important to extinguish the flame and allow the candle to cool before relighting it. You should also trim the wick to about ¼ inch before each use to prevent the flame from getting too big.
Can You Refill a Candle?
Yes, you can refill a candle. To do this, melt the wax from an old candle and pour it into a new glass jar or holder. To make a scented candle, you can add fragrance oil to the melted wax. Make sure the wick is centered in the jar before the wax cools, and trim it to about ¼ inch before lighting the candle.
What Is the Purpose of a Candle?
The purpose of a candle is to produce light. Candles were once the only light source at night, but now they’re mainly used for decoration or to create a relaxing atmosphere. Candles can also be used to celebrate special occasions, like birthdays and holidays.
How Do I Choose the Right Candle?
When choosing a candle, it’s important to consider its size, shape, and material. For example, a large candle made of beeswax will burn for longer than a small candle made of paraffin wax. Consider its color and scent if you’re looking for a decorative candle. If you want a candle that produces a lot of light, choose one with a large wick.
Is There a Difference Between Scented and Unscented Candles?
Yes, there is a difference between scented and unscented candles. Scented candles are made with fragrance oils, giving off a strong smell. Unscented candles don’t contain fragrance oils, so they don’t have a strong scent.
How Do You Light a Candle, so It Burns Evenly?
To light a candle so it burns evenly, hold a lighter at the base of the wick and wait for it to catch fire. Then, carefully tilt the candle until the melted wax pool reaches the edge of the wick. This will help the flame evenly distribute heat to the wax, preventing tunneling.
How Do You Keep Candles from Tunneling?
Tunneling occurs when the flame only melts the wax around the wick, causing the candle to burn down the middle. To prevent this, ensure the wick is trimmed to ¼ inch before each use. You can also try lighting the candle for a longer period so the melted wax pool reaches the edge of the jar or holder.
Why Is My Candle Making a Crackling Sound?
If your candle is making a crackling sound, it’s likely because the wick is too long. When the wick is too long, it can create a small flame that doesn’t produce enough heat to vaporize the wax. This causes the wax to melt and then solidify around the wick, making a crackling sound. To fix this, extinguish the candle and trim the wick to about ¼ inch before relighting it.
My Candle Is Smoking, What Should I Do?
If your candle is smoking, it’s likely because the wick is too long. When the wick is too long, it can create a small flame that doesn’t produce enough heat to vaporize the wax. This causes the wax to melt and solidify around the wick, which can cause the candle to smoke. To fix this, extinguish the candle and trim the wick to about ¼ inch before relighting it.
My Candle Won’t Stay Lit, What Should I Do?
If your candle won’t stay lit, it’s likely because the wick is too short. When the wick is too short, it can’t create a large enough flame to vaporize the wax. This causes the wax to extinguish the flame. To fix this, extinguish the candle and trim the wick to about ¼ inch before relighting it.
Should You Put Candles in Your Room?
Candles can be used as a decoration in any room. However, if you’re looking to create a relaxing atmosphere, it’s best to put them in a room where you’ll spend most of your time, such as the living room or bedroom. You should also avoid placing candles near flammable objects, such as curtains or bedding.
Can You Put a Candle on The Floor?
Yes, you can put a candle on the floor. However, you should avoid placing candles near flammable objects, such as curtains or bedding. You should also make sure the candle is in a stable and level position so it doesn’t tip over.
Is It Safe to Leave Candles Burning Unattended?
No, it’s not safe to leave candles burning unattended. Candles should always be supervised to prevent fires. If you’re going to be away from the candle for an extended period, extinguish it and allow it to cool before leaving the room.
What Surfaces Are Safe for Candles?
Any non-flammable surface and level is safe for candles. Examples of safe surfaces include tables, shelves, and candle holders. You should avoid placing candles on flammable surfaces, such as carpets or curtains.
My Candle Is melting funny, What’s Wrong With It?
If your candle is melting funny, it’s likely because the wick is too long. When the wick is too long, it can create a small flame that doesn’t produce enough heat to vaporize the wax. This causes the wax to melt and then solidify around the wick, which can cause the candle to melt funny. To fix this, extinguish the candle and trim the wick to about ¼ inch before relighting it.
What Can I Place a Candle On?
Any non-flammable surface and level is safe for candles. Examples of safe surfaces include tables, shelves, and candle holders. You should avoid placing candles on flammable surfaces, such as carpets or curtains.
I Keep Blowing Out My Candle But It Won’t Stay Lit, What’s Wrong?
If you’re having trouble keeping your candle lit, it’s likely because the wick is too short. When the wick is too short, it can’t create a large enough flame to vaporize the wax. This causes the wax to extinguish the flame. To fix this, extinguish the candle and trim the wick to about ¼ inch before relighting it.
I Dropped My Candle and the Wax Spilled, What Should I Do?
If the wax from your candle spills, allow it to harden before attempting to clean it up. Once the wax is hard, you can scrape it off with a blunt object, such as a butter knife. You can then wipe the area clean with a damp cloth.
I Think My Candle Is Damaged; what Should I Do?
If you think your candle is damaged, it’s best to discard it and get a new one. Candles are made of flammable materials, so they must be cautious when using them. If you’re unsure if your candle is damaged, it’s best to err on caution and get a new one.
How Should I Store My Candles?
Candles should be stored in a cool, dry place. Candles made of natural materials, such as beeswax or soy wax, can melt in warm temperatures.
Can You Burn Candles on Quartz Countertops?
Yes, you can burn candles on quartz countertops. However, you should avoid placing candles near flammable objects, such as curtains or bedding. You should also make sure the candle is in a stable and level position so it doesn’t tip over.
Is It Safe to Use Candles While Sleeping?
No, it’s not safe to use candles while sleeping. Candles should always be supervised to prevent fires. If you’re going to be away from the candle for an extended period, extinguish it and allow it to cool before leaving the room.
Can I Burn a Candle on Glass?
Yes, you can burn candles on glass. However, you should avoid placing candles near flammable objects, such as curtains or bedding. You should also make sure the candle is in a stable and level position, so it doesn’t tip over.