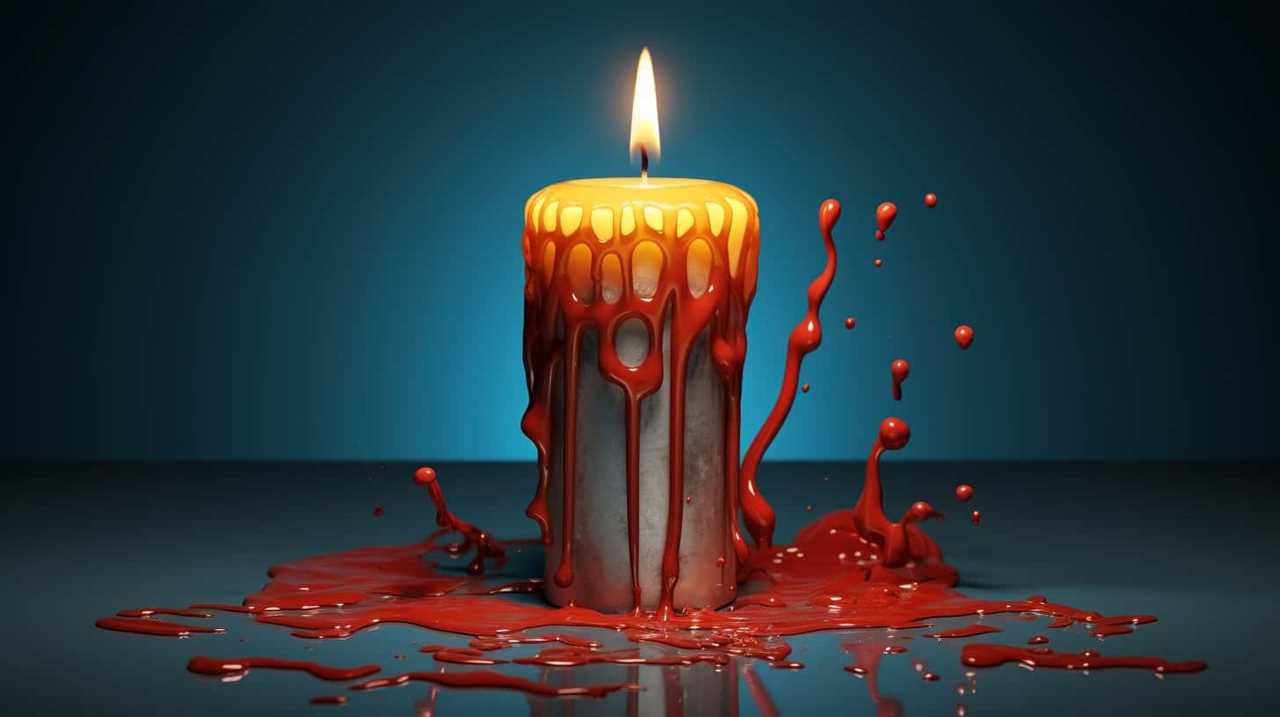

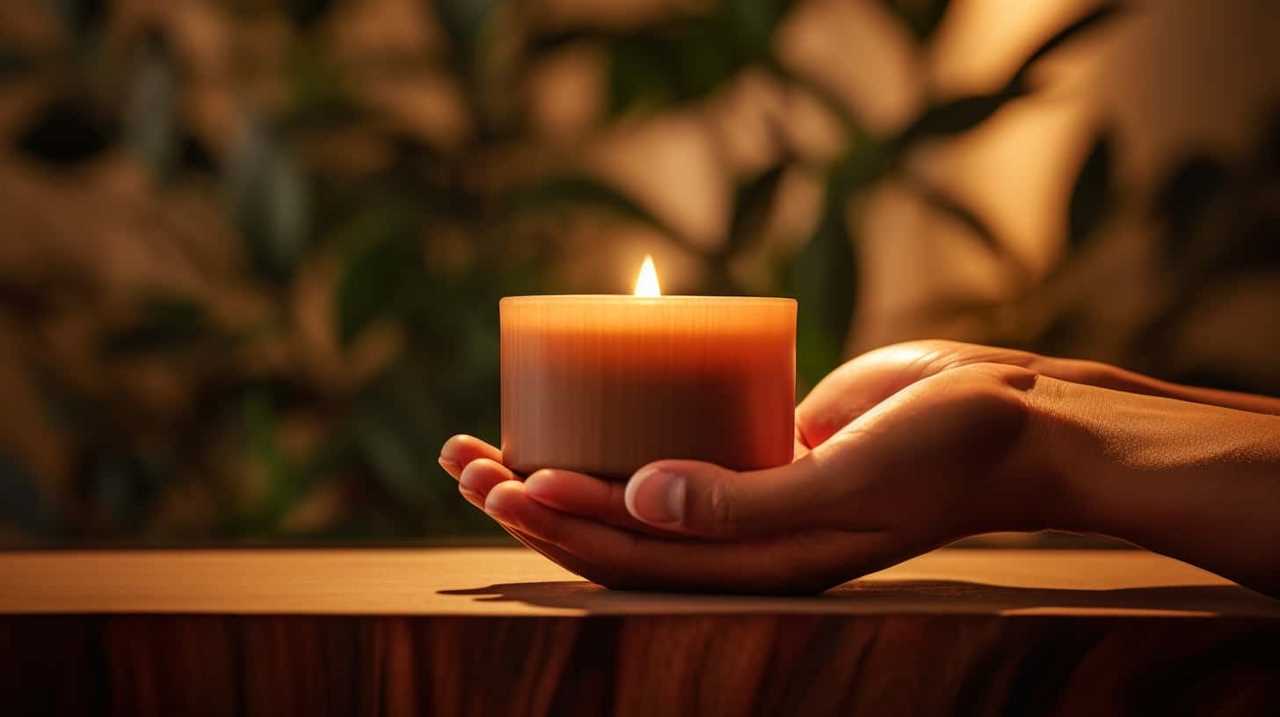
When determining the right time to extinguish a candle, there are several factors to take into account. Safety is the utmost priority. Evaluating the duration of the candle burning is essential, as allowing it to burn for an extended period can be dangerous. The flame’s stability can be influenced by drafts in the vicinity, so environmental factors must be considered. Additionally, it is important to keep the candle away from anything flammable and out of reach of children and pets to ensure safe use.
The size of the wax pool should also be monitored to prevent overflow. Fire hazard prevention is essential, including keeping a vigilant eye on the flame. Additionally, aesthetic and purposeful considerations, along with personal preference, may influence our decision to extinguish the candle.
By considering these factors, we can determine the ideal moment to blow out the flickering flame.
Key Takeaways
- Safety should always be a priority when burning candles, including keeping them away from flammable objects, never leaving them unattended, and having a fire extinguisher nearby.
- Burning candles for a maximum of 3-4 hours at a time, maintaining a proper wax pool size, and trimming the wick can help reduce the risk of overheating and extend the lifespan of the candle.
- Consider the environmental impact and air quality when using candles, such as choosing clean-burning options, proper ventilation, and considering LED candles as a more environmentally friendly choice.
- When deciding when to blow out a candle, personal preferences, such as fragrance and color, as well as circumstances such as time constraints or safety concerns, should be taken into account.

Vtopmart 25 PCS Clear Plastic Drawer Organizers Set, 4-Size Versatile Bathroom and Vanity Drawer Organizer Trays, Storage Bins for Makeup, Bedroom, Kitchen Gadgets Utensils and Office
- Versatile Drawer Organizer Set: Fits various home drawers and spaces
- Includes 25 Bins in 4 Sizes: Customizable storage options for different items
- Non-Slip and Durable Design: Silicone pads prevent slipping, sturdy plastic construction
As an affiliate, we earn on qualifying purchases.
Safety Considerations
In this article, we’ll discuss the safety considerations that should be taken into account when blowing out a candle.
Proper candle flame management is crucial to ensure a safe environment. Always keep candles away from flammable objects and never leave them unattended. It’s important to place candles on a stable surface and ensure they’re kept out of reach of children and pets.
Additionally, having a fire extinguisher nearby is essential in case of emergencies. Make sure the fire extinguisher is easily accessible and everyone in the household knows how to use it.
By implementing these safety measures, you can prevent accidents and protect your home from potential fire hazards.
Now, let’s move on to the next section and discuss the importance of monitoring candle burning time.

Candle Burning Time
When it comes to candle burning time, there are a few important points to consider.
Firstly, it’s recommended to burn a candle for a maximum of 3-4 hours at a time to prevent overheating and ensure optimal burn duration.
Additionally, it’s crucial to never leave a burning candle unattended and always keep it away from flammable materials to prioritize safety.
Optimal Burn Duration
Our research suggests that a shorter burn duration, such as two to three hours, is the optimal time for candle burning. This ensures a steady candle burn rate and helps maintain flame height control. Here are some reasons why a shorter burn duration is recommended:
- It reduces the risk of the candle overheating and causing a fire.
- It extends the lifespan of the candle, allowing you to enjoy it for a longer period.
- It minimizes the amount of soot and smoke produced during burning.
- It helps preserve the fragrance of scented candles, preventing it from becoming overpowering.
By adhering to this optimal burn duration, you can maximize the safety and enjoyment of your candles.
However, it’s important to be aware of safety concerns and precautions when burning candles.
Safety Concerns and Precautions
To ensure safety while burning candles, we should be mindful of the recommended burn duration and take necessary precautions. It’s important to never leave a burning candle unattended and to keep it away from flammable objects.
Additionally, we should be aware of the candle flame height, as a flame that’s too high can increase the risk of accidents. Ideally, the flame should be around one inch in height. If the flame becomes too high, it’s recommended to gently blow it out and trim the wick to a shorter length before relighting.

When extinguishing a candle, it’s crucial to use proper techniques. Avoid blowing the flame out forcefully, as this can cause hot wax to splatter. Instead, use a candle snuffer or gently place a heat-resistant lid over the candle to smother the flame.
Environmental Factors
When considering the environmental factors of blowing out a candle, there are several important points to consider.
Firstly, blowing out a candle can impact air quality, as the smoke and soot released can contribute to indoor air pollution.
Secondly, by blowing out a candle, we can reduce carbon emissions, as candles are often made from petroleum-based wax.
Lastly, exploring renewable energy alternatives, such as using LED candles, can be a more environmentally friendly choice.
Air Quality Impact
In considering the air quality impact of blowing out a candle, we need to be mindful of the potential release of pollutants into the surrounding environment. Indoor pollutants from candles can have adverse health effects, especially for individuals with respiratory conditions or allergies.
Here are some key points to consider:
- Candle emissions can release pollutants such as volatile organic compounds (VOCs) and particulate matter into the air.
- These pollutants can contribute to poor indoor air quality and may cause respiratory irritation, headaches, and other health issues.
- The size, type, and composition of the candle can influence the amount and type of pollutants emitted.
- Proper ventilation, using clean-burning candles, and extinguishing candles with a lid or snuffer can help reduce the release of pollutants.
Considering the impact on air quality, it’s important to explore ways to minimize the release of pollutants and reduce our carbon emissions.
Carbon Emissions Reduction
As we strive to minimize our carbon emissions, it’s important to consider the environmental factors that contribute to carbon emissions reduction when blowing out a candle.
One way to reduce carbon emissions is by using renewable energy sources. Instead of using traditional candles made from petroleum-based wax, opt for candles made from soy or beeswax, which have lower carbon footprints. Additionally, consider using LED candles, which are powered by electricity and don’t emit any carbon dioxide.
Renewable Energy Alternatives
We frequently consider renewable energy alternatives as a crucial factor in reducing our carbon emissions. By adopting renewable energy sources, we can significantly decrease our reliance on fossil fuels and decrease our overall energy consumption.
Here are four important renewable energy alternatives to consider:
- Solar power: Harnessing the energy of the sun through photovoltaic panels can provide clean and sustainable electricity for homes and businesses.
- Wind power: Utilizing wind turbines to generate electricity can be an effective way to produce renewable energy.
- Hydropower: By harnessing the power of flowing water, hydropower can generate electricity without greenhouse gas emissions.
- Geothermal energy: Tapping into the Earth’s heat can provide a constant and reliable source of clean energy.
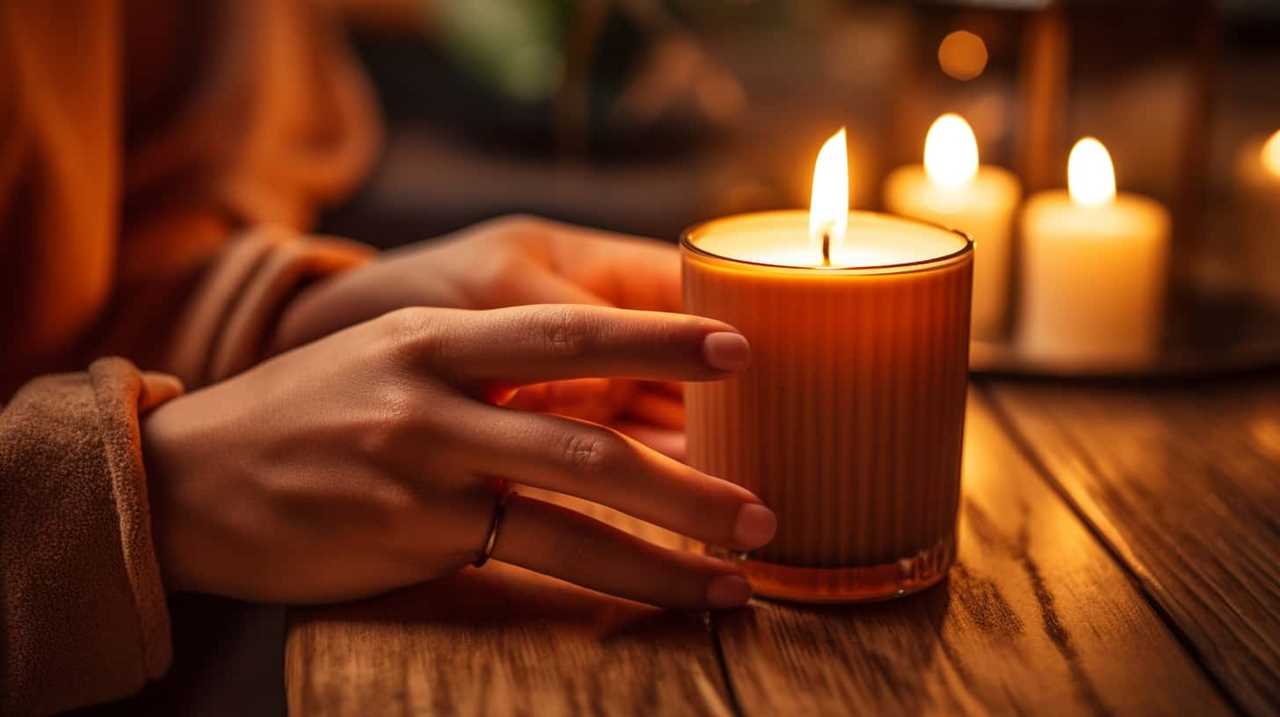
Candle Placement
Where should we place the candle to ensure optimal safety and enjoyment?
When it comes to candle placement, there are a few key factors to consider.
First, it’s important to place the candle on a stable and heat-resistant surface, such as a ceramic or glass plate. This will help prevent accidental tipping or heat damage to furniture.
Additionally, it’s crucial to keep candles away from flammable materials, such as curtains or paper.
As for fragrance and color, it’s purely a matter of personal preference. Some people enjoy scented candles that fill the room with a pleasant aroma, while others prefer unscented candles for a more subtle ambiance. Similarly, candle color can be chosen based on individual taste and desired aesthetic.
Wax Pool Size
When it comes to candle safety, the size of the wax pool is an important factor to consider. The optimal wax pool size is typically around 1/4 to 1/2 inch deep.
A larger wax pool can increase the risk of the flame becoming too large and potentially causing a fire, while a smaller pool may not provide enough fuel for the flame to burn properly.
Optimal Wax Pool Size
To achieve the optimal wax pool size, it’s important to ensure that the candle is burning evenly and efficiently. This is crucial because the wax pool size affects the candle’s scent throw and burn time.

Here are four factors that contribute to achieving the optimal wax pool size:
- Candle wax melting: The wax should melt all the way to the edges of the container or mold to form a uniform pool. This ensures maximum fragrance release and prevents tunneling.
- Candle flame height: The flame should be approximately 1/4 inch high to maintain a steady burn. A taller flame can cause excessive heat, leading to uneven melting and a larger wax pool.
- Container size: The diameter of the container should be proportionate to the candle’s size. A wider container allows for a larger wax pool and better scent throw.
- Wick selection: Choosing the right wick size for your candle is crucial. A wick that’s too small may not generate enough heat to create a sufficient wax pool, while a wick that’s too large can lead to a large and unstable flame.
Safety Concerns With Size
We regularly assess the safety concerns associated with the size of the wax pool.
When a candle burns, the pool of melted wax around the wick increases in size. It’s important to consider the burning time and safety precautions when dealing with a larger wax pool.
A larger pool means that the flame is closer to the liquid wax, increasing the risk of the flame spreading or the candle tipping over.
To prevent accidents, it’s recommended to trim the wick to a quarter of an inch before lighting the candle. This helps control the size of the wax pool and reduces the risk of fire.
Additionally, it’s crucial to never leave a burning candle unattended and keep it away from flammable objects.
Taking these safety measures ensures a safe and enjoyable candle experience.
Scent Intensity
As we consider the optimal time to extinguish a candle, it’s important to take into account the subtopic of scent intensity. The fragrance of a candle can greatly enhance the ambiance of a room, but it’s crucial to manage its intensity for the best experience.

Here are a few key points to consider:
- Candle fragrance: Choose a candle with a scent that suits your preferences and complements the atmosphere you want to create.
- Scent duration: Different candles have varying scent durations. Some may last for a few hours, while others can linger for days.
- Room size: Consider the size of the room where the candle is placed. A larger room may require a stronger scent to fill the space adequately.
- Personal preference: Adjust the candle’s burn time based on your personal preference for scent intensity.
Now that we’ve explored the importance of scent intensity, let’s move on to the next section about candle wick maintenance.
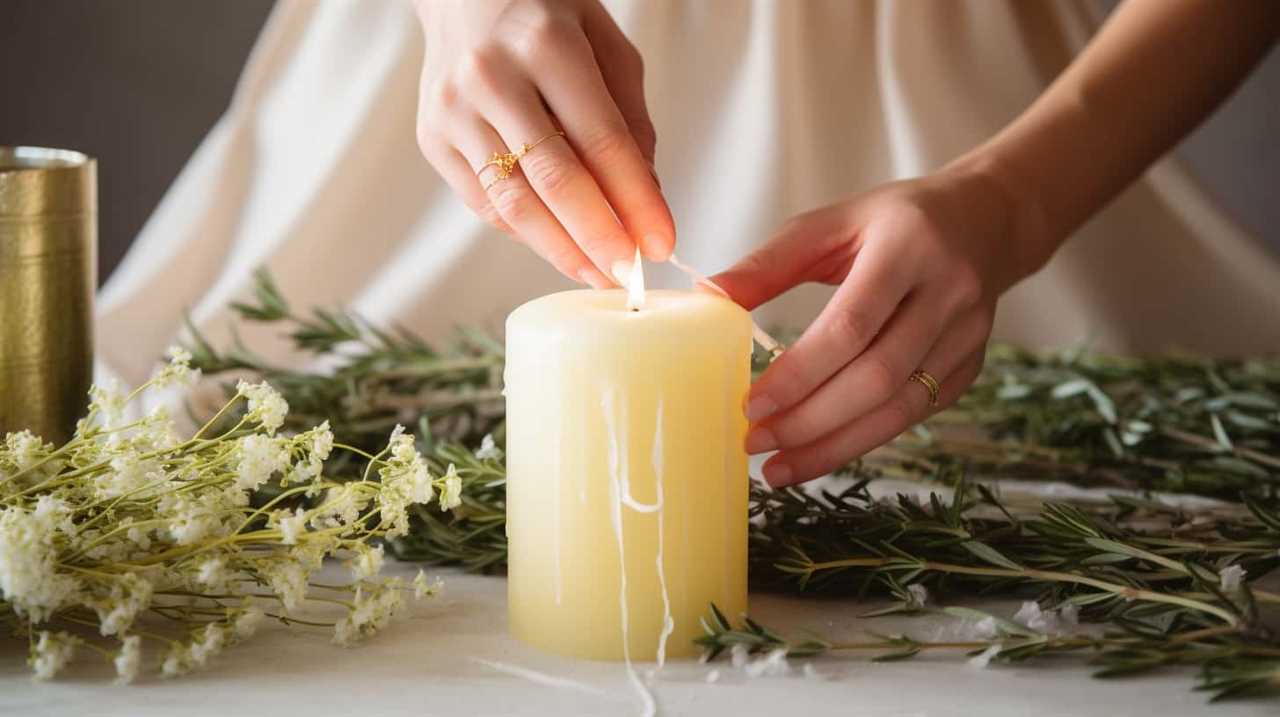
Candle Wick Maintenance
One important aspect of candle care is regularly trimming the wick to ensure optimal burn performance. Candle wick trimming is essential for preventing soot buildup, which can affect the quality of the candle’s burn and create black smoke. When a candle’s wick is too long, it can lead to an uneven and inefficient burn, causing the candle to produce more soot.
Trimming the wick to about 1/4 inch before each use helps to maintain a steady flame and minimize soot production. To trim the wick, simply use a wick trimmer or scissors to cut it down to the desired length.

Fire Hazard Prevention
To prevent fire hazards, it’s important to be mindful of the candle’s surroundings and ensure that any flammable objects are kept at a safe distance. Here are some key tips for fire hazard prevention when dealing with candles:
- Always keep candles away from curtains, furniture, and other flammable materials.
- Place candles on stable, heat-resistant surfaces to avoid tipping over.
- Never leave a burning candle unattended, and make sure to extinguish it before leaving the room or going to sleep.
- Use candle holders that can contain any melting wax and prevent accidental spills.
When it comes to candle flame control and extinguishing techniques, remember to use a snuffer or gently blow out the flame to avoid hot wax splattering. Additionally, it’s important to never use water to extinguish a candle, as this can cause the wax to splatter and spread the fire.
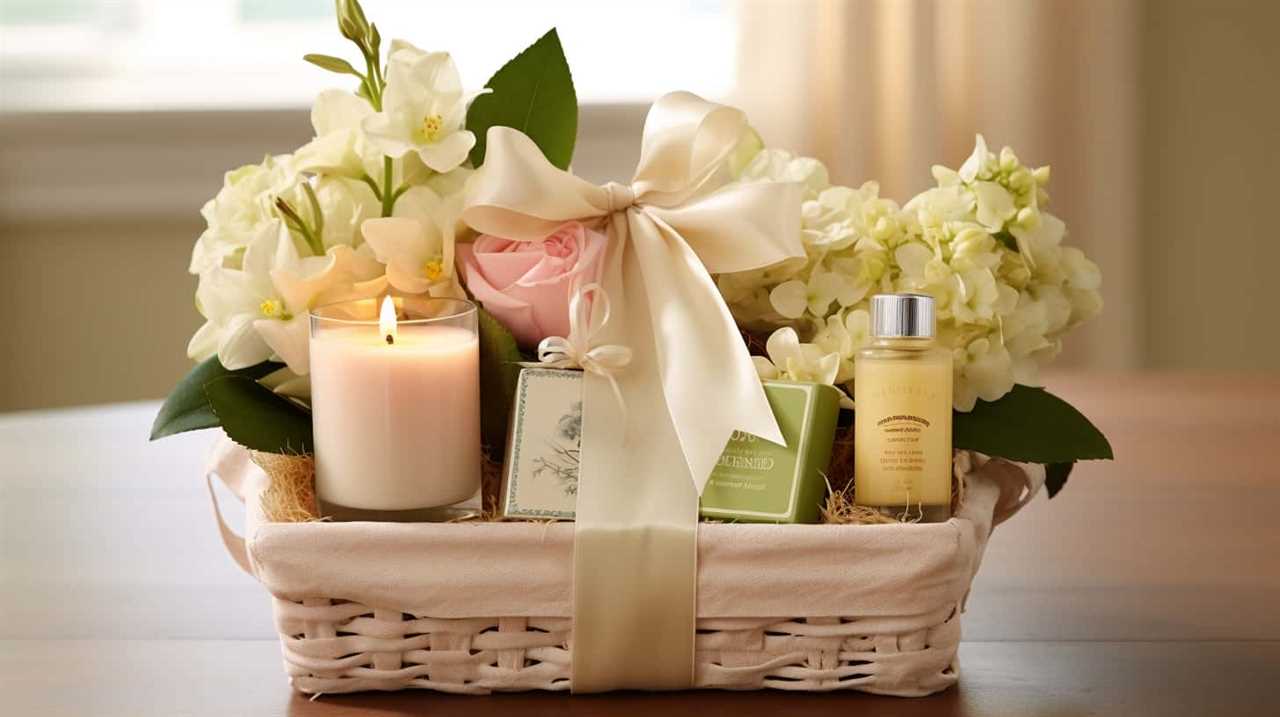
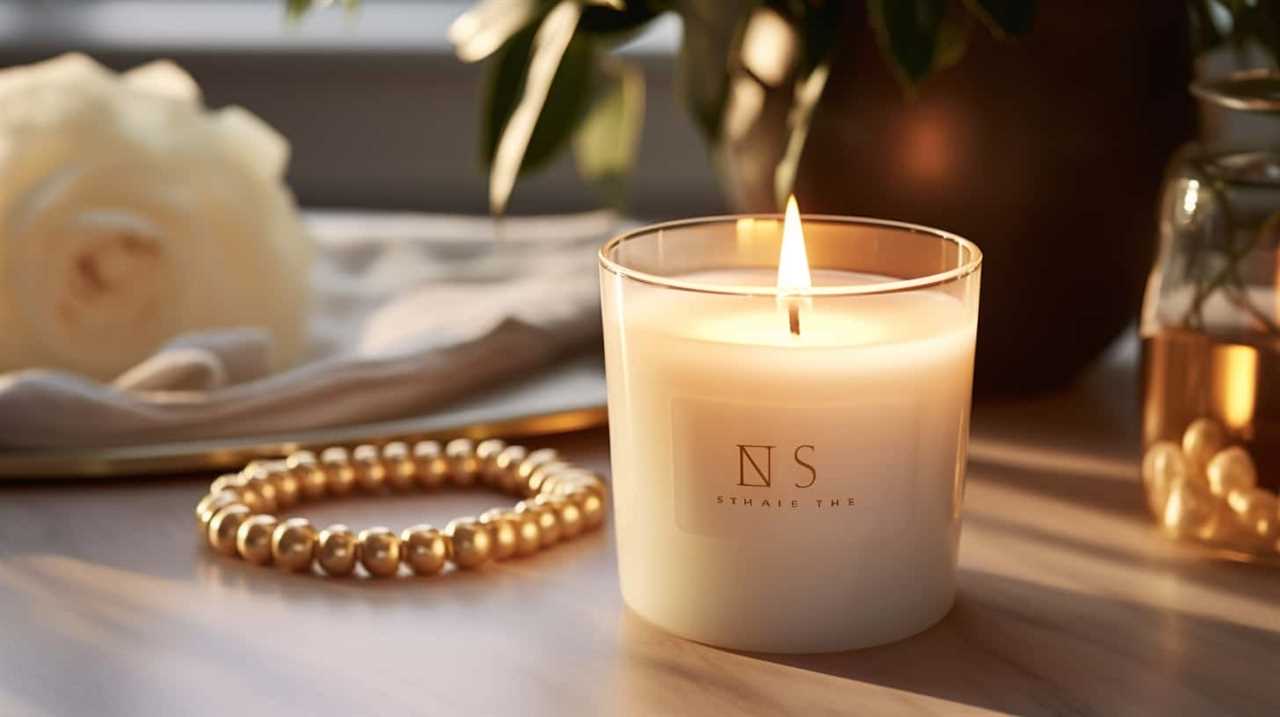
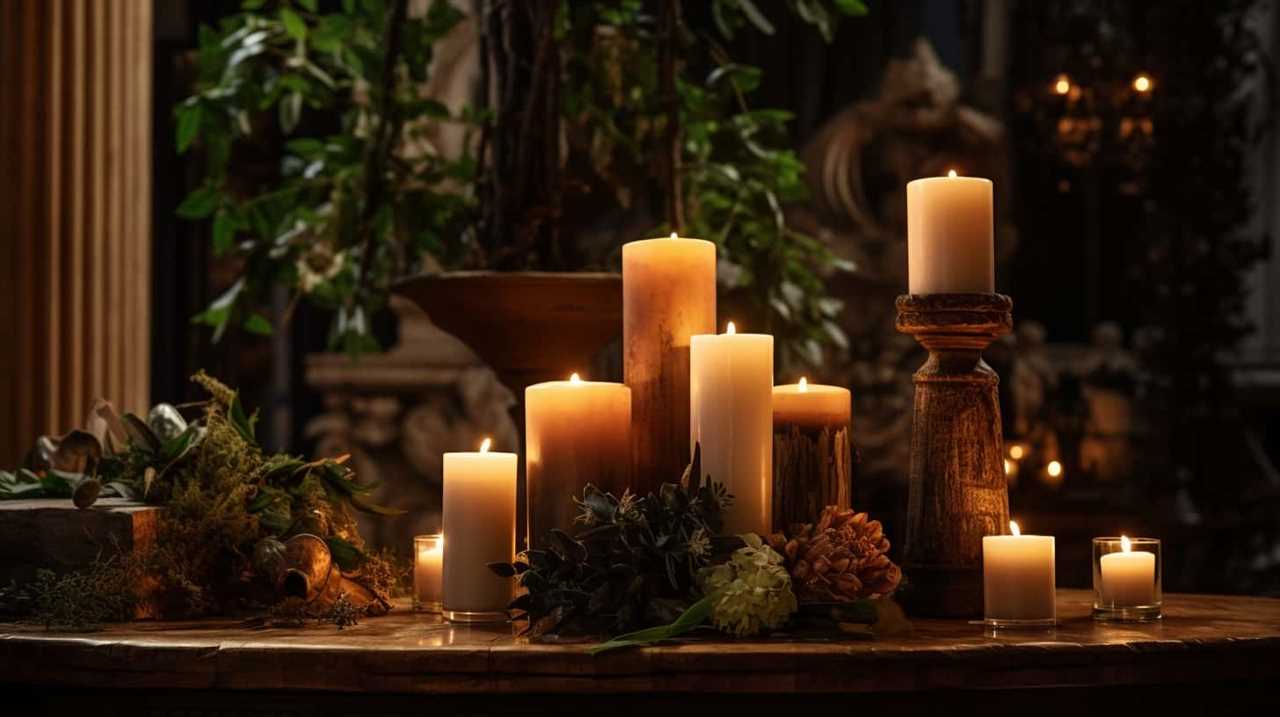
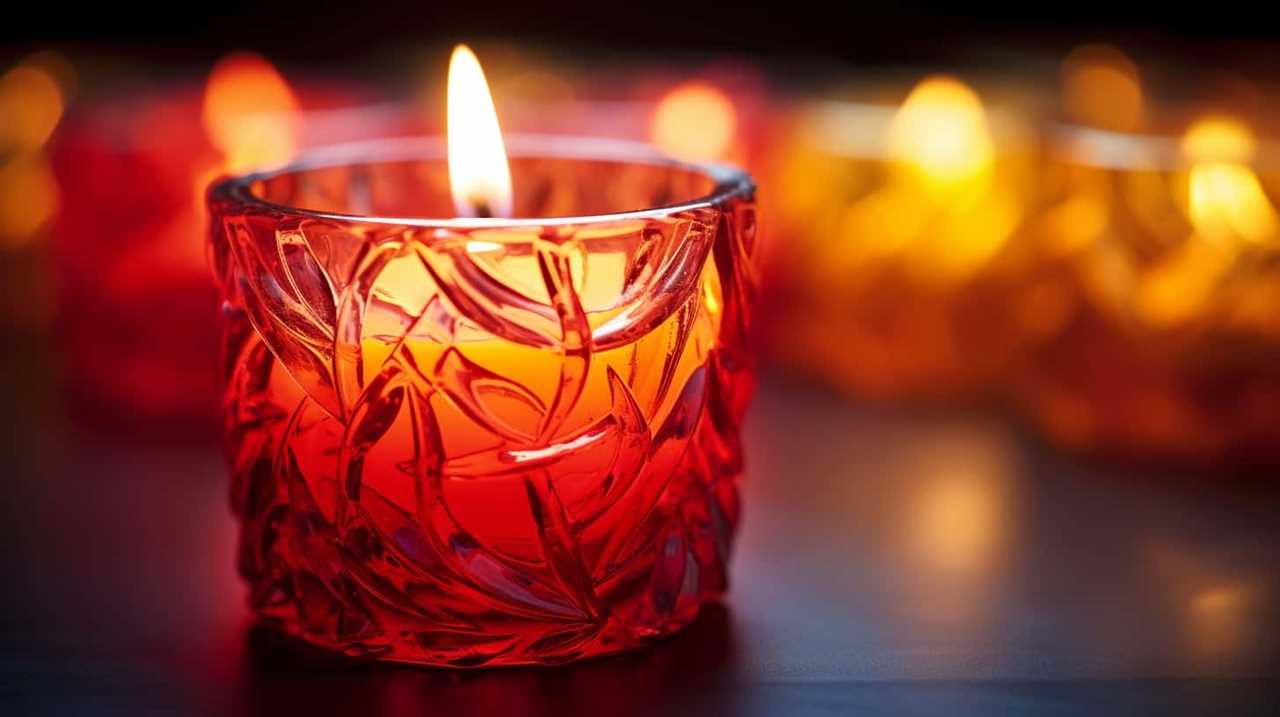
Candle Aesthetics
We frequently appreciate the beauty and ambiance of a candle’s flickering flame. Candle aesthetics play a significant role in enhancing the overall experience and creating a pleasant atmosphere. Two key elements that contribute to the visual appeal of a candle are its fragrance and color.
The fragrance of a candle can have a powerful impact on our mood and emotions. From calming lavender to invigorating citrus, the scent of a candle can create a specific ambiance in any space. Additionally, the color of a candle can evoke different feelings and complement the overall decor. Whether it’s a warm and cozy amber or a vibrant and energizing red, choosing the right candle color can enhance the visual appeal and set the desired mood.
To help you better understand the impact of fragrance and color in candle aesthetics, here is a table highlighting popular scents and their associated colors:
| Candle Fragrance | Candle Color |
|---|---|
| Lavender | Purple |
| Citrus | Yellow |
| Vanilla | Cream |
| Rose | Pink |
| Eucalyptus | Green |
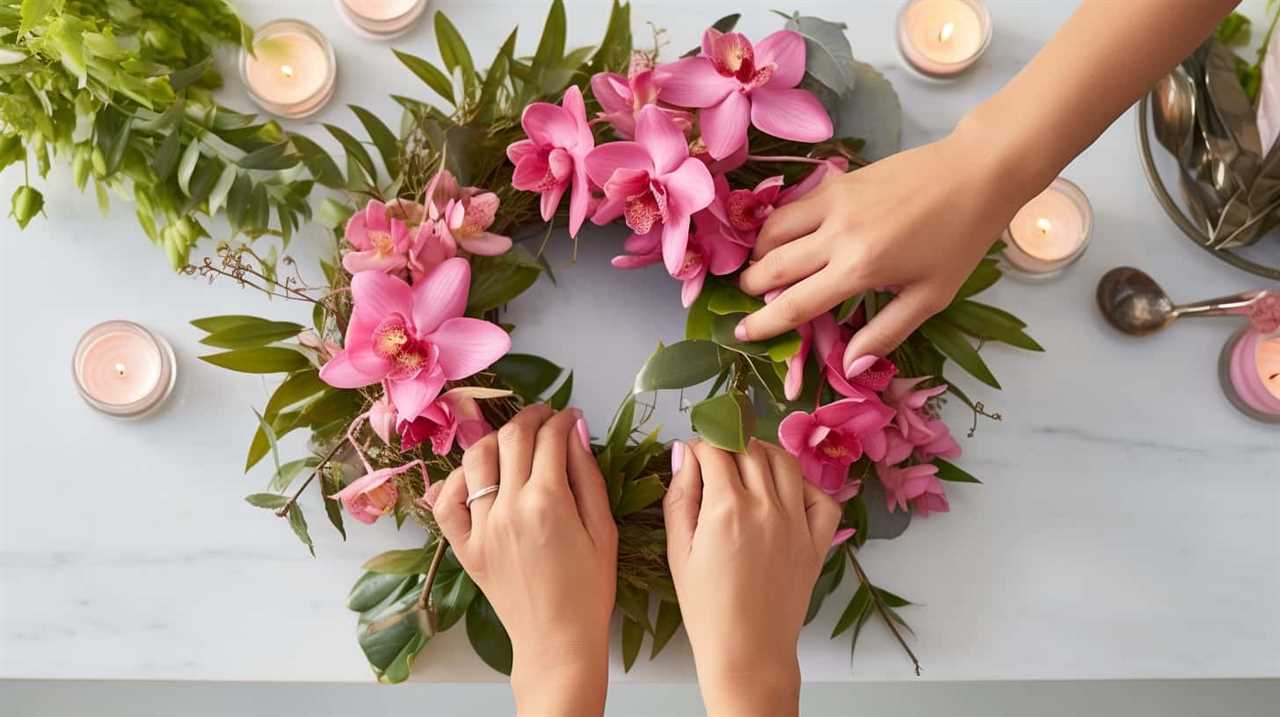
Candle Purpose
Now let’s delve into the purpose of a candle, further exploring its role in creating a pleasant atmosphere and enhancing the overall experience. A candle serves more than just providing light; it can also add beauty and ambiance to any space.
Here are a few ways candles can enhance your environment:
- Candle scent options: Candles come in a variety of scents, such as lavender, vanilla, or citrus, allowing you to create a specific mood or evoke certain emotions.
- Candle decoration ideas: Candles can be used as decorative elements, adding elegance and warmth to any room. Whether placed in a stylish candle holder or arranged creatively with other decor items, candles can be visually appealing.
- Relaxation and stress relief: The soft glow of a candle, combined with a soothing scent, can create a calming atmosphere. Lighting a candle during a bath, yoga practice, or meditation can enhance relaxation and reduce stress.
- Special occasions and celebrations: Candles are often used to mark special moments and celebrations, such as birthdays, weddings, or romantic dinners. They symbolize warmth, love, and joy.
Understanding the purpose of a candle allows us to make informed decisions about its use and placement based on our personal preferences.
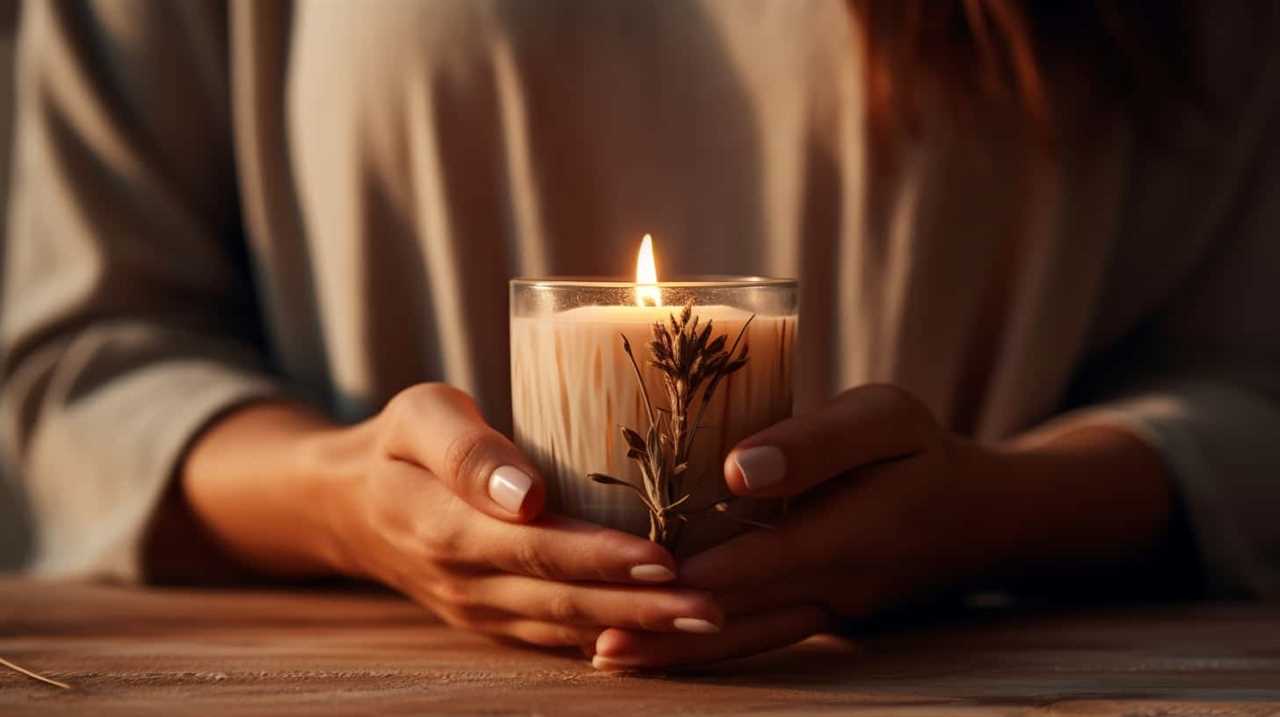
Personal Preference
When do we typically decide to extinguish a candle?
Well, personal preference plays a significant role in this decision-making process. Some individuals may choose to blow out a candle once it has burned down to a certain height, while others may prefer to let it burn until it reaches the end.
Personal preference can also be influenced by factors such as candle fragrance and color. For example, if the scent of the candle becomes too strong or overpowering, some people may choose to extinguish it to avoid discomfort. Similarly, if the color of the candle clashes with the ambiance or decor of the room, individuals may opt to blow it out.
Ultimately, the decision to extinguish a candle is subjective and depends on individual preferences and circumstances.

Frequently Asked Questions
Can Blowing Out a Candle Too Forcefully Cause Any Safety Hazards?
Blowing technique is an essential aspect of candle safety. Blowing out a candle too forcefully can indeed pose safety hazards, such as spreading hot wax or causing nearby objects to catch fire.
How Long Should a Candle Be Burned Before It Is Extinguished?
The burn time of a candle before extinguishing depends on various factors such as the size, type, and environment. To ensure candle safety, it’s important to follow manufacturer’s instructions and never leave a burning candle unattended.
Do Scented Candles Have Any Negative Impact on the Environment?
Negative impacts and environmental concerns are important topics to consider when using scented candles. It is crucial to be mindful of the materials used in the candle and how it is disposed of to minimize harm to the environment.
Is There an Ideal Location to Place a Candle in a Room?
Ideal candle placement in a room depends on safety precautions. Keep candles away from flammable objects and out of reach of children or pets. Avoid placing candles near drafts or in high traffic areas to prevent accidents.
Does the Size of the Wax Pool Affect the Overall Burn Time of a Candle?
When it comes to the burn time of a candle, the size of the wax pool does play a role. A larger wax pool allows for a longer burn time, ensuring you get the most out of your candle.
Conclusion
In conclusion, knowing when to blow out a candle is crucial for safety and environmental reasons. By considering factors such as the candle burning time, wax pool size, and fire hazard prevention, we can prevent accidents and protect our surroundings.
Furthermore, the aesthetics and purpose of the candle should also be taken into account, along with personal preference.
So remember, when it comes to blowing out a candle, make informed decisions to ensure a pleasant and secure experience.