Are you interested in creating a candle without a wick? Look no further! This step-by-step tutorial will guide you through the process of crafting a wickless candle.
By following our expert instructions, you will master the art of crafting these unique candles in no time. We will guide you through the process, from gathering the necessary supplies to decorating your finished creation.
Our language is tailored for those seeking mastery in candle making, providing you with the knowledge and skills to create beautiful wickless candles.
So, let’s get started on this exciting journey and discover the secret behind making your very own wickless candle!
Key Takeaways
- Choose the right wax by considering options like soy, beeswax, paraffin, and coconut wax
- Consider the benefits of each wax, such as affordability, scent throw, burn time, and toxicity levels
- Select a suitable container based on size, material, burn time, and the purpose of the candle
- Explore different ways to decorate the candle, including ribbons, labels, dried flowers, and unique designs

Yankee Candle Home Sweet Home Scented Candle, 22oz Large Jar, Up to 150 Hour Burn Time, Giftable
Home Sweet Home: Home, where you always feel welcome and at ease; it's where the heart is. This...
As an affiliate, we earn on qualifying purchases.
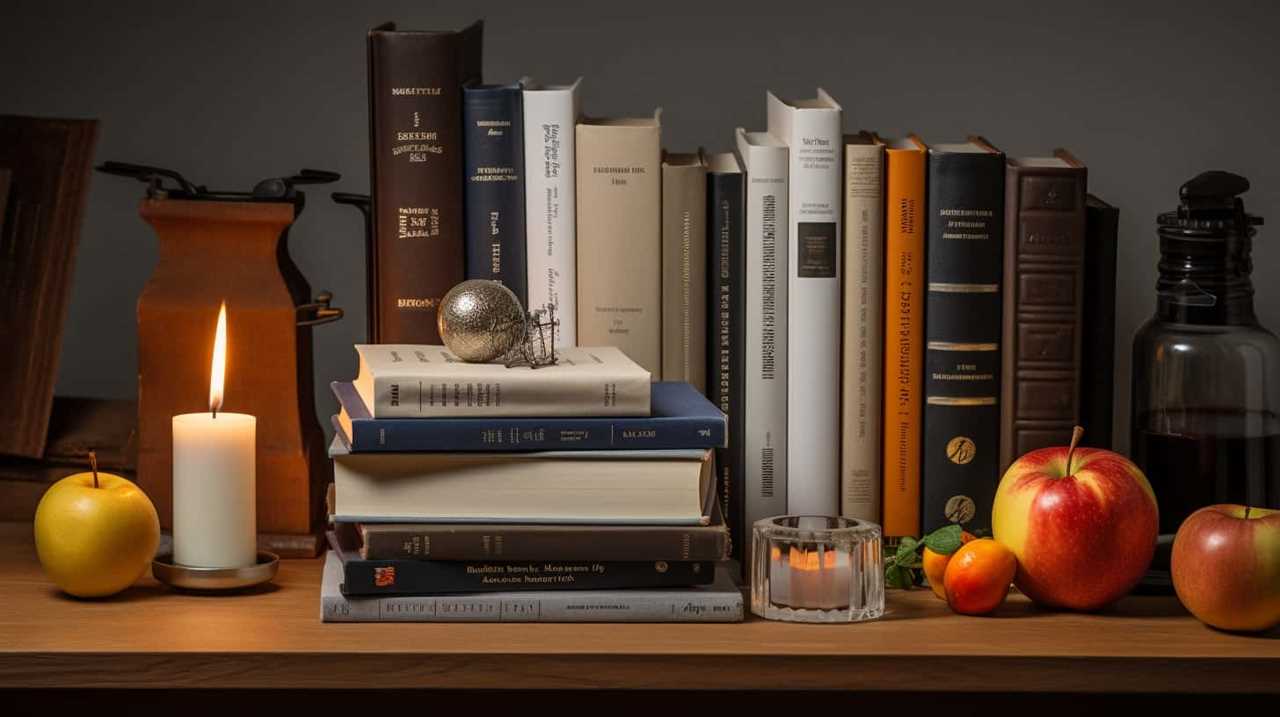
Gather Your Supplies
To start making a wickless candle, we need to gather our supplies.
First, we must consider our container options. Glass jars or heat-resistant containers are ideal for holding the melted wax. Make sure the container is clean and free from any debris.
Next, we need to gather the ingredients for the melting process. We’ll need soy wax flakes, fragrance oils, and dye if desired. Additionally, we’ll need a double boiler or a heat-resistant container and a heat source, such as a stove or a hot plate. It’s important to have a thermometer to monitor the temperature of the wax.
Lastly, don’t forget about the tools like a whisk or a stirrer, a scale for measuring the wax, and a pouring pitcher for easy pouring.
With these supplies ready, we can move on to the next step of making our wickless candle.

Scented Candles for Home,8 Pack Soy Wax Candle Set,Scented Candles Gift Set,Aromatherapy Candles, Amber Jar Vintage Apothecary Style, 8 Scents Gift Set
8 Pack Scented Candle Set – Great Value & Variety:Enjoy 8 different scented candles in one set, offering...
As an affiliate, we earn on qualifying purchases.
Choose Your Wax
Now that we’ve gathered our supplies, we need to choose the right wax for our wickless candle.
There are several options available, such as soy, beeswax, paraffin, and coconut wax. Each type of wax has its own benefits and characteristics, so it’s important to consider these factors before making a decision.
Let’s explore the properties of each wax and how they can affect the overall quality of our candle.

Soy or Beeswax
We prefer using soy or beeswax as our wax choice when making a wickless candle. Both soy and beeswax have their own benefits and uses, so it ultimately comes down to personal preference. To help you decide, here is a comparison and cost analysis of the two options:
| Wax Type | Benefits and Uses | Cost |
|---|---|---|
| Soy | – Natural and renewable material |
- Burns longer and cleaner
- Releases fragrance well
- Easy to work with | Generally more affordable than beeswax |
| Beeswax | – Natural and sustainable - Burns longer and emits a warm glow
- Releases a subtle honey scent
- Purifies the air | Generally more expensive than soy |
Consider your priorities and budget when choosing between soy and beeswax for your wickless candle. Both options have their advantages, so go with the one that aligns with your needs and preferences.
Paraffin or Coconut
When considering the wax for our wickless candle, the choice between paraffin or coconut is an important decision to make. Both paraffin and coconut wax have their own unique properties and benefits. Here is a comparison to help you decide the best wickless candle wax for your needs:
- Paraffin wax:
- Made from petroleum byproducts.
- Provides a strong scent throw, filling the room with fragrance.
- Has a longer burn time compared to other waxes.
- Coconut wax:
- Made from the meat of coconuts.
- Offers a clean and natural burn.
- Produces a soft, creamy texture that’s easy to work with.
Ultimately, the choice between paraffin and coconut wax depends on your preferences and priorities. If you prioritize a strong scent throw and longer burn time, paraffin wax may be the best option for you. On the other hand, if you value a clean and natural burn, along with a soft and creamy texture, coconut wax may be the better choice.
Consider your desired outcome and experiment with both to find the perfect wax for your wickless candle.
Benefits of Each
The advantages of each wax type should guide our choice when deciding between paraffin and coconut wax for our wickless candle. Understanding the benefits of wickless candles is essential in order to use them effectively.
Paraffin wax is a popular choice due to its affordability and accessibility. It has a high melting point, which means it can hold its shape well. Additionally, paraffin wax has a strong scent throw, meaning it can release fragrance effectively. However, it does produce some soot and may contain toxins.
On the other hand, coconut wax is a natural and sustainable option. It has a lower melting point, which allows for a longer burn time. Coconut wax also has a clean burn, producing minimal soot and no toxins. It has a subtle scent throw, making it perfect for those who prefer a more subtle fragrance.
Considering these benefits, we can make an informed decision when choosing between paraffin and coconut wax for our wickless candle.

Capri Blue Volcano Scented and Luxury Glass Jar Candles for Home Scented with Tropical Fruit & Sugared Citrus - Soy Wax Blend, White Color (8 Oz)
Capri Blue Petite Jar Candles - The instantly recognizable silhouette and bright white color of our glass jar...
As an affiliate, we earn on qualifying purchases.
Select a Container
Now that we’ve chosen our wax, it’s time to select a container for our wickless candle.
There are a few points to consider when choosing the right container. First, think about the size options available – do you want a small, travel-sized candle or a larger one for your living room?
Next, consider the material of the container – glass, ceramic, or tin?
Lastly, let’s explore some decorative container ideas to add a personal touch to your candle-making project.
Container Size Options
We prefer using a glass jar as our container for making wickless candles. When selecting a container size, it’s important to consider the burn time of the candle. Here are three options to choose from:
- Small containers: These are great for shorter burn times, typically ranging from 10-15 hours. They’re perfect for small spaces or for trying out different scents without committing to a larger candle.
- Medium containers: These provide a longer burn time, usually lasting between 20-30 hours. They’re ideal for medium-sized rooms or for those who enjoy having a candle burning for a longer period.
- Large containers: These offer the longest burn time, lasting between 40-50 hours. They’re perfect for larger rooms or for those who prefer to have a candle burning throughout the day.
When selecting a container size, consider the space you intend to use the candle in and how long you want it to burn.
Material Considerations
For our wickless candle, we need to carefully consider the materials used for the container. Choosing the right material is crucial for both the functionality and safety of the candle.
When selecting a container, it’s important to keep in mind alternative materials that can be used instead of traditional options like glass or ceramic. One alternative material that’s gaining popularity is silicone. Silicone containers are heat-resistant and can withstand high temperatures without melting or warping, making them a safe option for wickless candles.
Another alternative material to consider is stainless steel. Stainless steel containers aren’t only durable and long-lasting, but they also provide excellent heat retention, ensuring that the candle melts evenly and efficiently.
When it comes to wickless candle safety, selecting the right container material is essential for a successful and worry-free candle-making experience.
Decorative Container Ideas
When selecting a container for our wickless candle, it’s important to consider various decorative options available. Here are some ideas for decorative candle holders and repurposing household items:
- Mason jars: These versatile containers can be found in various sizes and styles. They provide a rustic and cozy feel to your wickless candle. You can decorate them with ribbons, twine, or even paint them to match your decor.
- Teacups and saucers: Repurpose vintage teacups and saucers as unique candle holders. They add a touch of elegance and charm to any space. You can find these at thrift stores or flea markets.
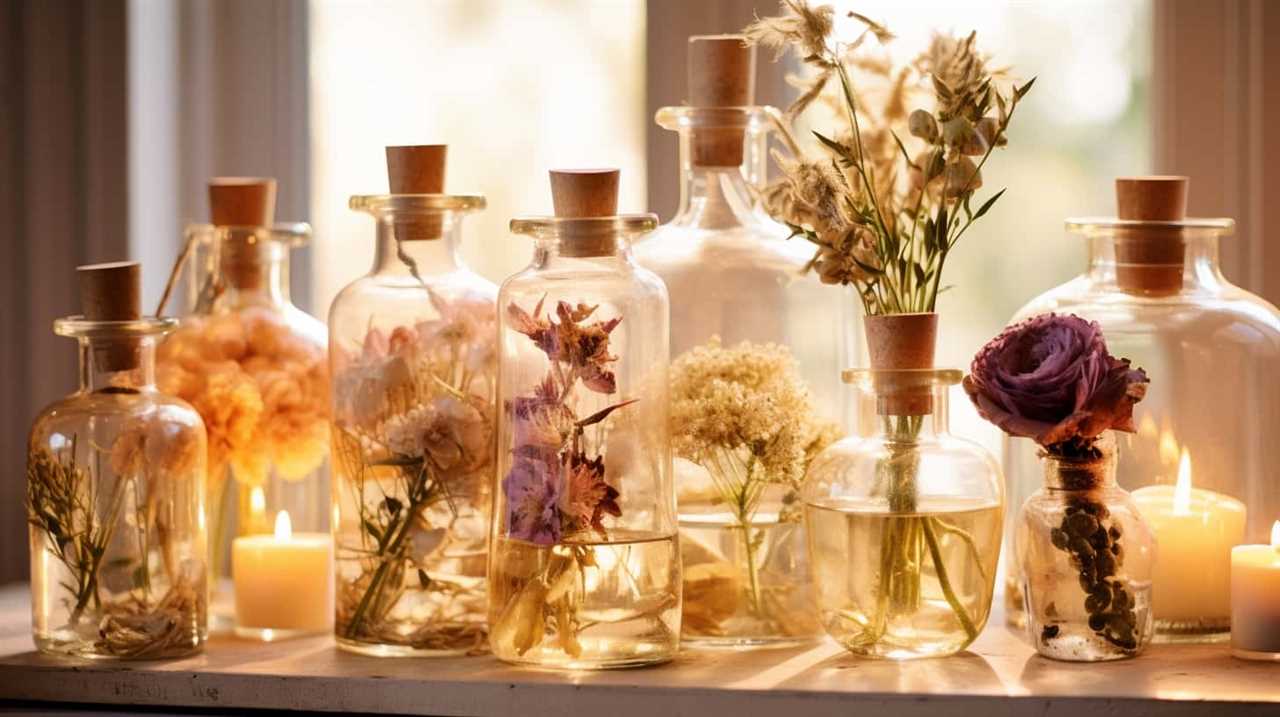
- Glass bottles: Give a second life to empty glass bottles by turning them into candle holders. Remove the labels, clean them thoroughly, and insert your wickless candle. You can even add decorative elements such as beads or seashells inside the bottle for an extra touch of creativity.

TranquilBliss Scented Candle Set, 4 Pack Soy Wax Candles, 120H Burn Time, Ideal Gifts for Women, Birthday Presents
Enhanced Fragrance: This set features four delightful scents, each candle contains 8% more essence, providing a longer-lasting scent...
As an affiliate, we earn on qualifying purchases.
Prepare the Container
To prepare the container for our wickless candle, gather all necessary materials and ensure that it’s clean and free of any debris.
First, consider the size of the container. Wickless candles can be made in various sizes, depending on your preference and the amount of wax you have. Smaller containers are perfect for a personal candle while larger ones are ideal for creating a centerpiece.
Next, think about the material of the container. Glass jars are a popular choice as they’re heat resistant and allow you to see the beautiful glow of the candle. Ceramic or metal containers can also be used, but make sure they’re heat-safe.
Once you have chosen the container, thoroughly clean it with warm soapy water to remove any dirt or dust. Dry it completely to ensure a clean surface for your wickless candle.
Melt the Wax
Now that we’ve prepared our container, it’s time to melt the wax. The temperature for melting wax should be around 180-185 degrees Fahrenheit to ensure that it melts evenly and doesn’t burn.
If you don’t have access to a stove or microwave, you can also consider using alternative wickless materials such as soy or beeswax melts, which can be melted in a wax warmer.
Temperature for Melting Wax
Our recommended temperature for melting the wax is crucial to ensure a smooth and even consistency. It’s important to note that different types of waxes have different melting points.
Here is a step-by-step guide on achieving the optimal temperature for melting your wax:
- Determine the melting point of your specific wax. This information can usually be found on the packaging or from the supplier.
- Set up a double boiler system by placing a heat-resistant container filled with wax pellets or chunks into a larger pot filled with water. This indirect method will prevent the wax from scorching.
- Heat the water on low to medium heat and monitor the temperature using a candy or candle thermometer. Aim for a temperature that’s just above the melting point of your wax, usually between 160°F to 180°F (71°C to 82°C).
Alternative Wickless Materials
After determining the optimal temperature for melting the wax, we frequently use alternative wickless materials to achieve the desired consistency. These alternative materials provide different options for making wickless candles, allowing for creative experimentation and customization.
One popular alternative material is soy wax, which is derived from soybean oil and has a lower melting point than traditional candle wax. Soy wax is known for its clean burn and longer-lasting scent.
Another option is beeswax, which has a natural honey scent and a higher melting point. Beeswax is often used for its eco-friendly properties and ability to purify the air.
Lastly, coconut oil can be used as an alternative wickless material. It has a low melting point and provides a smooth and creamy texture to the candle.
These alternative materials give you the flexibility to create unique wickless candles with different scents and textures.
Add Fragrance and Color
We enhance the wickless candle by adding fragrance and color. Here’s how to do it:
- Fragrance Selection:
- Choose high-quality fragrance oils specifically designed for candles.
- Consider the scent’s strength and how it complements the purpose of your candle.
- Experiment with different combinations to create unique aromas.
- Color Combinations:
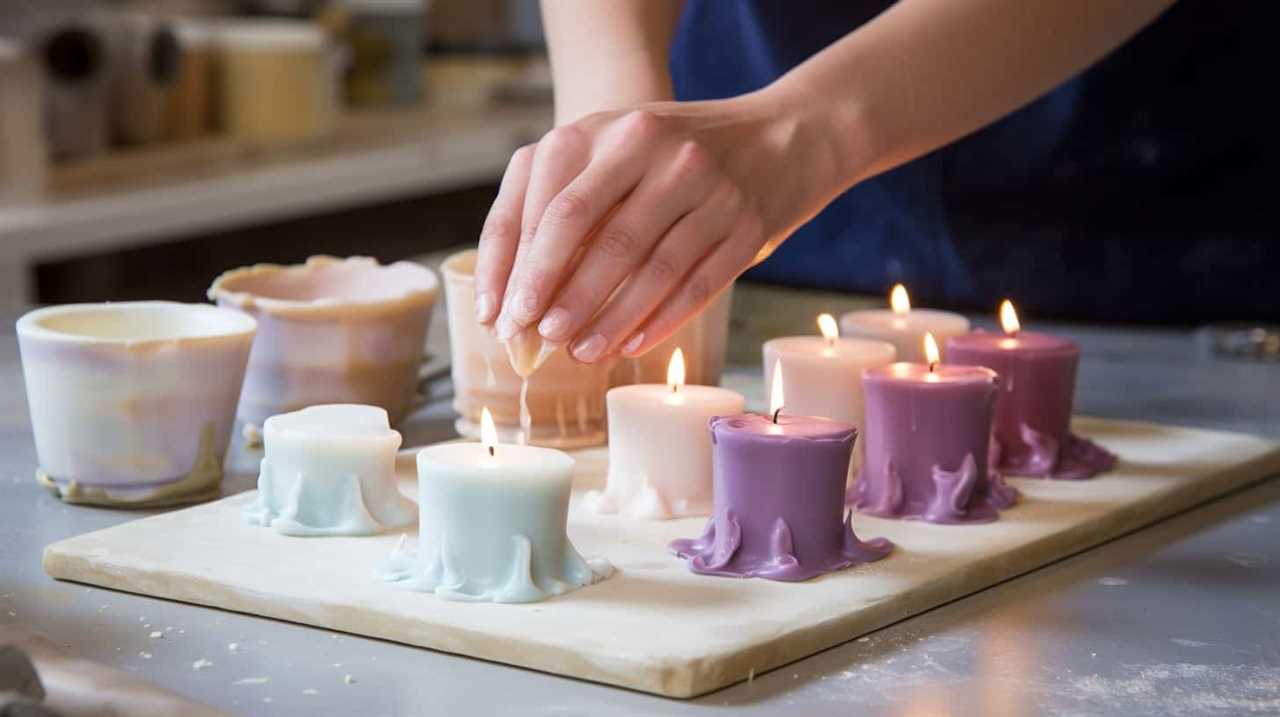
- Use candle dye chips or liquid candle dyes for coloring.
- Start with small amounts and gradually add more until you achieve the desired shade.
- Mix different colors to create custom shades or use pre-made color combinations.
Adding fragrance and color to your wickless candle enhances its appeal and creates a more enjoyable experience. Remember to test your fragrance and color combinations beforehand to ensure the desired results.
Pour the Wax Into the Container
To complete the process, the wax is poured into the container. Pouring the wax is a crucial step in creating a wickless candle, as it ensures that the wax is evenly distributed and properly sets in the container.

There are different methods you can use to pour the wax into the container, depending on your preference and the desired outcome. One method is to slowly pour the melted wax from the pouring pitcher into the container, making sure to leave some space at the top for the fragrance. Another method is to use a ladle or a spoon to carefully transfer the melted wax into the container.
Whichever method you choose, make sure to pour the wax slowly and steadily to avoid any spills or uneven distribution.
Once the wax is poured, it’s time to let it cool and harden, which we’ll discuss in the next section.
Let the Wax Cool and Harden
Once the wax has been poured into the container, we need to allow it to cool and harden. This step is crucial to ensure that our wickless candle sets properly and provides the desired benefits.
Here are some tips for cooling and hardening the wax:
- Patience is key: It’s important to resist the temptation to touch or move the container while the wax is cooling. This can disrupt the process and result in an uneven surface.
- Room temperature matters: Find a cool and undisturbed area in your home where the candle can be left to cool. Avoid placing it near drafts or direct sunlight, as these can affect the cooling process.
- Give it time: Depending on the size of your candle, it may take several hours or even overnight for the wax to completely cool and harden. Be patient and allow sufficient time for the process to complete.
Trim the Excess Wax
After the wax has cooled and hardened, we can proceed to trim the excess wax. Trimming the excess wax is an important step to ensure that our wickless candle looks neat and professional. To do this, we will need a sharp knife or a wick trimmer. Gently hold the candle and start trimming the excess wax around the edges. Be careful not to cut too deep or damage the candle. As you trim, you can collect the excess wax and use it for future candle making projects. Once you are satisfied with the shape and appearance of your candle, wipe off any wax residue with a clean cloth. Now, our wickless candle is ready to be displayed or gifted to someone special.
| Alternatives to Wickless Candles | Techniques for Trimming Excess Wax |
|---|---|
| Battery-operated candles | Use a sharp knife or wick trimmer |
| Flameless LED candles | Trim excess wax around the edges |
| Wax melts | Be careful not to cut too deep |
| Reed diffusers | Collect excess wax for future use |
| Scented plugins | Wipe off any wax residue with a cloth |
Decorate Your Wickless Candle
How can we creatively enhance the appearance of our wickless candle?
Decorating your wickless candle can make it truly unique and eye-catching. Here are some ideas to get you started:
- Different types of decorative materials for wickless candles:
- Gemstones: Add a touch of elegance and sparkle by gluing gemstones onto the outside of your candle.
- Ribbons and bows: Wrap a colorful ribbon around the base of the candle or tie a bow on top for a charming look.
- Dried flowers: Press dried flowers onto the surface of the candle using a heat-resistant adhesive.
- Techniques for creating unique designs on wickless candles:
- Wax carving: Use a heated tool to carve intricate patterns, symbols, or words directly onto the surface of the candle.
- Decoupage: Cut out decorative paper or fabric and adhere it to the candle using decoupage glue for a personalized design.
- Stenciling: Place a stencil on the candle and apply paint or glitter over it to create a beautiful design.
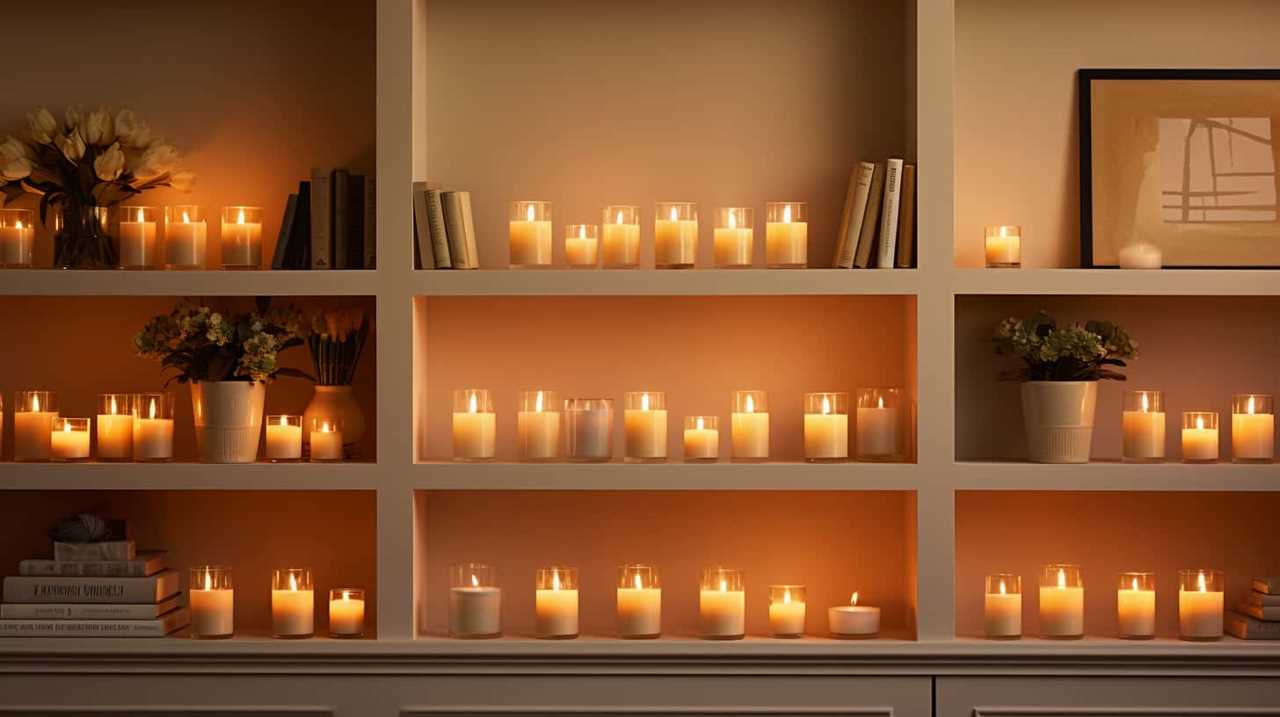
Store and Enjoy Your Wickless Candle
To store and enjoy our wickless candle, we simply need to find a safe and suitable location in our home. Here is a step-by-step guide on how to properly store and enjoy your wickless candle:
- Storage: Find a cool, dry place away from direct sunlight, heat sources, and flammable materials. A cupboard or shelf works well.
- Placement: Ensure the candle is on a stable, heat-resistant surface. Avoid placing it near curtains, bedding, or other combustible items.
- Enjoyment: To enjoy your wickless candle, place it in a wax warmer or diffuser designed for wickless candles. Turn it on and allow the fragrance to fill the room. Remember to follow the manufacturer’s instructions for your specific wax warmer or diffuser.
- Safety: Never leave a wax warmer or diffuser unattended, and keep it out of reach of children and pets. Remember to extinguish the warmer when not in use.
Safety Precautions and Tips
For safe and enjoyable use, it’s important to be aware of the necessary safety precautions and tips when using a wickless candle. Here are some key guidelines to follow:
- Preventing Burns
- Always place the wickless candle on a heat-resistant surface to avoid any accidents.
- Keep the candle away from flammable objects and ensure it’s out of reach of children and pets.
- Never leave a burning wickless candle unattended.
- Choosing the Right Wax
- Opt for a high-quality, non-toxic wax that’s specifically designed for wickless candles.
- Avoid using paraffin wax, as it can release harmful toxins when burned.
- Consider using soy wax or beeswax, which are natural and environmentally friendly alternatives.
Frequently Asked Questions
How Do I Clean the Container After Using a Wickless Candle?
After using a wickless candle, we have found some helpful cleaning tips for removing residue from the container. First, let the container cool completely. Then, use a cloth or sponge to gently scrub away any leftover wax.
Can I Use Essential Oils Instead of Fragrance Oils for My Wickless Candle?
Yes, you can use essential oils instead of fragrance oils for your wickless candle. Essential oils offer many benefits, such as natural aromas and potential therapeutic effects. However, ensure you use a proper carrier oil to avoid any safety risks or damage to your candle.
What Are Some Creative Ways to Decorate a Wickless Candle?
Looking to personalize your wickless candle? Get ready for some creative candle decorating ideas! We’ve got unique ways to make your candle stand out and reflect your style. Let’s dive in!
Can I Use a Different Type of Wax for My Wickless Candle?
Yes, we can use different types of wax for our wickless candles. It offers various benefits, such as the ability to incorporate essential oils for a lovely scent. Let’s explore the step-by-step process of making a wickless candle with different wax options.
How Long Does It Take for the Wax to Cool and Harden Completely?
The wax cooling time can vary depending on factors like room temperature and the type of wax used. It typically takes a few hours for the wax to cool and harden completely.
Conclusion
Now that you’ve learned how to make a wickless candle, you can indulge in the cozy and comforting glow of candlelight without any worries. Imagine the soft flickering flames dancing within your beautifully decorated container, filling your space with a warm and inviting atmosphere.
With a bit of creativity and some basic supplies, you can create your own unique wickless candles that will add a touch of magic to any room. So go ahead, unleash your creativity, and enjoy the soothing ambiance of your homemade wickless candles.