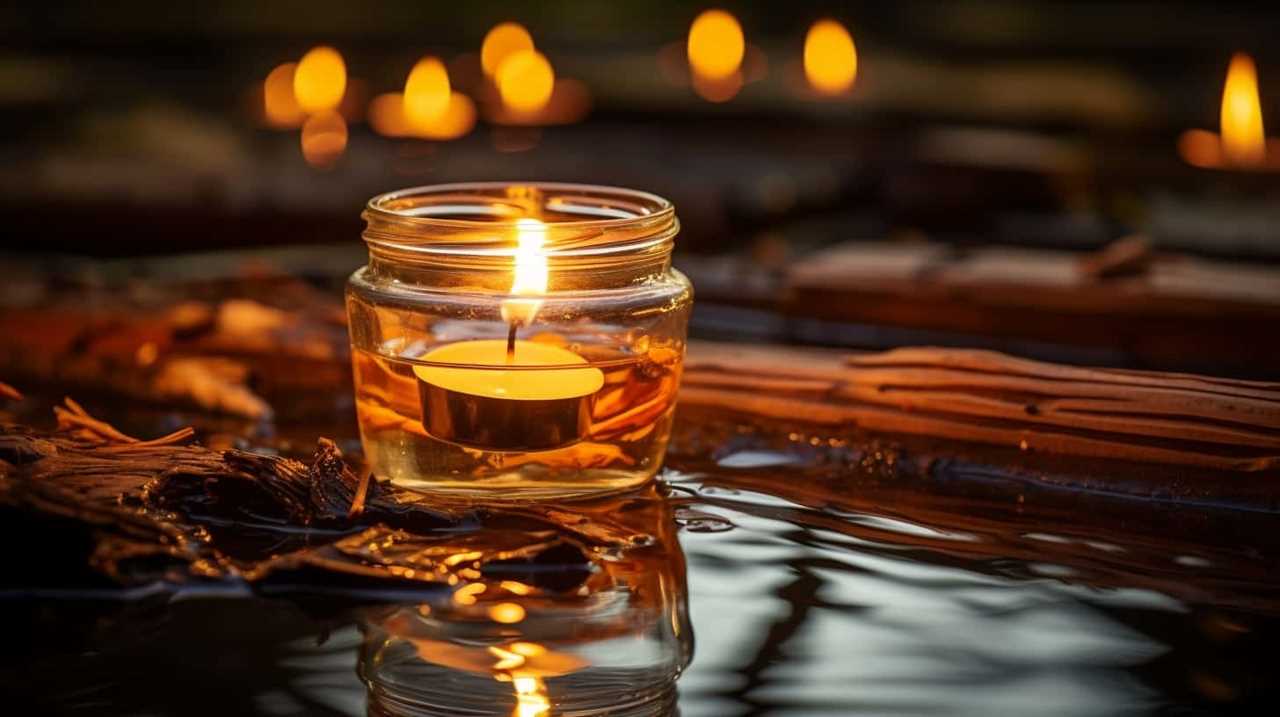
Are you ready to start the thrilling adventure of creating a vanilla-scented sanctuary? Come along with us as we guide you in making a gorgeous vanilla candle that will infuse your space with coziness and relaxation. If you are excited to learn the art of making a candle that will bring peace to your home, continue reading to uncover the tips for crafting the ideal vanilla-infused haven.
With just a few simple steps, you’ll be able to craft a beautiful and fragrant masterpiece that will bring joy to both yourself and those around you. Our goal is to serve you by providing clear and easy-to-follow instructions, ensuring that your candle-making experience is a rewarding one.
So, let’s gather our supplies, melt that wax, add the sweet aroma of vanilla, and create a candle that will bring a sense of tranquility to any room.
Let’s get started!
Key Takeaways
- Gather all necessary supplies before starting the candle-making process, including wicks, containers, and wax melting equipment.
- Ensure proper temperature control throughout the candle-making process to achieve a smooth and even burn.
- Experiment with different fragrance options, such as essential oils, herbs and spices, flower petals, citrus zest, and vanilla extract, to personalize the scent of the vanilla candle.
- Choose the right type of wax, such as coconut wax, palm wax, beeswax, soy wax, or paraffin wax, based on desired results and temperature control requirements.

Yankee Candle Pink Sands Scented Candle, 22oz Large Jar with up to 150 Hour Burn Time, Giftable, Birthdays
- Scent Description: Exotic island escape with melon and jasmine
- Wax and Wick: Premium plant wax blend with natural-fiber wick
- Burn Time: Up to 150 hours of burn time
As an affiliate, we earn on qualifying purchases.
Gather Supplies
First, we always gather the necessary supplies to make our vanilla candle. Temperature control is crucial in candle making, so we ensure we’ve a thermometer to monitor the wax temperature accurately. This helps us achieve the optimum melting point for the wax, ensuring a smooth and even burn.
Additionally, we gather high-quality vanilla fragrance oil for scent customization. The right fragrance can create a warm and inviting atmosphere, making our candles perfect for relaxation or creating a cozy ambiance.
We also gather wicks, containers, and wax melting equipment to ensure a seamless candle-making process. Once we’ve gathered all the supplies, we’re ready to move on to the next step: melting the wax.
Melt Wax
To begin melting the wax, we place it in a double boiler. This method ensures that the wax melts evenly and prevents it from scorching or catching fire.

Here are some temperature control and melting techniques to help you achieve the perfect consistency for your vanilla candle:
- Use a candy thermometer to monitor the wax temperature and keep it between 160°F and 180°F.
- Stir the wax frequently to distribute heat evenly and prevent hot spots.
- If the wax starts to smoke or bubble, reduce the heat immediately to avoid overheating.
- Avoid overheating the wax as it can affect the scent and color of the candle.
- Be patient and allow the wax to melt completely before pouring it into the candle mold.
Add Fragrance Oil
We add the appropriate amount of fragrance oil to the melted wax to infuse our vanilla candle with a delightful scent. Fragrance oils are concentrated oils that are specifically formulated for candle making. They come in a wide variety of scents, allowing us to create unique and personalized candles.
When adding fragrance oil, it’s important to follow proper mixing techniques to ensure an even distribution of the scent throughout the wax. We gently stir the fragrance oil into the melted wax, making sure to avoid any splashing or spilling.
The benefits of using fragrance oils in our candles are numerous. Not only do they provide a pleasant aroma, but they also have a longer-lasting scent compared to other fragrance options. Additionally, fragrance oils are highly versatile, allowing us to experiment with different combinations and create candles that cater to various preferences.
Prepare the Wick
Next, we carefully prepare the wick for our vanilla candle by ensuring it’s the correct length and properly centered in the container. This step is crucial for the candle to burn evenly and safely.
Here’s how to prepare the wick:
- Trim the wick: Start by trimming the wick to about ¼ inch. This helps prevent excessive smoke and ensures a clean burn.
- Center the wick: Place a small amount of melted wax at the bottom of the container and stick the metal tab of the wick onto it. Gently press down to secure it in place.
- Use a wick holder: If needed, use a wick holder to keep the wick centered while pouring the melted wax. This ensures an even distribution of heat and prevents the wick from drifting to the sides.
- Double-check the positioning: Before pouring the wax, make sure the wick is perfectly centered. Adjust it if necessary to avoid any issues during burning.
- Secure the wick: Once the wax has solidified, check again if the wick is securely centered. If not, gently adjust it with a wick holder or tweezers.
Pour the Wax
Now that we’ve prepared the wick, it’s time to move on to the next step: pouring the wax.
In this phase, there are a few important points to consider.
First, choosing the right wax is crucial for achieving the desired results.
Second, maintaining proper temperature control throughout the pouring process is essential for a smooth and even finish.
Lastly, adding fragrance options to the melted wax can enhance the overall scent of the candle.
Let’s delve into these points to ensure a successful candle-making experience.
Choosing the Right Wax
To begin the process of making a vanilla candle, we need to carefully choose the right wax and then proceed to pour it into the container. When it comes to choosing the wax type, there are a few options to consider:
- Paraffin Wax: This is a popular choice as it’s readily available, affordable, and has a low melting temperature.
- Soy Wax: Made from soybean oil, soy wax is natural and eco-friendly. It has a lower melting temperature and provides a clean and long-lasting burn.
- Beeswax: Known for its natural fragrance and golden color, beeswax has a higher melting temperature but produces a clean and bright flame.
- Coconut Wax: Derived from coconuts, this wax has a low melting temperature and offers a creamy and smooth texture.
- Palm Wax: Made from palm oil, palm wax has a unique crystalline appearance and a moderate melting temperature.
Temperature Control Tips
When it comes to pouring the wax for your vanilla candle, it’s important to maintain proper temperature control throughout the process. To ensure the best results, you need to use temperature control techniques to prevent overheating.
One effective technique is to use a double boiler system, which involves placing a heat-resistant container with the wax inside a larger pot filled with water. This helps to regulate the temperature and prevent the wax from getting too hot. Additionally, using a thermometer can help you monitor the temperature of the wax accurately.
It’s crucial to avoid overheating the wax as it can affect the fragrance and burn time of your candle. By maintaining proper temperature control, you can ensure a smooth and successful pouring process.
Now, let’s move on to adding fragrance options to your vanilla candle.
Adding Fragrance Options
We can enhance the scent of our vanilla candle by incorporating various fragrance options during the process of pouring the wax. By using different scent blending techniques, we can create unique and captivating aromas that will delight our senses. Here are some natural fragrance alternatives to consider:
- Essential Oils: Add a few drops of your favorite essential oils, such as lavender or citrus, to infuse the candle with a soothing or invigorating scent.
- Herbs and Spices: Sprinkle dried herbs like rosemary or cinnamon sticks into the melted wax for a natural and aromatic touch.
- Flower Petals: Incorporate dried flower petals, such as rose or lavender, to add a delicate and floral fragrance to your candle.
- Citrus Zest: Grate the peel of citrus fruits like oranges or lemons and mix it into the melted wax for a refreshing and citrusy scent.
- Vanilla Extract: Enhance the vanilla scent by adding a small amount of pure vanilla extract to the wax.
Let the Candle Set
Now that we’ve poured the wax into the container, it’s important to let the candle set before moving or using it.
The setting time required may vary depending on the type of wax used, but generally, it takes about 2-3 hours for the candle to fully set.
While waiting, it’s a good idea to take note of some candle care tips to ensure the best burn and longevity of your vanilla candle.
Additionally, if you’re looking to customize the scent of your candle, we’ll provide some ideas on how to achieve that perfect aroma.
Setting Time Required
After pouring the melted wax into the container, it’s important to allow the candle to set for at least two hours before moving or lighting it. This step is crucial for ensuring that the candle sets properly and avoids any mishaps or accidents.
Here are some key things to keep in mind during this setting time:
- Temperature Control: Make sure the candle is placed in a cool, dry area away from direct sunlight or drafts. This will help the wax solidify evenly and prevent any cracking or uneven surfaces.
- Candle Safety: While waiting for the candle to set, it’s essential to keep safety in mind. Avoid touching or moving the container, as the wax may still be hot and can cause burns.
- Patience: Allow the candle to cool and solidify naturally without any interference. Rushing this process could lead to a poorly set candle that won’t burn properly or may even pose a fire hazard.
- Observation: Take this time to carefully inspect the candle for any imperfections or bubbles that may have formed during the pouring process. If necessary, you can gently tap the container to release any trapped air bubbles.
- Preparation: While you wait for the candle to set, gather any additional supplies you may need for lighting and enjoy the anticipation of soon having a beautiful, handcrafted vanilla candle.
Candle Care Tips
During the setting time, we should take care of the candle to ensure proper solidification and avoid any accidents. Candle safety precautions are essential to prevent any mishaps.
Firstly, it’s important to never leave a burning candle unattended. Always keep an eye on the flame and ensure it’s away from flammable objects.
Additionally, it’s crucial to trim the wick to about ¼ inch before lighting the candle. This helps prevent tunneling in candles, which occurs when the wax burns down the center, leaving unused wax on the sides.
To further prevent tunneling, it’s advisable to allow the candle to burn long enough for the entire surface to melt evenly.
Scent Customization Ideas?
Let’s explore some scent customization ideas while allowing the candle to set. Adding a personal touch to your vanilla candle can elevate its fragrance and create a unique experience. Here are some ideas to get you started:
- Scent Layering Techniques: Experiment with combining different scents to create a complex and captivating aroma. Try blending vanilla with complementary fragrances like lavender or cinnamon for a delightful twist.
- Natural vs Synthetic Fragrances: Consider using natural essential oils for a more organic and holistic scent. Alternatively, synthetic fragrances offer a wider variety of options and can provide a longer-lasting aroma.
- Seasonal Scents: Customize your candle to match the time of year. Fresh florals in spring, fruity scents in summer, warm spices in fall, and cozy aromas in winter can enhance the ambiance of any space.
- Personalized Scents: Mix fragrances that resonate with you, such as your favorite perfume or the scent of a cherished memory. This will make your candle truly one-of-a-kind.
- Experimentation: Don’t be afraid to try new combinations and find your signature scent. The possibilities are endless!
As our vanilla candle continues to set, let’s move on to the next step: trimming the wick.
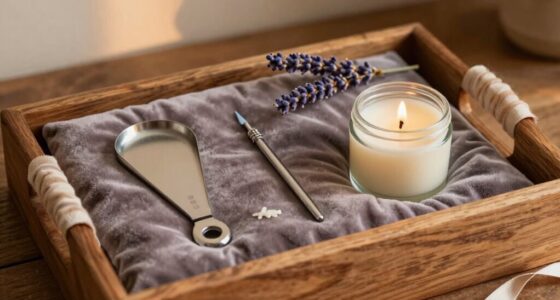
Trim the Wick
To ensure a clean and even burn, we recommend trimming the wick of your vanilla candle to a length of 1/4 inch. Wick trimming is an important step in candle maintenance as it helps prevent wick mushrooming, which can lead to excessive soot and uneven burning.
To trim the wick, simply use a pair of sharp scissors or a wick trimmer to cut off the charred portion, leaving a quarter-inch of wick exposed. This will allow the flame to burn at the optimal height, ensuring a steady and long-lasting burn.
Remember to trim the wick before each use to maintain the best performance of your vanilla candle.
Now that we’ve covered wick trimming, let’s move on to the next step: personalizing your candle.
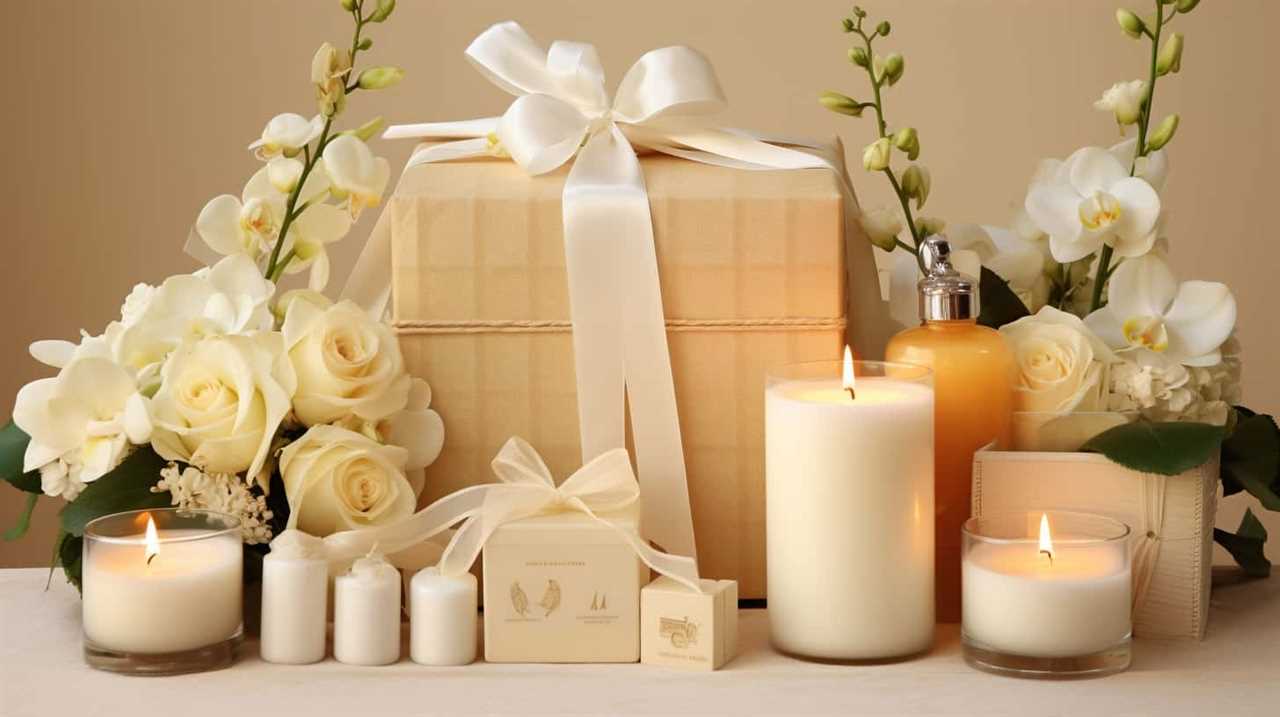
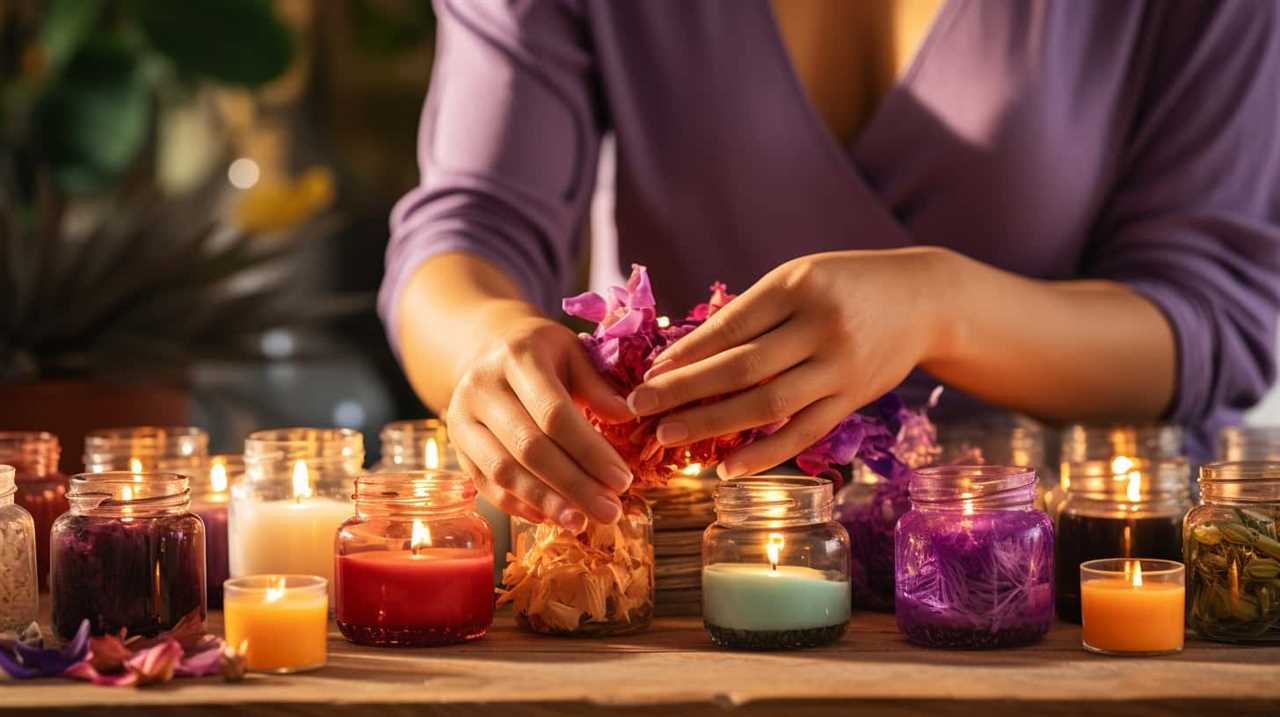
Personalize Your Candle
After trimming the wick, we can now personalize our vanilla candle. Here are some creative ways to make your candle truly unique:
- Experiment with scent combinations: Mix vanilla with other essential oils like lavender or citrus for a personalized aroma that suits your preferences.
- Add decorative elements: Tie a ribbon around the candle jar or attach small charms for a touch of elegance.
- Use colored wax: Add a few drops of food coloring to the melted wax to create a custom color that matches your home decor.
- Apply decorative labels: Print or write labels with personalized messages or designs to make your candle more special.
- Create a unique container: Repurpose old mason jars or teacups to hold your candle, giving it a vintage or eclectic feel.
With these personalized touches, your vanilla candle won’t only fill your home with a delightful scent but also reflect your own personal style.
Now, let’s move on to the next section and learn how to enjoy your handmade candle.
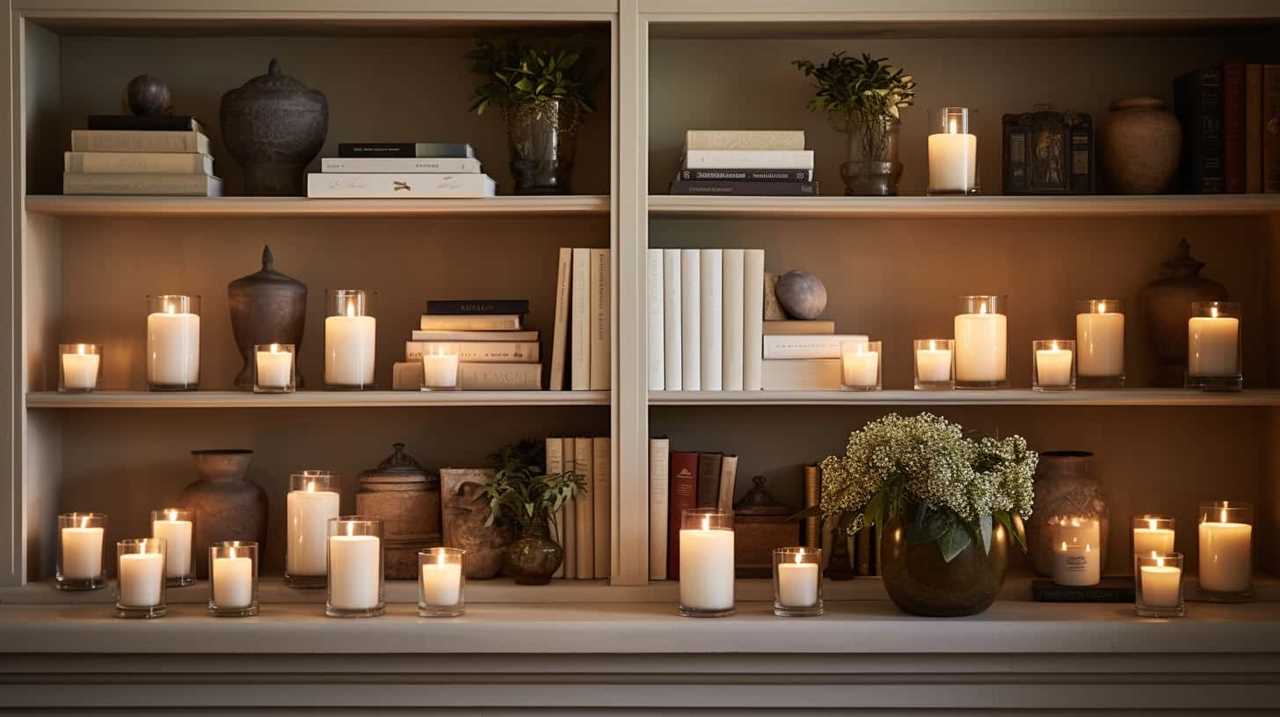
Enjoy Your Handmade Candle
After personalizing our vanilla candle, we can now enjoy the delightful scent and ambiance it brings to our home. The sweet and calming fragrance of vanilla creates a cozy and inviting atmosphere, perfect for relaxation or entertaining guests. To further enhance the experience, consider experimenting with different scent combinations. By adding a few drops of essential oils like lavender, citrus, or cinnamon, you can create unique and personalized aromas that suit your preferences. Additionally, you can explore various candle decorating ideas to make your handmade creation even more visually appealing. From adding dried flowers or herbs to using decorative jars or candle holders, the possibilities are endless. Check out the table below for some inspiration:
| Scent Combination | Candle Decorating Ideas |
|---|---|
| Vanilla + Lavender | Floating candles in a glass bowl filled with lavender buds |
| Vanilla + Citrus | Citrus slices embedded in the candle |
| Vanilla + Cinnamon | Cinnamon sticks tied around the candle |
With your personalized vanilla candle and these creative ideas, you can create a warm and inviting atmosphere in your home while enjoying the soothing scent.
Tips and Tricks for Candle Making Success
When it comes to candle making success, there are a few key points to keep in mind.
First, selecting the right fragrance oil is crucial in achieving the desired scent for your vanilla candle.
Additionally, choosing the appropriate wax for your candle will help ensure proper burning and fragrance throw.
Lastly, considering the size of the wick is essential for achieving a steady flame and preventing tunneling.
Fragrance Oil Selection
To ensure candle making success, we should begin by carefully selecting the right fragrance oil. The fragrance oil you choose will determine the scent of your candle and can greatly enhance the overall experience. Here are some tips and tricks to help you make the best fragrance oil selection:

- Consider Scent Blending: Experiment with different fragrance oils to create unique and custom scents. Blend vanilla with floral or fruity scents to add complexity to your candles.
- Explore Natural Alternatives: If you prefer a more natural option, look for fragrance oils that are made from essential oils or plant extracts. These can provide a subtle and soothing aroma.
- Test Before Committing: Always test a small amount of fragrance oil in your wax before making a large batch. This will ensure that the scent is to your liking and doesn’t overpower the room.
- Choose High-Quality Oils: Invest in fragrance oils that are specifically formulated for candle making. These oils are designed to withstand high temperatures and provide a long-lasting scent.
- Consider Safety: Some fragrance oils may contain allergens or irritants. Make sure to read the labels and choose oils that are safe for use in candles.
Choosing the Right Wax
We recommend using a high-quality wax for optimal candle making success. Choosing the right type of wax is essential in creating a beautiful and long-lasting candle. There are several options available, each with its own unique characteristics. To help you make an informed decision, let’s compare some different wax options in the table below:
| Wax Type | Description | Pros |
|---|---|---|
| Soy Wax | Made from soybean oil, this wax is natural, renewable, and burns clean. | Environmentally friendly, long burning time, great scent throw. |
| Paraffin Wax | A byproduct of petroleum, paraffin wax is affordable and readily available. | Excellent scent throw, easy to work with, wide color range. |
| Beeswax | Produced by bees, this wax is natural and has a sweet, honey-like scent. | Clean burning, long-lasting, drip-resistant. |
Wick Size Considerations
Now let’s delve into the important topic of wick size considerations for successful candle making. Selecting the right wick size is crucial to ensure that your vanilla candle burns properly and evenly.
Here are some tips and tricks to help you make the right choices:
- Consider the diameter of your candle: The size of the wick should match the diameter of your candle. A larger candle requires a thicker wick to provide enough heat for an even burn.
- Test different wick sizes: It’s always a good idea to test different wick sizes before making a large batch. This will help you determine the best wick size for your specific candle.
- Pay attention to fragrance and color: Fragrances and colors can affect the burn of your candle. Some fragrances may require a larger wick size to ensure a full melt pool, while certain colors may require a smaller wick to prevent excessive heat.
- Consider the type of wax: Different waxes have different burn characteristics. Be sure to choose a wick size that’s compatible with the type of wax you’re using.
- Experiment with wick placement techniques: The placement of the wick can also affect the burn of your candle. Try different techniques such as centering the wick or using a wick sticker to keep it in place.
Frequently Asked Questions
How Long Does It Take for the Wax to Fully Melt?
When making candles, it’s important to know how long it takes for the wax to fully melt. This can vary depending on the type of wax used and the size of the candle. Alternative fragrances can also affect the melting time.
Can I Use Essential Oils Instead of Fragrance Oil?
Using essential oils instead of fragrance oils in candles has pros and cons. Essential oils offer natural scents but may have a weaker throw. Different scents can evoke various moods, so it’s essential to choose one that aligns with the desired ambiance.
What Kind of Wick Is Best for a Vanilla Candle?
When choosing a wick for a vanilla candle, it’s important to consider the different options available. Factors such as wick size and type can affect the burn quality and fragrance throw. We recommend researching and experimenting to find the best wick for your specific candle-making needs.
Can I Add Color to the Wax to Make a Colored Candle?
Yes, you can add color to the wax to make a colored candle. It adds a beautiful touch to your candle, making it more visually appealing and allowing you to match it with your decor or create a specific ambiance.
How Long Should I Let the Candle Set Before Trimming the Wick?
When it comes to candle maintenance, knowing the right time to trim the wick is crucial. After letting the candle set for a few hours, trim the wick to about 1/4 inch to ensure a clean and even burn.
Conclusion
In conclusion, creating your own vanilla candle is a delightful and rewarding experience.
Like a warm embrace on a chilly evening, the sweet scent of vanilla can fill your space with coziness and comfort.
By following these simple steps, you can embark on a candle-making journey that won’t only bring relaxation but also showcase your creativity.
So why wait? Start crafting your own vanilla candle today and enjoy the soothing ambiance it brings to your home.