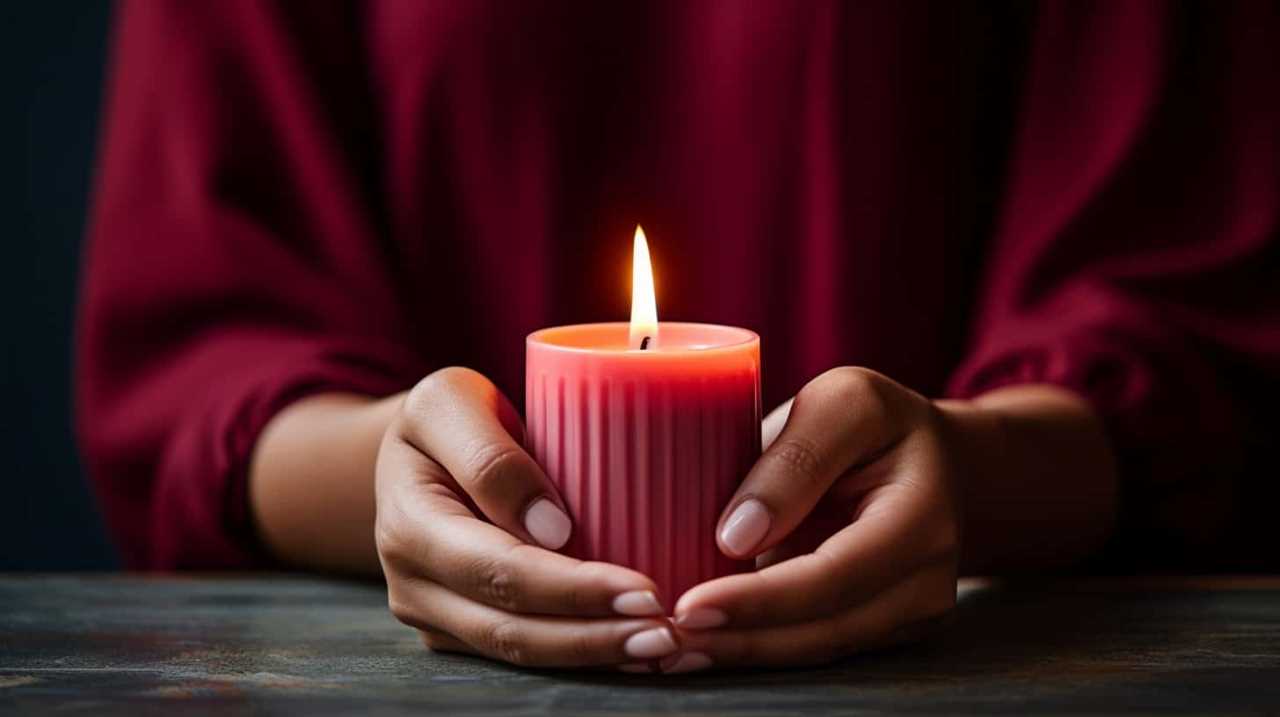
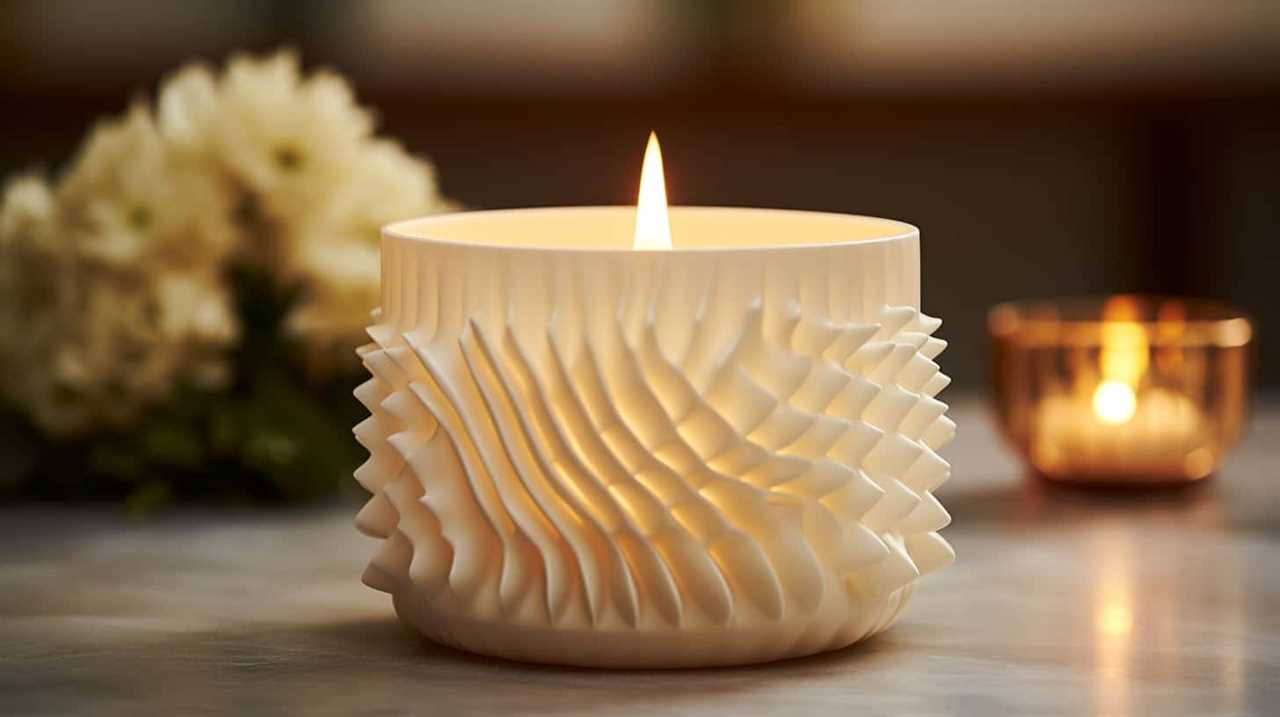
Do you find the concept of transforming a shoelace into a candle wick fascinating? You’re in for a treat as we have all the details you require right here!
Making your own candle wick is not only a fun and creative project, but it also allows you to repurpose those old shoelaces that have been sitting in your drawer.
By following these simple steps, you’ll be able to create a homemade wick that will give your candles a lovely, long-lasting burn.
So, let’s roll up our sleeves, gather our materials, and get ready to serve others with our handmade candle wicks.
It’s time to light up someone’s day!
Key Takeaways
- Choose a shoelace made of natural fibers like cotton or hemp.
- Measure the length of the wick slightly longer than the height of the candle.
- Prepare the shoelace by examining, trimming, and cleaning it.
- Consider the right wax and alternative wick materials for the candle.
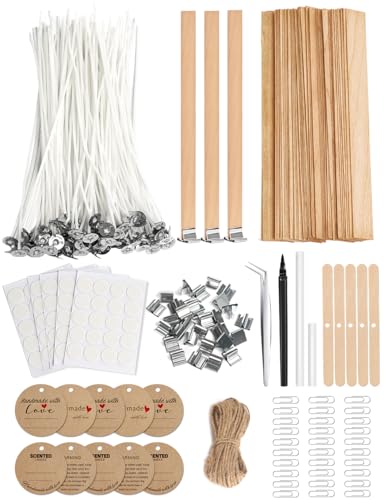
Multiwins 130 Pcs Candle Wicks for Candle Making Kit: 100 Cotton & 30 Wood Wicks with Complete Tool Set (Wick Holders, Wick Stickers, Candle Tabs, Tweezers, Pen), for Soy Beeswax DIY Candles
Ultimate Candle Making Kit - Includes 100 pre-waxed cotton wicks (4"), 30 wooden wicks (5"), 5 wick holders,...
As an affiliate, we earn on qualifying purchases.
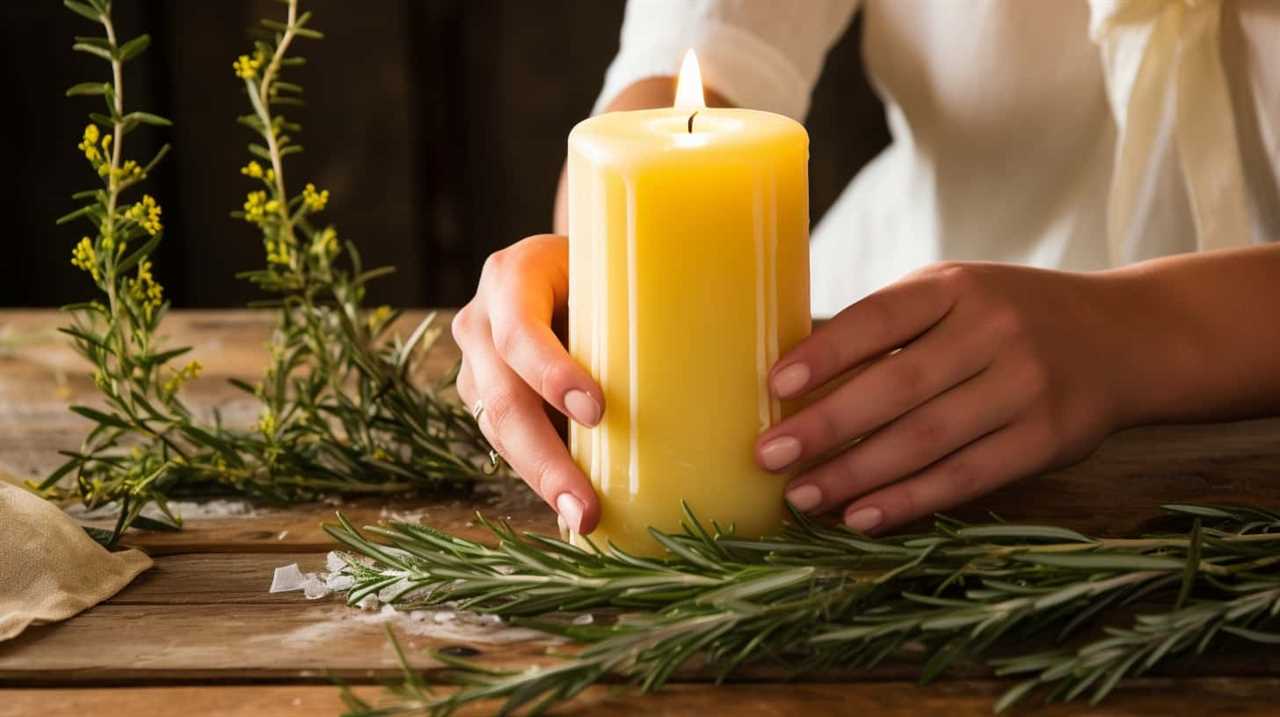
Gather Your Materials
First, we’ll gather the materials needed to make a candle wick out of a shoelace. To start, choose the right shoelace for your candle. Look for one made of natural fibers, like cotton or hemp, as synthetic materials may not burn properly.
Next, measure the wick length. Cut the shoelace to a length that’s slightly longer than the height of your candle, as this will allow for trimming later on. It’s important to have the right length to ensure the wick burns evenly and doesn’t drown in the melted wax.
Once you have the shoelace and the measured length, you’re ready to move on to the next step of choosing the right shoelace for your candle-making journey.

Homsolver Gift for Dad, Fathers Day Christmas Birthday Dad Gifts from Daughter Son - Sandalwood Scented Candle (7OZ)
FUNNY GIFTS FOR DAD- This black cedarwood juniper & sandalwood candle with a humorous saying: Dad, Please Light...
As an affiliate, we earn on qualifying purchases.
Choose the Right Shoelace
To choose the right shoelace for your candle wick, we need to consider the material and length that will ensure a proper burn. Here are some crucial factors to keep in mind:
- Material considerations:
- Look for shoelaces made of natural fibers like cotton or hemp. These materials are ideal for candle wicks as they burn evenly and don’t produce excessive smoke or soot.
- Avoid synthetic materials like polyester or nylon, as they tend to melt or create toxic fumes when exposed to heat.
- Length considerations:
- Measure the height of your candle container and add a few extra inches to ensure the wick is long enough to reach the bottom.
- Trim any excess length after securing the wick to the container, leaving about half an inch above the wax surface.
- Shoelace color and design options:
- Choose a shoelace color that complements your candle’s aesthetic or theme.
- Consider braided or patterned shoelaces for added visual interest.

Dad Gifts from Daughter Son - Fathers Day Gift for Dad, Funny Daddy Birthday Gifts - Dad’s Last Nerve Scented Candle, Black
FUNNY GIFTS FOR DAD: Humorous quote "Dad's Last Nerve, Oh Look...It's on Fire" makes this a memorable gag...
As an affiliate, we earn on qualifying purchases.
Prepare the Shoelace for Use
We can prepare the shoelace for use by trimming any frayed ends and ensuring it is clean and free from any dirt or debris. Start by examining the shoelace for any signs of wear or damage. If there are any frayed or uneven ends, use a sharp pair of scissors to trim them off. Next, clean the shoelace by gently wiping it with a damp cloth or running it under lukewarm water. Make sure to remove any dirt or debris that may be stuck to it. Once the shoelace is clean and dry, measure the length you need for your candle wick. Use a ruler or tape measure to accurately determine the desired length. Finally, use your preferred cutting technique, such as a sharp pair of scissors or a hot knife, to cut the shoelace to the measured length.
To make it easier to follow along, here’s a table summarizing the steps:
| Steps to Prepare the Shoelace |
|---|
| 1. Examine the shoelace for wear or damage |
| 2. Trim any frayed or uneven ends |
| 3. Clean the shoelace by wiping or washing it |
| 4. Measure the desired length for the candle wick |
| 5. Cut the shoelace using a sharp scissors or hot knife |
Dad Birthday Gifts, Christmas Gifts from Daughter Son Kids, Husband Gift from Wife, Grandpa Father's Day Gift for Dad Boyfriend Who Wants Nothing, Mens Funny Presents Bonus Daddy, Scented Candle
Father's Day Gifts for Dad: This candle is a perfect combination of humor and appreciation. It will make...
As an affiliate, we earn on qualifying purchases.
Measure and Cut the Wick
To ensure the candle wick is the correct length, we’ll accurately measure and cut the shoelace. Follow these steps to measure and cut the wick:
- Measure the wick thickness: Take a ruler and measure the thickness of the shoelace. This will help determine the ideal thickness for your candle wick.
- Determine the wick placement: Decide where you want the wick to be positioned in your candle. The placement depends on the size and shape of the container or mold you’ll be using.
- Measure and cut the wick: Using the ruler, measure the desired length of the wick based on the height of your container or mold. Add a few extra inches to ensure you have enough wick to work with. Then, carefully cut the shoelace to the measured length.
Now that the wick is measured and cut, it’s time to move on to the next step and prepare the wax mixture.
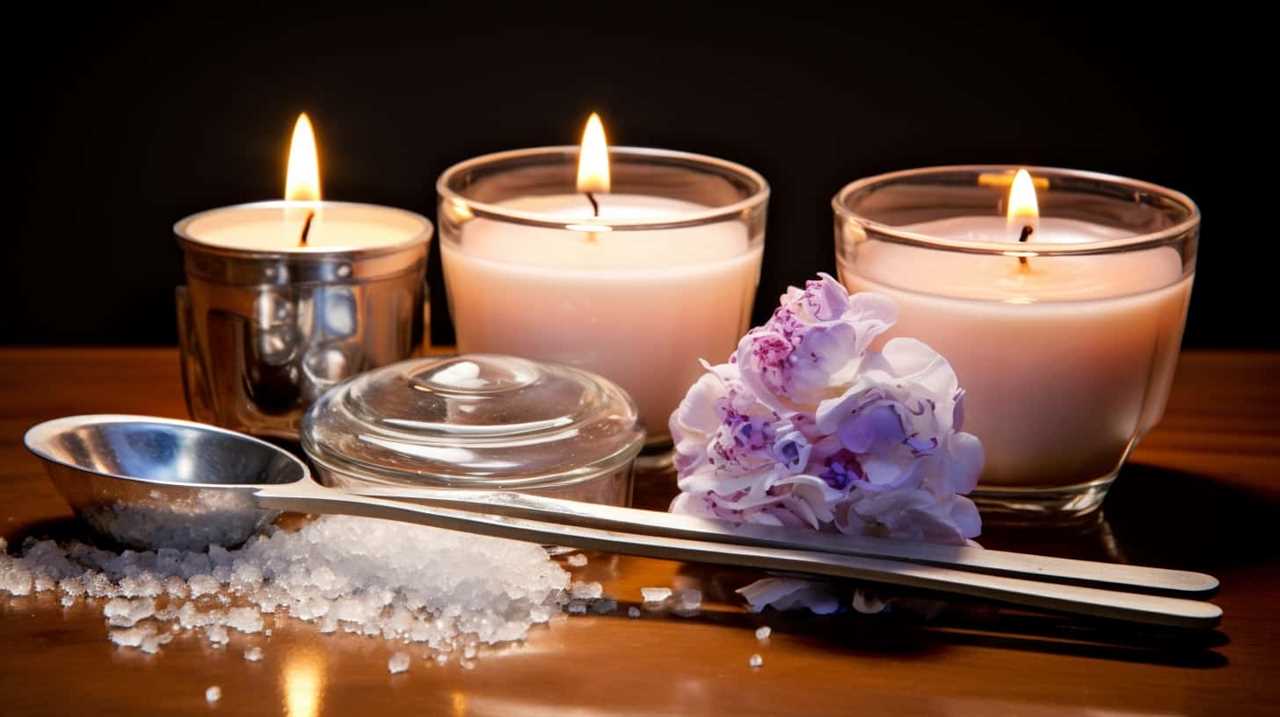
Prepare the Wax Mixture
Let’s start by melting the wax and preparing the mixture. To create the perfect candle, it’s important to choose the right wax. While paraffin wax is commonly used, there are alternative options such as soy wax or beeswax, which are more eco-friendly and produce less soot. Once you’ve chosen your preferred wax, melt it in a double boiler on low heat, stirring occasionally until it becomes a smooth liquid.
Next, it’s time to add fragrance or color to your candle. You can use essential oils or candle dye to create the desired scent and aesthetic. Remember to follow the recommended usage rates for fragrance oils to ensure a balanced scent. Stir the mixture well to evenly distribute the fragrance or color.
Now, let’s talk about the benefits of using a shoelace wick. Shoelace wicks are a great alternative to traditional candle wicks because they are inexpensive and easily accessible. They also have a natural cotton core, which provides a steady and even burn. Additionally, shoelace wicks are more sustainable as they can be reused or composted after use.
Here’s a table summarizing the steps to prepare the wax mixture:
| Step | Action |
|---|---|
| 1 | Choose the right wax (paraffin, soy, or beeswax) |
| 2 | Melt the wax in a double boiler on low heat |
| 3 | Add fragrance or color to the melted wax |
| 4 | Stir well to evenly distribute the fragrance or color |
Dip the Shoelace in Wax
Now that we’ve our shoelace prepared, it’s time to dip it in wax. This step is crucial as it helps the wick burn more evenly and prevents it from burning too quickly.
To begin, take a pot or a heat-resistant container and melt your wax of choice. Once the wax has melted, carefully dip the shoelace into the wax, making sure it’s completely submerged.
Wax-Coated Shoelace Benefits
We have found that dipping the shoelace in wax before using it as a candle wick significantly enhances its performance.
Here are the advantages of using a wax-coated shoelace:
- Long-lasting burn: The wax coating on the shoelace allows for a slower and more controlled burn, resulting in a longer-lasting candle.
- Reduced smoke: The wax acts as a barrier, preventing the shoelace from burning too quickly and producing excessive smoke.
- Improved stability: The wax coating helps the shoelace maintain its shape and structure, making it easier to handle and position in the candle.
These benefits make a wax-coated shoelace a great alternative to traditional candle wicks.
Alternative Wick Materials
To create a wax-coated shoelace candle wick, we can explore alternative materials that are effective when dipped in wax. When selecting a wick material, it’s important to consider its burn rate, ability to hold a flame, and overall performance.
Cotton is a popular choice due to its affordability, accessibility, and consistent burn. It’s easy to find cotton shoelaces that can be used as wicks. However, cotton wicks may require frequent trimming and can sometimes produce excess soot.
Another option is hemp, which is known for its excellent burn rate and minimal soot production. However, hemp wicks can be more expensive and may be harder to find.
Finally, there are braided paper wicks that offer a slow, steady burn but can be more challenging to work with. When choosing a wick material, consider the pros and cons of each option to determine which one suits your candle-making needs.
Now, let’s discuss the important considerations for determining the optimal wick length.
Wick Length Considerations
After selecting the appropriate wick material, the next step is to dip the shoelace in wax and consider the optimal length. Wick length measurements are crucial for a successful candle burning experience.
Here are some considerations to keep in mind when determining the ideal length:
- Candle size: Take into account the height and diameter of the candle. A taller candle will require a longer wick, while a shorter one will need a shorter wick.
- Flame stability: The wick should be long enough to maintain a steady flame, but not too long that it flickers excessively or produces excessive smoke.
- Wick thickness: Thicker wicks may require a shorter length to prevent excessive burning and soot buildup.
Let the Wick Dry
Once the wick has been soaked in wax, it’s crucial to allow it to completely dry before using it in a candle. The wick drying process is an important step in candle making as it ensures that the wick is ready to burn properly.
To let the wick dry, carefully remove it from the wax and place it on a flat, non-flammable surface. Make sure the wick is straight and taut to prevent any kinks or bends. Allow the wick to air dry for at least 24 hours, or until it feels completely dry to the touch.
The benefits of a dry wick are significant. A dry wick will burn evenly and consistently, providing a steady flame that lasts longer. It also reduces the risk of the flame flickering or going out unexpectedly.
Repeat the Dipping Process
After letting the wick dry, we can now proceed to repeat the dipping process to further enhance its performance. Wick dipping is a crucial step in making a high-quality candle wick. By coating the wick with wax multiple times, we ensure that it’s sturdy, long-lasting, and capable of efficiently carrying the flame.
Here’s how you can repeat the dipping process:
- Prepare a container with melted wax at the appropriate temperature.
- Hold the shoelace wick by one end and gently dip it into the wax.
- Slowly pull the wick out of the wax, allowing the excess to drip off.
- Hang the wick vertically and let it cool completely.
- Repeat steps 2 to 4 for the desired number of times, usually 4 to 6.
Trim the Wick to the Desired Length
Now that we’ve our homemade candle wick made out of a shoelace, it’s time to trim it to the desired length.
The length of the wick is an important consideration for optimal burning. A wick that’s too long can cause excessive flickering and uneven burning, while a wick that’s too short may lead to a small, dim flame.
Let’s learn how to trim the wick to ensure a clean and efficient burn.
Wick Length Considerations
To ensure proper burning and minimize smoke, we recommend trimming the candle wick to the desired length before lighting. Wick length considerations are essential for maintaining a safe and efficient candle.
Here are some factors to consider when trimming your candle wick:
- Wick maintenance:
- Regularly trimming the wick helps prevent excessive smoking and uneven burning.
- Trim the wick to approximately 1/4 inch before each use.
- Remove any buildup or debris from the wick to ensure a clean burn.
- Wick safety:
- The length of the wick affects the size of the flame. A longer wick may produce a larger flame, while a shorter wick may result in a smaller flame.
- A shorter wick can help prevent excessive heat, reduce the risk of a fire, and prolong the candle’s lifespan.
- Always follow the manufacturer’s guidelines for wick length recommendations.
Shoelace as Alternative
When using a shoelace as an alternative candle wick, we can trim it to the desired length for optimal burning. Trimming the shoelace ensures that it burns evenly and efficiently, providing a consistent flame throughout the candle’s lifespan.
To trim the shoelace, follow these simple steps:
- Gather the necessary tools: a pair of sharp scissors and a ruler or tape measure.
- Determine the desired length of the wick. This will depend on the size of your candle and the burn time you’re aiming for.
- Lay the shoelace on a flat surface and measure the desired length, starting from the base of the candle.
- Using the scissors, carefully cut the shoelace at the measured point.
- Remove any frayed ends by gently twisting and rolling the cut edge between your fingers.
- Attach the trimmed shoelace to the candle by following the instructions from the previous subtopic.
Trimming for Optimal Burn
To ensure an optimal burn, we regularly trim the shoelace wick to the desired length. Proper wick maintenance is crucial for candle wick safety and to enhance the overall candle-burning experience. Here’s a step-by-step guide on how to trim the wick for optimal burn:
- Gather the necessary tools: a pair of scissors and a wick trimmer.
- Wait for the candle to cool completely before trimming the wick. Hot wax can be dangerous.
- Use the wick trimmer or scissors to cut the wick to approximately 1/4 inch in length. This length allows for a steady flame and prevents excessive smoke.
- Remove any excess wick debris from the candle surface.
- Dispose of the trimmed wick properly, ensuring it doesn’t fall back into the candle.
- Light the candle and enjoy a clean, even burn with reduced soot and smoke.
Attach the Wick to the Container
To attach the wick to the container, we’ll need a glue gun and a pair of scissors. This step is crucial to ensure that the wick stays in place during the candle-making process and burns evenly.
Start by cutting the shoelace to the desired length, leaving a few extra inches for attaching to the container.
Next, apply a small amount of hot glue to the bottom center of the container. Press the end of the wick into the hot glue, making sure it’s securely attached. Hold it in place for a few seconds until the glue sets. This will prevent the wick from unraveling and ensure it stays in place while the candle burns.
Repeat this process for any additional wicks needed.
Pour the Prepared Wax Into the Container
Now that we’ve our wick securely attached to the container, it’s time to pour the prepared wax into it.
To ensure a successful candle, we need to consider a few important points.
First, make sure the wick length and size match the container, as this will affect the burn time and performance.
Second, choose a suitable container that can withstand the heat of the melted wax and provide proper ventilation.
Wick Length and Size
We pour the prepared wax into the container, ensuring the wick length and size are appropriate. To achieve the desired wick diameter, it’s important to consider the size of the container and the type of candle you’re making.
Here are the steps to determine the correct wick length and size:

- Measure the height of the container and add a few extra inches for the wick to extend above the wax surface.
- Consider the diameter of the container and choose a wick that matches the size. A larger diameter may require a thicker wick to ensure proper burning.
- Place the wick in the center of the container, using a wick holder or a pencil to keep it in place.
- Ensure that the wick is straight and upright, as a crooked wick may cause uneven burning.
Container Selection Tips
When pouring the prepared wax into the container, we should carefully consider the selection of the container. The container size plays a crucial role in the overall aesthetic and functionality of the candle. For a small candle, a teacup or a mason jar would be suitable, while larger candles may require a glass container or a tin. It’s important to choose a container that is heat-resistant and won’t crack or break under the high temperatures of the melting wax. Additionally, consider the material of the container. Glass containers provide a sleek and elegant look, while tin containers offer a rustic charm. To ensure the wick remains centered while the wax is cooling, you can use wick centering techniques such as using a wick centering device or attaching the wick to a wooden skewer and placing it across the top of the container. By carefully selecting the container size and employing wick centering techniques, you can create beautiful and functional candles for yourself or to serve others.
| Pros | Cons |
|---|---|
| Glass containers | Fragile |
| Tin containers | Limited designs |
| Mason jars | Limited sizes |
| Teacups | Heat retention |
Pouring Wax Temperature
To achieve optimal results, pour the prepared wax into the container at a precise temperature. Follow these pouring wax techniques to ensure a successful candle-making process:
- Heat the wax to the recommended pouring temperature. This temperature varies depending on the type of wax used, so refer to the manufacturer’s instructions.
- Use a thermometer to monitor the wax temperature accurately. This step is crucial in preventing common pouring issues such as sinkholes, frosting, or tunneling.
- Slowly pour the wax into the container, avoiding any sudden movements or splashing. This helps to prevent air bubbles from forming and ensures an even distribution of wax.
By carefully following these pouring wax techniques, you can troubleshoot common pouring issues and create beautiful candles.
Now, let the candle cool and solidify as we move on to the next step in the candle-making process.
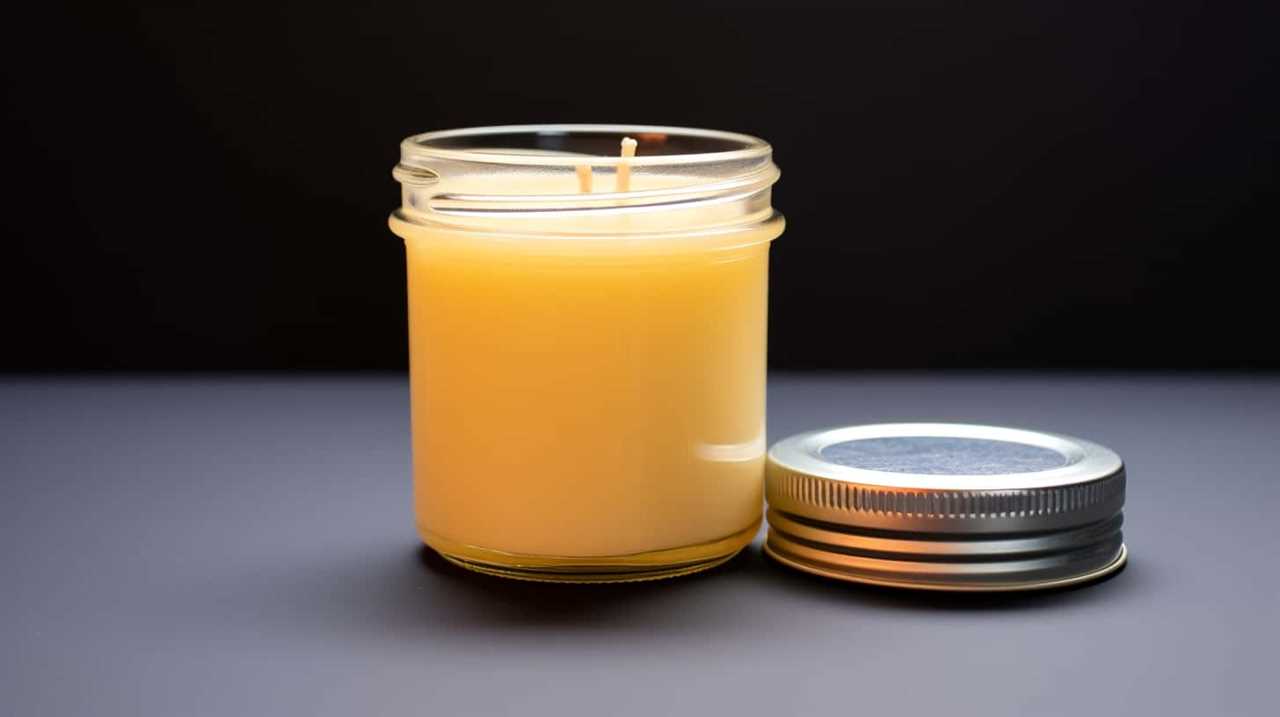
Let the Candle Cool and Solidify
After pouring the melted wax into the container with the shoelace wick, allow the candle to cool and solidify completely. This step is crucial to ensure that your candle sets properly and is ready for use.
Here’s a step-by-step guide on how to let your candle cool and solidify:
- Find a safe and flat surface to place your candle on. Make sure it’s away from any flammable materials or drafts.
- Leave the candle undisturbed for at least 24 hours. This will give the wax enough time to cool and harden.
- Avoid moving or touching the candle during this time, as it may cause cracks or uneven surfaces.
- If you notice any imperfections or unevenness in the surface, gently heat the area with a hairdryer and smooth it out with your fingers.
- Once the candle has completely solidified, trim the wick to about 1/4 inch to ensure a clean and steady burn.
Test and Adjust the Wick if Needed
To ensure optimal burning performance, we can proceed to test and adjust the wick as needed. By following these adjustment techniques and troubleshooting tips, we can ensure that our homemade candle burns evenly and efficiently:
- Trim the Wick: If the flame is too large or flickering excessively, it may be necessary to trim the wick. Use sharp scissors to carefully trim it to a length of about ¼ inch.
- Move the Wick: If the flame is too weak or the wax isn’t melting evenly, try gently moving the wick closer to the center of the candle. This will promote a more even burn.
- Experiment with Wick Size: If you find that the flame is too small or the candle isn’t burning well, try using a thicker or thinner shoelace for the wick. Different wick sizes can affect the burn rate and intensity.
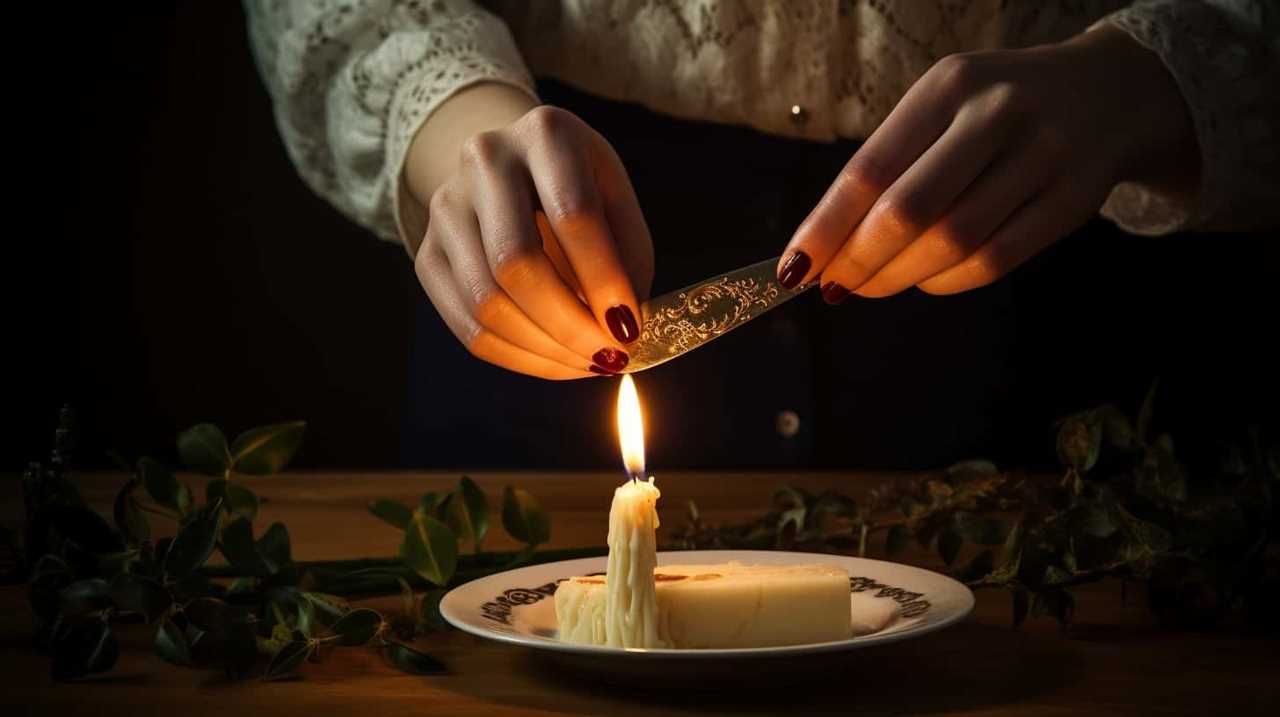
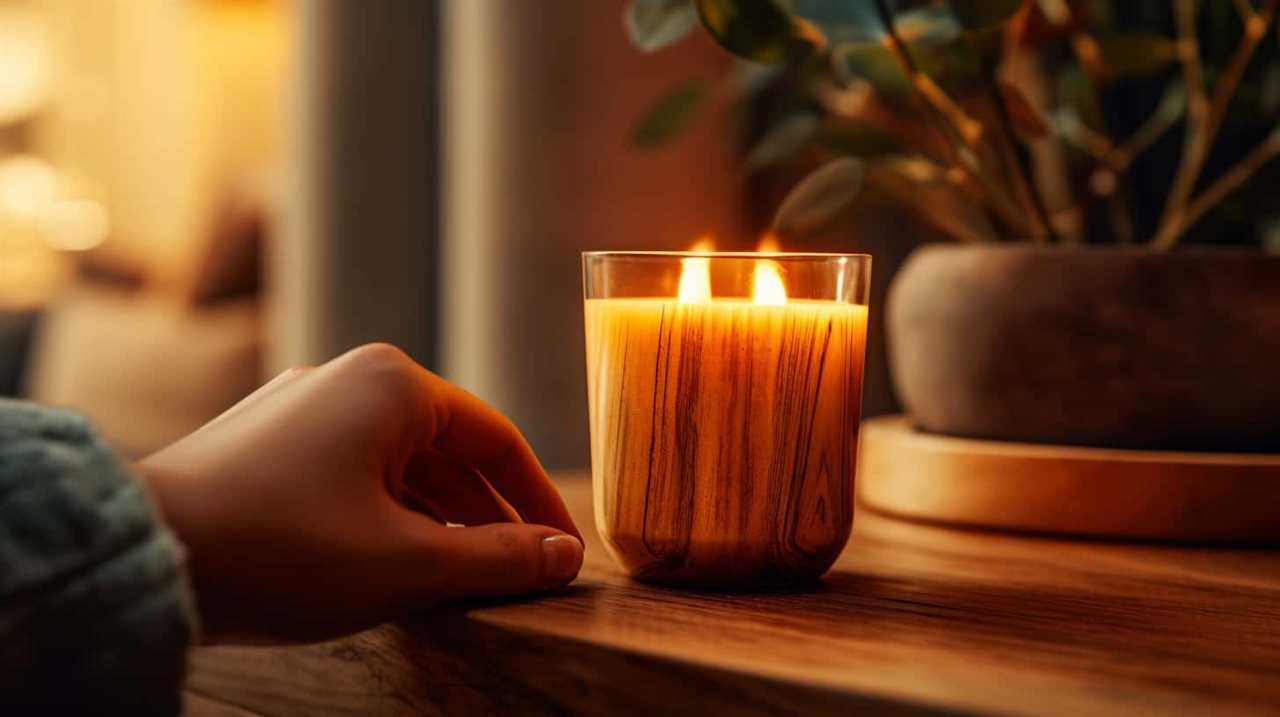
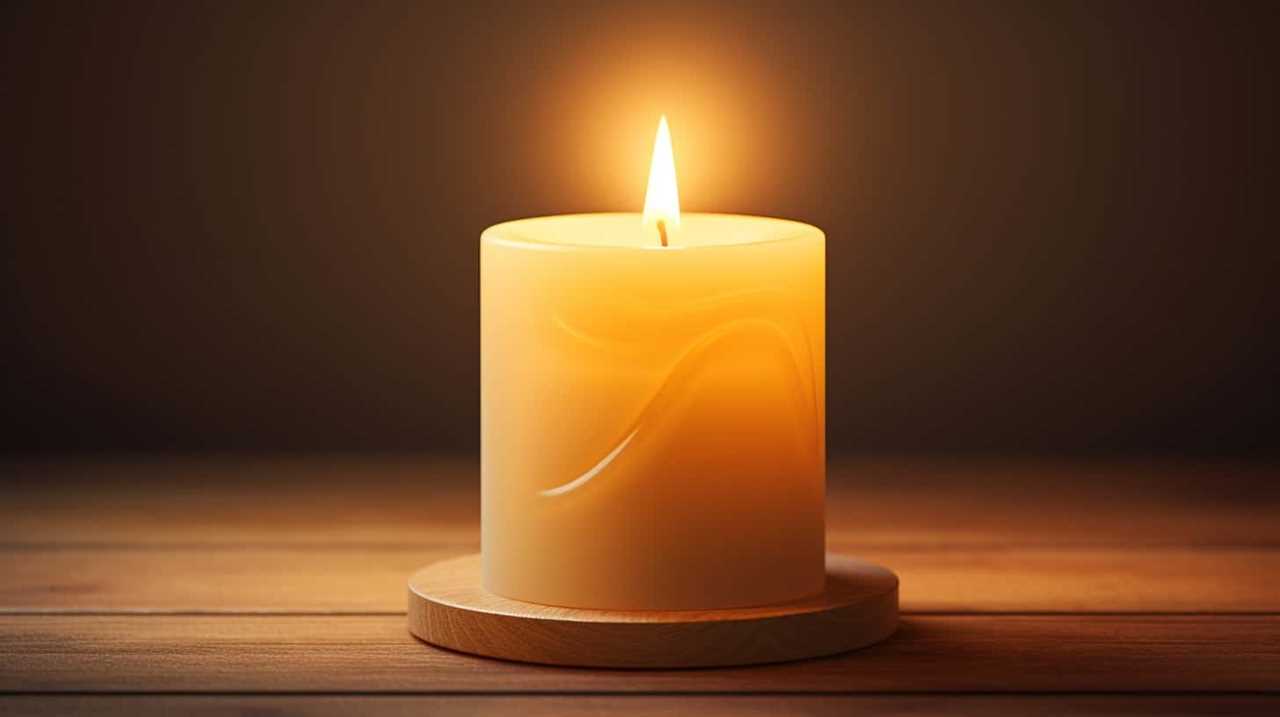
Light Your Homemade Candle
After testing and adjusting the wick as needed, we’re now ready to light our homemade candle. Before proceeding, it’s important to ensure proper wick maintenance and adhere to candle safety guidelines. Here’s a step-by-step guide on how to light your homemade candle:

- Find a safe and stable surface to place your candle on. Avoid placing it near flammable objects or drafts.
- Trim the wick to about ¼ inch before lighting. This prevents excessive smoke and uneven burning.
- Use a long-handled lighter or a matchstick to light the wick. Avoid using regular lighters as they can be difficult to maneuver.
- Gently tilt the candle towards the flame to ignite the wick. Be cautious of any potential splattering or sparks.
- Once the wick is lit, allow the candle to burn for a few minutes until a pool of melted wax forms evenly around the wick.
- Enjoy the warm and soothing glow of your homemade candle, but never leave it unattended or near flammable materials.
Frequently Asked Questions
Can I Use Any Type of Shoelace to Make a Candle Wick?
Yes, we can use any type of shoelace to make a candle wick. However, it is important to consider the type of wax used for candle making and alternative materials that may be suitable for wicks.
How Long Should I Let the Wick Dry After Dipping It in Wax?
After dipping the shoelace wick in wax, it’s important to let it dry completely. The drying time for a candle wick can vary depending on the type of wax used, but generally, it should be left to dry for at least 24 hours.
How Many Times Should I Repeat the Dipping Process for the Shoelace?
To make a candle wick out of a shoelace, dip it in wax multiple times, allowing it to dry between each dip. This process ensures the shoelace absorbs enough wax to burn steadily.
What Is the Ideal Length for Trimming the Wick?
The ideal wick length for a candle is typically around 1/4 inch to ensure a steady flame and prevent excessive smoke. It is recommended to trim the wick to this length before each use.

How Long Should I Let the Candle Cool and Solidify Before Lighting It?
To properly store candles and prevent melting, it’s important to let the candle cool and solidify before lighting it. If you’re troubleshooting a candle that won’t stay lit, check the wick and trim it to the ideal length.
Conclusion
In conclusion, creating a candle wick out of a shoelace is a simple and cost-effective way to make homemade candles. By following the step-by-step instructions, you can create a unique and personal candle using materials you may already have at home.
Remember, ‘where there’s a will, there’s a way,’ and with a little creativity, you can turn ordinary items into something extraordinary.
So go ahead, light up your space with a homemade candle and enjoy the warm glow it brings.