

Are you ready to uncover the hidden techniques of candle making? Join us as we delve into the art of re-wicking a candle, a method that brings new life to your favorite wax lights.
Like a surgeon replacing a vital organ, we will guide you through each step, ensuring your candle burns brightly once more. With our expert techniques, you’ll never have to part with your favorite scented companions again.
So, gather your supplies and prepare to embark on this journey of revival. Together, we will:
- Remove the old wick
- Prepare the new one
- Secure it in place
All while mastering the art of trimming for the perfect burn. Get ready to light up your world with a newly re-wicked candle!
Key Takeaways
- Choose an appropriate wick for the size and type of candle
- Remove the old wick carefully and ensure it is completely removed
- Select the right wick size, material, and placement for optimal burning
- Regularly trim the wick to 1/4 inch and properly secure it for a perfect burn

Yankee Candle Home Sweet Home Scented Candle, 22oz Large Jar, Up to 150 Hour Burn Time, Giftable
Home Sweet Home: Home, where you always feel welcome and at ease; it's where the heart is. This...
As an affiliate, we earn on qualifying purchases.
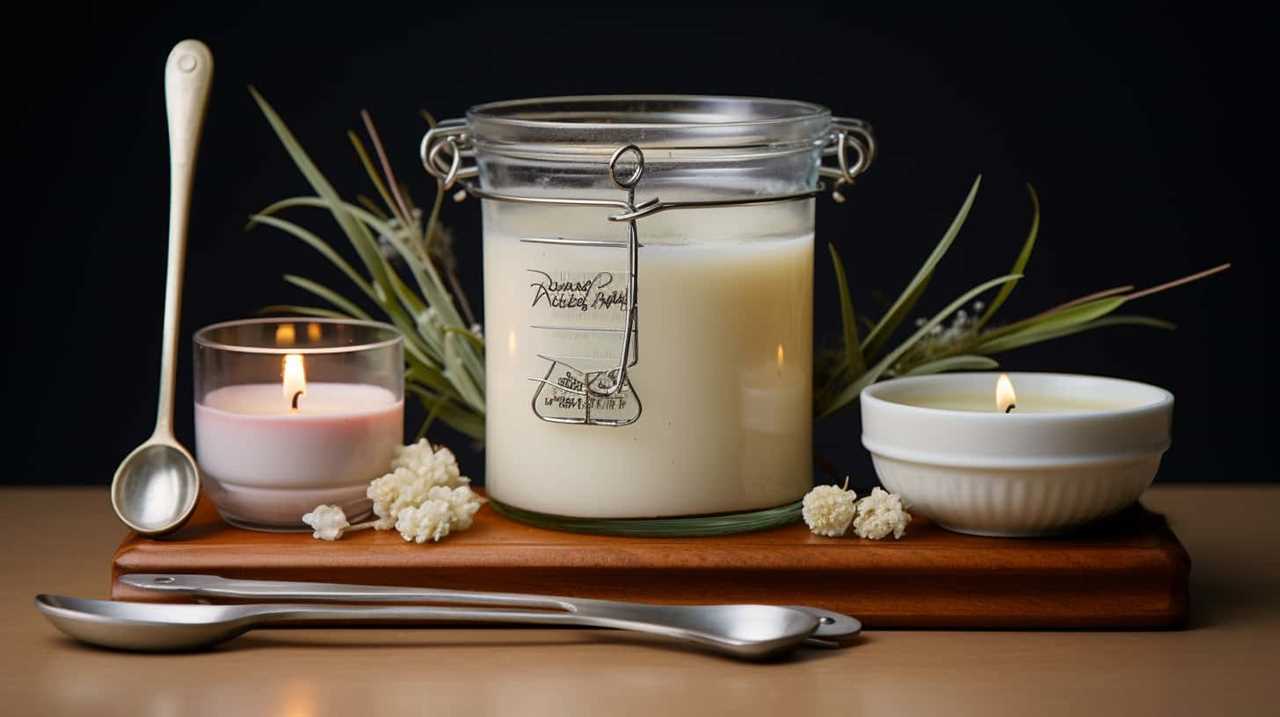
Gather Your Supplies
To gather our supplies for re-wicking a candle, we’ll need to gather a few necessary items.
First and foremost, we must ensure that we have a new wick on hand. It’s important to choose a wick that’s appropriate for the size and type of candle we’re working with.
Additionally, we may want to consider wick alternatives, such as cotton or hemp, which can provide a cleaner burn and reduce soot buildup.
Next, we’ll need a pair of scissors or a wick trimmer to cut the wick to the desired length. This step is crucial for proper wick maintenance and ensuring an even burn.
Finally, a candle wick holder or a pencil can be useful to keep the wick centered while we pour in the melted wax.
With these supplies in hand, we’re ready to begin the process of re-wicking our candle.

Scented Candles for Home,8 Pack Soy Wax Candle Set,Scented Candles Gift Set,Aromatherapy Candles, Amber Jar Vintage Apothecary Style, 8 Scents Gift Set
8 Pack Scented Candle Set – Great Value & Variety:Enjoy 8 different scented candles in one set, offering...
As an affiliate, we earn on qualifying purchases.
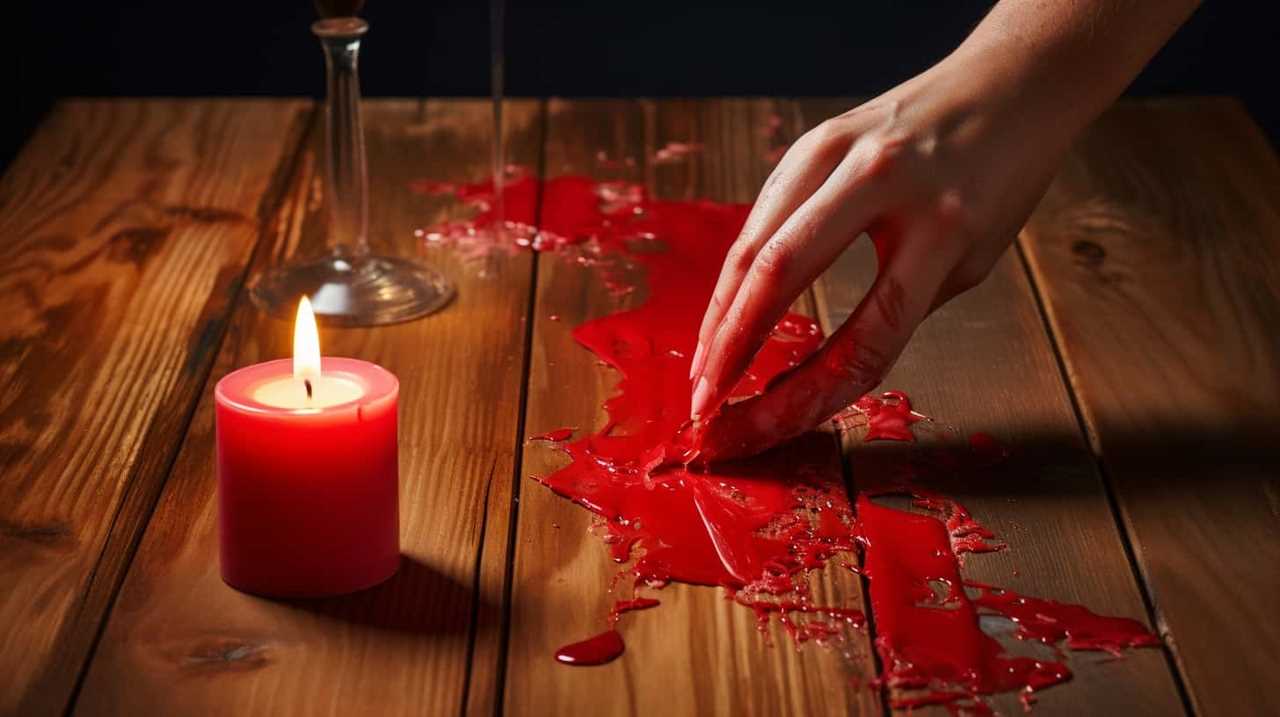
Remove the Old Wick
Now that we’ve gathered our supplies, it’s time to proceed with removing the old wick.
To successfully remove the old wick, follow these wick removal techniques:
- Use tweezers or a wick trimmer: Gently grip the base of the wick with tweezers or a wick trimmer. Slowly pull upwards, being careful not to break the wick. This method works well for wicks that are still intact.
- Scrape the wax: If the wick has burned down and is buried in the wax, use a small knife or spoon to carefully scrape away the surrounding wax. Once you can grasp the wick, use the tweezers or wick trimmer to remove it.
- Repurpose old wicks: Don’t throw away those old wicks just yet! You can repurpose them by using them in DIY projects like making fire starters or crafting candles with new wax.

4 Pack Scented Candles Gifts for Women: 28oz Natural Soy Candles for Home Scented, Up to 200H Burning, Aromatherapy Candle Set, Jar Candle Gift Set for Spa Bath Meditation Birthday Valentine's Gifts
🎁 PERFECT GIFT-READY CANDLES FOR WOMEN - This beautiful scented candle comes with a pretty package, creating a...
As an affiliate, we earn on qualifying purchases.
Prepare the New Wick
Now that we’ve removed the old wick, let’s move on to preparing the new one.
When it comes to wick size options, it’s important to choose the right size for your candle diameter to ensure a proper burn.
Additionally, selecting the appropriate wick material is crucial for achieving a clean and efficient burn.
Wick Size Options
We researched wick size options and selected the most suitable one to prepare the new wick for re-wicking the candle. Choosing the right wick size is crucial for optimal burning and longevity of your candle. Here are three key factors to consider when selecting the wick size:
- Candle Diameter: Measure the diameter of your candle container and choose a wick size that matches it. Using a wick that’s too small may lead to a weak flame, while a wick that’s too large can cause excessive smoke and sooting.
- Wax Type: Different waxes require different wick sizes. For example, soy wax typically requires a larger wick compared to paraffin wax. Consider the type of wax you’re using and consult wick size charts provided by candle-making suppliers.
- Desired Burn Rate: If you prefer a longer burning time, opt for a smaller wick size. Conversely, if you want a stronger fragrance throw and faster burn, choose a larger wick size.
With the appropriate wick size selected, we can now move on to discussing the wick materials to use.
Wick Materials to Use
To prepare the new wick for re-wicking the candle, it’s important to carefully choose the appropriate materials. There are several wick material options available, each with its own unique characteristics and performance qualities.
Cotton wicks are a popular choice, known for their clean burn and minimal soot production. They come in different sizes to accommodate various candle diameters.
Another option is hemp wicks, which are known for their excellent performance in candles with natural waxes.

Wood wicks, on the other hand, offer a crackling sound and a unique aesthetic appeal.
When selecting a wick material, it’s essential to consider factors such as the type of wax used, the desired burn time, and the fragrance load of the candle. By carefully evaluating wick performance, you can ensure a successful re-wicking process.
Now that we’ve discussed the different wick material options, let’s move on to the next step: inserting the new wick into the candle.

BlissfulOasis Scented Candles Set, 17.6 oz 4 Pack Home Scented Candles, 100-120 Hours Candle Set for Men Dad Women, Long Lasting Soy Wax Aromatherapy Gift for Birthday, Fathers Day, Mother's Day
[4 Different Fragrances] Each set of BlissfulOasis scented candles contains four different scents of scented candles: Lavender, Lemon,...
As an affiliate, we earn on qualifying purchases.
Insert the New Wick Into the Candle
Now that we’ve prepared the new wick, it’s time to insert it into the candle.

The first thing to consider is the size and compatibility of the wick with the candle. Make sure the wick is the appropriate length and thickness for the size of the candle to ensure proper burning.
Next, carefully place the wick in the center of the candle, ensuring it’s straight and aligned.
Wick Size and Compatibility
Inserting the new wick into the candle involves carefully selecting the appropriate wick size and ensuring compatibility with the candle. Here are three important considerations when it comes to wick size and compatibility:
- Wick material options: Different wick materials have different burn rates and performance characteristics. Cotton wicks are commonly used and work well with most candles. However, if you’re using a highly fragranced or soy-based wax, you may want to consider using a braided or double-ply wick for optimal performance.
- Troubleshooting wick issues: If you notice that your candle is burning too quickly or producing excessive smoke, it may be a sign that your wick is too large. On the other hand, if your candle is tunneling or not producing a consistent flame, your wick may be too small. Adjusting the wick size can help resolve these issues and improve the overall burn quality of your candle.
- Testing and experimentation: It’s important to note that wick size can vary depending on factors such as candle diameter, wax type, and fragrance load. To find the perfect wick size for your specific candle, it may require some trial and error. Conducting burn tests with different wick sizes will help you determine the optimal wick size for a clean, efficient, and long-lasting burn.
Wick Placement and Alignment
We carefully insert the new wick into the candle, ensuring proper placement and alignment. Wick placement is crucial for a well-functioning candle. When inserting the new wick, make sure it’s centered and straight, allowing for an even burn.
Misaligned wicks can cause uneven melting and poor fragrance distribution. To ensure proper placement, you can use a wick centering device or simply eyeball it.
Additionally, if you’ve had previous wick problems, it’s important to troubleshoot and address them during the re-wicking process. Look for signs of mushrooming, excessive smoking, or tunneling, as these indicate issues with the wick.
Wick Trimming Techniques
To ensure a proper burn and fragrance distribution, it’s crucial to trim the wick before inserting it into the candle. Wick maintenance plays a significant role in maximizing the lifespan and performance of your candles. Here are three wick trimming techniques to follow:
- Trim to the recommended length: Check the candle manufacturer’s instructions for the ideal wick length. Using a pair of sharp scissors, trim the wick to this specified length. Be careful not to trim it too short, as this may result in a weak flame or poor burn.
- Remove any debris: Before inserting the new wick, make sure to remove any leftover wick or debris from the candle. This will ensure a clean and efficient burn.
- Follow wick safety precautions: Always exercise caution when handling the wick. Use proper tools to trim it, and avoid touching the hot wax or flame. Additionally, keep flammable materials away from the candle while inserting the new wick.
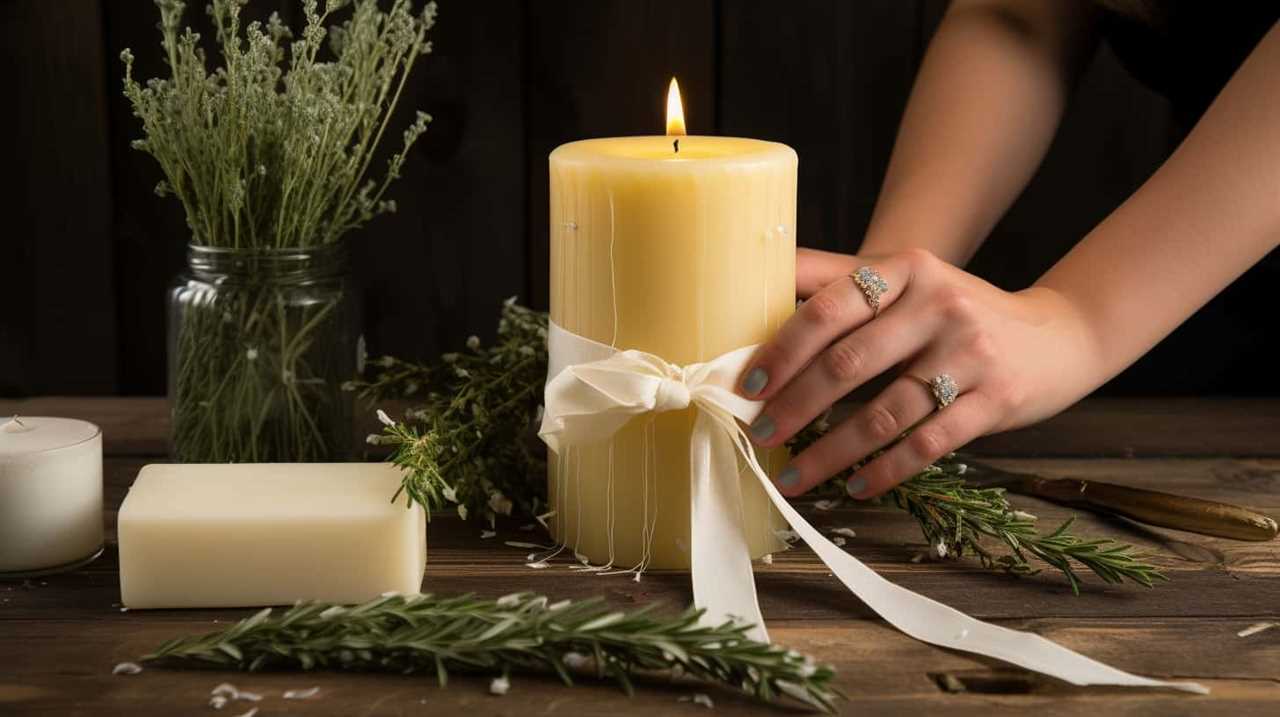
Secure the Wick in Place
To secure the wick in place, firmly grasp the base of the wick with a pair of tweezers. Gently pull the wick upwards, making sure it’s straight and centered in the candle.
Next, use a wick securing method such as a wick sticker or wick bar to hold the wick in place. Wick stickers are adhesive tabs that can be placed at the base of the wick, sticking it to the bottom of the container. Alternatively, you can use a wick bar, which is a metal or wooden device that sits across the top of the container and holds the wick in place.
Another option is to use alternative wick materials such as cotton or hemp wicks, which can provide a different burn rate or scent throw.
Remember to trim the wick to the desired length before securing it in place to ensure optimal performance.
Trim the Wick to the Desired Length
To ensure optimal performance, it’s essential to trim the wick to the desired length. Proper wick maintenance is crucial for a safe and efficient burning experience. Here are three key steps to follow when trimming your candle wick:
- Gather the necessary tools: You’ll need a pair of sharp scissors or a wick trimmer designed specifically for candles. These tools will ensure a clean and precise cut.
- Determine the ideal wick length: It’s recommended to trim the wick to about ¼ inch before lighting the candle. This length promotes a steady flame and prevents excessive smoking or flickering.
- Trim with caution: Hold the candle steady and trim the wick, removing any burnt or mushrooming parts. Be careful not to cut the wick too short, as it may affect the candle’s performance.
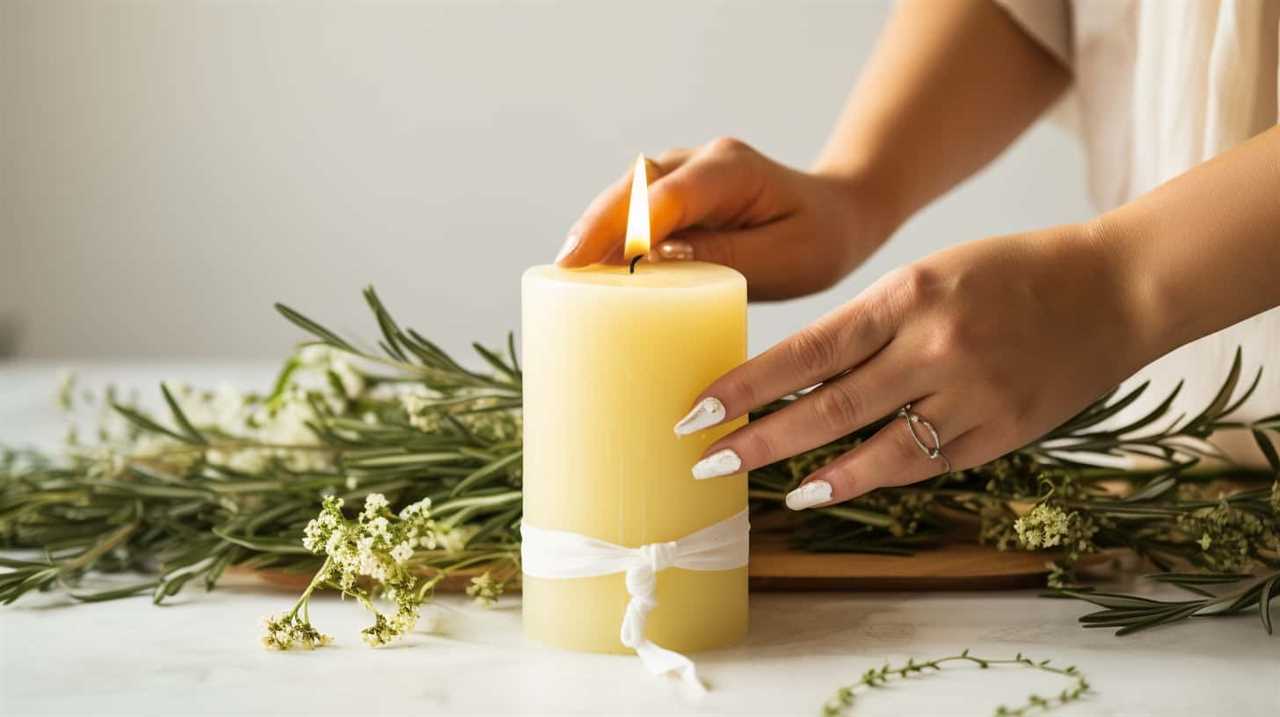
Light Your Newly Re-Wicked Candle
First, we carefully light our newly re-wicked candle using a long-reach lighter or a matchstick. When lighting a candle, it’s important to use proper techniques to ensure a safe and effective burn. To begin, make sure the wick is trimmed to the desired length, as discussed in the previous subtopic.
Next, hold the flame to the base of the wick, allowing it to catch fire. Avoid touching the flame directly to the wax to prevent any damage. Once the wick is lit, let it burn for a few minutes to establish a good melt pool. This ensures an even burn and maximizes the fragrance release.
The benefits of using newly re-wicked candles include a stronger scent throw and a longer burn time. By following these lighting techniques and re-wicking your candles, you can enjoy a more enjoyable and longer-lasting candle experience.
Frequently Asked Questions
How Often Should I Re-Wick My Candle?
We typically re-wick our candles when we notice signs of reduced burn time, uneven melting, or excessive soot. Re-wicking techniques involve carefully removing the old wick, trimming the new one, and securing it in place for optimal burning.
Can I Reuse the Old Wick for Another Candle?
Reusing the old wick for another candle may seem like a clever idea, but let’s weigh the pros and cons. While it could save money, the wick may not burn as efficiently, affecting the quality of the new candle.
What Type of Wick Should I Use for Different Candle Sizes?
When it comes to choosing the right wick size for different candle sizes, it’s important to consider factors such as the diameter and type of wax used. Troubleshooting common wick problems in candles requires careful observation and adjustment.
Is It Necessary to Trim the Wick Before Re-Wicking the Candle?
Before re-wicking a candle, it is vital to trim the wick. This maintenance step ensures a clean and even burn, preventing issues like soot and uneven melting. Proper wick length is key for a masterful candle experience.
Can I Re-Wick Scented Candles or Only Unscented Ones?
When re-wicking scented candles, it is important to follow certain tips for successful re-wicking. We have found that both scented and unscented candles can be re-wicked effectively, as long as the process is done correctly.
Conclusion
After following these simple steps, you can confidently re-wick your candle and enjoy its warm glow once again.
- Start by removing the old wick from your candle. Carefully pull it out, making sure to discard it properly.
- Take your new wick and insert it into the empty wick hole. Push it down until it is securely in place.
- Once the new wick is in place, it’s important to trim it to your desired length. Use a pair of scissors or wick trimmers to cut the wick to the recommended length for optimal burning.
- With the new wick securely in place and trimmed to the correct length, your candle is ready to be lit.
Now sit back, relax, and bask in the cozy ambiance of your newly re-wicked candle.