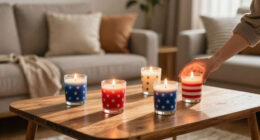

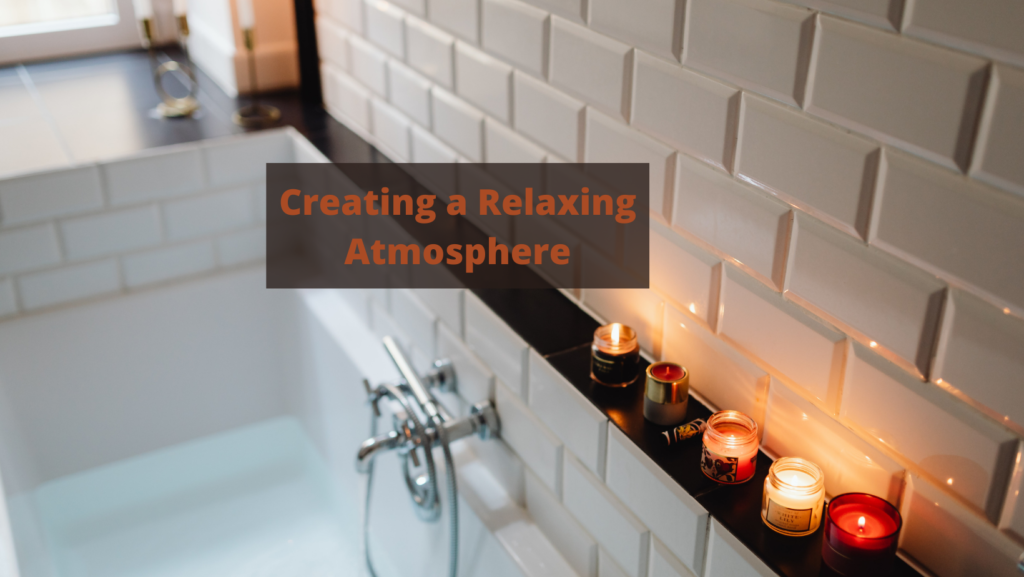
A lot of people consider candles to be vital for setting a calm atmosphere. Candles can improve our mood, cover up bad odors, and create the ideal ambiance for a cozy night in. While buying candles from stores can be pricey, crafting your own candles at home is simple and affordable.
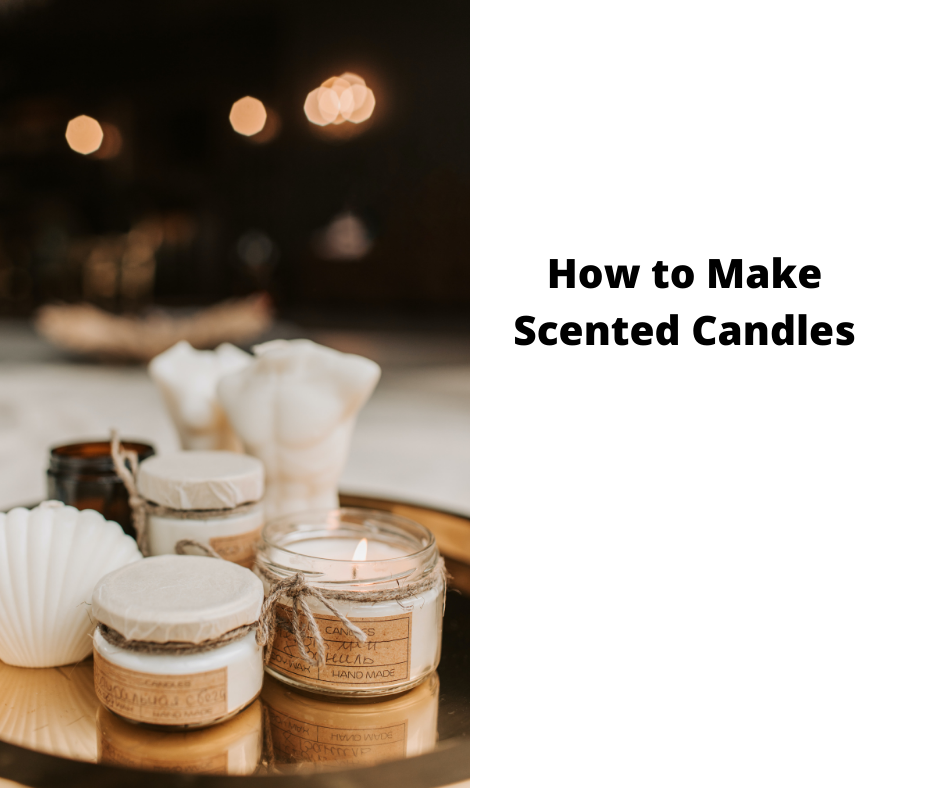
How to Make Scented Candles
All you need are some candle wicks, wax, and fragrance oil. You can find these materials online or at your local craft store. And when it comes to choosing a scent, the sky is the limit. I love conifer-based scents like pine and spruce, but you can select whatever fragrance you like best. So why not ditch the store-bought candles and try making your own? With time and effort, you can have beautiful, handcrafted candles that will make your home smell amazing.

MTLEE 6 Pcs 250th Anniversary Candles 10 Inch Patriotic 4th of July Tall Dripless Tapered Candles American Flag Decorative Tapers Smokeless Unscented Long Burning for Independence Day Decor
Patriotic Themed Design: you will receive 6 handmade Patriotic Candles, commemorating the 250th anniversary, enough to meet your...
As an affiliate, we earn on qualifying purchases.
How To Make Homemade Scented Candles
Candle making is an ancient art that has been practiced for centuries. The basic principles of candle making are simple, but there are a few things to keep in mind to produce a high-quality, scented candle.
Candles are a great way to add a touch of ambiance to any room, and homemade candles are even more special. Not only are they usually cheaper than store-bought candles, but you can also customize them to suit your style.

Making candles is also great for using leftover wax or scent oils. And with just a few simple supplies, you can make a variety of different scented candles in no time at all. Here’s what you’ll need:
- Wax ( Beeswax, soy wax, or paraffin wax)
- Wick
- Scented oil
- Pourable container ( like a Mason jar)
- Double boiler or melting pot
- Stirring utensil
- Candy thermometer ( optional)

ONEIHOMM 4th of July Patriotic Candles with Remote Control, 2 Pack
【American Flag Candles Specification】Size:0.79"D x 0.79"W x 6.5"H ,You will receive 2 X red white and blue candles...
As an affiliate, we earn on qualifying purchases.
Select the Type of Wax
First, choose the type of wax you want to use. Beeswax is the best choice for beginners because it’s easy to work with and doesn’t require additives. However, it can be more expensive than other types of wax.
Soy wax and paraffin wax are both less expensive options and will give your candles a longer burn time.

Aurelema 8 Pcs Patriotic Candles Flameless Taper Candles with Remote & Timer 4th of July American Flag Flameless Candlesticks Flickering Real Candle for Independence Day Decoration (Retro Style)
Flameless Patriotic Candles: you will receive 8 American Independence Day themed tapered candles, each flameless flicker candle requires...
As an affiliate, we earn on qualifying purchases.
Choose The Wick
Once you’ve decided how you want to use it, it’s time to choose your wick. Candle wicks are made from various materials, but the most common type is cotton.
The size of your wick will depend on the diameter of your candle and the type of wax you’re using. For example, if you’re using soy wax with a diameter of 3 inches, you’ll need a wick at least 6 inches long.

RIZOOCE 250 Anniversary USA Merchandise - 4th of July Patriotic Candles Gifts for Men Women, Independence Day Gifts for Fathers Day, Patriotic Decorations for Table
UNITED STATES 250TH ANNIVERSARY TRIBUTE: Celebrate the nation's Semiquincentennial with our exclusive American birthday candle. Centered around the...
As an affiliate, we earn on qualifying purchases.
The Fragrance
Once you’ve chosen your wax and wick, it’s time to add the fragrance. You can use any type of scented oil, but I recommend using essential oil. Essential oils are concentrated and have a strong scent, so you won’t need to use them as much.
Add one teaspoon of oil for every pound of wax to add the fragrance. So if you’re using 2 pounds of soy wax, you’ll need to add two teaspoons of oil.
Now that you have all your materials, it’s time to start melting the wax. The best way to do this is with a double boiler or melting pot. If you don’t have either, you can improvise using a pot filled with water and a heat-safe bowl.
Prep Your Container
When making candles, it is essential to use a sturdy glass container. This will prevent the wax from melting and causing a fire. I like to use 16-ounce Mason jars because they are perfect for a candle. If you already have a candle jar that you want, you can clean out the wax and repurpose the container. Once your candle jars are clean and dry, it is time to melt the wax.
Melt the Wax and Add Scent
To soften the wax, you will need a double boiler. Fill the bottom of the double boiler with water and place it on the stove over medium heat. Place the wax on the top of the double boiler and stir until it is melted. Once the wax is melted, you can add your fragrance oil and colorant. Stir gently until everything is mixed together.
Place the wax in the top part of the double boiler or the heat-safe bowl and set it over low heat. Stir the wax occasionally until it’s completely melted. If you’re using paraffin wax, you’ll need to add a stabilizer to prevent the wax from crystallizing as it cools. You can find stabilizers at most craft stores or online.
Once the wax is melted, remove it from the heat and let it cool for about five minutes. Then, add your fragrance oil and stir well. Next, place your wick in the container you’re using for your candle. If the wick is too long, you can trim it down to size.
Attach the Wick and Pour Wax
Now that your wick is in place, it’s time to pour the wax. Candle-making wax can be pretty hot, so be careful as you remove it from the heat. Then, carefully pour the wax into your container. Slowly pour the wax into the container, careful not to splash it. You can let the wax cool a bit: Once it has cooled for about 15 minutes, it’s time to pour it into the container.
If you’re using a wide container, you can also balance two chopsticks over the top of your container to hold the wick in place. Doing this will help keep the wick centered in the candle once the wax hardens.
If you want to add color to your candles, now is the time. You can use liquid candle dye or crayons to add color. Simply add a few drops of paint or break off a piece of crayon and stir it into the melted wax.
Once you’ve finished making your candles, it’s essential to let them set completely before you try to use them. Otherwise, the wax can be soft and difficult to work with. I usually let my candles sit overnight, so they have plenty of time to harden. Once they’re completely set, you’ll need to trim the wick.
Trim the Wick
This is important because it helps to prevent the candle from smoking when it’s lit. You can use scissors or a wick trimmer to do this. Make sure the wick is trimmed to about ¼ of an inch. Once you’ve done that, your candle is ready to burn.
And that’s it! You’ve now made your very own scented candle. Enjoy! Once you’ve poured the wax, allow it to cool and harden completely before trimming the wick and lighting your candle. Enjoy!
Now that you know the basics of making scented candles experiment with different waxes, wicks, and fragrances to create your unique candles. Have fun!