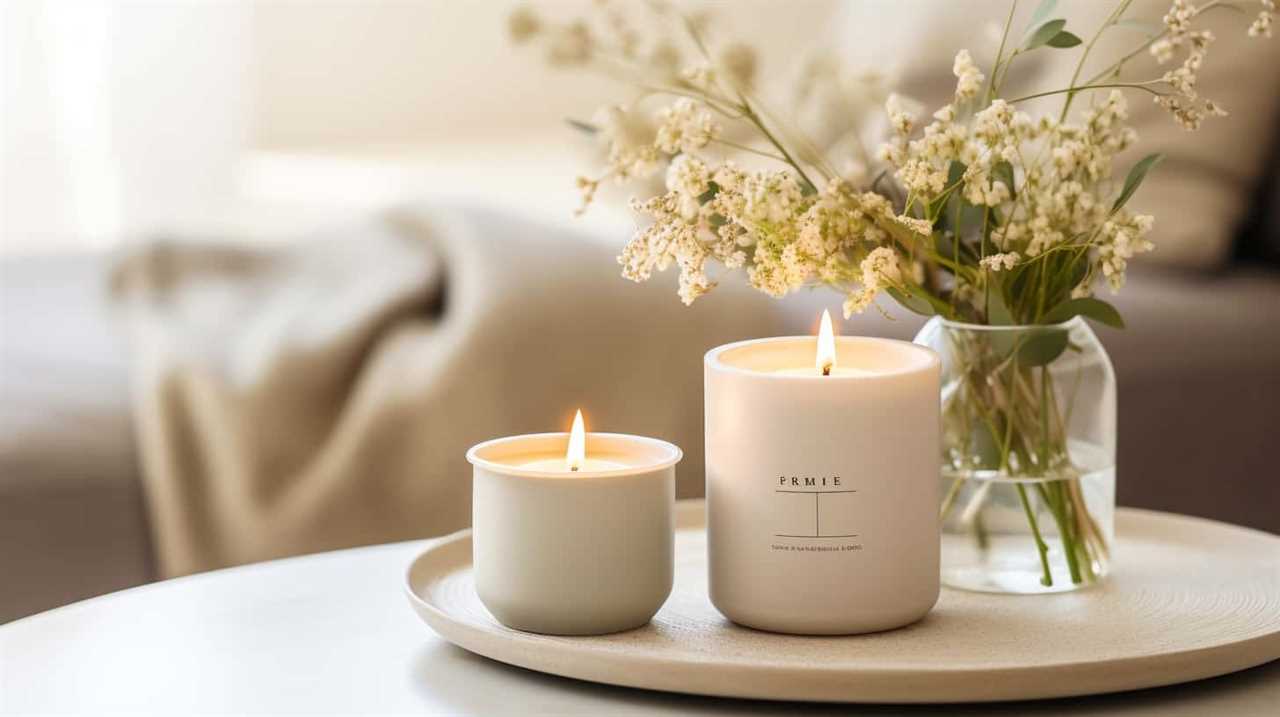
Do you want a stylish and creative way to brighten up your space while still providing excellent service?
Well, look no further! In this guide, we will show you how to make a hanging wine bottle candle holder.
By repurposing a wine bottle, we can create a unique and elegant centerpiece that will surely wow your guests.
With just a few simple steps, you’ll have a beautiful and functional decoration that adds warmth and charm to any room.
So, let’s gather our materials and get started on this exciting project.
Get ready to impress and serve others with our hanging wine bottle candle holder!
Key Takeaways
- Gathering necessary materials is the first step in preparing the wine bottle for making a hanging candle holder.
- Removing the label and achieving a label-free aesthetic is important for the overall look of the candle holder.
- Proper cleaning of the wine bottle is essential before starting the crafting process.
- Using protective tape and knowing the techniques for applying and removing it is crucial to prevent accidents and ensure a clean finish.

Vtopmart 25 PCS Clear Plastic Drawer Organizers Set, 4-Size Versatile Bathroom and Vanity Drawer Organizer Trays, Storage Bins for Makeup, Bedroom, Kitchen Gadgets Utensils and Office
- Versatile Drawer Organizer Set: Fits various home drawers and spaces
- Includes 25 Bins in 4 Sizes: Customizable storage options for different items
- Non-Slip and Durable Design: Silicone pads prevent slipping, sturdy plastic construction
As an affiliate, we earn on qualifying purchases.
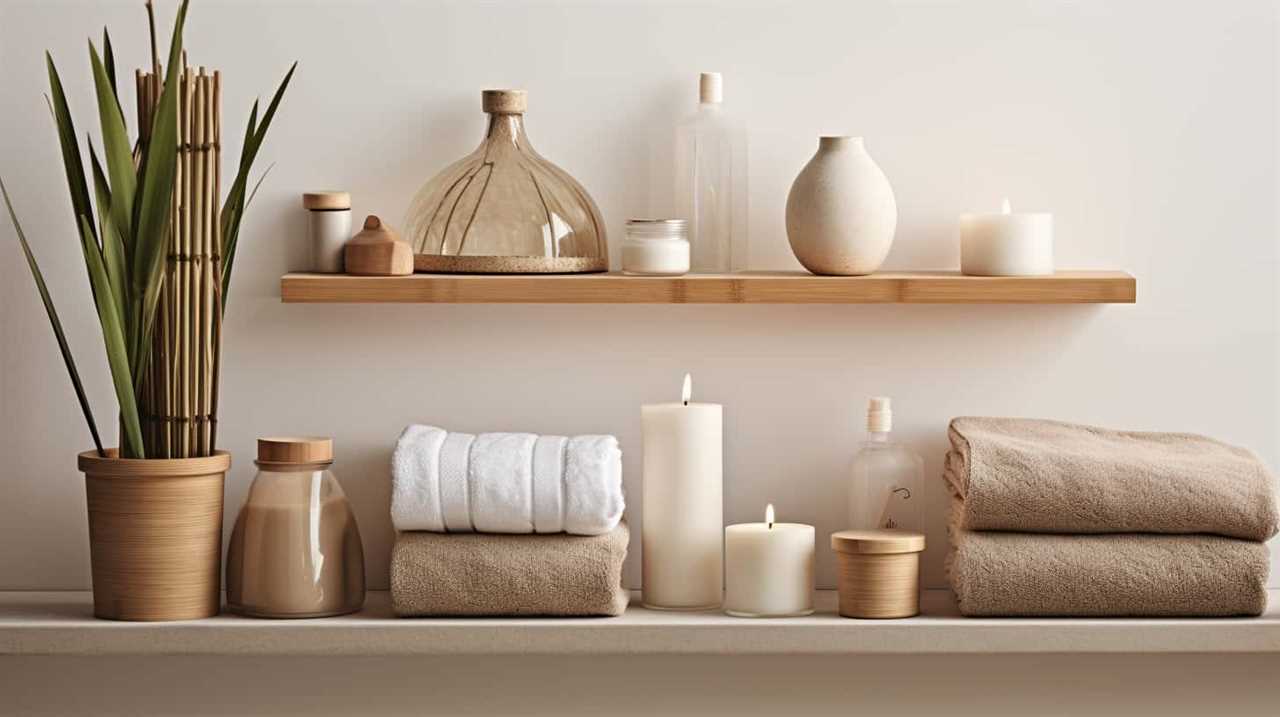
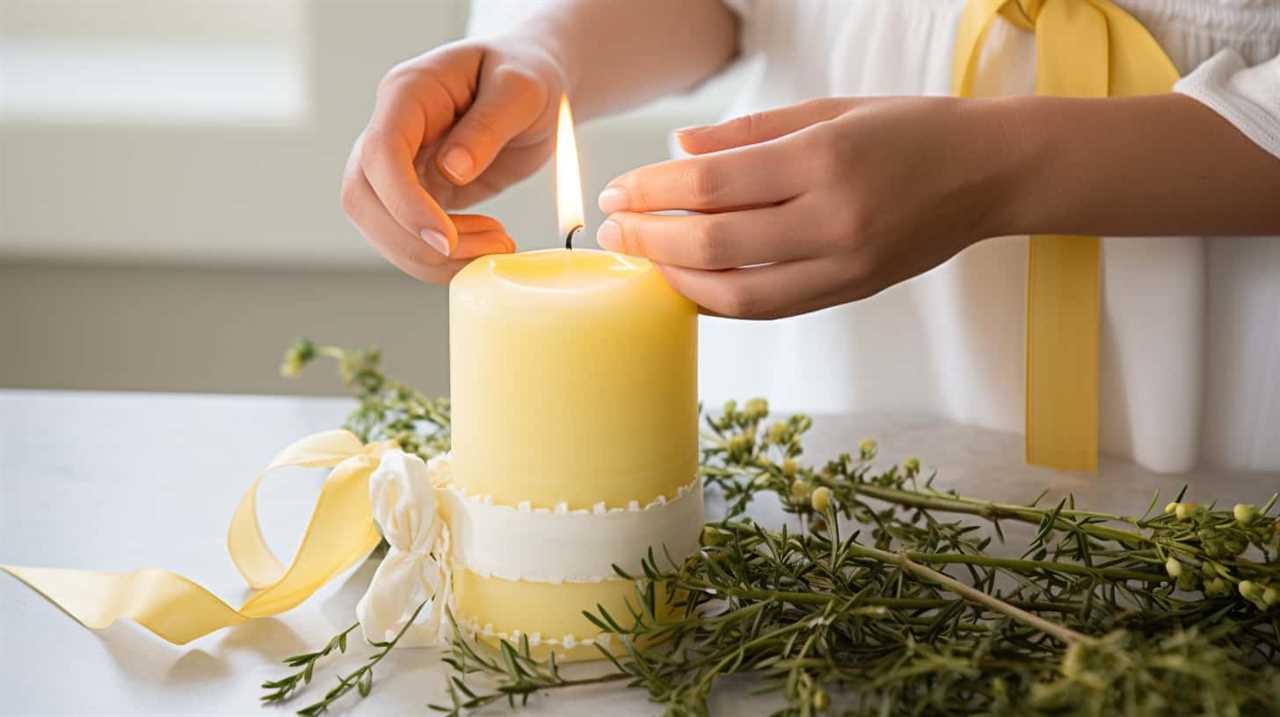
Gather Necessary Materials
To begin, we’ll gather all the necessary materials for making our hanging wine bottle candle holder. Creating a beautiful and unique decoration doesn’t have to be complicated or expensive.
For this DIY gift idea, we’ll need a few key items. First, we’ll need a wine bottle, preferably one with an interesting shape or color.
Next, we’ll gather some jute twine or wire to hang the bottle securely.
To add a touch of elegance, we’ll need a candle that fits inside the bottle.
Finally, we’ll want to gather some decorative elements such as dried flowers, ribbons, or beads to personalize our creation.
Prepare the Wine Bottle
We will begin by removing the label from the wine bottle and thoroughly cleaning it.
First, soak the bottle in warm water to loosen the adhesive.
Gently peel off the label, taking care not to damage the glass.
Once the label is removed, wash the bottle with soap and water to remove any remaining residue.
Rinse it thoroughly and let it dry completely before moving on to the next step.
Preparing the wine bottle is an essential step in creating a beautiful hanging candle holder.
By repurposing glass bottles, we can transform them into stunning decorations for our homes.
With a little effort and creativity, we can turn a simple wine bottle into a unique centerpiece or a charming addition to our outdoor space.
Remove the Label
When it comes to removing the label from a wine bottle, there are a few key points to consider.
Firstly, how to effectively remove the sticky residue left behind by the label?
Secondly, the label-free aesthetic that can be achieved by removing the label, allowing the beauty of the bottle to shine through.
Lastly, the creative upcycling ideas that can be explored once the label is removed, turning the wine bottle into a unique and functional piece of decor.
Let’s dive into these points and learn how to remove the label from your wine bottles.
Sticky Residue Removal
After enjoying a bottle of wine, we can easily remove the sticky residue left behind by the label using a mixture of warm water and dish soap.
Here are three alternative label removal techniques that will help eliminate any stubborn residue:
- Oil-based solvents: Apply a small amount of cooking oil or baby oil to the residue and let it sit for a few minutes. Then, gently rub the area with a cloth until the residue starts to lift off.
- Vinegar solution: Mix equal parts white vinegar and water in a bowl. Dip a cloth or sponge into the solution and dab it onto the residue. Let it sit for a couple of minutes, then scrub the area with the cloth until the residue disappears.
- Baking soda paste: Create a paste using baking soda and water, then apply it directly to the sticky residue. Let it sit for a few minutes before gently scrubbing the area with a cloth or sponge.
These techniques are simple yet effective, ensuring that your wine bottles are ready to be repurposed into beautiful hanging candle holders.
Label-Free Aesthetic
To achieve a label-free aesthetic, we can easily remove the labels from wine bottles using various techniques.
One method is to soak the bottle in hot water mixed with dish soap. After soaking for a few minutes, the label should start to peel off easily.
Another option is to use a mixture of baking soda and cooking oil. Simply rub the paste onto the label, let it sit for a few minutes, and then wipe it off with a cloth.
For stubborn labels, a hairdryer can be used to heat up the adhesive, making it easier to remove.
Once the labels are gone, we can embrace a minimalist design inspiration by incorporating natural elements such as dried flowers or twine to enhance the beauty of the wine bottle candle holder.
Creative Upcycling Ideas
We can remove the label from a wine bottle using various techniques to achieve a label-free aesthetic. Here are three creative upcycling ideas for repurposing glass bottles in your home decor:
- Soda Soak: Fill a sink or bucket with warm water and add a generous amount of baking soda. Submerge the bottle in the mixture and let it soak for a few hours. The combination of warm water and baking soda will help loosen the label, making it easier to peel off.
- Vinegar Solution: Create a mixture of equal parts vinegar and water in a spray bottle. Spray the solution onto the label and let it sit for a few minutes. The acidity of the vinegar will break down the adhesive, allowing you to effortlessly remove the label.
- Olive Oil Method: Apply a generous amount of olive oil to the label and let it sit for about 10 minutes. The oil will penetrate the label, making it easier to peel off. Gently scrape off any residue using a plastic card or your fingernail.
These creative upcycling ideas won’t only remove the label from your wine bottle but also transform it into a stunning piece of home decor.

Clean the Bottle Thoroughly
Let’s start by thoroughly cleaning the bottle. When repurposing a wine bottle for a hanging candle holder, it’s important to ensure that it’s clean and free from any residues or labels. There are alternative cleaning methods that can be used to achieve this.
One option is to soak the bottle in warm soapy water and scrub off any stubborn labels with a sponge or brush. Another method is to use a mixture of baking soda and vinegar, which helps to remove any lingering odors.
After cleaning, rinse the bottle thoroughly to remove any soap or cleaning solution. This step is crucial as it prepares the bottle for the next stage of the project.
Now that the bottle is clean, we can move on to applying protective tape to ensure a safe and secure hanging candle holder.

Apply Protective Tape to the Bottle
Now that the bottle is clean, it’s crucial to protect it with a layer of tape. Protective tape serves as a barrier, preventing any damage or scratches during the crafting process.
We’ll explore different techniques for applying the tape and ensure that it adheres securely. Plus, we’ll provide tips for an easy removal process once the candle holder is complete.
Importance of Protective Tape
To protect the bottle from scratches and ensure safe handling, apply a layer of protective tape. This step is crucial in preserving the beauty of the wine bottle and preventing any damage during the crafting process.
Here are three reasons why using protective tape is important:
- Scratch Prevention: The adhesive nature of the tape acts as a shield, safeguarding the bottle’s surface from scratches caused by tools or accidental bumps.
- Safe Handling: The tape provides an extra layer of grip, making it easier to hold and maneuver the bottle while working on it.
- Heat Protection: If you plan on using a heat gun to remove labels or melt wax, the protective tape acts as a barrier, shielding the glass from direct heat and potential damage.
While there are alternatives to using protective tape, such as using cloth or foam padding, tape offers a more secure and customizable solution.
Techniques for Applying Tape
Applying the protective tape involves smoothly wrapping it around the wine bottle to ensure thorough coverage. When applying the tape, it’s important to use gentle pressure to avoid damaging the glass. Start at the bottom of the bottle and slowly work your way up, making sure the tape is adhered firmly to the surface. Pay special attention to any curves or ridges on the bottle, ensuring that the tape is securely attached. This will provide extra protection when using glass cutting techniques later on.
Once the tape is in place, it’s essential to remove any adhesive residue left behind. To do this, simply apply a small amount of rubbing alcohol to a clean cloth and gently rub the affected area. The alcohol will break down the adhesive, making it easier to remove. Continue rubbing until all residue is gone, then wipe the bottle clean with a damp cloth.
Removing Tape After Use
After applying the protective tape to the wine bottle, we can now move on to removing it after use. Here are some tips to help you remove the tape and any sticky residue left behind:

- Gently peel off the tape: Start by slowly peeling off the tape from one corner of the bottle. Pull it off at a 45-degree angle to minimize any damage to the bottle’s surface.
- Use heat: If the tape is stubborn and doesn’t come off easily, gently heat it with a hairdryer. The heat will soften the adhesive, making it easier to remove.
- Remove sticky residue: If there’s any sticky residue left behind, use a mixture of warm water and dish soap to gently scrub it away. You can also try using rubbing alcohol or vinegar for more stubborn residue.
By following these best practices for removing tape and sticky residue, you can ensure that your wine bottle candle holder looks clean and ready for use.
Cheers to a successful DIY project!
Mark Where to Cut the Bottle
Once we’ve gathered our materials, we can begin by carefully marking where we’ll cut the wine bottle. This step is crucial to ensure a clean and precise cut.
There are various glass cutting techniques that can be used, but for this project, we’ll focus on a simple and effective method.
First, we need to measure the desired height of the candle holder and mark it with a piece of tape.
Next, we’ll wrap a string soaked in nail polish remover around the bottle, right above the tape.
We’ll then set the string on fire and rotate the bottle slowly to heat the glass evenly.
Once the glass is heated, we’ll quickly dip it in cold water, causing it to crack along the marked line.

This method provides an alternative to traditional glass cutting tools and can be easily done at home.
Score the Bottle Using a Glass Cutter
Alright, folks, let’s talk about the points when it comes to scoring the bottle using a glass cutter. This step requires some technique, so pay attention.
We’ll be discussing various glass cutter techniques and exploring alternative methods for scoring the bottle if you don’t have a glass cutter on hand.
Stay tuned for some handy tips and tricks to ensure a clean and precise score line on your wine bottle candle holder.

Glass Cutter Techniques
To score the bottle using a glass cutter, we’ll need a reliable and sharp tool. The glass cutter is a versatile instrument that allows us to create precise and clean cuts on glass surfaces. Here are some techniques to ensure successful glass cutting:
- Hold the glass cutter firmly in your hand, applying gentle pressure.
- Start by making a small incision on the bottle’s surface, following the desired cutting line.
- Keep the bottle steady and slowly rotate it, maintaining a constant pressure on the glass cutter.
- Listen for a faint scratching sound, indicating that the glass is being scored properly.
- If you encounter any difficulties, try using alternative glass cutting methods, such as using a diamond-tipped glass cutter or using a glass cutting jig for more accurate cuts.
- Troubleshooting glass cutter techniques may involve adjusting the pressure or angle of the cutter, or using lubricant for smoother scoring.
With these techniques, you’ll be able to score the bottle effectively and create beautiful hanging wine bottle candle holders.
Alternative Bottle Scoring?
To score the bottle using a glass cutter, we’ll need a reliable and sharp tool. While glass cutters are the traditional choice for scoring bottles, there are alternative scoring techniques available that are eco-friendly and efficient.
One such method is using a string soaked in a flammable liquid, like acetone or alcohol, to create a clean and precise score line. Another option is using a diamond-tipped glass cutter, which provides a more durable and long-lasting scoring tool.
These alternative scoring techniques not only reduce waste but also minimize the risk of damaging the bottle during the cutting process.
Now that we’ve explored alternative bottle scoring methods, let’s move on to the next step: applying heat to the scored line.
Apply Heat to the Scored Line
We apply heat to the scored line using our heat source of choice, such as a candle flame or a heat gun. Applying heat to the scored line is an essential step in separating the bottle into two parts. Here’s how we do it:
- We hold the heat source close to the scored line, allowing the heat to gradually warm the glass.
- As the glass heats up, we can hear a faint crackling sound, indicating that the heat is causing the glass to expand.
- We continue applying heat evenly along the scored line, being careful not to concentrate the heat in one spot to avoid cracking or shattering the glass.
Separate the Bottle Into Two Parts
Now that we’ve reached the step of separating the bottle into two parts, let’s discuss the cutting technique and safety precautions involved.
When cutting the bottle, it’s important to use a reliable cutting tool and follow a precise technique to ensure a clean break. Additionally, safety goggles and gloves should be worn to protect yourself from any potential accidents.
Cutting Technique for Separation
For this step, we’ll employ a cutting technique to separate the wine bottle into two parts. Here are the three items you’ll need and the steps to follow to ensure a safe and successful separation:
- Glass cutting tools: To cut the wine bottle, you’ll need a glass cutter. This tool allows you to score the bottle’s surface, creating a weak point for easy separation.
- Safety precautions: Before starting, it’s essential to take safety precautions. Wear protective gloves and safety goggles to protect yourself from any potential injuries from glass shards.
- Scoring the bottle: Hold the bottle firmly and use the glass cutter to make a straight, even score line around the circumference of the bottle. Apply consistent pressure while rotating the bottle to ensure a clean and precise cut.
Safety Precautions When Cutting
To ensure a safe separation of the wine bottle into two parts, it’s important to take the necessary safety precautions.
When using a glass cutter, it’s crucial to wear protective gloves and safety goggles to prevent any injuries.
Start by marking a line around the bottle using a glass cutter, ensuring that the line is straight and even.
Apply consistent pressure as you score the bottle along the marked line. Make sure to score the bottle at least three times to ensure a clean break.
Once the bottle is scored, use hot and cold water to create a temperature difference, causing the bottle to break along the scored line.
Remember to handle the broken glass with care and dispose of it properly.
Sand the Edges of the Bottle
After we’ve cut the wine bottle, we can begin the next step by sanding the edges using sandpaper. Glass sanding is an essential part of the finishing techniques for our hanging wine bottle candle holder. Here are three important things to keep in mind while sanding the edges:
- Start with coarse-grit sandpaper: Use a coarse-grit sandpaper, such as 80 or 120 grit, to remove any rough edges or sharp points. This will ensure a smooth and safe finish.
- Use circular motions: When sanding the edges, it’s best to use circular motions to evenly distribute the sanding pressure. This will prevent any uneven surfaces or scratches on the glass.
- Gradually switch to finer grits: As you progress, switch to finer grit sandpaper, such as 220 or 320 grit, to achieve a polished and refined look. This will give the bottle a professional finish and make it safe to handle.
Create the Hanging Mechanism
We will now proceed to creating the hanging mechanism for our wine bottle candle holder.
The hanging mechanism design plays a crucial role in ensuring that our candle holder hangs securely and adds a touch of elegance to any space.
One option for the hanging mechanism is to use a metal chain or wire. This will provide a sturdy and durable hanging solution.
Another alternative is to use decorative rope or twine for a more rustic and charming look.
Whichever option you choose, make sure to securely attach it to the bottle by drilling holes on opposite sides near the top and threading the chain or rope through.
Remember to leave enough length for hanging and adjust the height to your preference.
With the right hanging mechanism, your wine bottle candle holder will become a stunning centerpiece that will bring warmth and ambiance to any occasion.
Attach the Hanging Mechanism to the Bottle
First, we frequently secure the hanging mechanism to the bottle by drilling holes on opposite sides near the top and threading the chain or rope through. This technique ensures that the hanging mechanism is securely attached to the bottle, allowing it to safely hold the weight of the candle.
When choosing the hanging mechanism, there are several factors to consider:
- Strength: Select a chain or rope that’s strong enough to support the weight of the bottle and candle. This will prevent any accidents or breakages.
- Length: Measure the desired length for the hanging mechanism, ensuring that it’s long enough to hang the bottle at the desired height.
- Aesthetics: Choose a hanging mechanism that complements the overall design of the wine bottle candle holder. Consider the material, color, and style of the chain or rope.
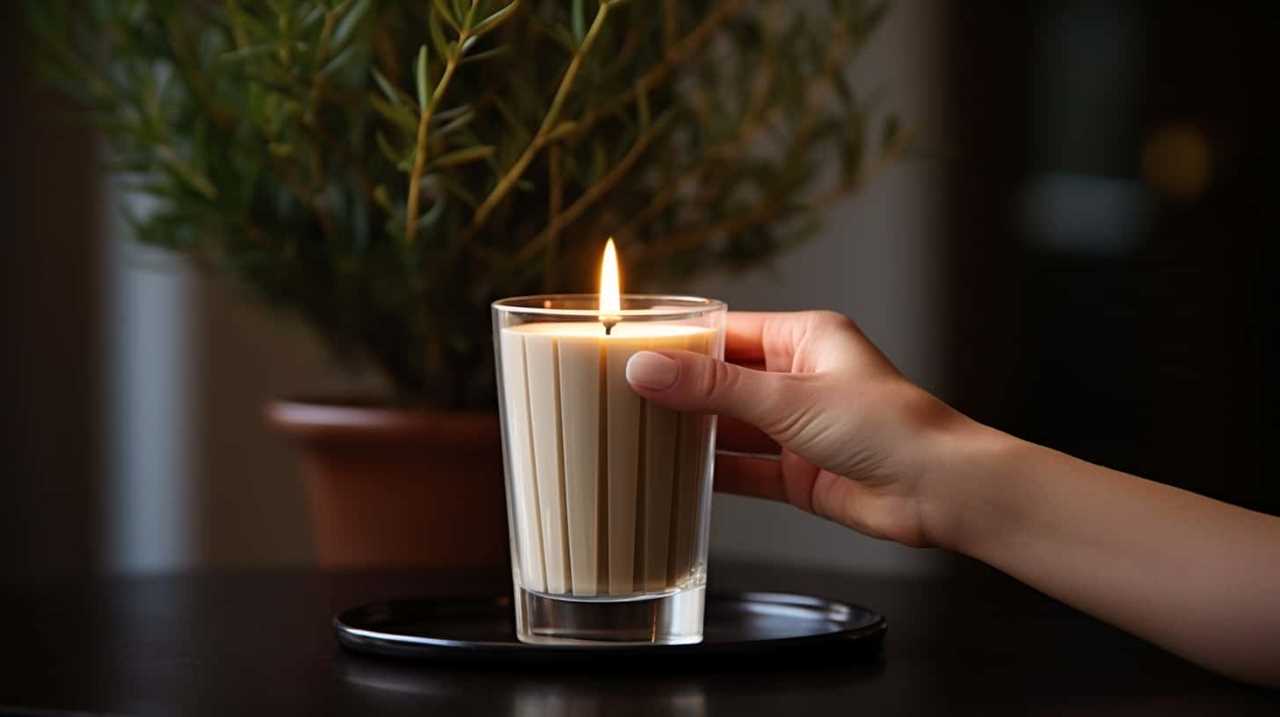
Insert the Candle Into the Bottle
To proceed with the creation of the hanging wine bottle candle holder, we’ll now move on to inserting the candle into the bottle.
Before doing so, it’s important to consider candle insertion techniques that will ensure a secure and stable placement. One popular method is to use a candlestick holder that fits snugly inside the neck of the bottle. This will keep the candle steady and prevent it from sliding or falling out.

Alternatively, you can also use a long taper candle and insert it directly into the bottle, ensuring that it’s pushed down deep enough to stand on its own. Another creative idea is to use a tea light candle and place it inside a small glass votive holder before inserting it into the bottle. This will create a beautiful glow and protect the wine bottle from any dripping wax.
Once you have chosen your preferred candle insertion technique, carefully place the candle inside the bottle, ensuring that it’s centered and straight.
Now that the candle is securely in place, we can move on to the next step: hanging and enjoying your wine bottle candle holder.
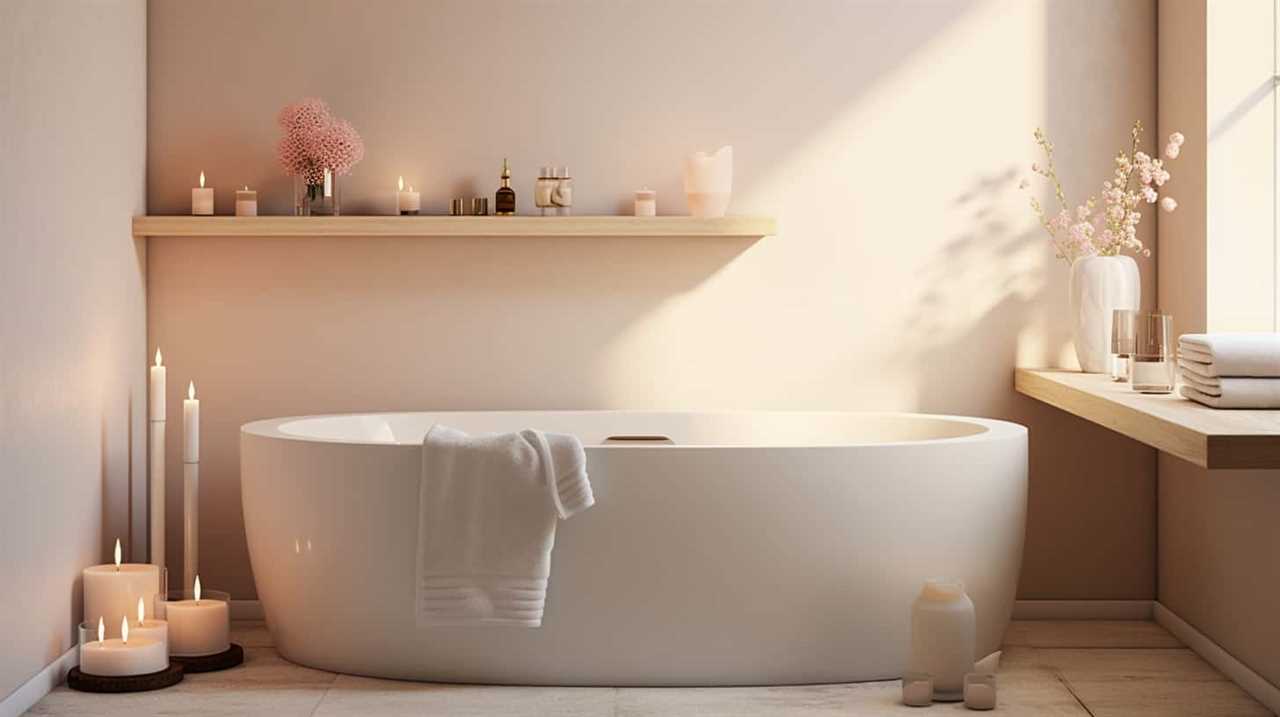
Hang and Enjoy Your Wine Bottle Candle Holder
To complete the creation of your hanging wine bottle candle holder, let’s explore how to hang it and fully enjoy its beauty and ambiance. Here are some tips and designs to help you make the most of your creation:

- Hang it in a cozy corner: Find a spot in your home that could use a touch of warmth and intimacy. Whether it’s a quiet reading nook or a serene patio, the hanging wine bottle candle holder will add a charming glow to the space.
- Experiment with candle placement: Play around with different candle sizes and shapes to create the desired effect. You can place a single tall candle in the bottle or opt for a cluster of smaller candles for a more whimsical look.
- Mix and match designs: Get creative and combine different hanging wine bottle candle holder designs. For example, you can have one bottle hanging from a rustic rope and another suspended from a sleek metal chain. This will add visual interest and variety to your space.
With these tips and designs in mind, you can hang your wine bottle candle holder with confidence and enjoy the cozy atmosphere it brings to your home.
Frequently Asked Questions
What Type of Glass Cutter Should I Use for Scoring the Bottle?
For scoring bottles, we recommend using a diamond-tipped glass cutter. It provides clean and precise cuts. As for heat source, a candle flame works best to separate the bottle. Safety first, always wear protective gloves and eyewear!
How Long Should I Apply Heat to the Scored Line When Separating the Bottle Into Two Parts?
When separating the bottle into two parts, we recommend applying heat to the scored line for a sufficient duration. This helps to prevent glass breakage and ensures a successful separation.
Can I Use a Regular Candle Instead of a Specific Candle for the Wine Bottle Candle Holder?
Yes, you can definitely use regular candles for the wine bottle candle holder. There are many alternatives to specific candles, such as tea lights or votive candles, that will fit perfectly and create a beautiful ambiance.

Is It Necessary to Sand the Edges of the Bottle After Separating It Into Two Parts?
Sanding the edges of the bottle is important for safety reasons. It helps prevent cuts and ensures a smooth surface. If you don’t want to use heat to separate the bottle, you can try using a glass cutter or string soaked in acetone.
How Do I Hang the Wine Bottle Candle Holder Securely Without It Falling?
When it comes to hanging wine bottle candle holders securely, there are various options to consider. We can use chains, ropes, or even decorative hooks to ensure that the holder stays in place. Additionally, alternative materials like wire or sturdy twine can provide a secure hanging solution.
Conclusion
So there you have it, a simple and creative way to repurpose your wine bottles into stunning candle holders. Who’d have thought that something as ordinary as a wine bottle could become a unique and eye-catching decorative piece?
Now you can impress your guests and enjoy the cozy ambiance created by the flickering candlelight. So go ahead, grab that bottle of wine and let your creativity shine!