Hello, my fellow enthusiasts, welcome to the art of crafting candle holders out of wine bottles.
In this guide, we will delve into the secrets of transforming ordinary wine bottles into elegant and captivating candle holders.
Together, we will unlock the techniques required to master this craft, creating a warm and inviting ambiance in our homes.
With our hands and hearts in harmony, we shall embark on a journey of creativity and skill.
From gathering the necessary materials to lighting up our beautiful creations, every step will be revealed, leaving no room for uncertainty.
So, let us gather our supplies and get ready to embrace the mastery of making wine bottle candle holders.
Key Takeaways
- Choose candle colors that complement the wine bottles.
- Remove labels from the wine bottles to achieve a polished result.
- Explore and choose a desired design for the candle holders.
- Wear protective goggles and gloves for safety while cutting and sanding.

Yankee Candle Home Sweet Home Scented Candle, 22oz Large Jar, Up to 150 Hour Burn Time, Giftable
Home Sweet Home: Home, where you always feel welcome and at ease; it's where the heart is. This...
As an affiliate, we earn on qualifying purchases.
Gather Necessary Materials
To make wine bottle candle holders, we gather the necessary materials.
First, we need to choose candle colors that complement the wine bottles. Opt for colors that create a harmonious ambiance and enhance the aesthetic appeal.
Next, we must find alternative candle holders to fit inside the wine bottles. Look for candle holders that are the appropriate size and shape to ensure a secure fit. Consider using metal or glass holders for a sleek and modern look, or wooden holders for a rustic feel.
Once we’ve collected these materials, we can move on to the next step: removing labels from the wine bottles. This process is crucial to achieve a polished and professional final result.

Scented Candles for Home,8 Pack Soy Wax Candle Set,Scented Candles Gift Set,Aromatherapy Candles, Amber Jar Vintage Apothecary Style, 8 Scents Gift Set
8 Pack Scented Candle Set – Great Value & Variety:Enjoy 8 different scented candles in one set, offering...
As an affiliate, we earn on qualifying purchases.
Remove Labels From Wine Bottles
To remove labels from wine bottles, we begin by soaking them in a solution of warm water and dish soap. This method is effective in loosening the adhesive and making it easier to peel off the labels.
However, there are alternative ways to remove labels if the soaking method doesn’t work. One option is to use a mixture of baking soda and cooking oil. Simply apply the mixture to the label and let it sit for a few minutes before scrubbing it off with a sponge or cloth.
Another trick is to use a hairdryer to heat up the label, which helps to loosen the adhesive. Once heated, you can peel off the labels easily.
These tips and tricks will ensure that you can remove labels from wine bottles effortlessly and achieve the desired result.

4 Pack Scented Candles Gifts for Women: 28oz Natural Soy Candles for Home Scented, Up to 200H Burning, Aromatherapy Candle Set, Jar Candle Gift Set for Spa Bath Meditation Birthday Valentine's Gifts
🎁 PERFECT GIFT-READY CANDLES FOR WOMEN - This beautiful scented candle comes with a pretty package, creating a...
As an affiliate, we earn on qualifying purchases.
Clean and Dry Wine Bottles
We clean and dry wine bottles by rinsing them thoroughly with warm water and allowing them to air dry.
Cleaning the wine bottles is an essential step before repurposing them as candle holders. To ensure cleanliness, we recommend using mild dish soap and a bottle brush to scrub the inside of the bottles. This will remove any residue or sediment that may be present.

After rinsing with warm water, we carefully inspect the bottles to ensure they’re free from any soap residue.
Drying the bottles is equally important to prevent moisture buildup, which can lead to mold or mildew. We allow the bottles to air dry upside down on a clean towel or drying rack to ensure proper ventilation.
This drying technique guarantees a clean and dry surface for the candle holder project.

BlissfulOasis Scented Candles Set, 17.6 oz 4 Pack Home Scented Candles, 100-120 Hours Candle Set for Men Dad Women, Long Lasting Soy Wax Aromatherapy Gift for Birthday, Fathers Day, Mother's Day
[4 Different Fragrances] Each set of BlissfulOasis scented candles contains four different scents of scented candles: Lavender, Lemon,...
As an affiliate, we earn on qualifying purchases.
Choose Your Desired Design
After cleaning and drying the wine bottles, it’s time for us to explore and choose our desired design for the candle holders. When it comes to design options, the possibilities are endless. You can let your creativity flow and customize the candle holders to suit your style and preferences. To help you decide, here are some candle holder alternatives that you can consider:
| Design Option | Description |
|---|---|
| Painted Bottle | Add a pop of color with a painted wine bottle. |
| Wrapped in Twine | Create a rustic look by wrapping the bottle in twine or jute. |
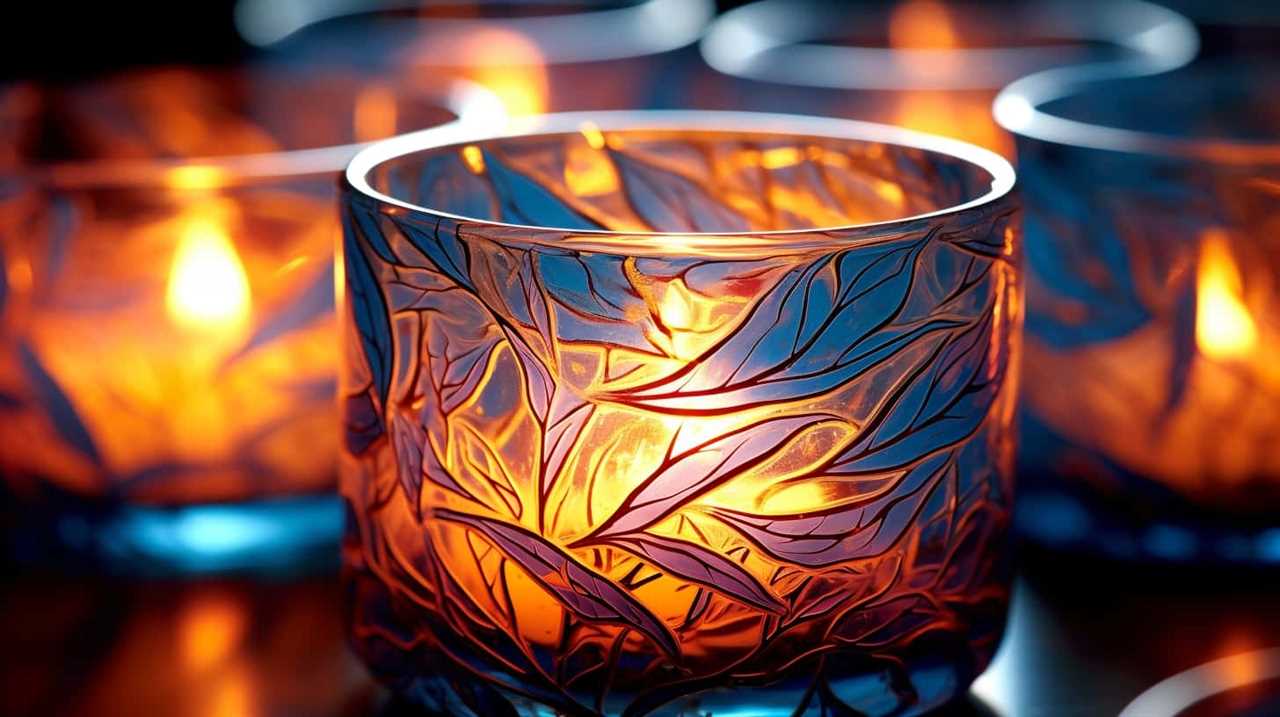
| Etched Glass | Use etching cream to create elegant designs on the glass surface. |
| Stenciled Pattern | Apply stencils and paint to create intricate patterns on the bottle. |
| Decoupage Technique | Decorate the bottle with cut-out images or patterned paper using glue. |
These design options provide a starting point for your creativity. Feel free to mix and match techniques or come up with your own unique designs. The key is to have fun and create candle holders that reflect your personal style.
Prepare the Wine Bottle for Cutting
To ensure a successful cutting process, it’s important to gather the necessary materials and tools.
Before starting, make sure you have a glass cutter specifically designed for wine bottles, safety goggles, gloves, a bucket of cold water, and sandpaper.
Wine bottle cutting techniques require careful preparation to prevent accidents and ensure a clean cut.
Begin by cleaning the bottle thoroughly and removing any labels or stickers. Then, mark the desired cutting line using a permanent marker or tape measure.
Next, put on your safety goggles and gloves to protect yourself from glass shards. Hold the bottle firmly and score along the marked line using the glass cutter, applying consistent pressure.
After scoring, quickly dip the bottle in the bucket of cold water to create a clean break.
Smooth out any rough edges with sandpaper, and your wine bottle is now ready for creative candle holder designs.
Cut the Wine Bottle
Now that we’ve prepared the wine bottle for cutting, let’s discuss the next step: cutting the bottle.
When it comes to cutting glass, safety precautions are of utmost importance. We’ll need specific tools for this task, such as a glass cutter or a diamond blade saw. Additionally, there are alternative methods like using a hot wire or a string soaked in acetone.
Safety Precautions for Cutting
Before we begin cutting the wine bottle, it’s essential to adhere to the safety precautions associated with this process.
Cutting techniques can be potentially risky if not done properly. First and foremost, it’s crucial to wear protective goggles to shield your eyes from any flying debris. Additionally, thick gloves should be worn to protect your hands from potential cuts or abrasions.
When using a glass cutting tool, make sure to apply steady pressure and maintain control to prevent accidents. It’s also important to work on a stable surface and avoid cutting near any flammable materials.
Lastly, always dispose of any broken glass shards properly to prevent injuries.
Tools Needed for Cutting
For cutting the wine bottle, we’ll need a glass cutting tool and a stable surface to work on. There are several options when it comes to glass cutting tools, each with its own advantages and techniques. Here are three popular tools you can consider:
- Glass Cutter: This tool features a small, sharp wheel that scores the glass surface. It’s perfect for creating precise cuts and can be used with a straight edge or a template.
- Diamond Saw Blade: Ideal for thicker glass bottles, a diamond saw blade can be attached to a rotary tool or a table saw. It provides a clean and smooth cut but requires caution and expertise.
- Glass Bottle Cutter: This tool is specifically designed for cutting wine bottles. It consists of an adjustable cutting wheel and a support system to hold the bottle in place.
Now that we’ve discussed the tools needed for cutting, let’s move on to exploring alternative methods for cutting wine bottles.
Alternative Methods for Cutting
To cut the wine bottle, we can explore alternative methods. These techniques provide innovative ways to repurpose wine bottles while ensuring precise and clean cuts.
One alternative method is using boiling water and ice. Start by marking a line where you want to make the cut. Then, pour boiling water slowly over the marked line, rotating the bottle to distribute the heat evenly. Immediately after, place the bottle in a container filled with ice water. The sudden change in temperature will cause the glass to contract and break along the marked line.
Another alternative method is using a glass cutter and a candle. Mark the line, then heat the glass along the line using a candle flame. While the glass is still hot, use the glass cutter to score the line. Finally, apply pressure to break the glass along the scored line.
These alternative cutting techniques offer mastery in repurposing wine bottles for your candle holder project.
Sand the Edges of the Bottle
After cutting the wine bottle, we need to sand the edges to ensure a smooth and safe surface. Sanding the edges is an important step in the process of making wine bottle candle holders, as it not only enhances the overall appearance but also eliminates any sharp edges that could potentially cause harm. To achieve the desired smoothness, here are some sanding techniques to consider:
- Start with a coarse grit sandpaper to remove any rough edges.
- Gradually progress to a finer grit sandpaper for a smoother finish.
- Use circular motions while sanding to evenly distribute the pressure and avoid creating uneven surfaces.
Finishing touches are crucial to achieving a professional-looking end result. Once the edges are sanded to perfection, wipe away any dust with a clean cloth and inspect the bottle for any remaining imperfections. Sanding the edges ensures a polished and safe surface for your wine bottle candle holders.
Paint or Decorate the Bottle (Optional)
Once the edges of the wine bottle have been sanded to a smooth and safe surface, we can now move on to the optional step of painting or decorating the bottle. This is where your creativity can truly shine! There are countless decorative techniques and repurposing ideas that you can explore to transform your wine bottle candle holder into a unique and eye-catching piece.
To help you get started, here are some ideas for painting or decorating your bottle:
| Technique | Description |
|---|---|
| Spray Painting | Achieve a smooth and even coat of paint by using spray paint. Choose a color that complements your home decor or go for a metallic finish for an elegant touch. |
| Stenciling | Create intricate designs on your bottle by using stencils. You can find a variety of stencils at craft stores or even make your own out of cardboard or acetate sheets. |
| Decoupage | Add a vintage or whimsical touch to your bottle by decoupaging it with patterned paper or fabric. Use Mod Podge or a similar adhesive to secure the material onto the surface. |
Insert Candles Into the Bottle
We insert the candles into the bottle using a long candlestick or a pair of tweezers to carefully lower them into the neck of the bottle. Proper candle placement is crucial to ensure a safe and aesthetically pleasing result. Here’s how we do it:
- Choose candles that are the appropriate size for your wine bottle. Avoid candles that are too tall or wide, as they may not fit securely or pose a fire hazard.
- Hold the candlestick or tweezers firmly and position the candle above the neck of the bottle.
- Slowly lower the candle into the bottle, making sure it sits snugly and securely in place.
- Gently adjust the candle if needed, ensuring it stands upright and straight.
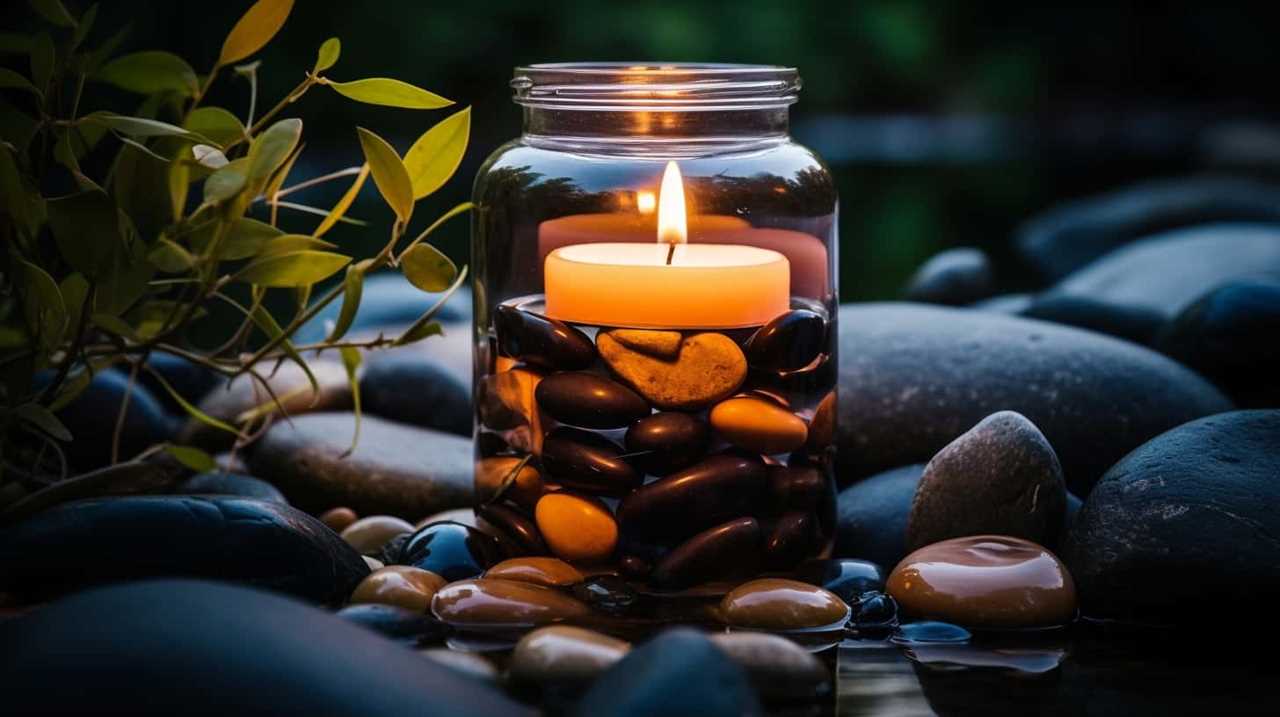
Arrange the Wine Bottle Candle Holders
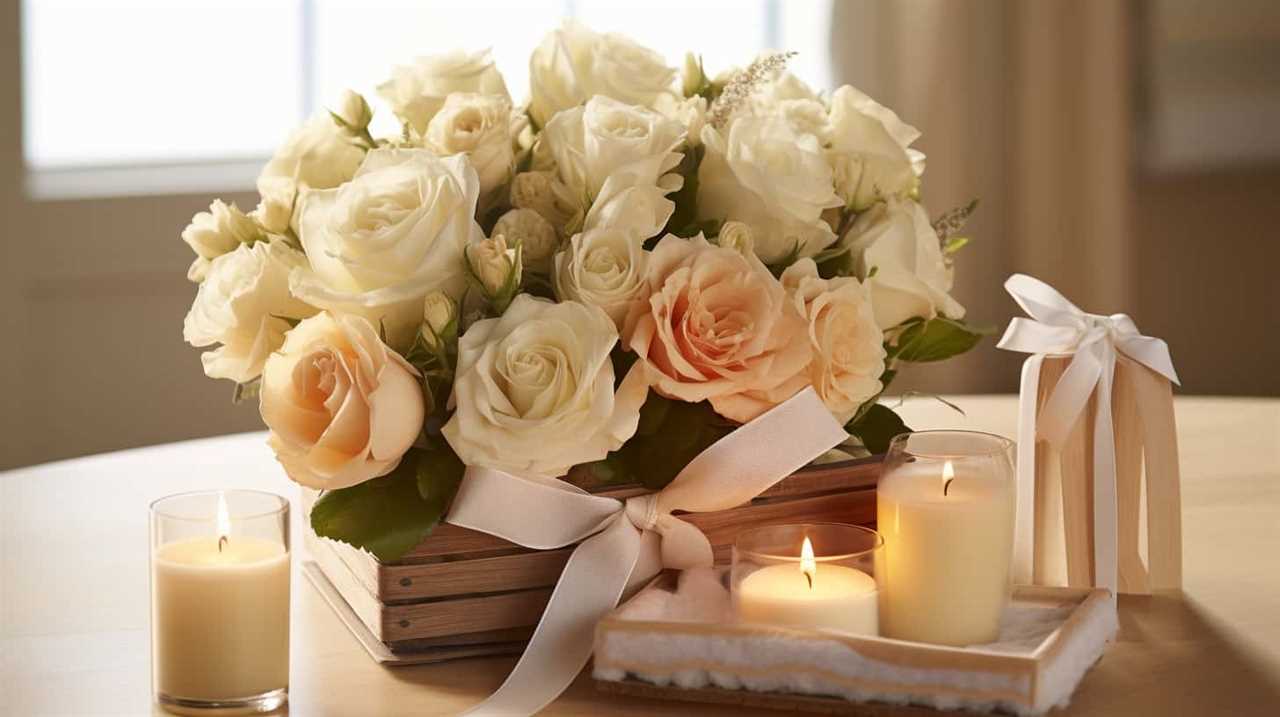
To properly arrange the wine bottle candle holders, we can place them on a decorative tray or line them up along a mantel or tabletop. This allows for a visually appealing display that showcases the beauty of the candle holders. To further enhance the arrangement, we can incorporate various arranging techniques and creative display ideas. One option is to create a centerpiece by clustering multiple wine bottle candle holders together in the middle of a table. This creates a focal point and adds a touch of elegance to the space. Another idea is to mix and match different sizes and colors of wine bottle candle holders to create a visually interesting arrangement. Additionally, we can incorporate other decorative elements such as flowers or greenery to add a pop of color and texture. The table below provides some examples of creative display ideas:
| Arrangement | Description |
|---|---|
| Clustered display | Grouping multiple wine bottle candle holders together to create a centerpiece. |
| Colorful mix | Mixing and matching different sizes and colors of wine bottle candle holders. |
| Nature-inspired | Incorporating flowers or greenery to add a natural element to the arrangement. |
| Height variation | Using candle holders of varying heights to create visual interest. |
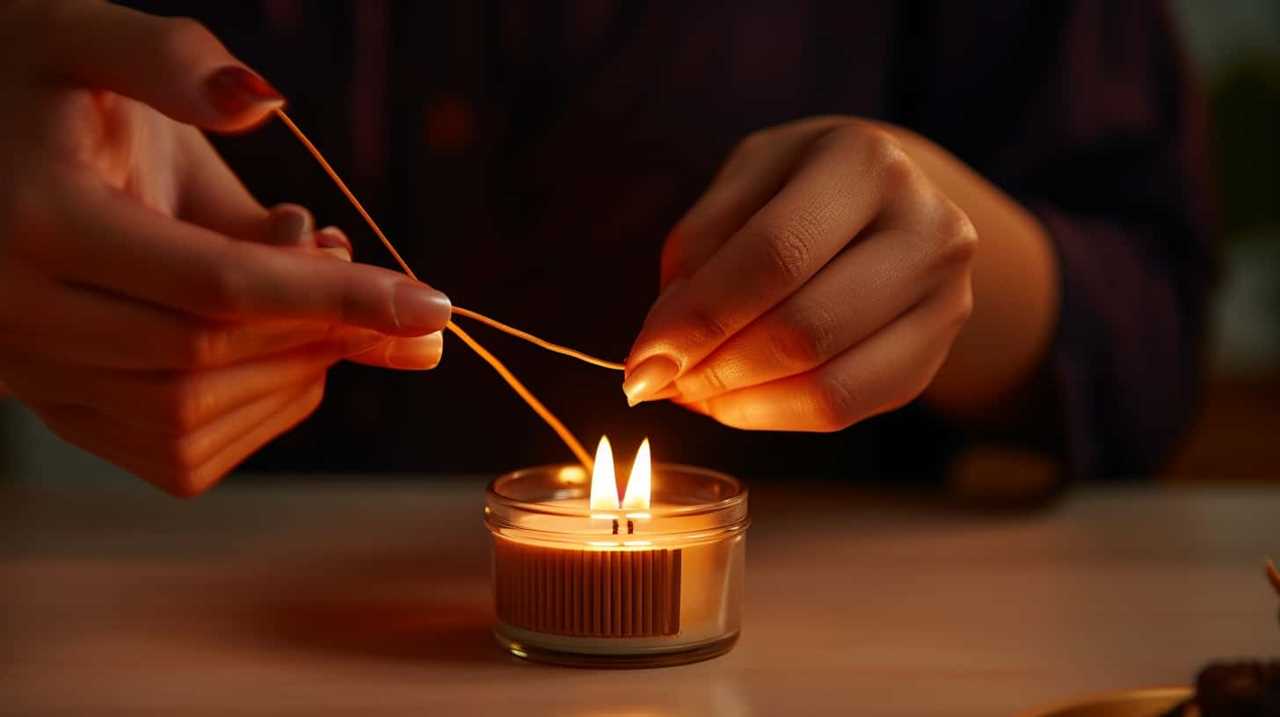
Light up Your Wine Bottle Candle Holders
To illuminate the wine bottle candle holders, we can insert candles into the neck of each bottle and light them up. This will create a beautiful and cozy ambiance, perfect for any occasion.
Here are three key tips to ensure a successful lighting of your wine bottle centerpiece DIY candle holders:
- Choose the right candles: Opt for long, thin candles that fit snugly into the bottle neck. Tapered candles work well and provide an elegant look.
- Secure the candles: To prevent them from toppling over, use candle adhesive or melted wax to secure the candles in place. This will ensure they stay upright and burn evenly.
- Safety precautions: Always place your wine bottle candle holders on a heat-resistant surface and keep them away from flammable objects. Never leave lit candles unattended and be cautious when handling open flames.
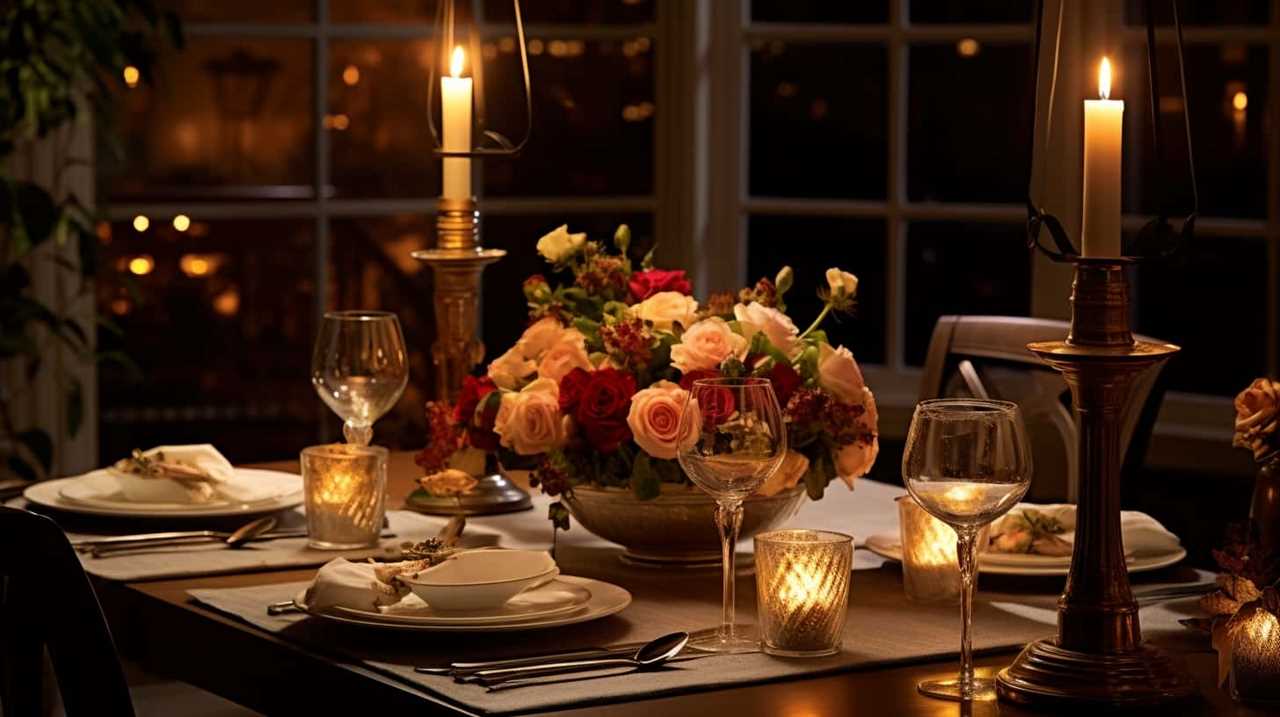
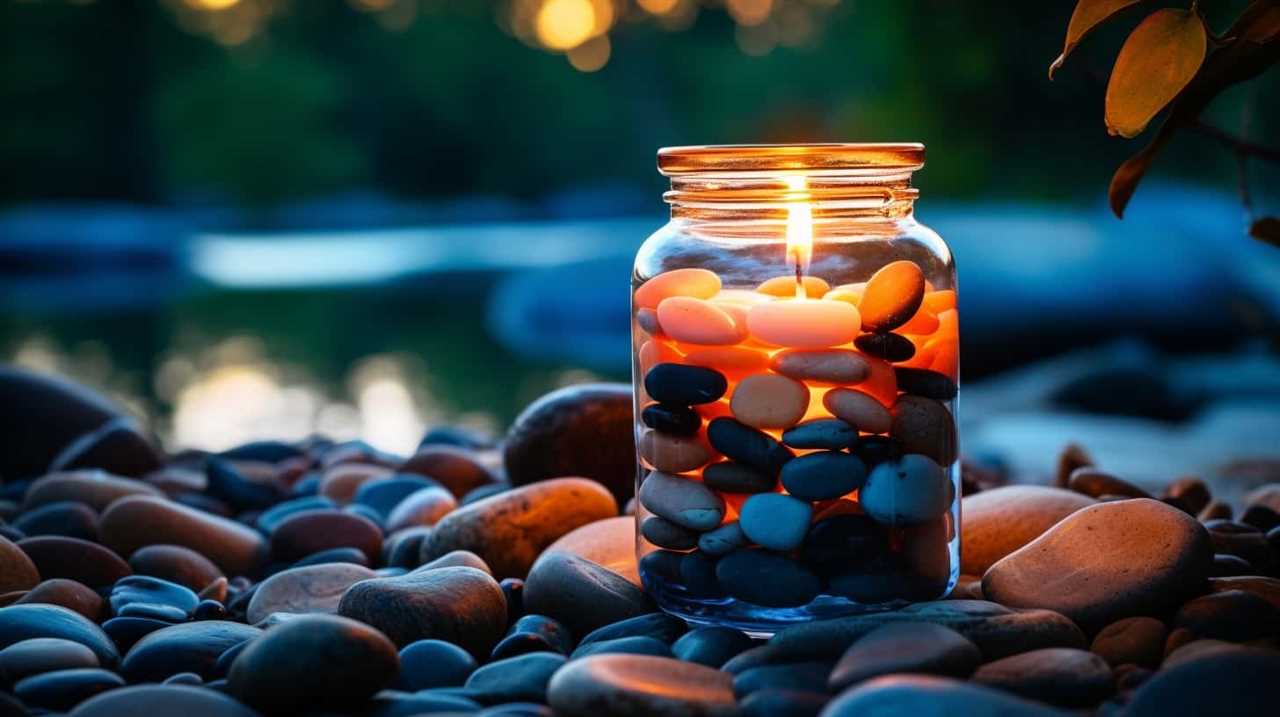
Enjoy the Cozy Ambiance
To fully immerse ourselves in the warm and inviting atmosphere created by the wine bottle candle holders, we can now bask in the cozy ambiance they exude. The soft flickering of candlelight through the glass of the wine bottle creates a mesmerizing and intimate setting, perfect for relaxation and unwinding after a long day. The gentle glow casts a warm and inviting light, creating a cozy and comforting environment. The combination of the flickering flames and the elegant wine bottle design adds a touch of sophistication to any room. Whether it’s a romantic dinner for two or a quiet evening alone, the cozy lighting provided by these candle holders sets the perfect mood for unwinding and enjoying the ambiance.
| Cozy Lighting | Relaxation and Ambiance |
|---|---|
| Soft flickering of candlelight | Creates a mesmerizing and intimate setting |
| Gentle glow | Sets a cozy and comforting environment |
| Elegant wine bottle design | Adds a touch of sophistication to any room |
Frequently Asked Questions
What Are Some Alternative Methods for Removing Labels From Wine Bottles?
There are several alternative methods for removing labels from wine bottles. One way is to soak the bottles in warm water and dish soap. Another method is to use a hairdryer to heat the label and then peel it off. These techniques allow for label removal without the use of chemicals.
Can I Use Any Type of Paint to Decorate the Bottle?
Yes, you can use various types of paint to decorate wine bottles. Acrylic paint works well for a smooth finish, while glass paint is specifically designed for glass surfaces. Use thin brushes for intricate designs.
How Long Does It Take for the Candle Holders to Dry After Painting or Decorating?
After painting or decorating the wine bottle candle holders, they typically take about 24 hours to fully dry. The drying time may vary depending on the type of paint used and the painting techniques employed.
Can I Use Different Types of Candles in the Bottle Holders?
Yes, you can use different types of candles in the bottle holders. The holders are versatile and can accommodate various candle sizes and types of wax, allowing you to create a unique and personalized ambiance.
How Do I Safely Handle the Cut Edges of the Wine Bottle to Avoid Injuries?
To safely handle the cut edges of the wine bottle and avoid injuries, we must take proper safety precautions. Make sure to wear protective gloves and use tools like sandpaper or a glass file to smooth the edges carefully.
Conclusion
As we light up our wine bottle candle holders, we aren’t only creating a cozy ambiance, but also embracing the beauty of transformation.
Just as the wine bottle has been repurposed into a holder, we too can find new purpose in unexpected places.

These candle holders symbolize the magic of reinvention and the ability to find beauty in the simplest of things.
So let the soft glow of the candles illuminate your space and remind you of the endless possibilities that lie within.