Would you like to learn how to create a candle cake? You’re in luck because we have the ideal recipe for you. Making a candle cake goes beyond indulging your sweet cravings; it’s about sharing warmth with others and making them feel valued.
With our step-by-step guide, you’ll be able to create a cake that not only looks amazing but also has a surprise candle inside. We’ll show you how to gather the ingredients, prepare the cake batter, color it to perfection, and even create a candle mold.
And don’t worry, we won’t leave you in the dark, we’ll also teach you how to add the candle flame and light up the cake. So let’s get started and make someone’s day a little brighter with our candle cake creation.
Key Takeaways
- Select colors for the candles that complement the theme or occasion
- Use gel-based or powdered food coloring for vibrant colors in the cake batter
- Choose the right cake mold option for the desired shape and size of the candle cake
- Maintain consistency of the batter throughout the baking process and trim the cake for clean lines and smooth edges

Vtopmart 25 PCS Clear Plastic Drawer Organizers Set, 4-Size Versatile Bathroom and Vanity Drawer Organizer Trays, Storage Bins for Makeup, Bedroom, Kitchen Gadgets Utensils and Office
- Versatile Drawer Organizer Set: Fits various home drawers and spaces
- Includes 25 Bins in 4 Sizes: Customizable storage options for different items
- Non-Slip and Durable Design: Silicone pads prevent slipping, sturdy plastic construction
As an affiliate, we earn on qualifying purchases.
Gathering the Ingredients
To begin making a candle cake, we need to gather all of the necessary ingredients.
The first step is to select the colors for our candles. When it comes to coloring techniques, we have a few options. We can either use liquid candle dye or color blocks. Liquid dye offers a wider range of colors, while color blocks provide more intensity.
It’s important to choose colors that complement the theme or occasion of the cake. For example, pastel colors are perfect for a baby shower, while vibrant colors work well for a birthday party.
Once we’ve decided on the colors, we can proceed to gather the rest of the ingredients. These include wax, wicks, fragrance oils, and molds.
Preparing the Cake Batter
Now that we’ve gathered all of the necessary ingredients, let’s move on to preparing the cake batter. This step is crucial in achieving a delicious and visually appealing candle cake. To ensure success, let’s explore some coloring techniques and tips to avoid overflow.
When it comes to coloring the cake batter, we’ve a variety of options. You can use gel-based or powdered food coloring to achieve vibrant and consistent colors. Remember to start with a small amount and gradually add more until you reach the desired shade. Be cautious not to add too much liquid coloring, as it can affect the texture of the cake.
To prevent overflow during baking, it’s crucial to leave enough room in the cake pan for the batter to rise. A general rule of thumb is to fill the pan only two-thirds full. If you have excess batter, you can always bake it separately in a smaller pan or make cupcakes.
Coloring the Cake Batter
Now, let’s talk about how to add color to your cake batter.
There are various techniques you can use to incorporate food coloring into your batter, such as mixing it directly into the wet ingredients or creating a marbled effect by swirling different colored batters together.
Additionally, you have a wide range of color options available, from classic shades like red, blue, and yellow to more vibrant and unique hues.
Experimenting with different coloring techniques and shades can add a fun and visually appealing touch to your candle cake.
Food Coloring Techniques
We can add color to the cake batter by mixing in different food coloring techniques. By using various food coloring techniques, we can create unique colors that will make our candle cake visually appealing.
One technique is to use liquid food coloring, which is readily available in most grocery stores. Simply add a few drops of the desired color to the cake batter and mix well until the color is evenly distributed.
Another technique is to use gel food coloring, which provides more vibrant and intense colors. Gel food coloring is more concentrated, so only a small amount is needed to achieve the desired color. Mix it into the batter thoroughly to ensure even coloring.
These food coloring techniques will allow us to add a touch of color and creativity to our candle cake.
In the subsequent section, we’ll explore the various color options available for the batter.
Color Options for Batter
To achieve a vibrant and visually appealing candle cake, we can explore various color options for coloring the cake batter. Here are some food coloring techniques that can help create a stunning and delicious centerpiece for your celebration:

- Gel Food Coloring: This concentrated coloring option offers intense and vivid shades, perfect for creating bold and eye-catching designs.
- Natural Food Coloring: For those who prefer a more organic approach, natural food coloring made from fruits and vegetables can provide a subtle and earthy palette.
- Powdered Food Coloring: Powdered coloring can easily be mixed into the cake batter, providing a smooth and consistent hue throughout.
- Pearl Dust: Add a touch of elegance to your cake with pearl dust, which offers a shimmering and iridescent effect.
- Edible Candle Alternatives: Instead of traditional candles, consider using edible alternatives like colored chocolate or lollipops, adding both color and flavor to your cake.
Preparing the Candle Mold
First, gather all the necessary materials for preparing the candle mold.
To ensure a successful candle cake, it’s essential to choose the right cake mold option. There are various options available, such as silicone molds, metal molds, and glass molds. Silicone molds are flexible and easy to release the candle cake, while metal molds provide even heat distribution. Glass molds offer transparency, allowing you to see the progress of the candle cake.
Once you have selected the mold, it’s time to troubleshoot any potential issues. Check for any cracks or dents in the mold, as this can affect the shape of the candle cake. Additionally, make sure the mold is clean and dry before pouring the candle wax.
Taking these steps will ensure a smooth and successful candle cake-making process.

Pouring the Cake Batter Into the Mold
Now let’s discuss some important points when it comes to pouring the cake batter into the mold.
First, we need to ensure that the consistency of the batter is just right – not too thick or too runny.
Secondly, choosing the right mold is crucial to achieve the desired shape and size for our candle cake.
Lastly, we must be careful not to overfill the mold to avoid any potential overflow issues during baking.
Cake Batter Consistency
We pour the cake batter into the mold, ensuring its consistency is just right. Achieving the perfect texture is crucial for a delicious and visually appealing candle cake.
Here are some key tips to help you get it right:
- Gradually add the dry ingredients to the wet ones, mixing well after each addition. This will prevent lumps and ensure a smooth batter.
- Use room temperature ingredients, especially butter and eggs. Cold ingredients can result in a lumpy batter.
- Mix the batter just until all the ingredients are incorporated. Overmixing can lead to a dense and tough cake.
- If the batter is too thick, add a small amount of milk or water to thin it out. This will help the cake bake evenly.
- To test the consistency, the batter should easily pour off a spoon in a steady stream.
Choice of Mold
To ensure a successful candle cake, our choice of mold is an important consideration when pouring the cake batter. The mold not only determines the shape of the cake but also affects its overall appearance.
When selecting a mold, it’s essential to choose one that’s heat-resistant and food-safe. Silicone molds are commonly used for candle cakes due to their flexibility, which allows for easy release of the cake. Additionally, silicone molds come in various shapes and sizes, allowing for creativity in candle cake designs.
If you want to enhance the visual appeal of your candle cake, consider using molds that resemble candles, such as taper-shaped molds or pillar molds. These molds can be filled with differently colored wax to create a realistic candle effect.
Now, let’s move on to the next section and learn how to avoid overflow when pouring the cake batter into the mold.
Avoiding Overflow
To prevent spillage, carefully pour the cake batter into the mold, ensuring not to fill it beyond its capacity. Here are some tips for managing overflow and preventing any mess:
- Fill the mold halfway: Pour the batter slowly and steadily, filling the mold only halfway. This will allow enough space for the cake to rise without overflowing.
- Use a larger mold: If you have a smaller mold and a lot of batter, consider using a larger mold to accommodate the volume. This will prevent the batter from overflowing during baking.
- Add a baking sheet: Placing a baking sheet underneath the mold can catch any potential overflow and prevent it from spilling over onto the oven floor.
- Tap the mold: After pouring the batter, gently tap the mold on the countertop to release any air bubbles. This will help prevent the batter from rising too quickly and overflowing.
- Keep an eye on the oven: While the cake is baking, periodically check on it to ensure it isn’t overflowing. If you notice any signs of overflow, you can quickly open the oven and place a baking sheet underneath to catch any spillage.
Baking the Candle Cake
Once the ingredients are mixed thoroughly, it’s time to bake the candle cake in the preheated oven.
To ensure a visually appealing cake, consider using coloring techniques to add a touch of vibrancy. Gel or liquid food coloring can be added to the cake batter in small amounts until the desired hue is achieved.
It’s important to maintain the consistency of the cake batter throughout the baking process. The batter should be smooth and pourable, but not too thin or runny. This will ensure that the cake bakes evenly and maintains its structure.
Carefully pour the batter into a greased and lined cake pan, spreading it evenly to ensure even baking.
Place the pan in the preheated oven and bake according to the recipe’s instructions.
Removing the Candle Cake From the Mold
We can easily remove the candle cake from the mold by gently loosening the edges with a butter knife. Here are some trimming techniques and unmolding tips to ensure a successful removal:
- Use a silicone mold: Silicone molds are flexible and make it easier to release the candle cake without damaging its shape.
- Chill the cake: Place the mold in the refrigerator for about 15 minutes before removing to firm up the cake and make it easier to handle.
- Tap the mold: Gently tap the bottom of the mold to loosen the cake and help it slide out easily.
- Apply heat: Run a hairdryer on low heat around the outside of the mold for a few seconds. The heat will slightly melt the edges of the cake, allowing it to release more easily.
- Use parchment paper: Line the mold with parchment paper before pouring the batter. This creates an extra layer of protection and makes it easier to lift the cake out.
Trimming the Candle Cake
After removing the candle cake from the mold, we can proceed to trim it using a sharp knife. Trimming the candle cake is an important step in achieving a polished and professional-looking final product.
There are various trimming techniques and shaping methods that can be employed to create the desired shape and smooth edges. One technique is the ‘carving’ method, where the knife is used to carefully remove any excess cake around the edges, creating clean lines.
Another method is the ‘shaving’ technique, where the knife is used to trim off any uneven or protruding parts of the cake, resulting in a smooth and even surface.
It’s important to exercise caution and precision while trimming, ensuring that the cake maintains its structural integrity and aesthetic appeal.
Creating the Candle Wick
To ensure a functional and visually appealing candle cake, attention must be given to creating the candle wick. A well-made candle wick is crucial for a safe and enjoyable experience. Here are some important considerations when creating the candle wick:
- Choose the right wick material: Cotton wicks are commonly used, but consider alternatives like hemp or wood wicks for a unique touch.
- Determine the wick size: The size of the wick will depend on the diameter of your candle. A larger candle requires a thicker wick for proper burning.
- Prime the wick: Before inserting the wick into the candle, it’s essential to prime it with wax to ensure a steady flame.
- Secure the wick: Use a wick tab or adhesive to secure the wick to the bottom of the candle container.
- Practice candle safety precautions: Always trim the wick to ¼ inch before lighting the candle to prevent excessive smoke and soot.
Now that we’ve created the candle wick, it’s time to move on to the next step: decorating the candle cake.
Decorating the Candle Cake
Now let’s move on to the exciting part of decorating our candle cake. We’ve two main points to discuss: colorful candle arrangements and edible candle alternatives.
First, we’ll explore different ways to arrange colorful candles on top of the cake, creating a visually stunning centerpiece.
Then, we’ll delve into the realm of edible candle alternatives, providing options for those who prefer to have their cake and eat it too.
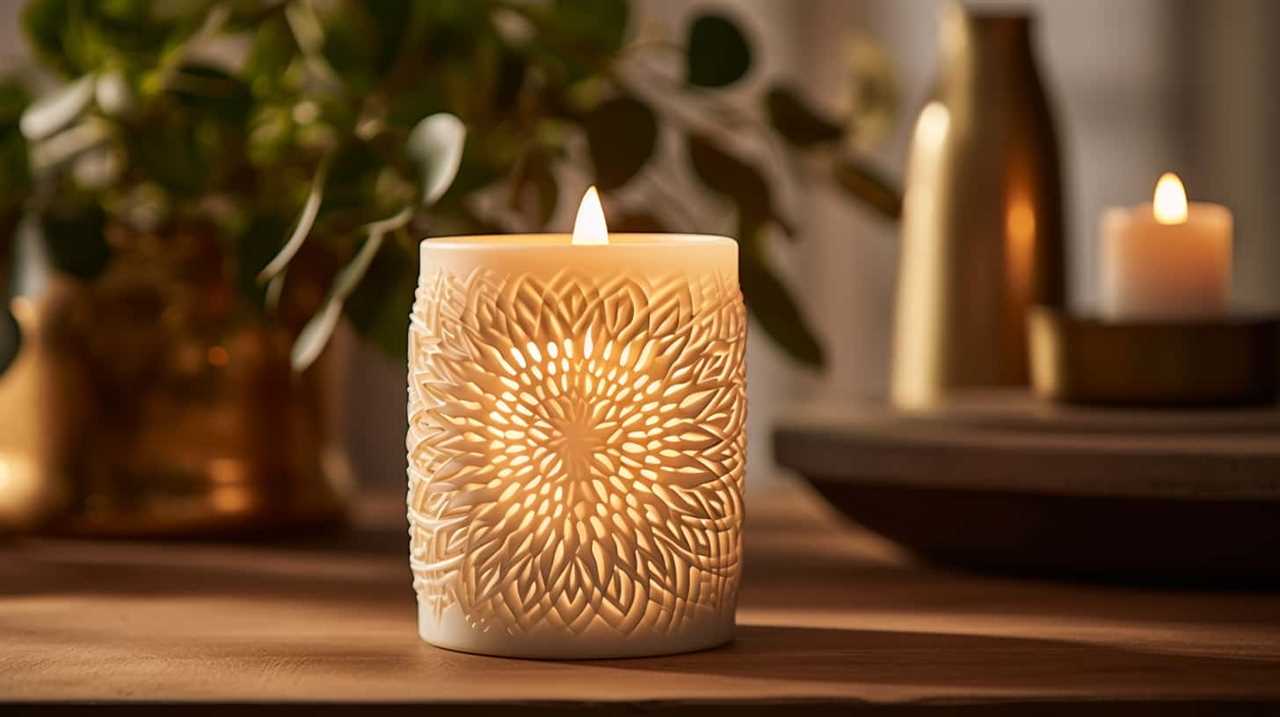
Colorful Candle Arrangements
We can spice up the candle cake by incorporating vibrant and eye-catching candle arrangements. To create a visually stunning centerpiece, consider the following candle placement ideas:
- Cluster candles of different heights in the center of the cake for a dramatic effect.
- Alternate between tall and short candles around the perimeter of the cake to create a balanced look.
- Use candles in various colors to match the theme or occasion. Options include bold and bright colors like red, blue, and yellow, or elegant and sophisticated hues like gold and silver.
- Experiment with unique candle shapes, such as spiral or twisted designs, to add an extra touch of creativity.
- Consider using scented candles to not only create a visually appealing arrangement but also fill the air with a delightful aroma.
Edible Candle Alternatives
For decorating the candle cake, we can consider using edible alternatives instead of traditional candles. Edible candle alternatives not only add a unique touch to the cake but also provide an additional element of surprise for the guests.
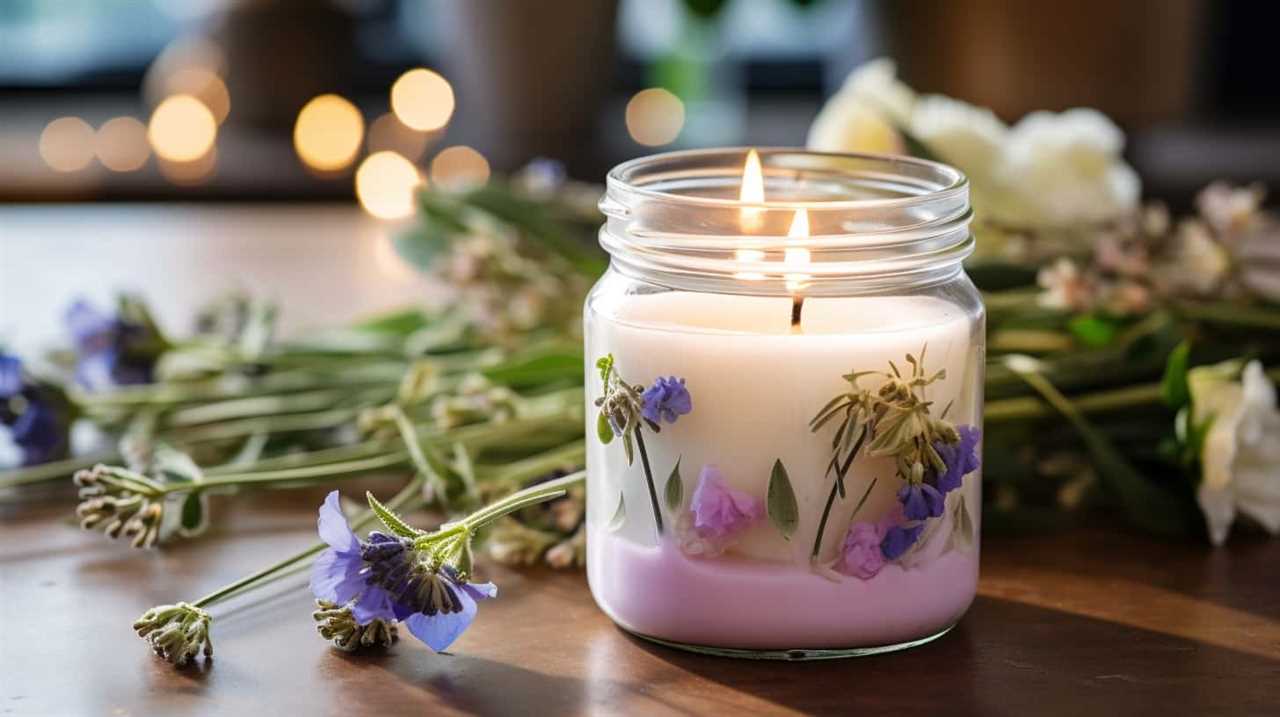
One option is to decorate the cake with edible flowers. These delicate blooms not only create a visually stunning effect but also add a subtle aroma to the cake. Edible flowers like violets, pansies, and marigolds can be used to create a beautiful arrangement on top of the cake or scattered around the base. The vibrant colors of the flowers will bring life to the cake and create a visually appealing centerpiece.
Now that we’ve explored edible candle alternatives, let’s move on to the next step of adding the candle flame.
Adding the Candle Flame
How can we create the perfect candle flame for our candle cake? Adding the candle flame is the final touch that brings our cake to life. Here are five essential tips to ensure candle flame safety and creative candle designs:
- Choose the right candle size: Select candles that are proportionate to the cake size, avoiding candles that are too tall or short.
- Use candle holders: Place the candles in secure holders to prevent any mishaps or accidents during the celebration.
- Opt for flameless candles: For added safety, consider using flameless candles that mimic real flames without the risk of fire or wax spills.
- Experiment with colors: Have fun with different colored candles to match your cake theme or create a vibrant contrast.
- Arrange candles strategically: Place the candles in a visually appealing arrangement on top of the cake, ensuring they’re evenly spaced.
Lighting the Candle Cake
To safely illuminate our candle cake, it’s important to carefully light each candle. Candle lighting techniques should be followed to ensure a beautiful and safe experience.
Begin by gathering all the necessary materials: a long-reach lighter or matches, a fireproof tray or holder, and a steady hand.
Before lighting the candles, it’s crucial to take candle safety precautions. Make sure the cake is stable and won’t tip over while lighting the candles. Keep long hair and loose clothing away from the flame.
When lighting the candles, approach each one slowly and deliberately, ensuring the flame is centered and upright. Avoid blowing on the flame, as this can cause hot wax to splatter.
Always supervise the candles and never leave them unattended. By following these candle lighting techniques and safety precautions, you can create a warm and inviting ambiance while keeping everyone safe.

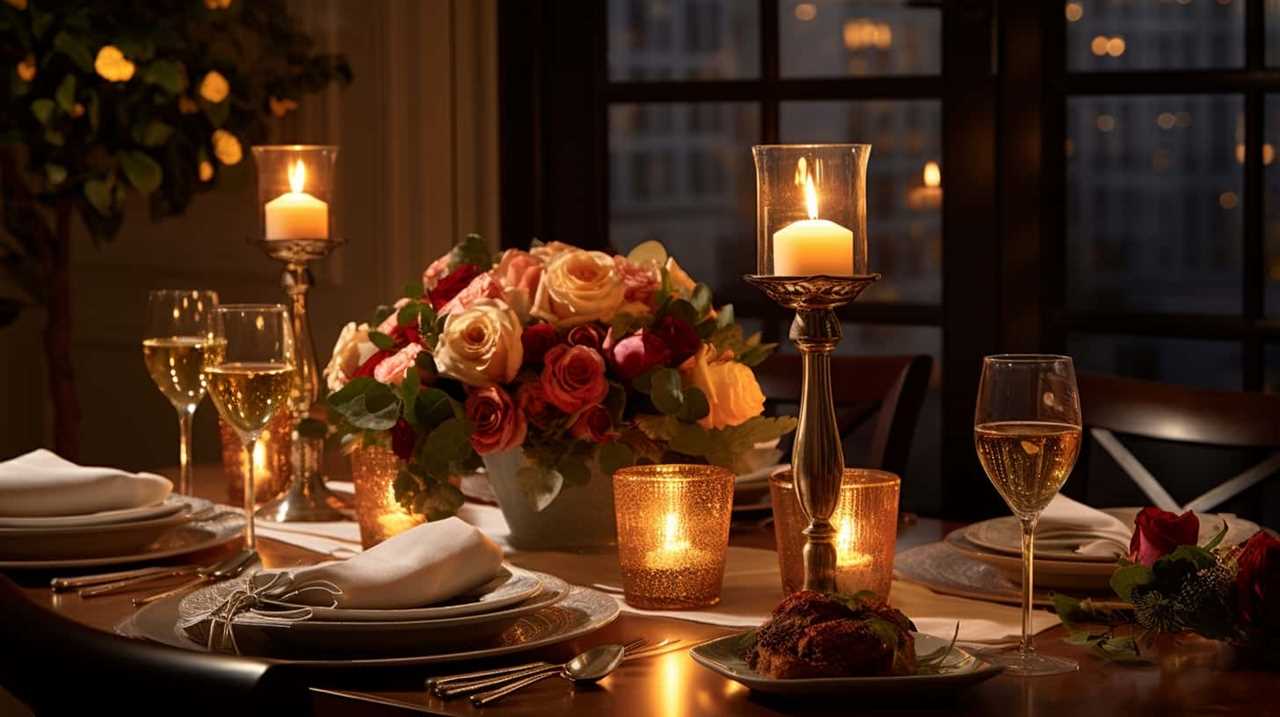
Presenting the Candle Cake
We will now discuss the presentation of the candle cake. When it comes to serving a candle cake, presentation is key. Here are some ideas to make your candle cake stand out:
- Edible Candle Decorations: Enhance the look of your cake by using edible candle decorations, such as chocolate or sugar candles. These not only add a festive touch but can also be enjoyed by your guests.
- Unique Candle Cake Designs: Get creative with your candle cake designs. Consider incorporating different shapes and sizes of candles, arranging them in a visually appealing pattern. You can also experiment with themed candle cakes, such as a beach-themed cake with seashell-shaped candles.
- Color Coordination: Coordinate the colors of your candles with the overall theme or color scheme of the event. This will create a cohesive and visually pleasing presentation.
- Cake Stand: Display your candle cake on a beautiful cake stand to elevate its visual impact. Choose a stand that complements the design and style of your cake.
- Garnish and Accents: Add finishing touches to your candle cake by using garnishes and accents like fresh flowers, edible glitter, or decorative cake toppers. These small details can make a big difference in the overall presentation.
Now that we’ve covered the presentation of the candle cake, let’s move on to some tips and troubleshooting to ensure your candle cake turns out perfect.
Tips and Troubleshooting
Now let’s delve into some helpful tips and troubleshooting techniques to ensure our candle cake turns out perfect.
One common issue with candle cakes is the candles melting too quickly or not staying upright. To troubleshoot this, make sure to use high-quality candles that are specifically designed for cake decoration. Additionally, insert the candles into the cake at an angle, slightly leaning towards the center to prevent them from toppling over.

Another common problem is the cake not rising evenly or being too dense. To avoid this, ensure that all the ingredients are at room temperature before mixing them together. Also, be careful not to overmix the batter as this can result in a dense cake.
Lastly, if the cake sticks to the pan, try greasing it thoroughly or using parchment paper as a lining.
Frequently Asked Questions
How Long Does It Take for the Candle Cake to Cool Before It Can Be Removed From the Mold?
First, allow the candle cake to cool completely in the mold. This will ensure that it sets properly and prevents sticking. Once cool, gently remove the cake from the mold to reveal the beautiful design.
Can I Use Food Coloring Instead of Candle Dye to Color the Cake Batter?
Using food coloring in cake batter has its pros and cons. The pros include a wide variety of colors and easy availability. However, the cons are that it may alter the taste and texture of the cake.

How Do I Prevent Air Bubbles From Forming in the Candle Cake While It Bakes?
To prevent air bubbles in our candle cake, we gently tap the cake pans on the counter to release any trapped air before baking. We also make sure to properly measure and mix our ingredients to avoid overmixing, which can cause air bubbles.
Can I Use a Different Type of Mold Instead of a Candle Mold to Make the Candle Cake?
Yes, there are alternatives to using a candle mold to make a candle cake. Different types of molds, such as silicone or metal cake pans, can be used instead to create a unique and delicious dessert.
How Long Will the Candle Cake Stay Fresh and Edible After It Is Baked?
To maintain the freshness of the candle cake, store it in an airtight container at room temperature. It is best consumed within 2-3 days. Freezing the candle cake can prolong its shelf life, but thaw thoroughly before serving.
Conclusion
To conclude, making a candle cake is a creative and delightful way to celebrate special occasions. By following the steps outlined in this article, you can create a stunning centerpiece that will impress your guests.

Remember to gather all the necessary ingredients, prepare the cake batter, color it to your liking, and pour it into the candle mold.
Adding the candle flame and lighting it will add a magical touch.
So go ahead and present your beautifully crafted candle cake to wow everyone with your baking skills.
Let the festivities begin!