Let’s discover the tips for refreshing a candle. Although it may seem intimidating at first, it is actually easier than you think. By following a few simple steps, you can revive your favorite candle and extend its lifespan.
So, how exactly do we go about this process?
Key Takeaways
- Select new wick of appropriate size and thread it through wick base securely.
- Trim new wick to appropriate length and ensure it is suitable for the type of wax being used.
- Insert new wick all the way down to the base of the candle and center it for even burn.
- Test the rewicked candle for consistent flame, even melt pool, and minimal smoking.
Top picks for "rewick candle"
Open Amazon search results for this keyword.
As an affiliate, we earn on qualifying purchases.
Supplies Needed for Rewicking
To properly rewick a candle, we require the following supplies: a burned-down candle, wicks, wick bases, pliers, and strong glue (e6000).
The first step in the process is to carefully remove any remnants of the old wick from the candle.
Next, select a new wick of appropriate size for the candle and thread it through a wick base. Use pliers to crimp the wick base securely to the wick threading, ensuring a tight fit.
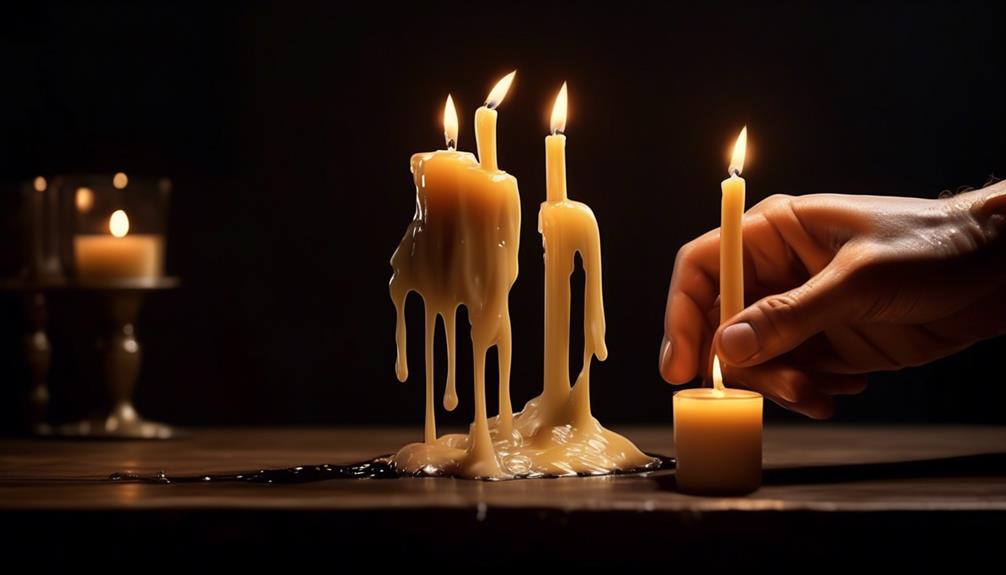
Now, prepare the candle for the new wick by melting some wax from the candle itself. Once you have a pool of melted wax, carefully dip the wick base with the attached wick into the melted wax. This step helps to secure the wick in place at the bottom of the candle.
Allow the wax to cool and harden around the wick base before proceeding.
Removing the Old Wick
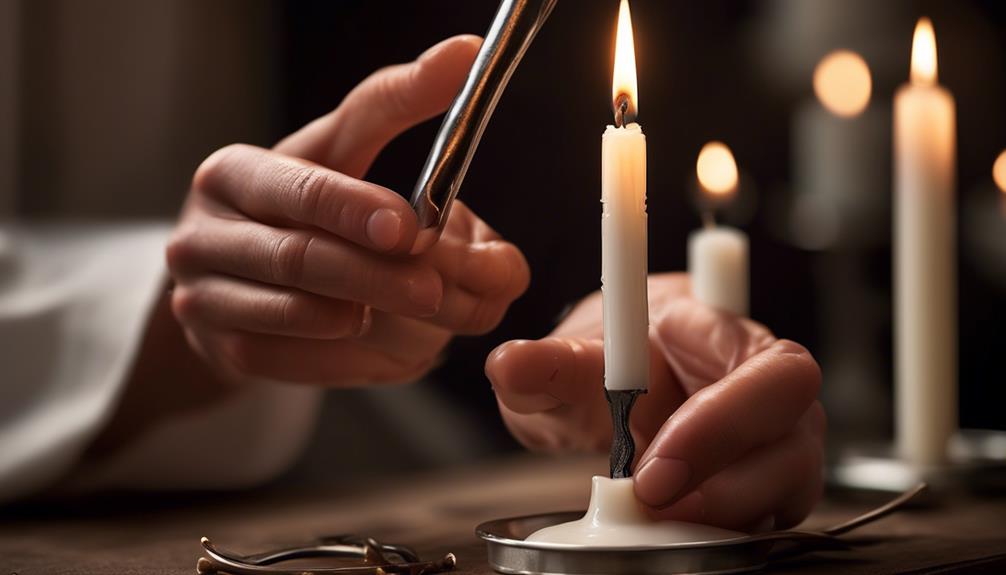
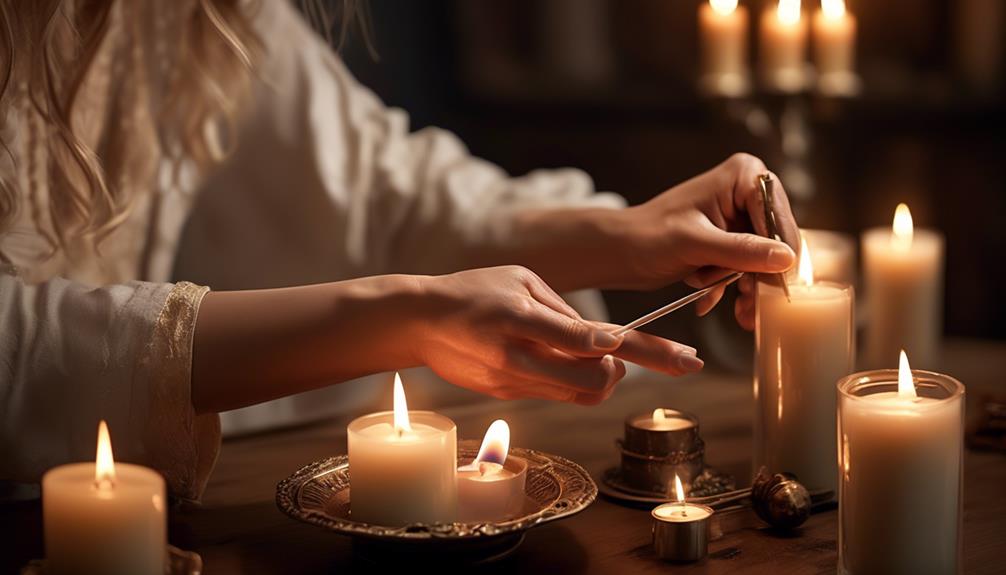
After securing the wick in place with melted wax, the next step in the candle rewicking process involves removing the old wick. To effectively re-wick my candles, I gently grasp the old wick with a pair of tweezers and carefully pull it out of the candle. It's crucial to ensure that all remnants of the old wick are completely removed to prevent any interference with the new wick.
Once the old wick has been extracted, I inspect the candle to guarantee that the wick channel is clear of any debris. Any leftover wick fragments can hinder the burning process of the new wick, affecting the candle's performance.
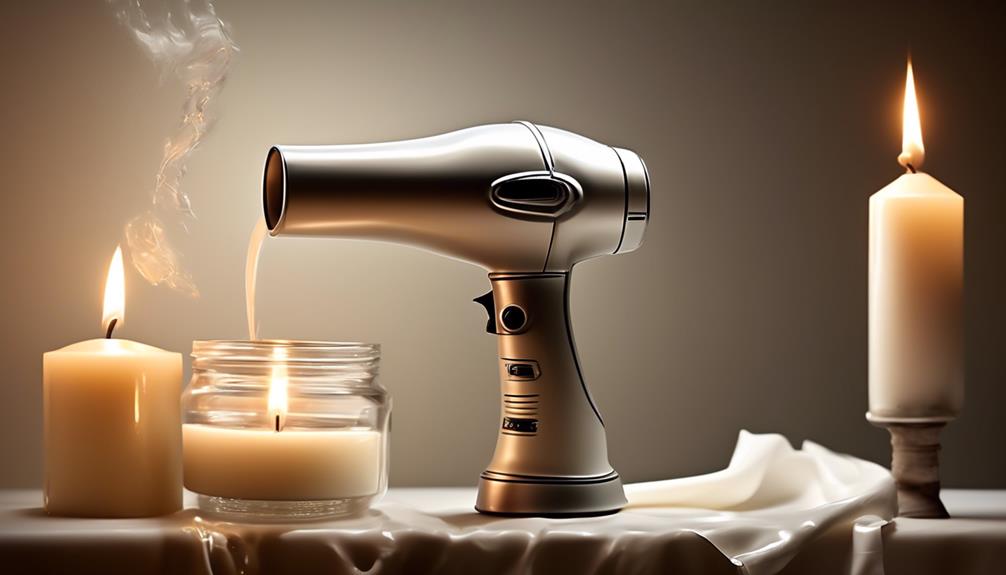
To aid in the removal of stubborn wick remnants, I sometimes melt the wax surrounding the wick with a heat gun or a hairdryer set on low heat. This technique softens the wax, making it easier to extract any remaining bits of the old wick.
Preparing the New Wick
With the new wick in hand, we carefully measure and trim it to the appropriate length for optimal candle burning performance. Ensuring the wick is the right size is crucial for a clean and even burn. Here's how we prepare the new wick for our candle:
- Precision is Key: Measure the wick precisely to avoid issues like tunneling or uneven burning.
- Quality Matters: Use a high-quality new wick to ensure a steady flame and efficient burning.
- Consider the Wax: If you're using soy wax, ensure the wick is suitable for this type of wax to prevent sooting.
- Temperature Check: Make sure the room is warm enough to melt the wax evenly once the new wick is set.
Inserting the New Wick
Upon removing the old wick from the melted wax, carefully insert the new wick through the designated hole in the wax plug or create a new opening if required. Ensure that the new wick reaches all the way down to the base of the candle to allow for proper burning. This step is crucial as it sets the foundation for a well-functioning wick that will sustain a steady flame throughout the candle's life.
Gently guide the new wick into place, making sure it's centered within the candle to promote an even burn. Whether you're using a wax plug or inserting the wick directly into the cored area, precision is key. A properly positioned wick won't only enhance the aesthetics of the candle but also ensure that it burns efficiently.
Take the time to secure the new wick to the base using a clothespin or wick bar if necessary. This step guarantees that the wick remains in place during the pouring of melted wax around it. By following these steps diligently, you're setting the stage for a candle that burns smoothly and elegantly.
Testing the Rewicked Candle
Upon relighting the rewick candle, we carefully observe the flame's behavior to ensure proper wick functionality and steady burning. It's crucial to assess the candle's performance after rewicking to guarantee a safe and efficient burn.
Here's what to look for while testing the rewicked candle:
- Steady Flame: Watch for a consistent, steady flame that isn't flickering excessively. This indicates that the wick is properly positioned and absorbing the melted wax correctly.
- Even Melt Pool: Check if the candle produces an even melt pool around the wick. An even melt pool ensures that the candle burns uniformly and maximizes fragrance release.
- Minimal Smoking: Keep an eye out for any excessive smoking. A well-wicked candle should produce minimal smoke, indicating proper combustion of the wick and wax.
- No Soot: Inspect the candle for any black soot deposits. A properly rewicked candle should burn cleanly without leaving soot residue.
Frequently Asked Questions
How Do You Melt a Candle to Rewick?
To melt a candle for rewicking, we follow these steps:
- Preheat the oven to 175 degrees Fahrenheit.
- Place the candle on a lined cookie sheet.
- Melt the candle for 5-15 minutes.
- Remove the old wick from the melted wax.
- Replace the old wick with a new one.
- Any leftover wax can be repurposed by pouring it into smaller containers with new wicks.
- Allow the candle to cool completely.
- Trim the wick.
- Light the candle for a fresh burn.
How Do You Put a New Wick in a Candle?
When putting a new wick in a candle, it's essential to ensure it's centered for even burning.
We carefully thread the new wick through the metal base and secure it with a dab of melted wax.
This step guarantees the wick stays in place during burning, preventing any uneven melting.
Properly securing the wick allows for a more consistent and long-lasting burn every time we light the candle.
How Do You Burn a Candle When the Wick Is Gone?
When the wick of a candle is gone, our approach involves:
- Melting the remaining wax in the oven
- Removing the old wick
- Inserting a new one
This method ensures a safe and efficient way to continue enjoying your candle.
Remember to let the candle cool and harden before trimming the wick and lighting it for a fresh burn. This technique guarantees a longer lifespan for your candle and optimal burning experience.
How Do You Fix a Lost Wick in a Candle?
We've had a similar experience with a lost wick in a candle. To fix it, follow these steps for a perfectly re-wicked candle:
- Preheat the oven.
- Melt the candle.
- Replace the wick.
- Let it cool.
It's crucial to trim the wick before lighting it again. Remember, 'Where there's a will, there's a way.'
Conclusion
In conclusion, rewicking a candle is as easy as pie! With just a few simple steps, you can breathe new life into your favorite candle.
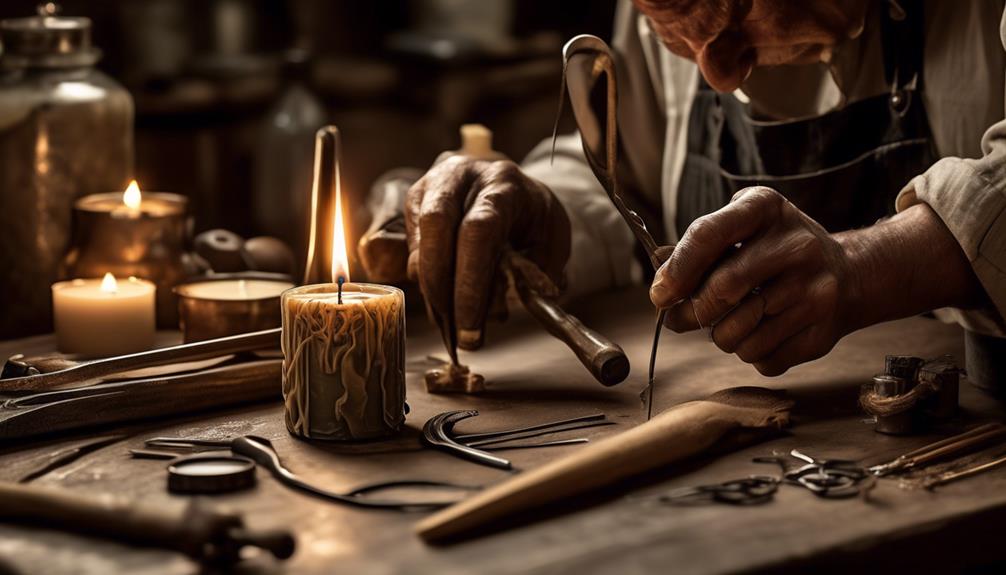
Like a skilled craftsman shaping clay, you can mold and transform your candle into a beautiful masterpiece.
So go ahead, grab your supplies and get ready to enjoy the warm glow of your newly rewicked candle. Happy crafting!