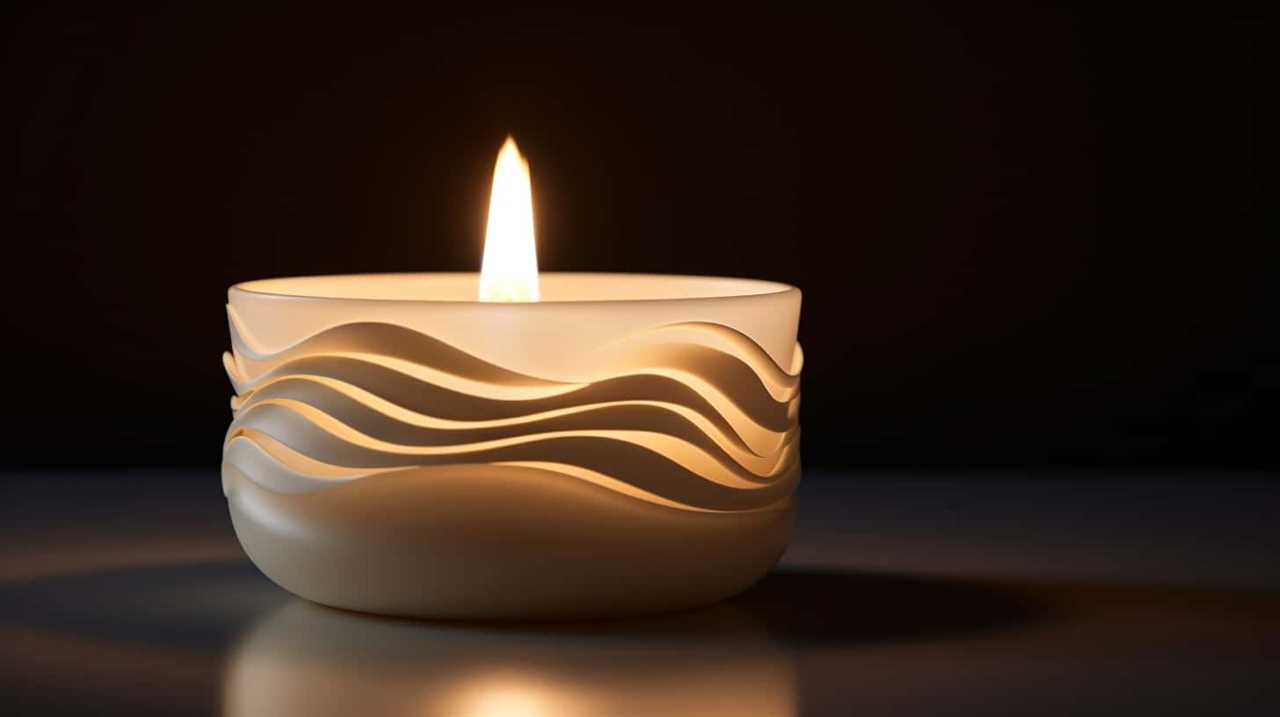
Have you ever faced the frustration of your candle tunneling? This happens when the wax doesn’t melt evenly, creating a tunnel in the center and wasting precious wax. But don’t worry! We have an easy solution that will rescue your candles and restore their lovely glow.
In this guide, we will walk you through the steps of fixing candle tunneling using your oven. So, let’s roll up our sleeves and get ready to restore your candles to their full potential.
With a little patience and our expert tips, you’ll soon be enjoying beautifully burning candles once again. Let’s dive in!
Key Takeaways
- Candle tunneling can be prevented by allowing the entire top layer of wax to melt and reach the edges of the container during the initial burn.
- Proper candle placement in the oven, on a baking sheet or heat-resistant surface, helps prevent wax drips and ensures even burning.
- It is important to monitor the oven temperature using an oven thermometer and periodically check the candles to ensure they are melting evenly.
- After fixing candle tunneling in the oven, it is crucial to let the candles cool completely, trim the wick to about ¼ inch, and test the effectiveness of the fixes in terms of burning time and scent distribution.
Understanding Candle Tunneling
To understand candle tunneling, we need to know why it occurs and how it can be prevented.

Candle tunneling is a common issue that occurs when the wick burns straight down the center of the candle, leaving a tunnel of unburned wax around it.
This happens when a candle isn’t burned for a sufficient amount of time during its initial use.
To prevent candle tunneling, it’s important to allow the candle to burn long enough for the entire top layer of wax to melt and reach the edges of the container. This usually takes about 2-3 hours.
By following this simple step, you can troubleshoot candle issues and ensure an even burn throughout the life of your candle.
Now that we understand candle tunneling, let’s move on to preparing your candles.
Preparing Your Candles
Let’s begin by preparing our candles for a successful burn. To prevent overheating and troubleshoot common issues, there are a few steps we can take.
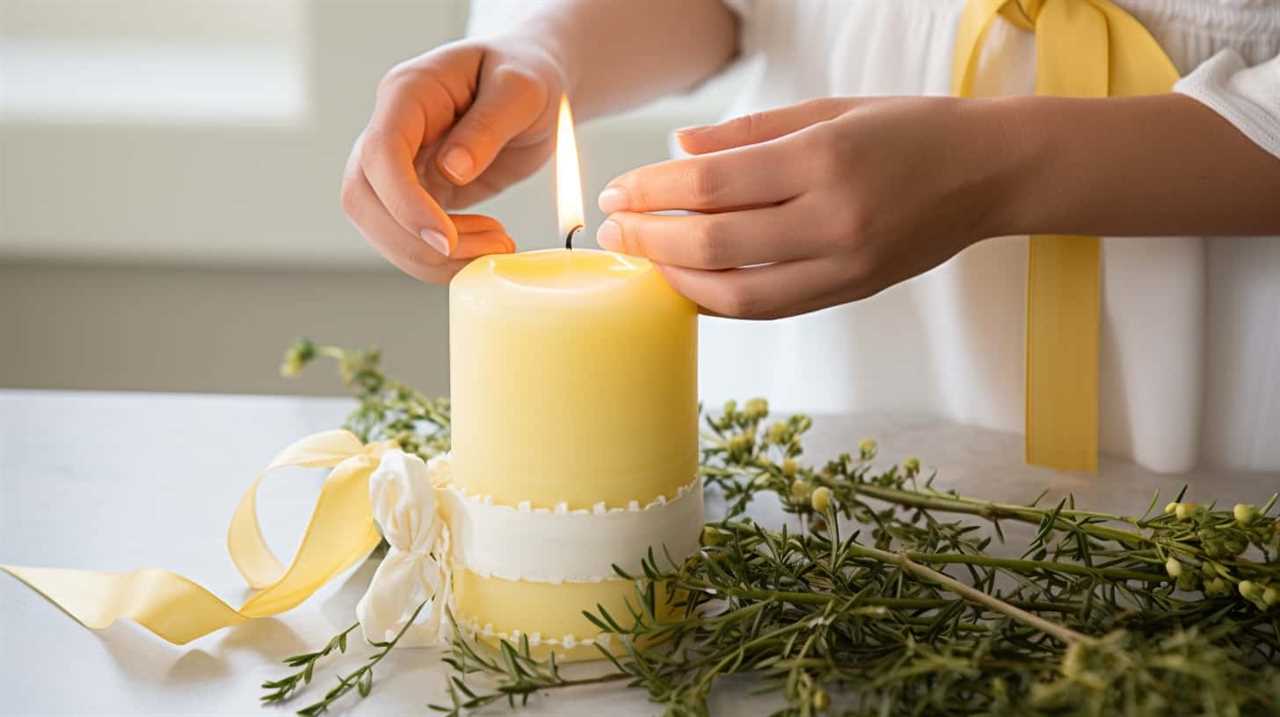
Firstly, trim the wick to about a quarter of an inch before lighting the candle. This will help control the flame’s size and reduce the risk of excessive heat.
Next, make sure the candle is placed on a stable, heat-resistant surface, away from drafts and flammable objects.
Before each use, check for any debris or foreign objects that could interfere with the candle’s burn.
Finally, allow the candle to burn for a sufficient amount of time, ensuring the wax melts evenly across the entire surface.
Setting Up the Oven
After preparing our candles, we can now move on to setting up the oven. To ensure proper candle burning and prevent tunneling, it’s essential to pay attention to the oven temperature and follow troubleshooting techniques.
Here are five important steps to help you set up the oven effectively:

- Preheat the oven: Set the oven to the recommended temperature, usually between 175-200 degrees Fahrenheit.
- Place candles on a baking sheet: Line a baking sheet with aluminum foil or parchment paper to catch any wax drips.
- Arrange candles evenly: Make sure the candles are spaced apart to allow for proper airflow and even heat distribution.
- Monitor the oven temperature: Use an oven thermometer to verify and maintain the desired temperature throughout the burning process.
- Check for drafts: Ensure that there are no drafts near the oven that could affect the temperature or cause uneven burning.
Placing the Candles in the Oven
Now let’s talk about how to properly place the candles in the oven to prevent candle tunneling.
Proper candle placement is crucial in ensuring an even burn and avoiding tunneling.
Preventing Candle Tunneling
To prevent candle tunneling, we place the candles in the oven at a low temperature. This technique helps to ensure that the wax burns evenly and prevents the formation of a tunnel down the center of the candle.
Here are five important tips to keep in mind when placing candles in the oven:

- Temperature control: Set the oven to a low temperature, around 150°F (65°C), to gently warm the candles.
- Time management: Leave the candles in the oven for about an hour to allow the heat to distribute evenly throughout the wax.
- Placement strategy: Arrange the candles on a baking sheet or a heat-resistant surface to prevent any wax from dripping onto the oven.
- Monitoring the process: Keep an eye on the candles while they’re in the oven to ensure they don’t overheat or melt.
- Cooling process: Allow the candles to cool completely before lighting them to ensure a clean and even burn.
Proper Candle Placement
We place the candles in the oven on a baking sheet or heat-resistant surface to ensure proper candle placement. This not only helps to prevent any wax from dripping onto the oven, but it also ensures that the candles burn evenly and avoid common candle problems such as tunneling. Proper candle placement is essential for maximizing the burn time and overall experience of candle burning.
To further assist you in understanding proper candle placement, here is a table showcasing the recommended distance between candles and the oven walls:
| Candle Size | Minimum Distance From Oven Walls |
|---|---|
| Small | 2 inches |
| Medium | 4 inches |
| Large | 6 inches |
| Extra Large | 8 inches |
| Tealights | 1 inch |
Monitoring the Heating Process
During the heating process, we carefully monitor the temperature to prevent candle tunneling in the oven. To ensure the best results, we employ various heating techniques and implement temperature control measures. Here are five key aspects we consider when monitoring the heating process:
- Preheating: We make sure to preheat the oven to the recommended temperature before placing the candles inside. This allows for even heat distribution and prevents sudden temperature changes.
- Thermometer usage: We use a reliable oven thermometer to accurately monitor the temperature throughout the heating process. This helps us maintain a consistent temperature, minimizing the risk of candle tunneling.
- Timer settings: We set a timer to keep track of the duration the candles spend in the oven. Overheating can lead to tunneling, so we ensure the candles aren’t left in the oven for too long.
- Regular checks: We periodically check the candles to ensure they’re melting evenly. This involves visually inspecting the candles and gently rotating them if necessary.
- Adjustments: If we notice any signs of tunneling or uneven melting, we adjust the temperature or the placement of the candles accordingly to promote an optimum melting process.
Removing and Cooling the Candles
After carefully monitoring the heating process, we remove the candles from the oven and allow them to cool. Removing the candles from the oven is a delicate process to avoid any spillage or burns. We recommend using oven mitts to protect your hands. Once the candles are out, place them on a heat-resistant surface, such as a ceramic plate or a metal tray, to cool down. It is important to let the candles cool naturally and avoid any sudden temperature changes. This will prevent cracking or other damage to the candles. As the candles cool, you may notice some excess wax around the edges. Gently remove this wax using a clean cloth or paper towel. Remember to always handle candles with care and caution, ensuring their temperature is safe before handling or moving them.

| Temperature | Emotional Response |
|---|---|
| High | Concerned |
| Low | Relieved |
| Moderate | Content |
| Room | Comfortable |
Trimming the Wicks
To effectively address candle tunneling in the oven, we’ll need to trim the wicks. Proper wick maintenance is crucial for achieving an even burn and preventing tunneling. Here are five key steps to consider when trimming the wicks:
- Use sharp scissors or a wick trimmer to trim the wick to about ¼ inch before lighting the candle.
- Ensure the wick is centered and upright to promote an even burn.
- Avoid trimming the wick too short, as this can lead to a weak flame and poor performance.
- Regularly check the wick during burning and trim if necessary to maintain flame control.
- Dispose of the trimmed wick remnants properly to prevent any fire hazards.
Testing the Fixed Candles
Once we have properly trimmed the wicks, we can now move on to testing the fixed candles to ensure they burn evenly and avoid any future tunneling issues. To do this, we need to observe the candle burning time and scent distribution. We recommend conducting the test in a controlled environment, such as a well-ventilated room or an outdoor space. Light the candle and let it burn for a specific time, noting how evenly it burns and how far the scent spreads. Use a stopwatch to track the burning time accurately. After the test, record your observations in a table like the one below:
| Candle | Burning Time | Scent Distribution |
|---|---|---|
| Candle 1 | 3 hours | Moderate |
| Candle 2 | 4 hours | Strong |
| Candle 3 | 2 hours | Weak |
Preventing Future Tunneling Issues
To prevent future tunneling issues, there are a few key points to keep in mind.
First, make sure to trim the wick to the recommended length before lighting the candle. This will help ensure an even burn and minimize the risk of tunneling.

Second, choose the right wick size for your candle. Using a wick that’s too small can lead to tunneling, while a wick that’s too large can cause excessive melting.
Lastly, consider using candle accessories like wick trimmers and candle warmers to further promote an even burn and prevent tunneling.
Proper Wick Trimming
To prevent future tunneling issues, we regularly trim the wick of our candles. Proper wick maintenance is crucial for maintaining a clean and even burn. Here are some tips to help you trim your candle wick effectively:
- Use a wick trimmer: Invest in a wick trimmer to ensure a clean cut. This tool allows you to trim the wick to the desired length without creating any mess.
- Trim to 1/4 inch: Trim the wick to approximately 1/4 inch before each burn. This length helps control the flame and prevents excessive soot buildup.
- Remove debris: Before trimming, make sure to remove any debris or charred material from the wick. This will help promote a clean burn and prevent tunneling.
- Trim when cool: Always trim the wick when the candle is completely cool. This prevents any accidents or burns.
- Trim evenly: Trim the wick evenly to avoid an uneven burn. Uneven wicks can lead to tunneling and wasted wax.
Choosing the Right Wick
We recommend using a high-quality wick that’s compatible with your candle to prevent future tunneling issues. Choosing the right wick is essential in ensuring an even and complete burn of your candle.

There are different types of wicks available, such as cotton, hemp, and wood wicks. Cotton wicks are the most common and suitable for most candles. However, if you’re experiencing tunneling issues, you may want to consider trying a larger or thicker wick.
It’s important to note that wick size and type should match the diameter and composition of your candle. If you’re unsure, it’s best to consult the candle maker or supplier for guidance.
Using Candle Accessories
By incorporating the appropriate candle accessories, such as a wick trimmer and candle snuffer, we can effectively prevent future tunneling issues and ensure a more consistent burn. Candle safety and care are essential to maintaining the longevity and quality of your candles.
Here are five candle accessories that can help prevent tunneling issues and promote optimal candle performance:

- Wick trimmer: Regularly trimming your candle’s wick to 1/4 inch before each use helps prevent excessive smoking and ensures a clean, even burn.
- Candle snuffer: Extinguishing candles with a snuffer instead of blowing them out reduces the risk of hot wax splattering and minimizes smoke.
- Candle coaster: Placing your candle on a coaster or heat-resistant surface protects your furniture from heat damage and prevents wax from staining surfaces.
- Candle lid: Using a lid or cover when the candle isn’t in use helps preserve the scent and prevents dust from settling on the wax.
- Candle extinguishing tool: Investing in a candle extinguishing tool, such as a candle dipper or candle quencher, allows you to safely extinguish the flame without blowing it out.
Frequently Asked Questions
How Long Does It Take to Fix Candle Tunneling in the Oven?
It doesn’t take long to fix candle tunneling in the oven if you follow effective techniques for prevention and avoid common mistakes. We can share tips and tricks to help you fix it quickly.
Can I Use a Microwave Instead of an Oven to Fix Candle Tunneling?
Using a microwave instead of an oven to fix candle tunneling may seem like a quick solution, but it’s not recommended. The microwave method lacks effectiveness and may not provide the desired results.
Can I Fix Candle Tunneling Without Using Heat?
There are alternatives to fixing candle tunneling that don’t involve using heat. Non-heat methods like trimming the wick and burning the candle for longer periods can help prevent tunneling and ensure an even burn.
What Temperature Should I Set the Oven to When Fixing Candle Tunneling?
When fixing candle tunneling, it’s important to set the oven to the right temperature. Follow these troubleshooting tips to ensure success. We recommend setting the oven to 180°F for about 1-2 hours.

Will Fixing Candle Tunneling in the Oven Affect the Scent or Color of the Candles?
Fixing candle tunneling in the oven may not have a significant effect on the scent or color of the candles. However, it is important to monitor the temperature and duration to prevent any potential impact on fragrance or appearance.
Conclusion
In conclusion, by following these steps, you can successfully fix candle tunneling in the oven.
Remember, prevention is key, so make sure to properly prepare and monitor the heating process.
By trimming the wicks and testing the fixed candles, you can ensure a more even and efficient burn.

Don’t let tunneling dampen your candle experience, take control and enjoy the warm glow of a well-burning candle.
After all, a stitch in time saves nine.