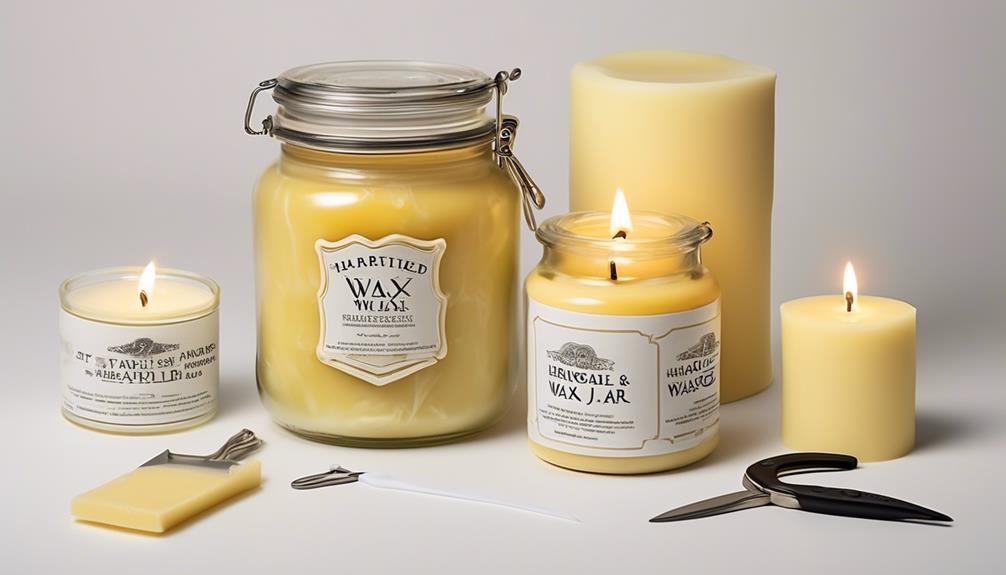
Have you ever experienced the frustration of candle tunneling? This occurs when a narrow tunnel forms down the center of the candle, leaving the wax on the sides untouched.
But fear not, for we are here to guide you on how to fix this common candle conundrum. In this guide, we will share effective methods to restore your candle’s glory and prevent future tunneling problems.
By following our step-by-step instructions, you will gain the mastery to save your candles and enjoy their warm, flickering glow to the fullest.
So let’s roll up our sleeves and dive into the art of fixing a tunneled candle.

Key Takeaways
- Factors contributing to tunneling include improper wick trimming, insufficient burning time, and using the wrong diameter candle for the container.
- Melt the wax evenly using a heat gun or aluminum foil method to encourage the wax to fill in the tunneling.
- Other methods to fix tunneling include using the oven or hot water to melt and redistribute the wax.
- To prevent future tunneling, trim the wick before each burn, choose high-quality slow-burning wax, and regularly clean and maintain the candle.

Vtopmart 25 PCS Clear Plastic Drawer Organizers Set, 4-Size Versatile Bathroom and Vanity Drawer Organizer Trays, Storage Bins for Makeup, Bedroom, Kitchen Gadgets Utensils and Office
- Versatile Drawer Organizer Set: Fits various home drawers and spaces
- Includes 25 Bins in 4 Sizes: Customizable storage options for different items
- Non-Slip and Durable Design: Silicone pads prevent slipping, sturdy plastic construction
As an affiliate, we earn on qualifying purchases.
Assessing the Extent of Tunneling
To assess the extent of tunneling in a candle, we can observe the depth and width of the tunnel formed. Tunneling occurs when the candle burns down the center, leaving excess wax on the sides.
Evaluating tunneling causes is crucial in troubleshooting tunneling solutions. There are several factors that contribute to tunneling, such as improper wick trimming, burning the candle for insufficient time, or using a candle with the wrong diameter for the chosen container.
To determine the depth of the tunnel, simply measure the remaining wax in the center. The width can be measured by observing the amount of unburned wax on the sides.
Preparing the Candle for Fixing
Now let’s talk about how to prepare the candle for fixing.

One important step is to melt the wax evenly, and one way to do this is by using a heat gun. By gently applying heat to the sides of the candle, you can encourage the wax to melt and fill in the tunneling.
This will help restore the candle’s shape and ensure a more even burn in the future.
Melting the Wax Evenly
We melt the wax evenly to prepare the candle for fixing. Ensuring that the wax melts evenly is important for preventing tunneling and maintaining the overall quality of the candle. Here are three steps to help you achieve even melting:
- Assess the wax quality: Before melting the wax, examine its texture and consistency. If the wax appears dry or brittle, it may not melt evenly. In such cases, consider adding a small amount of fragrance oil or stearin to improve its flow.
- Troubleshoot uneven melting: If you notice that the candle has already started tunneling, you can try several techniques to fix it. One method involves using aluminum foil to create a makeshift heat reflector around the candle, which helps distribute the heat evenly and prevent further tunneling.
- Use a double boiler: To melt the wax, use a double boiler setup. Place the wax in a heat-resistant container and place it inside a pot filled with water. Heat the pot gently, allowing the wax to melt slowly and evenly.
Using a Heat Gun
With a heat gun, we can effectively prepare the candle for fixing by applying heat evenly to the tunneled wax. Using a heat gun is a quick and efficient method to fix a candle that has tunneled. However, it is important to prioritize safety when using a heat gun. Here are some heat gun safety tips to keep in mind:

| Heat Gun Safety Tips |
|---|
| Wear heat-resistant gloves to protect your hands from burns. |
| Keep the heat gun away from flammable objects or materials. |
| Use the heat gun in a well-ventilated area to avoid inhaling fumes. |
| Always unplug the heat gun when not in use. |
| Follow the manufacturer’s instructions and guidelines for proper usage. |
While using a heat gun is an effective way to fix a tunneled candle, there are alternative methods you can try as well. Some alternative fixing methods include using a hairdryer, oven, or hot water bath. However, it’s important to note that these methods may require more time and effort compared to using a heat gun. Always choose a method that you are comfortable with and prioritize safety throughout the fixing process.
Using the Foil Method to Fix Tunneling
How can we effectively use the foil method to fix tunneling in a candle? When a candle has tunneled, it means that the wax has burned down the center, leaving a hole and wasting valuable wax. The foil method is a simple yet effective technique to correct this issue. Here’s how to do it:
- Assess the damage: Examine the candle to determine the extent of the tunneling. This will help you determine the amount of foil needed.
- Troubleshoot common issues: Before using the foil method, ensure that the wick is properly centered and trimmed to a quarter of an inch. This will ensure a clean and even burn.
- Use the foil method: Wrap a piece of aluminum foil tightly around the candle, leaving only a small opening at the top for the flame. This will redirect the heat and melt the built-up wax, allowing it to pool evenly.
Using the Oven Method to Fix Tunneling
To fix tunneling in a candle, let’s now explore the option of using the oven method. This alternative method can be effective in correcting tunneling and ensuring a more even burn.
To assess its effectiveness, follow these steps:

- Preheat your oven to a low temperature, around 170-180°F (76-82°C).
- Place the candle on a baking sheet and let it warm in the oven for about 30 minutes.
- This will allow the wax on the sides to melt and fill in the tunnel.
- After the allotted time, carefully remove the candle from the oven and let it cool completely before relighting.
While the oven method can be effective, there are alternative methods, such as the hot water method, to fix tunneling, which we’ll discuss next.
Using the Hot Water Method to Fix Tunneling
Now let’s explore another method for fixing tunneling in a candle, which involves using the hot water method. This technique can help troubleshoot tunneling and restore your candle to its optimal burning state.
Here’s how you can use the hot water method to fix tunneling:
- Fill a heat-resistant container with hot water, ensuring it’s deep enough to cover the candle’s wax pool.
- Carefully place the candle in the container, making sure the water doesn’t overflow into the candle.
- Leave the candle in the hot water for about 1-2 hours, allowing the heat to soften the wax and redistribute its shape.
Repeating the Fixing Process if Necessary
Continuing with the hot water method, we can repeat the fixing process if necessary by following these steps:

- Fill a heat-safe container with hot water, ensuring it’s deep enough to cover the entire candle.
- Place the candle in the container, making sure the water level doesn’t reach the top of the candle.
- Allow the candle to sit in the hot water for approximately 1 hour, or until the wax around the edges has melted and leveled.
- Carefully remove the candle from the container and let it cool and solidify before relighting.
- If the tunneling issue persists, you may need to repeat the process again.
If the hot water method doesn’t work, there are alternative methods you can try, such as using a hairdryer to melt the wax or using a knife to scrape away the tunnel and even out the wax surface. It’s important to be cautious when using these alternative methods to avoid accidents or damaging the candle.
By following these steps and being persistent in repeating the process if necessary, you can successfully fix a candle that has tunneled.
Now, let’s move on to the next section and discuss how to prevent future tunneling problems.
Preventing Future Tunneling Problems
To prevent future tunneling problems with candles, there are several key points to keep in mind.

First, proper wick trimming is essential to ensure an even burn and prevent tunneling.
Secondly, choosing the right wax, such as a high-quality, slow-burning wax, can also help prevent tunneling.
Lastly, using a candle warmer can distribute heat more evenly, preventing the formation of tunnels and promoting a longer-lasting candle.
Proper Wick Trimming
To prevent future tunneling problems, we recommend regularly trimming the wick of the candle using a pair of sharp scissors or a wick trimmer. Proper wick maintenance is crucial for ensuring an even burn and preventing tunneling. Here are three essential tips for trimming your candle wick:

- Trim to the right length: Keep the wick trimmed to approximately 1/4 inch before each burn. This helps maintain a controlled flame and prevents the wick from producing excessive smoke or soot.
- Trim evenly: Make sure to trim the wick evenly across its entire length. Uneven trimming can lead to an uneven burn and potential tunneling issues.
- Remove debris: Before trimming, remove any debris or charred bits from the wick. This ensures a clean burn and helps prevent the wick from becoming clogged.
By following these troubleshooting tips for wick trimming, you can enjoy a more consistent and satisfying candle burning experience.
Now, let’s move on to the next topic: choosing the right wax.
Choosing the Right Wax
For preventing future tunneling problems, it’s important to consider the right wax for your candles. Assessing wax quality and troubleshooting wick issues are key steps in ensuring a clean and even burn. To help you make an informed decision, here is a comparison table of popular candle waxes:
| Wax Type | Pros | Cons |
|---|---|---|
| Paraffin | Affordable, good scent throw | Produces black soot, non-renewable |
| Soy | Natural, clean-burning | Can have poor scent throw, may require frequent wick trimming |
| Beeswax | Natural, long burn time | Expensive, limited fragrance options |
| Coconut | Clean-burning, good scent throw | Can be more expensive, may require frequent wick trimming |
| Palm | Renewable, good scent throw | Can be more expensive, may produce soot |
Using a Candle Warmer
To prevent future tunneling problems, we can utilize a candle warmer. Candle warmers are a great alternative to traditional burning methods and can help ensure a longer and cleaner burn for your candles.

Here are three reasons why using a candle warmer is beneficial for candle safety and preventing tunneling:
- Even Heat Distribution: A candle warmer provides a consistent and gentle heat that evenly melts the wax, preventing the formation of a tunnel.
- Longer Burn Time: By using a candle warmer, you can maximize the burn time of your candles as they don’t burn away unevenly, avoiding wasted wax.
- Alternative Uses: Candle warmers can also be used to melt wax melts and essential oils, allowing you to enjoy a fragrance without an open flame.
Frequently Asked Questions
How Do I Prevent Tunneling From Happening in the Future?
To prevent tunneling in the future, we recommend following these candle care tips: trim the wick to ¼ inch before each use, burn the candle for at least 1 hour per inch of diameter, and avoid drafts.
Can I Use Any Type of Foil to Fix Tunneling?
Using aluminum foil to fix tunneling in scented candles is not recommended as it can be a fire hazard. To prevent tunneling in the future, try using a different type of heat-resistant foil specifically designed for candle use.
Can I Fix Tunneling in Scented Candles as Well?
Yes, you can fix tunneling in scented candles too. To prevent it, trim the wick to 1/4 inch before each burn and use a wick trimmer for a clean cut. This ensures an even burn and maximizes fragrance release.

How Long Should I Leave the Candle in the Oven to Fix Tunneling?
To fix a tunneling candle, we don’t recommend using the oven. Instead, try burning the candle for longer periods to melt the wax evenly. Preventative measures include trimming the wick and using a candle cover. Alternative solutions include using a hairdryer or a heat gun.
Is It Safe to Use the Hot Water Method to Fix Tunneling in All Types of Candle Containers?
Using the hot water method to fix tunneling may not be safe for all types of candle containers. It’s crucial to consider the material and size of the container before attempting this method. Alternative solutions include using a heat gun or a warm oven.
Conclusion
In conclusion, by following the steps outlined in this article, you can quickly and effectively fix a tunneled candle. Whether you choose the foil, oven, or hot water method, each technique has been proven to restore the candle’s even burn.
So don’t let tunneling ruin your candle experience any longer. Take action now and enjoy the warm, flickering glow of a perfectly burning candle.