Are you prepared to explore the realm of ear candles? Come with us as we set out to uncover the beauty behind this distinctive practice.
Just imagine, like a gentle breeze clearing away the fog, an ear candle can help clear your mind and restore balance to your senses.
In this guide, we will walk you through the steps of performing an ear candle, providing you with the knowledge and confidence you need.
So, let’s gather our supplies, find a cozy space, and get ready to experience the soothing benefits of an ear candle.
Get ready to unwind, relax, and embrace this ancient ritual with us.
Key Takeaways
- Choose a high-quality ear candle made of natural materials like beeswax or cotton.
- Create a comfortable and quiet space for the ear candle session.
- Ensure a noise-free environment to promote relaxation and enhance effectiveness.
- Follow proper procedure steps and safety precautions for a successful and safe ear candle session.

Dawhud Direct Decorative Votive Candle Holders, Vintage Decor Flameless Candlescape Set, 3 LED Tea Light Candles, Rocks and Tray - Fall Table Decor (Earth Tones)
Warm Seasonal Centerpiece: Add cozy charm to fall gatherings with this candlescape; doubles as centerpiece table decorations that...
As an affiliate, we earn on qualifying purchases.
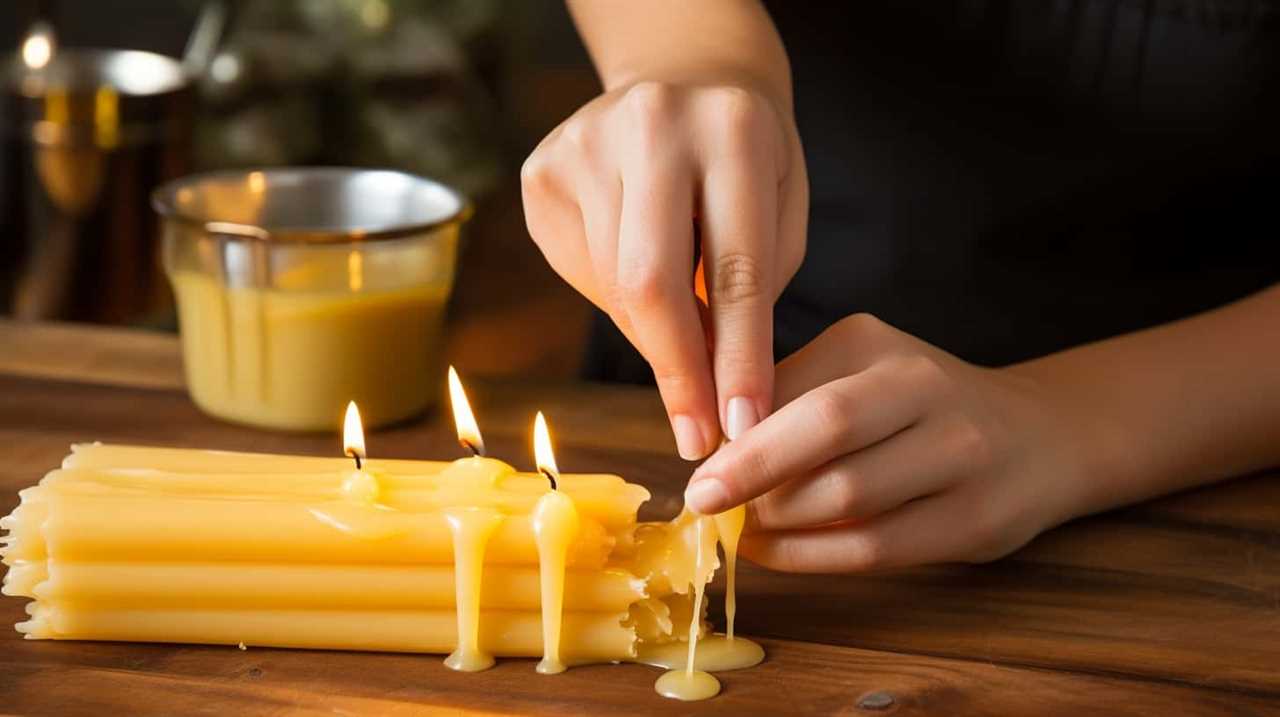
Gather the Necessary Supplies
First, we gather the necessary supplies for doing an ear candle. It’s important to have the right tools and materials to ensure a safe and effective experience. The proper technique for ear candling involves using a specially designed hollow candle made of beeswax or paraffin.
Additionally, you’ll need a protective plate or towel to catch any debris, a lighter or matches to ignite the candle, and scissors to trim the excess candle. Safety precautions should always be taken when performing ear candling.
It’s crucial to have someone else present to assist you, as the process can be challenging to do alone. It’s also important to read and follow the instructions provided with the ear candle carefully.

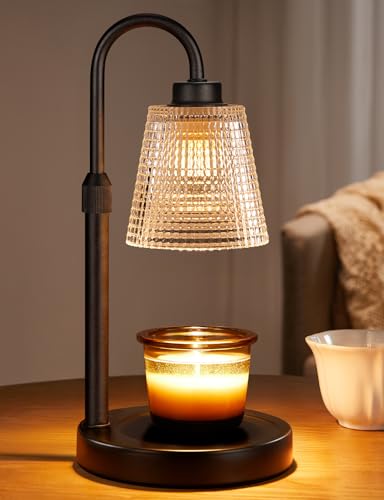
Innqoo Candle Warmer Lamp with Timer, Dimmable Candle Warmer for Jar Candles, Height Adjustable Wax Melts Warmer, Birthday Gifts for Women Mom, House Warming Gifts New Home Decor
【Flame-Free & Eco-Safe Candle Warmer】Unlike traditional candles, our candle lamp warmer uses light source to melt the candle...
As an affiliate, we earn on qualifying purchases.
Prepare the Ear Candle
To begin, we’ll gather the necessary supplies and prepare the ear candle for use. Once you have everything ready, follow these steps to ensure a safe and effective ear candle technique:
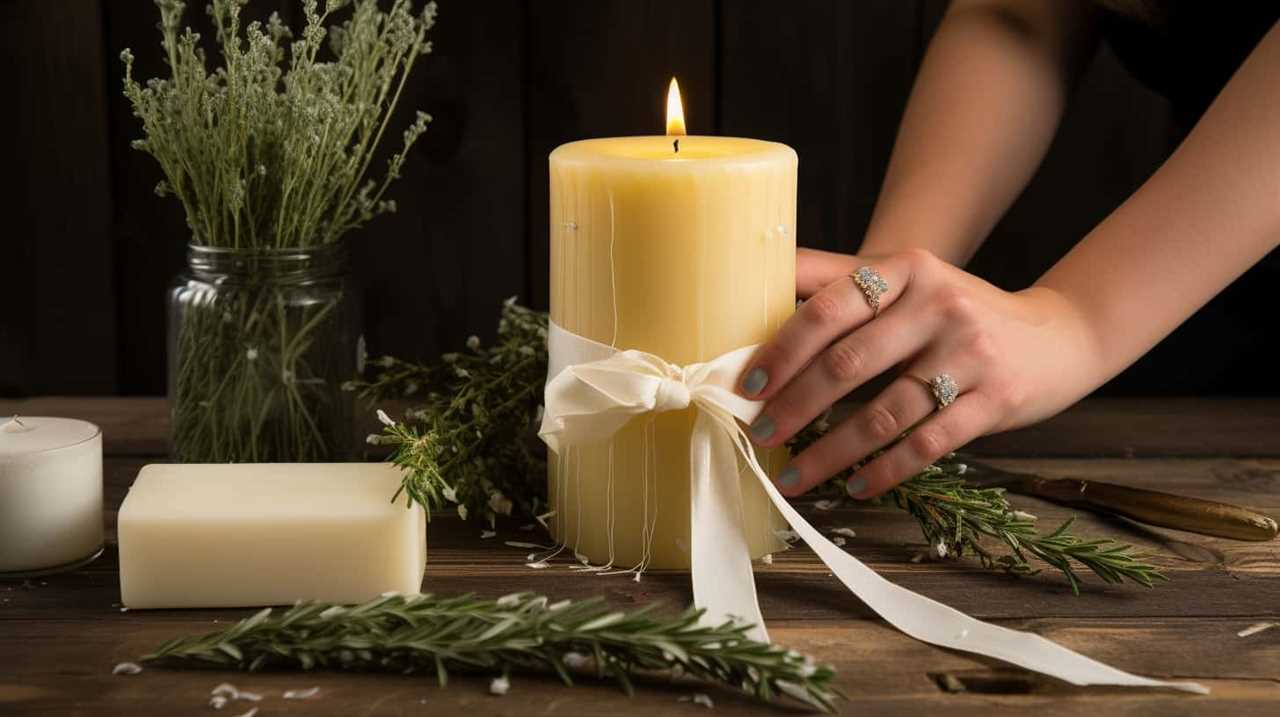
- Choose a high-quality ear candle: Look for ear candles made of natural materials like beeswax or cotton. Avoid candles made of synthetic materials or with added fragrances, as they can be potentially harmful.
- Trim the ear candle: Before using the ear candle, trim the tapered end to create a small opening. This will allow for a more controlled flow of smoke during the procedure.
- Position the patient: Have the patient lie comfortably on their side with the ear to be treated facing upward. Use a towel or protective sheet to shield their hair and face from any falling debris.
- Secure the ear candle: Gently insert the tapered end of the ear candle into the ear canal, making sure it’s snug but not too tight. Ensure the ear candle is held securely in place throughout the procedure.
Remember to take precautions for ear candling to minimize the risk of injury or discomfort. With proper preparation and care, the ear candle technique can be a beneficial practice for cleansing the ear canal.
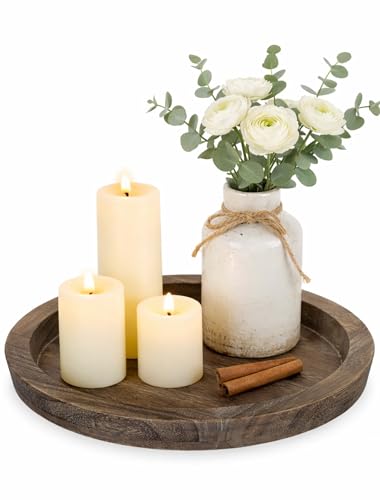
Hanobe Candle Plate Holder Tray: Round Wood Decorative Candle Plate - Rustic Farmhouse CoffeeTable Decor - Tealight Pillar Trays for Home Decor (Distressed)
Decorative Table Centerpiece: Our small candle tray is a a lovely table centerpiece for any table, placed it...
As an affiliate, we earn on qualifying purchases.
Find a Comfortable and Quiet Space
When it comes to performing an ear candle, finding a comfortable and quiet space is essential for a successful experience. Proper positioning is crucial to ensure your comfort throughout the process, as it can take some time.
Additionally, a noise-free environment is important to help you relax and fully focus on the ear candle. Lastly, finding the right ambiance, whether it’s dim lighting or soothing music, can further enhance the overall experience.
Proper Positioning for Comfort
We always recommend finding a quiet and comfortable space before starting an ear candle session. Proper positioning is crucial to ensure maximum comfort during the process. Here are some tips to help you find the right position:
- Lie down on your side: This allows for easy access to the ear and promotes relaxation.
- Use a pillow for support: Placing a soft pillow under your head and neck can enhance your comfort level.
- Keep your neck straight: Ensure that your neck is aligned with your spine to prevent any strain or discomfort.
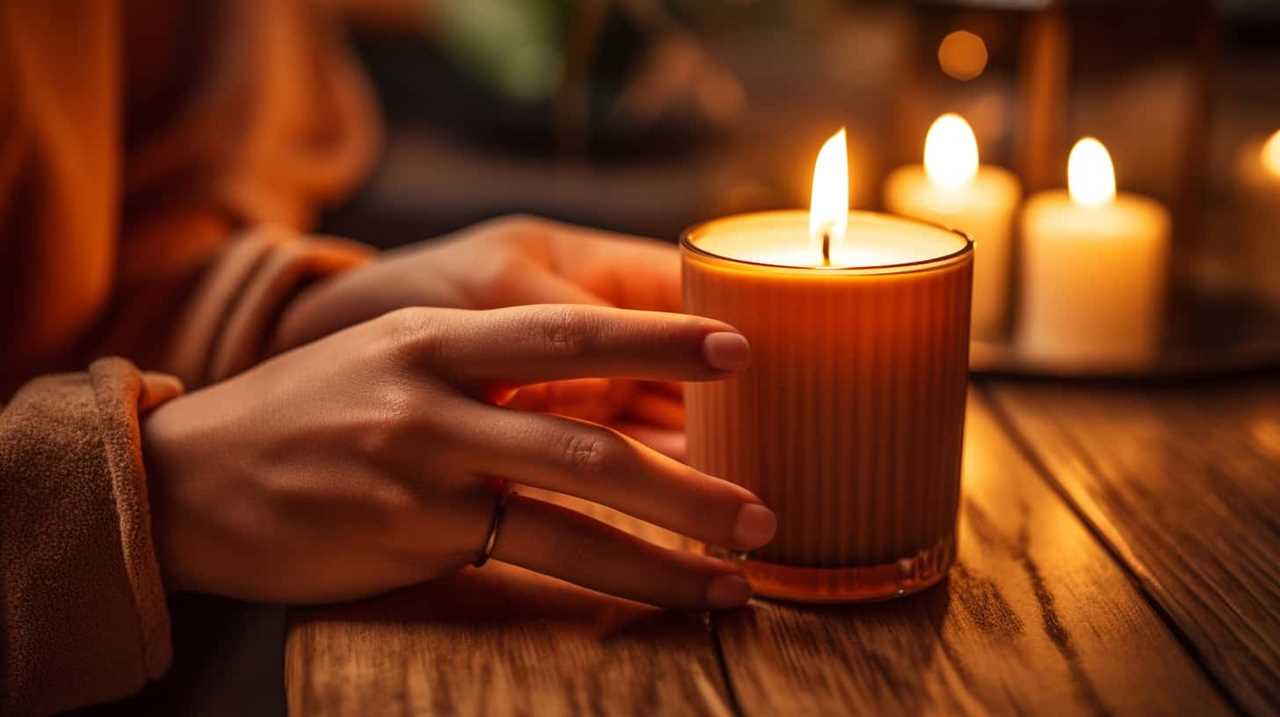
- Find a cozy spot: Dim the lights, play some soothing music, or use aromatherapy to create a calming ambiance.
By following these guidelines, you can create an environment that promotes relaxation and enhances the effectiveness of the ear candle technique.
Now, let’s explore the importance of a noise-free environment for a successful ear candle session.
Importance of Noise-Free Environment
As we delve into the importance of a noise-free environment for a successful ear candle session, it is essential to create a comfortable and quiet space to promote relaxation and enhance the effectiveness of the technique. Relaxation techniques play a crucial role in achieving a state of tranquility and reducing stress. When performed in a calm environment, the benefits are even more pronounced. Here is a table highlighting the importance of relaxation techniques and the benefits of a calm environment:

| Importance of Relaxation Techniques | Benefits of a Calm Environment |
|---|---|
| Reduces stress levels | Enhances concentration |
| Promotes overall well-being | Improves sleep quality |
| Calms the mind and body | Boosts immune system |
Finding the Right Ambiance
To create the ideal environment for a successful ear candle session, it’s important to find a comfortable and quiet space. Here are four essential tips for creating a soothing atmosphere and selecting the right music:
- Choose a calm and clutter-free room: Remove any distractions or unnecessary items from the room to create a peaceful atmosphere.
- Set the lighting: Dim the lights or use candles to create a relaxing ambiance. Avoid bright or harsh lighting that may cause discomfort.
- Find a comfortable seating arrangement: Use a cozy chair or cushioned mat to ensure you’re comfortable throughout the session.
- Select the right music: Choose soft, instrumental music or calming nature sounds to enhance relaxation. Avoid music with lyrics or loud beats that may be distracting.
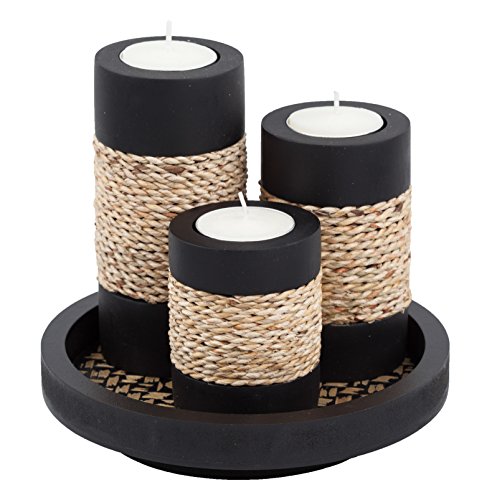
IYARA CRAFT Tealight Candle Holders with Tray – Set of 3 Rustic Black Wooden Candle Holders with Natural Rope Accent, Cozy Centerpiece for Romantic Dinner Table Decor, Anniversary & Housewarming Gifts
RUSTIC FARMHOUSE CANDLE HOLDER SET OF 3 – Decorative tealight candle holders in 3 graduated heights with a...
As an affiliate, we earn on qualifying purchases.
Lie Down on Your Side
To begin the process of performing an ear candle, we should lie down on our side. This step is crucial to ensure proper posture and maximize the effectiveness of the ear candle.
Lying on our side allows the candle to be inserted comfortably into the ear canal and creates a straight path for the smoke and heat to travel. It’s important to choose the side that feels most comfortable for us.
Insert the Ear Candle Into Your Ear
We gently insert the ear candle into our ear canal. Proper insertion is crucial to ensure the effectiveness and safety of the ear candling process. Here are some important safety measures to follow:
- Find a comfortable position: Lie down on your side and make sure your head is supported by a pillow or towel to maintain stability during the insertion.
- Hold the ear candle correctly: Use one hand to hold the bottom end of the ear candle and the other hand to guide it into your ear canal. Be careful not to push it too far or insert it at an angle.
- Relax and stay still: It’s important to remain calm and relaxed throughout the process. Any sudden movements may disrupt the ear candle and increase the risk of injury.
- Seek assistance if needed: If you’re not confident in performing the ear candle insertion yourself, it’s recommended to seek assistance from a trained professional.
Now that we’ve properly inserted the ear candle, let’s move on to the next step of lighting the top end of the ear candle.
Light the Top End of the Ear Candle
After gently inserting the ear candle into our ear canal, we now need to proceed with lighting the top end of the ear candle. Before doing so, it’s important to prioritize ear candle safety to avoid any potential risks. Alternative therapies like ear candling should always be approached with caution.
To light the ear candle, we first need to hold the unlit end firmly and place it gently against a protective plate or tray. It’s crucial to ensure that the candle is held at a slight angle to allow proper airflow. Using a lighter or matchstick, carefully ignite the top end of the ear candle. Once lit, it’s important to keep the candle in an upright position to prevent any hot ash or debris from falling into the ear canal.
Allow the Ear Candle to Burn
Now that we’ve lit the top end of the ear candle, it’s important to allow the candle to burn.
However, before proceeding, there are a few safety precautions that should be taken into consideration.
It’s also helpful to understand the benefits of ear candling and the proper technique for burning the candle to ensure a safe and effective experience.
Safety Precautions to Take
To ensure a safe experience, it’s important to carefully monitor the burning of the ear candle. Here are some safety precautions to take:
- Never leave the ear candle unattended: It’s crucial to always stay near the person and keep an eye on the burning candle to prevent accidents.
- Protect the skin: Before starting the ear candling process, apply a protective barrier, such as petroleum jelly or a damp cloth, around the ear to prevent burns on the skin.
- Use a proper holder: Make sure to use a purpose-built holder that securely holds the ear candle in place. This will prevent any accidental dripping of hot wax onto the person’s face or body.
- Avoid excessive heat: If the person starts to feel discomfort or excessive heat during the process, immediately extinguish the ear candle by safely snuffing it out in water. This will help protect the delicate tissues of the ear and prevent any potential damage.
Benefits of Ear Candling
To continue ensuring a safe experience, we need to understand the benefits of allowing the ear candle to burn.
While some skeptics argue against the effectiveness of ear candling, many people swear by its benefits. One of the main advantages of ear candling is its ability to remove excess earwax and debris from the ear canal. As the candle burns, it creates a vacuum effect that gently draws out impurities. This can help improve hearing, reduce ear pressure, and alleviate symptoms of congestion.
Additionally, ear candling is believed to promote relaxation and reduce stress. It’s important to note that ear candling shouldn’t be used as a substitute for medical treatment, but rather as a complementary therapy.
Now that we understand the benefits, let’s move on to the proper technique for burning the ear candle.
Proper Technique for Burning
To ensure a safe and effective experience, we’ll now delve into the proper technique for allowing the ear candle to burn. Follow these steps to ensure a successful ear candling session:
- Prepare the area: Find a quiet and comfortable space where you can relax. Make sure to have a towel or cloth nearby to catch any debris that may fall.
- Position yourself: Lie on your side with the ear to be treated facing upwards. It’s essential to maintain a relaxed and comfortable position throughout the process.
- Light the ear candle: Hold the unlit end of the ear candle and gently place the tapered end into your ear canal. Have a friend or family member help you light the other end of the candle.
- Allow the ear candle to burn: While the ear candle is burning, focus on your breathing and try to stay calm. The burning process usually takes around 10-15 minutes. Once the candle has burned down to a safe level, carefully remove it from your ear.
Extinguish the Ear Candle
We need to put out the ear candle. After enjoying the benefits of ear candling, it is important to extinguish the candle properly to ensure safety. Here are some safety precautions to follow when extinguishing an ear candle:
| Safety Precautions |
|---|
| Avoid blowing directly on the flame |
| Use a small dish of water to extinguish the flame |
| Gently dip the burning end of the candle into the water |
| Allow the candle to cool down before discarding |
| Always dispose of the used candle in a safe manner |
Repeat the Process for the Other Ear
After extinguishing the ear candle and ensuring safety, let’s proceed to repeat the process for the other ear. It’s important to maintain a comfortable position throughout the procedure to ensure ease and relaxation. Here are the steps to follow:
- Prepare the second ear: Gently clean the outer part of the ear using a damp cloth to remove any debris or excess wax.
- Position the ear candle: Place the ear candle securely in the ear canal, making sure it’s inserted at a slight angle for a snug fit.
- Light the ear candle: Use a lighter to ignite the top end of the ear candle, and let it burn for approximately 10-15 minutes.
- Monitor the process: Stay vigilant during the session, ensuring that the ear candle remains stable and doesn’t cause any discomfort or irritation.
Frequently Asked Questions
How Often Should I Do Ear Candling?
We recommend consulting with a healthcare professional for personalized advice on how often to do ear candling. While some people find it helpful, others believe it can be harmful to the ears.
Can I Do Ear Candling on Myself or Do I Need Someone’s Help?
Yes, you can do self-administered ear candling, but having someone assist can be beneficial. They can ensure proper placement and safety. However, it’s important to research and follow proper techniques to minimize risks.
What Are the Potential Risks or Side Effects of Ear Candling?
Potential dangers, risks, and complications are associated with ear candling. It is essential to be aware of the possible side effects, such as burns, ear canal obstruction, and eardrum perforation. Safety precautions must be taken seriously to minimize any potential harm.
Can I Use Any Type of Candle for Ear Candling or Are There Specific Ones I Should Use?
Different types of candles for ear candling exist. To choose the right candle, consider using specially designed ear candles made from natural materials. These candles are typically safer and more effective for the ear candling process.
Is Ear Candling Suitable for Children or Only for Adults?
Ear candling is suitable for children as well as adults. It offers several benefits for kids, such as relieving ear congestion and promoting relaxation. However, it’s important to consult with a healthcare professional before trying it.
Conclusion
In conclusion, ear candling can be a relaxing and therapeutic practice when done correctly and safely. By following the steps outlined in this article, you can easily perform an ear candle at home.
Just remember to gather all the necessary supplies, find a comfortable space, and take your time during the process.
Soothe your senses and enjoy the benefits of this ancient technique, as it brings a flicker of tranquility to your ears.