If you’ve used up your beloved scented candle and are left with melted wax at the bottom, don’t throw it away just yet. There are numerous ways to repurpose this leftover wax. Allow me to show you the exciting world of recycling candle wax.
In this article, I will share with you a multitude of creative and practical ways to make the most out of your unused candle wax. From crafting beautiful new candles to adding a burst of color to your home with wax melts, the potential is truly limitless.
I will also show you how to use wax as a fire starter, create fragrant wax sachets, and even make custom wax seals for a touch of elegance.
But it doesn’t stop there. Get ready to unleash your artistic side as we delve into the world of wax art and sculptures. And if you ever find yourself dealing with sticky mechanisms or stubborn zippers, I’ll teach you how wax can come to the rescue.
Plus, we’ll explore the eco-friendly option of making wax-coated fabric for reusable food wraps and discover the wonders of using wax as a natural furniture polish.
So, join me on this exciting journey as we unlock the hidden potential of candle wax and transform it into something truly remarkable.
Key Takeaways
- Repurposing candle wax is a creative and practical way to recycle and transform old candles.
- Candle wax can be used to make new candles by melting down the leftover wax, adding essential oils for fragrance, pouring into containers or molds, inserting wicks, and allowing to cool and set.
- Wax can also be repurposed to create colorful wax melts, fire starters, wax sachets, custom wax seals, and to waterproof matches or small items.
- In addition to DIY projects, wax can be used for wax art or sculptures, as a lubricant for sticky mechanisms or zippers, as a natural furniture polish, and in various beauty hacks such as DIY lip balm and eyebrow gel.

Complete Candle Making Kits for Adults Beginners, DIY Candle Making Supplies Include Soy Wax,Wax Melter,Scents,Dyes,Wicks,Wicks Sticker,Candle Tins & More-Full Candle Maker Set – Arts & Crafts Kits
- All-In-One Candle Making Kit: Complete supplies for all levels
- Beginner-Friendly Design: Includes step-by-step instructions
- Premium Soy Wax: 100% natural, long-lasting, and aromatic
As an affiliate, we earn on qualifying purchases.
As an affiliate, we earn on qualifying purchases.
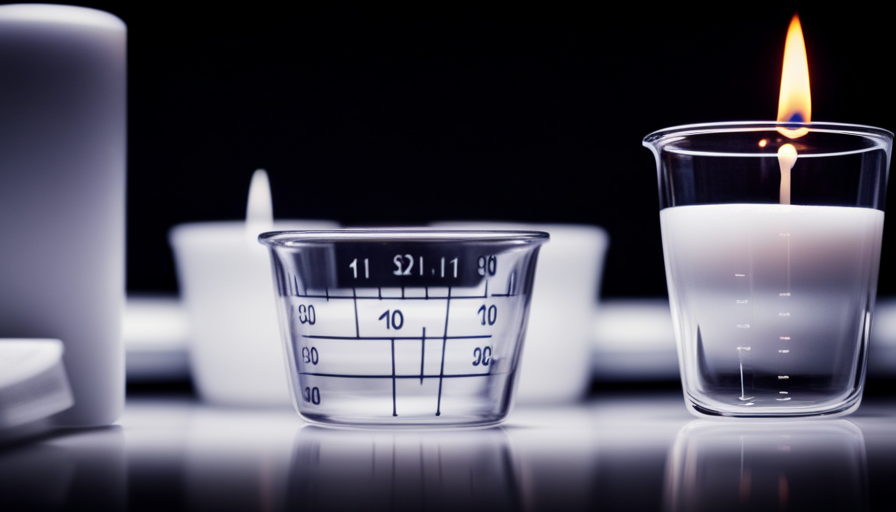
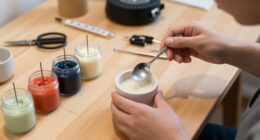
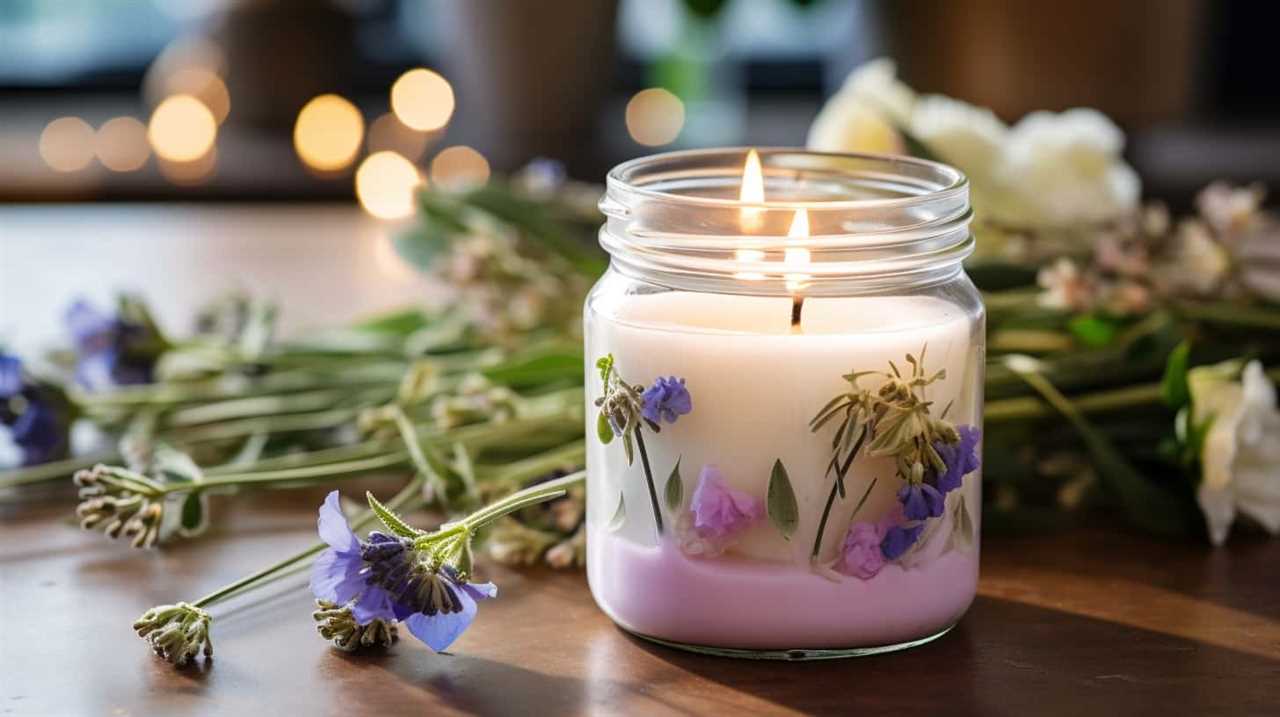
Make new candles
You can easily repurpose leftover candle wax by melting it down and using it to create beautiful new candles that will fill your home with a cozy and inviting ambiance. It’s a fun and creative way to recycle and transform your old candles into something new and delightful.
To make decorative candles, start by gathering your leftover candle wax, wicks, and any desired containers or molds. Melt the wax in a double boiler or a heatproof container placed in a pot of simmering water. Once melted, add a few drops of your favorite essential oil to create scented candles that’ll add a delightful fragrance to your space.
Pour the melted wax into your chosen containers or molds and insert the wicks. Allow the candles to cool and set completely before trimming the wicks and lighting them up.
Now, let’s move on to the next section and learn how to create colorful wax melts that can be used in wax warmers or burners.
Create colorful wax melts
Start by melting down your favorite scented candles and watch as the vibrant colors blend together like a symphony of fragrance. Creating colorful wax melts is a fantastic way to repurpose candle wax and add a touch of creativity to your home. By combining melted candle wax with colorful wax crayons, you can create unique and eye-catching wax melts that not only smell amazing but also look stunning when melted.
To make your own colorful wax melts, you’ll need a few simple ingredients and supplies. Here’s a handy table to guide you through the process:
| Ingredients | Supplies | Steps |
|---|---|---|
| Candle wax | Heat-resistant container | 1. Gather your favorite scented candles and remove the wicks. |
| Wax crayons (assorted colors) | Double boiler or microwave-safe bowl | 2. Break the candle wax into small pieces and place them in a heat-resistant container. |
| Essential oils (optional) | Wax melt molds | 3. Add pieces of colorful wax crayons to the container and mix them with the melted candle wax. |
| Glitter (optional) | Stirring utensil | 4. If desired, add a few drops of essential oils for a personalized scent and a sprinkle of glitter for an extra touch of sparkle. |
Once you’ve created your colorful wax melts, simply place them in a wax melt warmer and enjoy the beautiful aroma that fills your space. Now, let’s move on to the next exciting way to use candle wax – as a fire starter.
Use wax as a fire starter
Ignite your fire effortlessly with the help of wax, a versatile tool that can serve as a reliable fire starter. Using wax as a fire starter isn’t just convenient but also a cost-effective alternative.
However, it’s important to consider some fire safety precautions when using wax in this way. First and foremost, make sure you’re in a well-ventilated area when using wax as a fire starter. The fumes released can be harmful if inhaled for an extended period of time. Also, keep a fire extinguisher or water source nearby in case of any accidents.
To use wax as a fire starter, simply gather small pieces of wax and place them under your firewood or charcoal. Light the wax with a match or lighter, and watch as the flame spreads and ignites the rest of your fuel. This method is particularly useful for starting fires in damp or cold conditions when other fire starters might struggle.
Apart from starting fires, candle wax can be repurposed in various other ways. In the next section, we’ll explore how to make wax sachets for fragrance, adding a touch of aroma to your surroundings.
Make wax sachets for fragrance
Bring beautiful scents into your space by crafting captivating wax sachets for fragrance. Wax sachets are not only a delightful addition to any room, but they also make fantastic gifts for loved ones. Here are four reasons why wax sachets are a must-have:
-
Long-lasting fragrance: Unlike traditional air fresheners that quickly lose their scent, wax sachets release a lingering fragrance that can last for weeks. They’re a simple and effective way to keep your space smelling fresh and inviting.
-
Versatile and portable: Wax sachets are incredibly versatile and can be placed anywhere in your home, such as drawers, closets, or even your car. They’re also easy to carry with you and can be used to freshen up hotel rooms or other spaces while traveling.
-
Natural and eco-friendly: By making your own wax sachets, you have control over the ingredients used. Opt for natural waxes and essential oils to create a sustainable and eco-friendly product that’s safe for both your health and the environment.
-
Personalized touch: Creating wax sachets allows you to customize the fragrance and design according to your preferences. Add dried flowers, herbs, or even personal notes to make each sachet unique and sentimental.
Now, let’s transition into the next section and explore another exciting way to utilize candle wax: creating custom wax seals for letters or invitations.
Create custom wax seals for letters or invitations
Crafting personalized wax seals for letters or invitations adds a touch of elegance and nostalgia to your correspondence. The art of sealing wax dates back centuries and has been used to authenticate documents and add a sense of importance.
When it comes to wax seal designs, the possibilities are endless. You can choose from a wide range of symbols, monograms, or even custom designs that reflect your personality or the theme of your event.
To create a wax seal, you’ll need a seal stamp, a stick of sealing wax, and a heat source. There are various wax seal techniques you can use, such as the classic method of melting the wax and using a stamp to press the design onto the paper, or the modern method of using pre-made wax sticks that can be melted with a glue gun. Whichever method you choose, the result is a beautiful and unique wax seal that adds a special touch to your letters or invitations.
Now, let’s move on to the next section about how to use wax to waterproof matches or other small items.
Use wax to waterproof matches or other small items
After learning how to create custom wax seals for letters or invitations, I realized that candle wax has endless possibilities. One creative use for candle wax that I discovered is its ability to waterproof matches or other small items.
This DIY waterproofing technique is not only practical but also a fun and unique way to repurpose candle wax. To waterproof matches, simply dip the match heads into melted candle wax and let them dry. The wax creates a protective barrier that prevents water from reaching the match heads, ensuring they stay dry and ready for use even in wet conditions.
This technique can also be applied to other small items like electronic components or camping gear, providing an extra layer of protection against moisture.
Using candle wax to waterproof matches or other small items is just one of the many creative uses for candle wax. Its versatility and accessibility make it a go-to material for DIY enthusiasts like me.
And speaking of creativity, the next section will explore how to create wax art or sculptures, taking candle wax to a whole new level.
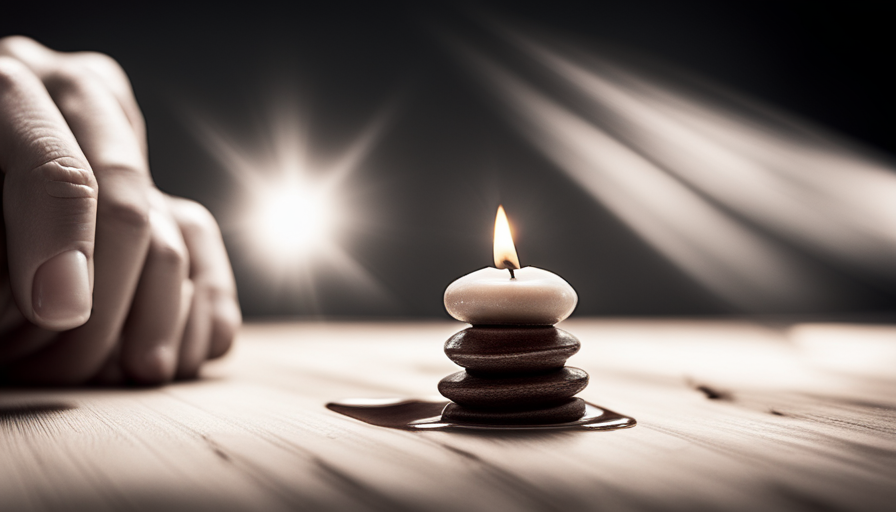
Create wax art or sculptures
Unleash your creativity and sculpt mesmerizing art pieces using the versatile medium of melted wax. Wax art or sculptures are a unique and visually captivating form of expression that allows you to create stunning pieces.
To begin, you’ll need a few essential tools, such as wax painting techniques and wax carving tools.
Wax painting techniques involve heating the wax until it reaches a liquid state and then applying it to a canvas or other surfaces. You can use brushes, palette knives, or even your fingers to manipulate the wax and create intricate designs. The wax can be layered, textured, or blended to achieve different effects and depths in your artwork. Additionally, you can experiment with different colors and pigments to add vibrancy and dimension to your creations.
When it comes to wax carving tools, there are various options available depending on the level of intricacy you desire. Tools like sculpting knives, dental tools, or even simple household items like toothpicks can be used to shape and carve the melted wax. These tools allow you to add intricate details and refine your sculptures to perfection.
By exploring the possibilities of wax art and sculpture, you can tap into your artistic side and produce unique and visually stunning pieces. So, let your imagination run wild and create wax masterpieces that’ll leave others in awe.
As we move on to the next section about using wax to lubricate sticky mechanisms or zippers, you’ll discover how this versatile material can be used beyond the realm of art.
Use wax to lubricate sticky mechanisms or zippers
As an avid fan of wax art and sculptures, I have always been amazed at the versatility of candle wax. However, there is another practical use for this wondrous substance that I recently discovered – using it to lubricate sticky mechanisms or zippers. It’s a simple yet effective DIY solution that can save you from the frustration of dealing with stubborn zippers or squeaky hinges.
When it comes to sticky mechanisms, a small application of melted candle wax can work wonders. The wax acts as a lubricant, reducing friction and allowing the parts to move smoothly. Whether it’s a stubborn door lock, a squeaky drawer, or a sluggish bike chain, a touch of wax can make all the difference.
Similarly, if you have a zipper that refuses to budge, wax can come to the rescue. Rubbing a candle directly on the zipper teeth or applying a bit of melted wax with a cotton swab can help loosen the grip and make zipping up a breeze.
Wax is not only a practical solution for sticky mechanisms, but it can also be a versatile ingredient for various DIY projects and beauty hacks. From making your own lip balm to creating homemade candles, wax offers endless possibilities. Its natural texture and ability to solidify make it an ideal base for many DIY creations.
In the table below, I have highlighted a few ideas to inspire you on how to use wax for both DIY projects and beauty regimens:
| DIY Projects | Beauty Hacks |
|---|---|
| Wax-coated fabric for reusable food wraps | DIY lip balm |
| Homemade candles | Natural eyebrow gel |
| Wax seals for letters | DIY body lotion |
Now, let’s move on to the next exciting topic – how to make wax-coated fabric for reusable food wraps.
Make wax-coated fabric for reusable food wraps
Get ready to transform your kitchen with a simple and eco-friendly solution – make your own wax-coated fabric for reusable food wraps. Wax-coated fabric alternatives, such as DIY beeswax wraps, are gaining popularity due to their sustainable and reusable nature. These wraps aren’t just a fantastic way to reduce plastic waste but also a great way to keep your food fresh and protected.
To create your own wax-coated fabric, you’ll need a few simple ingredients: cotton fabric, beeswax pellets, pine resin, and jojoba oil. Start by cutting the fabric into desired sizes and preheating your oven to 200°F (93°C). Sprinkle the beeswax pellets, pine resin, and a few drops of jojoba oil onto the fabric. Place the fabric in the oven for about 5 minutes, or until the wax has melted and evenly coated the fabric.
Once the fabric has cooled and hardened, you’ll have a versatile and reusable food wrap. Simply use the warmth of your hands to mold the wrap around food or cover bowls and containers. The wax-coated fabric creates a breathable seal that keeps food fresh while reducing the need for single-use plastic wrap.
Now that you’ve learned how to make your own wax-coated fabric for reusable food wraps, let’s explore another fantastic use for candle wax – as a natural furniture polish.
Use wax as a natural furniture polish
Transform your worn-out wooden furniture into a stunning centerpiece by using natural furniture polish made with wax. It’s a simple and effective way to bring new life to your old pieces while avoiding harsh chemicals. Here are four reasons why using wax as a natural furniture polish is a game-changer:
-
Gentle and nourishing: Unlike commercial polishes that can strip away the natural oils of your wooden furniture, wax acts as a protective layer, keeping it moisturized and preventing it from drying out.
-
Enhanced shine: Wax brings out the natural beauty of your wood, creating a lustrous and radiant finish that’s sure to impress. It adds depth and richness to the grain, making your furniture look brand new.
-
Long-lasting protection: The natural properties of wax make it an excellent choice for preserving and protecting your furniture. It forms a barrier against dust, fingerprints, and spills, keeping your wooden pieces looking their best for years to come.
-
Eco-friendly and cost-effective: By using wax as a natural alternative, you not only avoid the harmful chemicals found in commercial polishes but also reduce waste. Plus, making your own furniture polish with wax is a cost-effective solution that saves you money in the long run.
Incorporating natural alternatives like wax into your DIY home cleaning routine isn’t just better for the environment but also for the health of your family. So why not give it a try and see the amazing transformation it brings to your furniture?
Frequently Asked Questions
How do I remove candle wax from different surfaces?
To remove candle wax from fabric, place a brown paper bag over the wax and iron over it on a low heat setting. The wax will transfer to the paper bag.
For wood, freeze the wax with an ice pack or ice cubes in a plastic bag, then gently scrape it off with a credit card or butter knife. Remember to always test any method on a small, inconspicuous area first.
Can I mix different colors of candle wax to create new and unique colors?
Mixing candle wax colors can be a fun and creative way to create unique shades for your candles. By combining different colors, you can achieve a whole new range of hues that’ll make your candles stand out.
To do this, simply melt the desired colors of wax together and mix thoroughly until you achieve the desired shade. Experimenting with different combinations will let you create beautiful and one-of-a-kind candles that reflect your personal style.
Is there a specific type of wax that works best as a fire starter?
Absolutely! When it comes to fire safety and alternative uses, paraffin wax is the go-to choice for a reliable fire starter. Its high melting point and long burn time make it perfect for igniting fires in fireplaces, wood stoves, or even while camping.
But don’t limit yourself to just fire starting! Paraffin wax can also be used for creating homemade candles, sealing envelopes, or even as a lubricant for sticky drawers. It’s truly a versatile and essential wax to have on hand.
What are some popular fragrances used in wax sachets?
Popular fragrance combinations used in wax sachets include lavender and vanilla, citrus and mint, and rose and sandalwood. These scents not only create a pleasant aroma but also offer various benefits. Lavender promotes relaxation and better sleep, while vanilla creates a warm and cozy atmosphere. Citrus and mint are refreshing and invigorating, while rose and sandalwood provide a sense of luxury and tranquility.
Using scented wax sachets adds a touch of elegance to any space and enhances the overall ambiance.
How do I properly clean and maintain wax seals for long-lasting use?
To properly clean and maintain wax seals for long-lasting use, proper storage and troubleshooting are key.
Start by storing your wax seals in a cool, dry place away from direct sunlight to avoid melting or warping.
Regularly clean your seals by gently wiping them with a soft cloth to remove any dust or debris.
If you encounter any issues such as cracks or loose parts, troubleshoot by applying a small amount of melted wax to repair or secure the seal.
With these steps, your wax seals will remain beautiful and functional for years to come.
Conclusion
Well, who would’ve thought that candle wax could be so versatile? From creating beautiful new candles and colorful wax melts to using it as a fire starter and lubricant, the possibilities are endless.
And let’s not forget about the delightful fragrance wax sachets and the elegant wax seals for letters. Oh, and did I mention wax art and sculptures? Who knew wax could be so artistic?
And if you’re looking for a natural furniture polish or reusable food wraps, wax’s got you covered. So next time you have some leftover candle wax, get creative and let your imagination run wild!