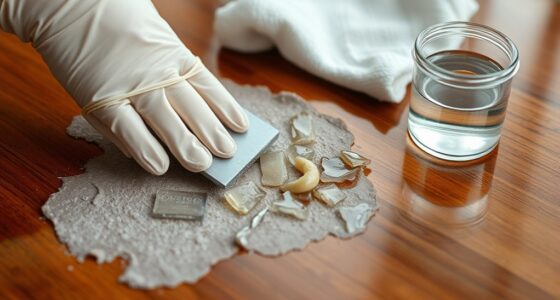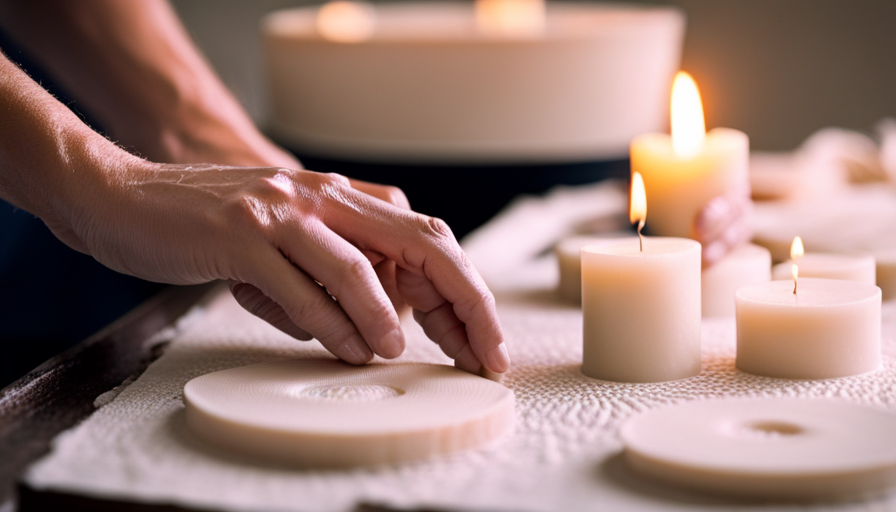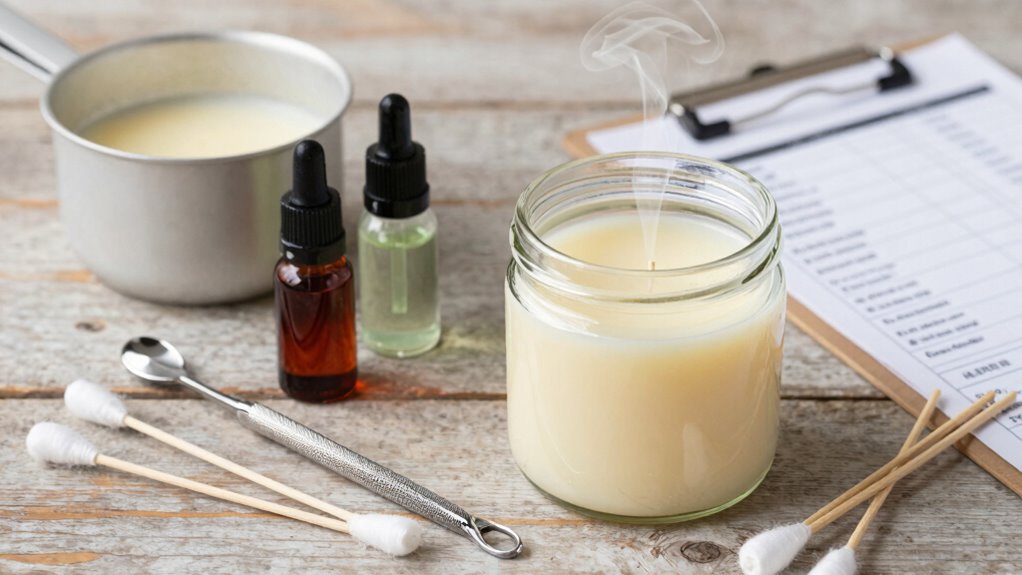

To build your starter candle making checklist, first gather all essential supplies like wax, fragrance oils, wicks, containers, and a thermometer. Include tools such as melting pots, stirring sticks, and protective covers for your workspace. Make certain to note techniques like melting wax at the right temperature, adding scent at specific points, and pouring carefully. Don’t forget safety steps like handling hot wax carefully. If you keep going, you’ll get detailed tips to guarantee your candles turn out perfect every time.

Get decor and gifts delivered free — and shop member deals
- Fast, free delivery on millions of items
- Access to Prime Big Deal Days deals on October 6–7
- Prime Video, Amazon Music and more included
Key Takeaways
- List essential supplies: wax, fragrance oils, wicks, containers, thermometer, and melting equipment.
- Outline step-by-step instructions for melting, scenting, pouring, and cooling candles.
- Include safety precautions and workspace preparation tips for a clean, hazard-free process.
- Record measurements and scent combinations for consistency and future replication.
- Add troubleshooting tips for common issues like uneven melting or scent throw problems.

Getting started with candle making can seem overwhelming, but having a clear checklist can make the process much easier. The first step is understanding candle scent profiles, which are the fragrances you want your candles to have. Think about the mood or atmosphere you’re aiming for—calming, invigorating, cozy—and pick scents that match. Whether you prefer floral, citrus, woody, or spicy notes, knowing your scent profiles helps guide your choices when selecting fragrance oils. It’s also smart to contemplate how different scents blend together; some work harmoniously, creating complex layers, while others might clash. Keep a list of your favorite scent combinations so you can reproduce or refine your candles over time. When choosing your fragrance oils, be sure to consider fragrance compatibility to ensure your scents blend well and last during burning.
Next, focus on wax melting techniques. This is vital because the way you melt your wax affects the candle’s appearance and scent throw. Always use a double boiler or a dedicated melting pot to avoid direct heat, which can burn the wax or cause uneven melting. Maintain a steady temperature—most waxes melt best between 170-180°F (77-82°C)—and use a thermometer to monitor it closely. Stir the wax gently but consistently to ensure even melting and to prevent air bubbles. Once the wax is fully melted, you’ll want to add your fragrance oils, typically around 6-10% of the total wax weight, depending on your scent strength preference. Remember, adding fragrance oils at the right temperature—usually around 185°F (85°C)—maximizes scent throw, so timing matters. Additionally, understanding wax properties can help you select the best type for your desired candle style and burn quality.
Gathering your supplies is the next essential step. You’ll need wax, fragrance oils, wicks, containers, a thermometer, and melting equipment. Make sure your containers are clean and heat-resistant, and select wicks that suit the size and type of your container for a proper burn. Prepare your workspace with newspaper or a protective covering to catch any spills. Before you start melting, measure out your wax and fragrance precisely to maintain consistency. Once your wax is melted and scented, pour it into your prepared containers, securing the wicks in the center. Let the candles cool and cure for at least 24 hours before trimming wicks and testing the scent.
As an affiliate, we earn on qualifying purchases.
Frequently Asked Questions
What Types of Wax Are Best for Beginners?
For beginners, soy wax and beeswax are the best options because they’re easy to work with and safe. Soy wax melts smoothly, holds scent well, and burns cleanly, making it perfect for new crafters. Beeswax is natural, adds a subtle honey scent, and is also straightforward to use. Both wax types are forgiving for beginners, allowing you to focus on learning candle-making without complicated techniques.
How Do I Choose the Right Fragrance Oils?
Picking the right fragrance oils is like tuning a beautiful instrument—you want harmony, not chaos. Start with beginner-friendly scents, and consider how well they blend for a layered aroma. Check the oil’s longevity, so your candle’s scent lingers like a favorite song. Trust your nose, and don’t be afraid to experiment with fragrance blending. The perfect scent is the one that makes your space feel warm and welcoming.
What Safety Precautions Should I Take?
You should wear safety gear like gloves and goggles to protect your skin and eyes from hot wax and fragrance oils. Make sure good ventilation by working in a well-ventilated area or opening windows to prevent inhaling fumes. Keep a fire extinguisher nearby, and never leave melting wax unattended. Follow safety guidelines carefully, and handle all materials with caution to make your candle-making experience safe and enjoyable.
How Long Does It Take for Candles to Cure?
You might worry that your candles need days to cure, but typically, a curing time of 48 to 72 hours is enough for ideal scent development. During this period, the wax hardens, and the fragrance bonds properly, ensuring a strong, even scent throw. Patience is key; don’t rush this process, as giving your candles adequate curing time enhances their aroma and overall quality, making your finished product truly shine.
Can I Make Candles Without Special Equipment?
Yes, you can make candles without special equipment using DIY techniques and traditional methods. You’ll need simple items like old jars or bowls, a microwave or stovetop, and natural wax. Melt the wax carefully, add fragrance if you like, and pour it into your container with a wick. With patience and creativity, you can craft beautiful candles without investing in fancy tools, just by following basic candle-making steps.
Conclusion
Think of your candle-making journey as tending a delicate garden. With your checklist as the sturdy trellis supporting each plant, you guarantee everything’s in place for vibrant growth. As you nurture each step—from selecting wax to pouring your final flicker—you craft more than candles; you cultivate patience, skill, and creativity. Keep your tools close and your attention steady, and soon, your handmade candles will bloom beautifully, illuminating not just spaces but your confidence in every step you take.
Fall Picks
fall essentials
As an affiliate, we earn on qualifying purchases.