
To make layered neutral-tone candles at home, start by melting soy wax in a double boiler, maintaining the right temperature with a thermometer. Pour each cooled, hardened layer carefully to keep the lines crisp, experimenting with shades like beige, taupe, or light gray. Use light scents like vanilla or sandalwood for a calming aroma, and spray layers with alcohol to improve separation. Keep safety in mind, and with patience, you’ll create beautiful, sophisticated candles—continue to discover more effective tips and techniques.
Key Takeaways
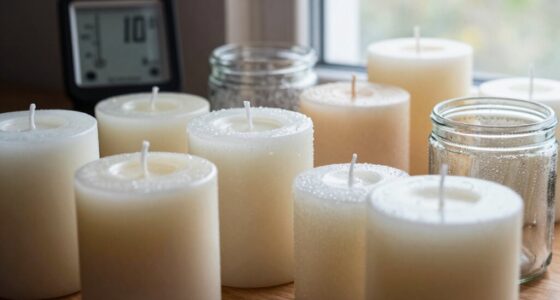
- Melt soy wax in a double boiler, monitoring temperature closely with a thermometer.
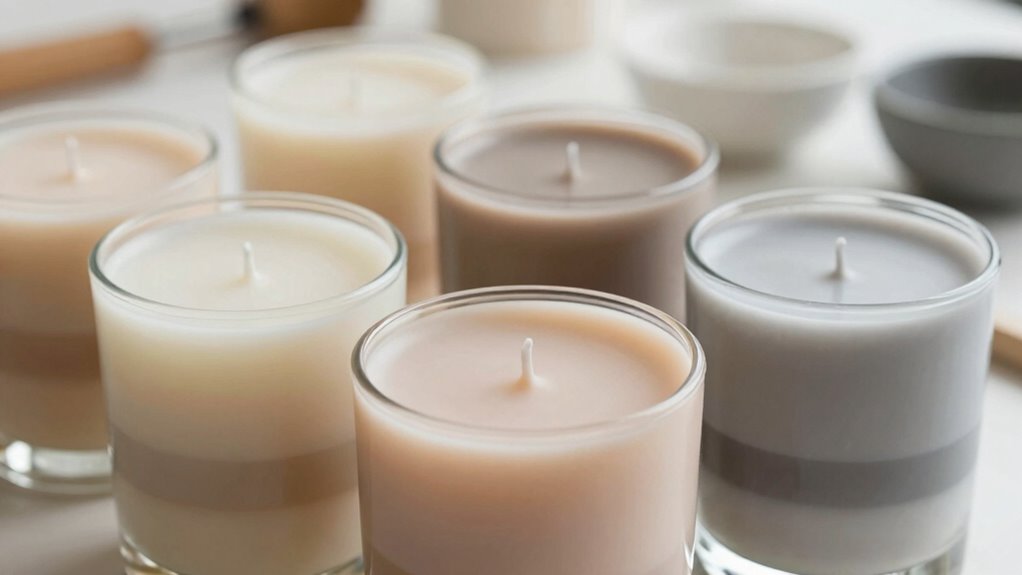
- Pour each cooled, hardened layer at the correct temperature to maintain sharp, clean lines.
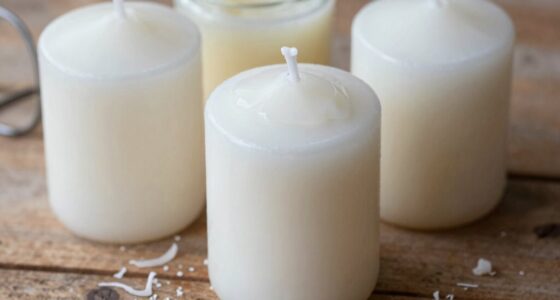
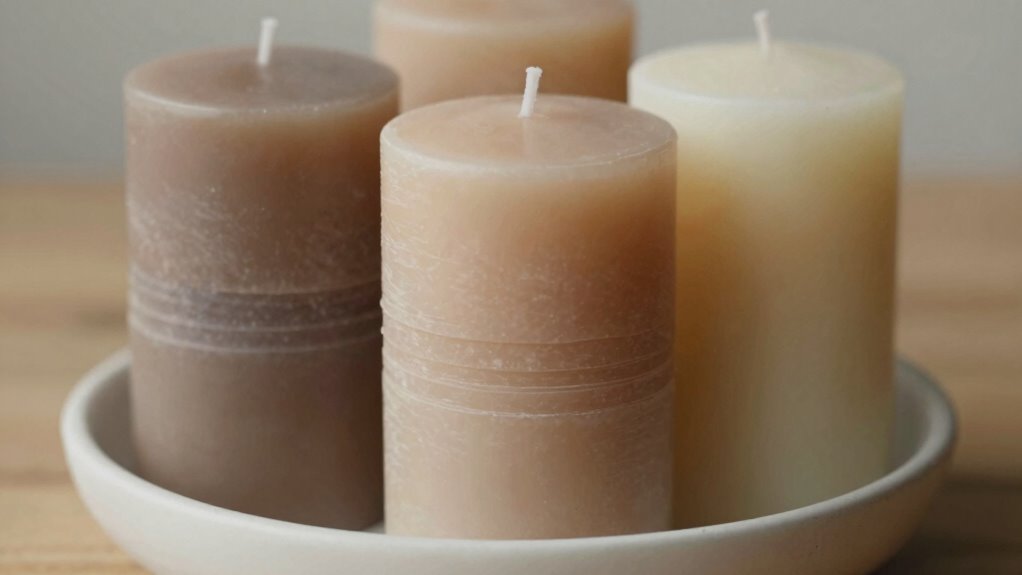
- Use neutral tones like beige, taupe, or light gray for each layer to achieve a seamless look.
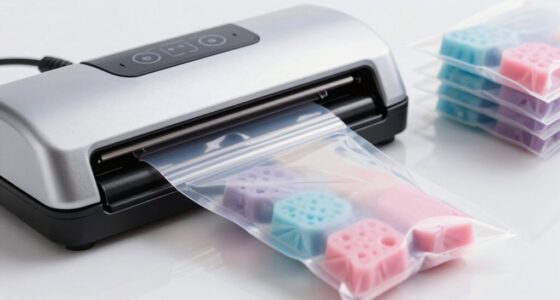
- Spray cooled layers lightly with alcohol or wait for a skin to form before pouring the next.
- Work in a well-ventilated area, handling wax carefully to ensure safety and quality results.
Creating layered neutral-tone candles at home is a simple and rewarding craft that adds a touch of elegance to any space. When you start, you’ll want to select your wax carefully—soy wax is a popular choice because it melts smoothly and is easy to work with. To achieve those beautiful neutral tones, pick colors like beige, taupe, or light gray, which blend seamlessly into any decor. The fun part is experimenting with scent combinations; you can combine subtle aromas like vanilla and sandalwood or eucalyptus and amber to create a calming atmosphere. Just remember, when working with fragrances, use the recommended amount so your candle smells lovely without overpowering the senses.
Layering your candles requires a bit of patience, but it’s straightforward. Begin by melting your wax in a double boiler, stirring gently to keep the temperature even. While the wax melts, prepare your containers and ensure they’re clean and dry to prevent any issues with adhesion or safety. Once your first layer reaches the right pouring temperature, pour it into your container. Let it cool and harden completely before adding the next layer. To maintain sharp, clean lines between layers, you can spray the cooled layer lightly with a bit of alcohol or wait for it to form a skin before pouring the next. This prevents the layers from blending together and keeps your design crisp. Using neutral tones helps your candles complement any decor style effortlessly. Additionally, paying attention to layering techniques can significantly improve the visual effect of your candles. Incorporating proper safety measures during the process ensures a safe and enjoyable crafting experience.
Patience is key; pour each cooled layer carefully to keep your candle’s design crisp and clean.
Being aware of passive voice usage can also improve the clarity of your instructions and descriptions, making your craft guides more engaging. Candle safety tips are essential throughout this process. Always work in a well-ventilated area, and never leave melting wax unattended. Use a thermometer to monitor the wax temperature closely—overheating can be dangerous and may cause the wax to catch fire. When pouring, pour slowly and steadily to reduce splashing or air bubbles, which can compromise the candle’s appearance and safety. Keep a fire extinguisher nearby, and ensure your work surface is non-flammable. When your candles are finished, trim the wicks to about a quarter-inch before lighting. Never leave a burning candle unattended, and keep it away from drafts or flammable objects.
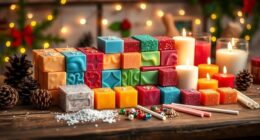
For best results, consider temperature control techniques to ensure each layer sets properly and maintains its crisp separation. With patience, attention to detail, and proper safety measures, you’ll create beautiful layered neutral-tone candles that not only look stunning but also fill your space with delightful scents. These candles are perfect for gifting or adding a sophisticated touch to your home decor. The process is as enjoyable as the finished product, and once you master layering and scent blending, you’ll find endless ways to personalize your candles for every occasion.
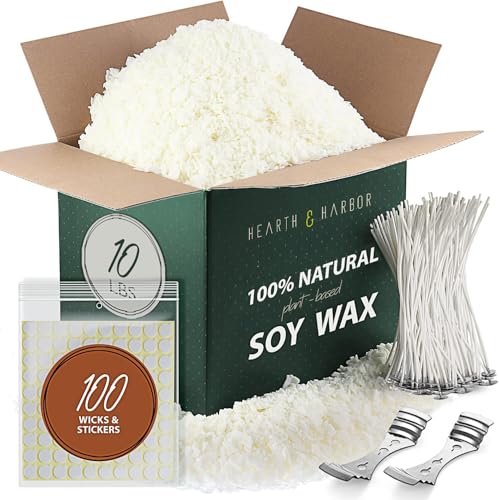
Hearth & Harbor Organic Soy Candle Wax for Candle Making, 10 lbs Natural Candles Making Supplies, Beeswax-Free, Paraffin-Free, Pure Soy Wax Flakes Perfect for Candles, Tealights and Melts
- All-In-One Candle Making Kit: Includes wax, wicks, stickers, and holders
- Easy to Use Flakes: Melt quickly and smoothly without mess
- Long-Lasting Fragrance: Holds up to 10% scent load for strong aroma
As an affiliate, we earn on qualifying purchases.
As an affiliate, we earn on qualifying purchases.
Frequently Asked Questions
What Type of Wax Is Best for Layered Candles?
You should use soy wax or beeswax for layered candles, as they melt smoothly and cool evenly. When selecting a candle wick, choose one compatible with your wax type and size for even burning. Also, make certain the wax is dye-compatible to achieve your neutral tones without bleeding or fading. These choices help you create beautiful, layered candles with consistent colors and a clean, steady burn.
How Do I Prevent Colors From Mixing Between Layers?
To prevent colors from mixing between layers, you need to guarantee color stability and proper layer separation. Allow each layer to cool to around 130°F before pouring the next, which helps maintain distinct boundaries. Also, gently pour over a spoon or a slightly hardened surface to prevent blending. By controlling temperature and pouring technique, you keep the colors crisp and the layers well-defined, avoiding unwanted mixing.
Can I Add Scents to Layered Candles?
Imagine your candle as a symphony waiting to be played. Yes, you can add scents to layered candles! Incorporate essential oils or fragrance oils into each layer for aromatherapy benefits. For the best scent combination tips, add the scent when the wax is just melted but not too hot, ensuring it binds well without bleeding into other layers. This way, your candles will emit delightful, layered aromas.
How Long Does It Take for Each Layer to Cool?
Each layer needs about 30 minutes to cool and harden before adding the next, ensuring clean separation. As you work, keep your candle wick centered in your candle mold to maintain balance. If the previous layer feels cool but slightly tacky, wait a bit longer. Rushing can cause mixing or uneven layers. Patience helps achieve crisp, professional-looking layered candles, so monitor the cooling process carefully for the best results.
What Safety Precautions Should I Follow While Melting Wax?
You should always wear protective gloves and eye gear when melting wax to prevent burns. Keep the melting temperature within the recommended range to avoid fires or wax splatters. Use a thermometer to monitor the wax’s temperature, ensuring it doesn’t overheat. Also, choose a suitable candle wick for your candle size to prevent uneven burning. Always work in a well-ventilated area and never leave melting wax unattended.
Conclusion
Now that you know the simple steps to craft charming, layered neutral-tone candles, you’re all set to create cozy, enchanting candles that complement any space. With a little patience and plenty of passion, your personalized pieces will impress friends and elevate your ambiance. So, start stitching, stacking, and shining—because your beautiful, bespoke candles are just a few flicks away. Embrace the art of ambiance, and let your creativity ignite your home!