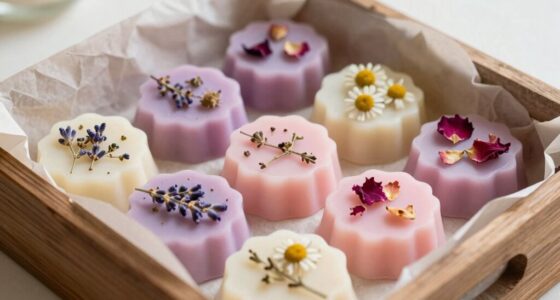
To create stunning candle photos on a budget, use DIY backdrops like textured fabric, patterned paper, or natural materials such as wood or linen that complement your candles without distraction. Incorporate soft lighting with natural light or affordable softbox and ring lights to reduce harsh shadows. Add simple accessories like dried flowers or stones for warmth, and keep the scene minimal to highlight your product. Want more tips to elevate your candle photography? Keep exploring!

Get decor and gifts delivered free with Prime
- Fast, free delivery on millions of items
- Prime Video, Amazon Music and more included
- Member-only deals all year
Key Takeaways
- Use textured fabrics like linen, burlap, or patterned paper as affordable, visually appealing backdrops.
- Create DIY backdrops with painted cardboard or foam boards in neutral or pastel shades.
- Incorporate natural elements like dried flowers, stones, or wood slices to enhance warmth and texture.
- Position backdrops against walls or on stands for stability and easy adjustment during photoshoots.
- Combine simple backgrounds with soft, natural lighting to highlight the candle’s glow and create a cozy atmosphere.
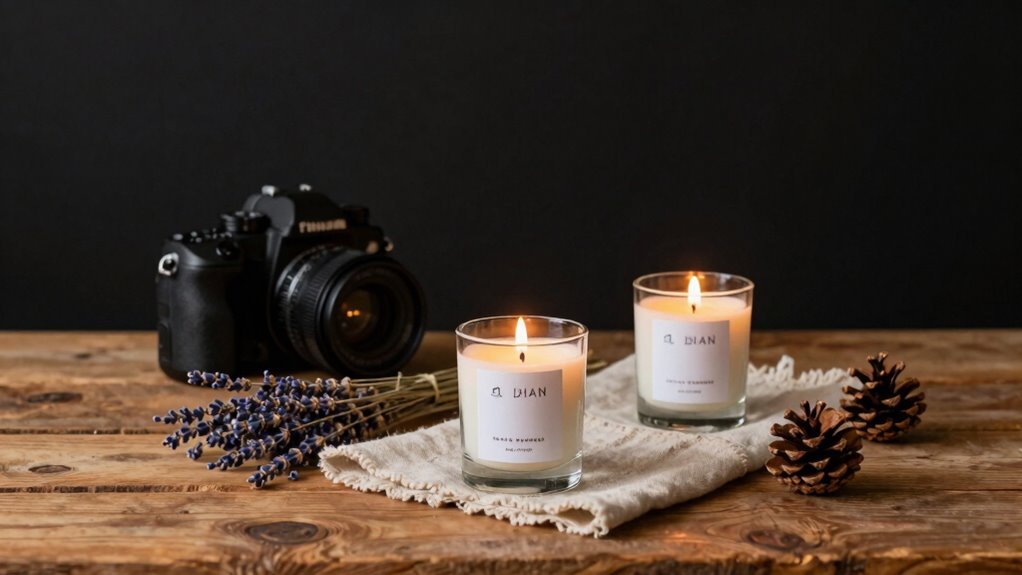
Creating a beautiful candle photo backdrop doesn’t have to be complicated or expensive. When you’re working with small brands, you want your visuals to stand out without breaking the bank. The key is in using simple lighting techniques and choosing effective color schemes that complement your candles. Good lighting can make even modest setups look professional, so start by experimenting with natural light, placing your candles near a large window or in a well-lit room. If you want more control, invest in affordable softbox lights or ring lights that diffuse light evenly, reducing harsh shadows and highlighting the warm glow of your candles. The goal is to create a soft, inviting ambiance that draws viewers’ eyes toward your product, and lighting is the easiest way to achieve that.
Once your lighting is set, focus on your color schemes. Your backdrop should enhance your candles, not compete with them. Neutral tones like whites, creams, or soft grays work well because they create a clean, minimalist aesthetic, allowing the candles’ colors and textures to shine. If you want a little more personality, consider using pastel shades or muted earth tones that evoke calmness and warmth. Avoid overly bright or clashing colors, as they can distract from the main product. You can also incorporate textures, like a linen cloth or a wooden surface, to add depth without overwhelming the scene. These subtle choices elevate your photos, making them more polished and appealing. Additionally, lighting techniques like bouncing light or using reflectors can further enhance the overall mood and clarity of your images, helping to create a consistent and professional look.
Creating a DIY backdrop with these elements is straightforward. For example, you might use a piece of patterned fabric or textured paper as your background, placing it against a wall or prop stand. Combine this with your preferred lighting setup, adjusting angles and intensity until you get the desired effect. Small accessories like dried flowers, stones, or minimalist props can add visual interest without cluttering the shot. Remember, the goal is to keep the focus on your candles while creating a warm, inviting atmosphere that consumers can imagine in their own homes. By paying attention to lighting techniques and color schemes, you can produce stunning, professional-looking photos that boost your brand’s appeal—all without a big budget. Exploring visual presentation strategies can also help you further refine your product photography.
DIY candle photo backdrop fabric
As an affiliate, we earn on qualifying purchases.
As an affiliate, we earn on qualifying purchases.
Frequently Asked Questions
What Materials Are Best for DIY Candle Backdrops?
You should choose materials that complement your candle’s color palette and offer interesting texture options. Cardboard or foam boards work well for sturdy, lightweight backdrops, while textured fabrics like burlap or linen add a cozy feel. For a more natural look, consider wood panels or marble contact paper. These materials help your candles stand out, create visual interest, and are easy to customize, making your photos pop.
How Do I Prevent My Backdrop From Reflecting Light?
You can prevent your backdrop from reflecting light by mastering reflection prevention techniques—ironic, isn’t it? Use matte or non-reflective surfaces to absorb excess light, and position your lighting at angles rather than direct overhead. Implementing soft, diffused lighting techniques also helps. Keep your light sources far enough away and tweak their angles until reflections fade. This simple approach turns reflection prevention into a surprisingly easy task.
Can I Reuse My DIY Backdrop for Multiple Photoshoots?
Yes, you can reuse your DIY backdrop for multiple photoshoots if you prioritize backdrop durability. To guarantee it lasts, handle it gently, store it properly, and avoid excessive exposure to moisture or direct sunlight. With careful maintenance, your backdrop can serve as a versatile tool for creative reuse, saving you money and inspiring fresh ideas for each shoot. Regularly check for wear and tear to keep it looking its best.
How Do I Create a Professional Look With a DIY Backdrop?
Imagine you’re a modern-day artist, not a Renaissance painter. To create a professional look with your DIY backdrop, focus on lighting techniques that highlight your candles without harsh shadows. Use soft, diffused light and experiment with angles. Also, guarantee color coordination by choosing complementary hues that enhance the product’s appeal. This attention to detail will give your photos a polished, professional vibe that resonates with your audience.
What Size Should My Backdrop Be for Small Candle Photos?
For small candle photos, aim for a backdrop that’s about 24-36 inches wide and 18-24 inches high. The backdrop height should complement your photo angle, ensuring the candle remains the focus without overwhelming the shot. A height of around 18 inches works well for close-up shots, while a taller backdrop helps if you want more background detail. Keep it proportionate to your candle size for a professional look.
Conclusion
Creating your own candle photo backdrops isn’t just budget-friendly; it’s a fun way to add personality and authenticity to your brand. When you craft these backdrops yourself, you control the style, colors, and textures, making your product photos truly stand out. By experimenting with different materials and techniques, you’ll find a rhythm that elevates your brand’s visual storytelling. So go ahead—get creative, and watch your small brand shine brighter with every shot!
Halloween Picks
halloween
As an affiliate, we earn on qualifying purchases.