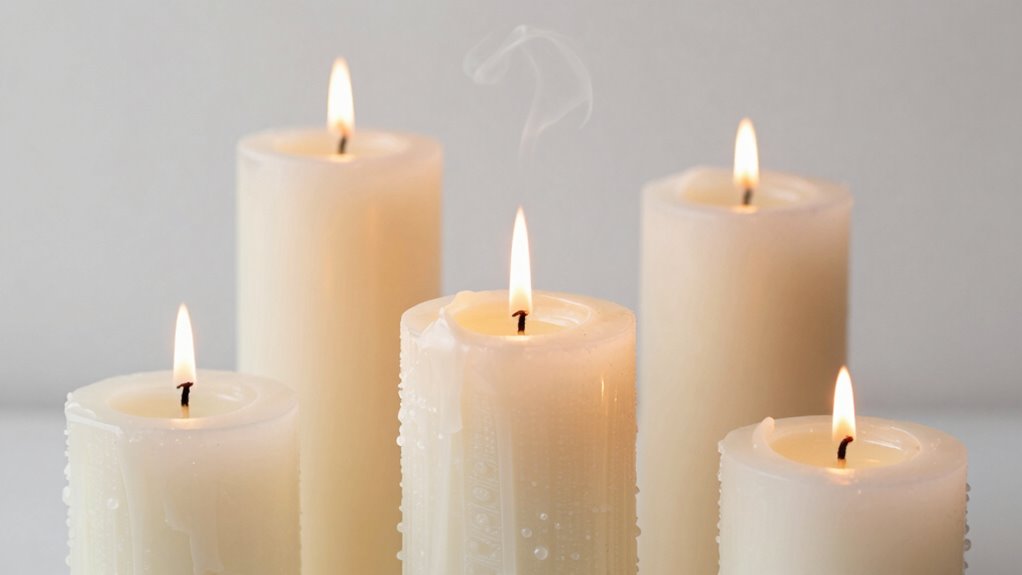

As a beginner, you should understand that candle testing timelines are essential for ensuring safe, even burns and reliable performance. Start by burning the candle for at least four hours to observe how it melts and check for issues like tunneling or smoking. Repeat these burns every 24 hours, monitoring the flame and wax consistency closely. Keeping track of these details helps you make adjustments for ideal results. Staying attentive now will prepare you for more advanced testing steps ahead.

Get decor and gifts delivered free with Prime
- Fast, free delivery on millions of items
- Prime Video, Amazon Music and more included
- Member-only deals all year
Key Takeaways
- Conduct initial burns of at least four hours to observe melting behavior and wick stability.
- Repeat burn cycles every 24 hours to monitor consistency and identify issues like tunneling.
- Use tools like thermometers and rulers for precise measurement of melt pools and temperature.
- Prioritize safety by working in ventilated areas, avoiding unattended flames, and keeping safety equipment nearby.
- Track long-term performance through multiple burns to ensure reliable, even burning and optimal candle quality.
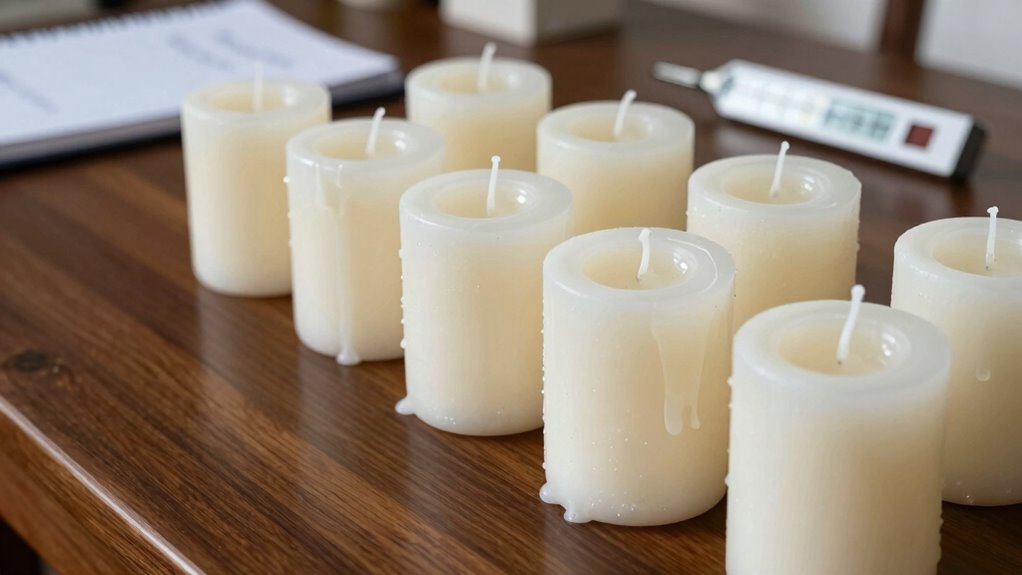
If you’re new to candle making, understanding the testing timelines is essential to guarantee your candles burn safely and evenly. Proper testing helps identify potential issues like uneven burning, tunneling, or excessive smoking, allowing you to make adjustments before selling or gifting your candles. To do this effectively, you need to follow specific safety precautions and use the right testing equipment. Safety should always come first—work in a well-ventilated space, keep a fire extinguisher nearby, and never leave hot wax unattended. These safety precautions are crucial because molten wax and open flames pose risks, especially during testing.
When you start testing your candles, keep in mind that patience is key. Typically, you should allow each candle to burn for at least four hours during its first burn. This initial test burn helps you observe the candle’s behavior, such as how the wax melts and whether the wick stays centered. It also reveals if there’s excessive soot or smoke, which could indicate the need for a different wick size or type. Use appropriate testing equipment, like a thermometer to monitor wax temperature and a ruler to measure the full melt pool. These tools let you gather precise data, helping you optimize your wick choice and wax blend. Additionally, understanding testing timelines is vital for ensuring your candles perform well over multiple uses. Recognizing the burn cycle and how it affects the candle’s performance can help you make better adjustments for consistency. Monitoring the melting point of your wax during testing can also help identify the ideal temperature range for optimal burn quality. Moreover, consistent testing at different stages can help detect any performance issues early on, reducing the risk of problems during extended use.
As you proceed with your testing timelines, plan to do multiple burns for each candle. After the initial four-hour burn, wait until the wax has solidified and cools completely before relighting. Repeat this process several times, ideally every 24 hours, to observe how the candle’s burn pattern stabilizes. This timeline allows you to see if the candle develops tunneling or if the flame flickers excessively. Consistent testing over several burns ensures that your candle performs reliably when used regularly. Remember, each test provides insight into adjustments needed to improve burn quality, such as changing wick size or modifying the wax mixture.
As an affiliate, we earn on qualifying purchases.
Frequently Asked Questions
How Often Should Candle Tests Be Repeated for Accuracy?
You should repeat candle tests at least every six months to guarantee accuracy and uphold candle safety. Regular testing helps identify any deviations from testing standards, ensuring your candles remain safe for use. If your candles undergo significant changes or if new batches are produced, retest them sooner. Consistent testing maintains quality, prevents hazards, and aligns with industry standards, giving you confidence in your candles’ safety and performance over time.
Are There Specific Tools Needed for Candle Testing?
When testing candles, you’ll need tools like a thermometer, a scale, and a ruler to check color consistency and soot production. A glass jar or a similar container helps observe how the candle burns over time. You should also have a notebook to record your findings. These tools help guarantee your candle burns evenly, maintains consistent color, and produces minimal soot, guaranteeing safe and quality products.
How Do Environmental Factors Affect Candle Testing Timelines?
Environmental factors can profoundly impact your candle testing timelines, making consistency harder to achieve. Fluctuations in temperature, humidity, or drafts can cause candles to burn unevenly or melt faster, distorting your results. While you might think more testing will clarify your candle’s performance, these conditions can skew data. To maintain testing consistency, conduct tests in a controlled environment, and avoid changing conditions mid-process, ensuring reliable and accurate results.
Can Testing Timelines Vary by Candle Type or Wax?
Yes, testing timelines can vary depending on candle type or wax. Different wax compositions, like soy, beeswax, or paraffin, have unique melting points and burn characteristics, affecting how long it takes to test. Fragrance variation also plays a role, as some scents may require longer testing to guarantee proper scent throw and stability. You should adapt your testing process based on these factors to guarantee your candles meet quality standards.
What Are Common Mistakes to Avoid During Candle Testing?
You should avoid rushing your candle testing process, as it can lead to incorrect results. Make sure you monitor the candle’s flame height, keeping it steady, and observe the candle scent release over time. Don’t ignore signs of uneven burning or excessive soot, as these indicate flaws. Testing consistently helps identify issues early, ensuring your candle performs well and is safe for use.
Conclusion
Now that you’re familiar with candle testing timelines, you’re better equipped to guarantee your candles burn safely and evenly. Remember, patience is key—rushing the process can lead to uneven flames or safety hazards. Think of it like an ancient alchemist perfecting his craft; every step counts. With this knowledge, you can confidently set out on your candle-making journey, turning simple wax into a masterpiece, all while respecting the timeless wisdom that guides us through every flickering flame.
Evergreen bestsellers Picks
bestsellers
As an affiliate, we earn on qualifying purchases.