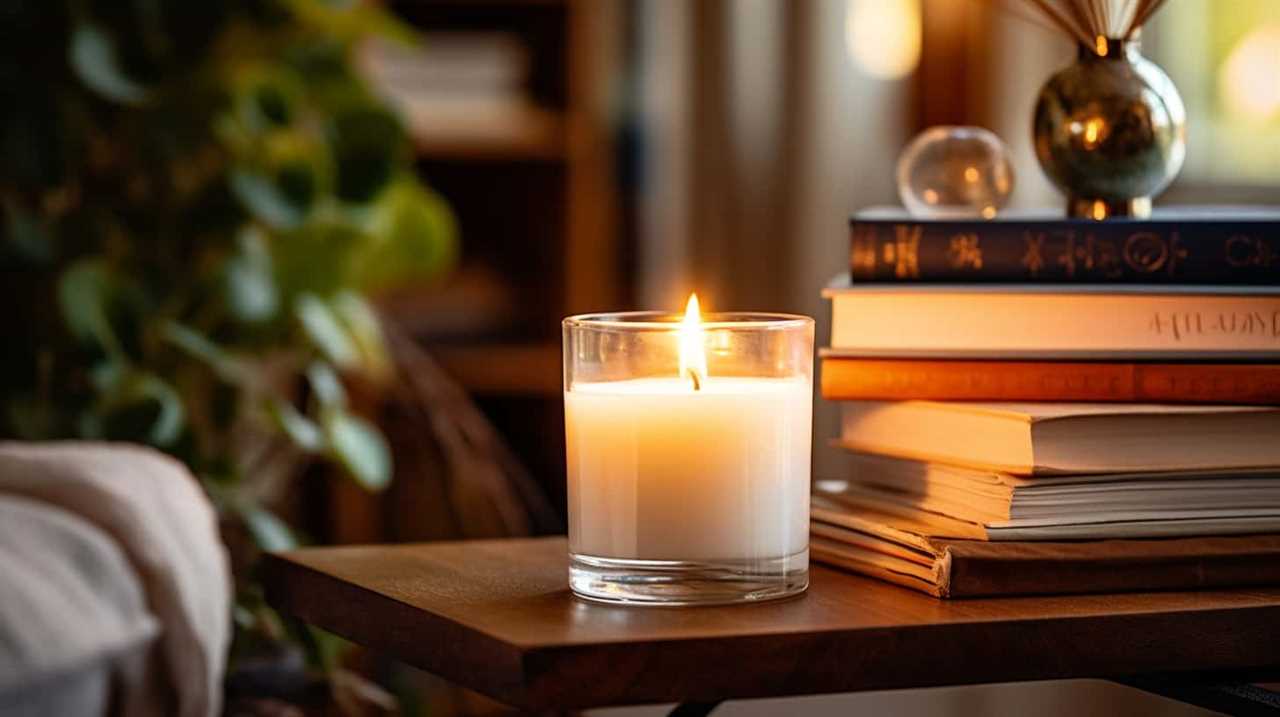
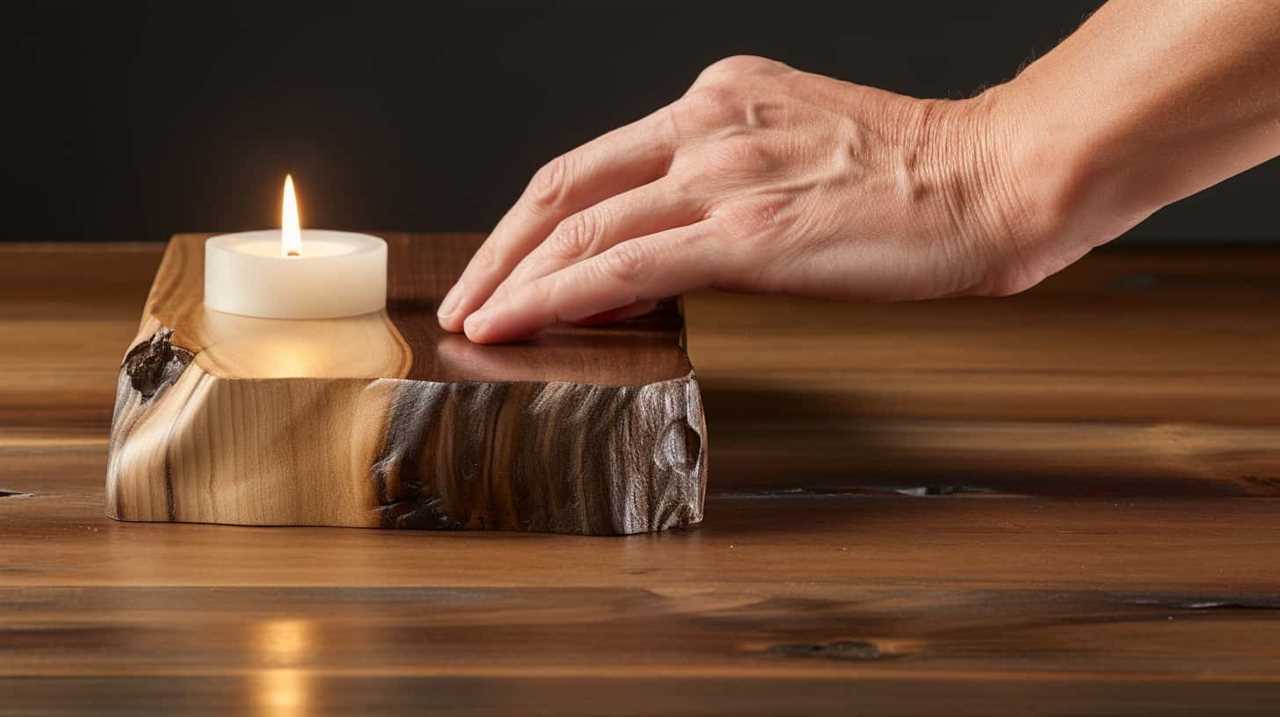
Have you ever wondered about the proper way to melt candle wax safely? Let us share our expertise on the matter.
When it comes to melting candle wax, there are a few important steps that you may not be aware of. In this guide, we will walk you through the process, providing you with the knowledge you need to master this skill. From choosing the right type of wax to setting the correct temperature, we’ve got you covered.
By following our instructions, you’ll be able to safely melt candle wax and create beautiful candles with ease. So, let’s get started!
Key Takeaways
- Different types of wax have different melting points.
- Safety precautions are essential when melting wax.
- Use heat-resistant containers to prevent accidents.
- Proper ventilation removes potentially harmful fumes.

Vtopmart 25 PCS Clear Plastic Drawer Organizers Set, 4-Size Versatile Bathroom and Vanity Drawer Organizer Trays, Storage Bins for Makeup, Bedroom, Kitchen Gadgets Utensils and Office
- Versatile Drawer Organizer Set: Fits various home drawers and spaces
- Includes 25 Bins in 4 Sizes: Customizable storage options for different items
- Non-Slip and Durable Design: Silicone pads prevent slipping, sturdy plastic construction
As an affiliate, we earn on qualifying purchases.
Choose the Right Type of Wax
When melting candle wax, we recommend choosing the appropriate type of wax for a safe and successful melting process. The optimal melting temperature varies depending on the type of wax you choose.

For example, soy wax has a lower melting point of around 120-150°F, while beeswax requires higher temperatures of 145-175°F. It’s crucial to select the right wax that suits your specific needs and preferences.
Additionally, consider choosing the perfect hue to enhance the ambiance of your space. Whether you prefer vibrant colors or subtle shades, there’s a wide range of options available. Experiment with different dyes and pigments to create unique and visually appealing candles.
Prepare Your Work Area
Now that we’ve chosen the right type of wax, it’s important to prepare our work area properly.
Safety precautions are essential when it comes to melting wax, so we need to ensure we’ve the necessary tools and equipment.
Additionally, proper ventilation is crucial to prevent any potential hazards while melting wax.
Safety Precautions for Melting Wax
To ensure a safe melting process, we should first prepare our work area by taking the necessary precautions. One important aspect is choosing appropriate containers for melting wax. It’s crucial to use heat-resistant containers that can withstand high temperatures without cracking or shattering. Glass or metal containers are ideal options as they can handle the heat without any issues.
Additionally, it’s essential to prevent wax spills during the melting process. Placing the containers on a heat-resistant surface, such as a silicone mat or a metal tray, can help catch any potential spills or drips.
It’s also advisable to have a clean and clutter-free work area to minimize the risk of accidents and ensure a smooth and safe melting process.
Essential Tools and Equipment
To efficiently prepare our work area for melting wax, we need essential tools and equipment that aid in the process. First and foremost, a dedicated workstation is crucial for ensuring organization and safety. This includes a heat-resistant surface, such as a metal or glass table, to place your melting container on. Additionally, it’s important to have a double boiler or a melting pot specifically designed for candle making. These tools help to evenly distribute heat and prevent the wax from overheating or catching fire. To further enhance safety, it’s recommended to have a thermometer to monitor the temperature of the wax accurately. Lastly, having a fire extinguisher nearby is essential in case of any accidents. By having these tools and equipment readily available, you can create a well-prepared workspace that prioritizes wax melting safety.
Now that our work area is properly equipped, let’s move on to the next crucial aspect of safely melting candle wax: proper ventilation.
Proper Ventilation for Melting Wax
First, we need to ensure proper ventilation in our work area when melting wax. Proper ventilation is essential for several reasons.
Firstly, it helps to remove any potentially harmful fumes that may be released during the melting process. These fumes can include toxins such as formaldehyde and carbon monoxide, which can be detrimental to our health if inhaled in high concentrations.
Secondly, proper ventilation helps to maintain a comfortable working environment by preventing the buildup of heat and humidity. This can be particularly important when working with large quantities of wax or in a confined space.
To ensure proper ventilation, there are a few safety measures that we should take. Firstly, we should open windows and doors to allow fresh air to circulate. Additionally, using fans or air purifiers can help to further improve air circulation.
It’s also important to avoid melting wax in areas with poor ventilation, such as small closets or basements, as this can increase the risk of exposure to harmful fumes.
Gather the Necessary Supplies
We’ll collect all the essential supplies needed to safely melt candle wax. It is important to gather these supplies before starting the process to ensure a smooth and safe experience. One of the most crucial tools is a thermometer. This enables you to monitor the temperature of the wax and prevent it from reaching dangerous levels that could cause fires or burns. Another vital item is a double boiler or a heat-resistant container for melting the wax. This helps to maintain a controlled heat and prevent direct contact with open flames. Additionally, you’ll need a heat source such as a stove or a hot plate. Lastly, gather safety equipment like heat-resistant gloves and goggles to protect yourself from potential dangers of melting wax.

| Supplies | Description |
|---|---|
| Thermometer | Monitors wax temperature |
| Double boiler or heat-resistant container | Melts wax safely |
| Heat source | Stove or hot plate |
| Safety equipment | Heat-resistant gloves and goggles |
Use a Double Boiler Method
To safely melt candle wax, one of the most effective methods is to use a double boiler. A double boiler consists of two pots, one larger than the other, that create a gentle and indirect heat source for melting the wax. The larger pot is filled with water and placed on the stove, while the smaller pot, containing the wax, is nestled on top. As the water in the larger pot heats up, it gently warms the wax in the smaller pot, preventing it from scorching or catching fire.
However, if a double boiler isn’t available, there are alternatives for melting wax without one. One option is to use a heat-proof glass or metal bowl placed over a pot of simmering water. Another option is to use a slow cooker set on low heat.
Whichever method you choose, always monitor the temperature closely to ensure safe and effective wax melting.
Set the Right Temperature
When it comes to melting candle wax, it’s crucial to set the right temperature. The optimal melting temperature for most candle waxes is between 120 and 150 degrees Fahrenheit.

It’s important to avoid overheating the wax as it can lead to discoloration, degradation of fragrance, and even the risk of fire.
Optimal Melting Temperature
Our recommended temperature for melting candle wax safely is 160 degrees Fahrenheit. Maintaining the optimal melting temperature is crucial to achieve the best results. Here’s why:
- Consistency: At 160 degrees Fahrenheit, the wax will melt evenly, ensuring a smooth and uniform texture.
- Avoiding discoloration: Higher temperatures can cause the wax to darken or turn yellow, affecting the appearance of your candles.
- Preventing burning: Excessive heat can lead to the wax burning or scorching, resulting in a strong and unpleasant smell.
- Safety: Setting the temperature too high can increase the risk of fire hazards. By using the recommended temperature, you can melt the wax safely without any mishaps.
If you’re experiencing issues with melting, such as slow melting or uneven distribution, troubleshooting may be necessary. Stay tuned for our next subtopic where we’ll discuss troubleshooting melting issues.
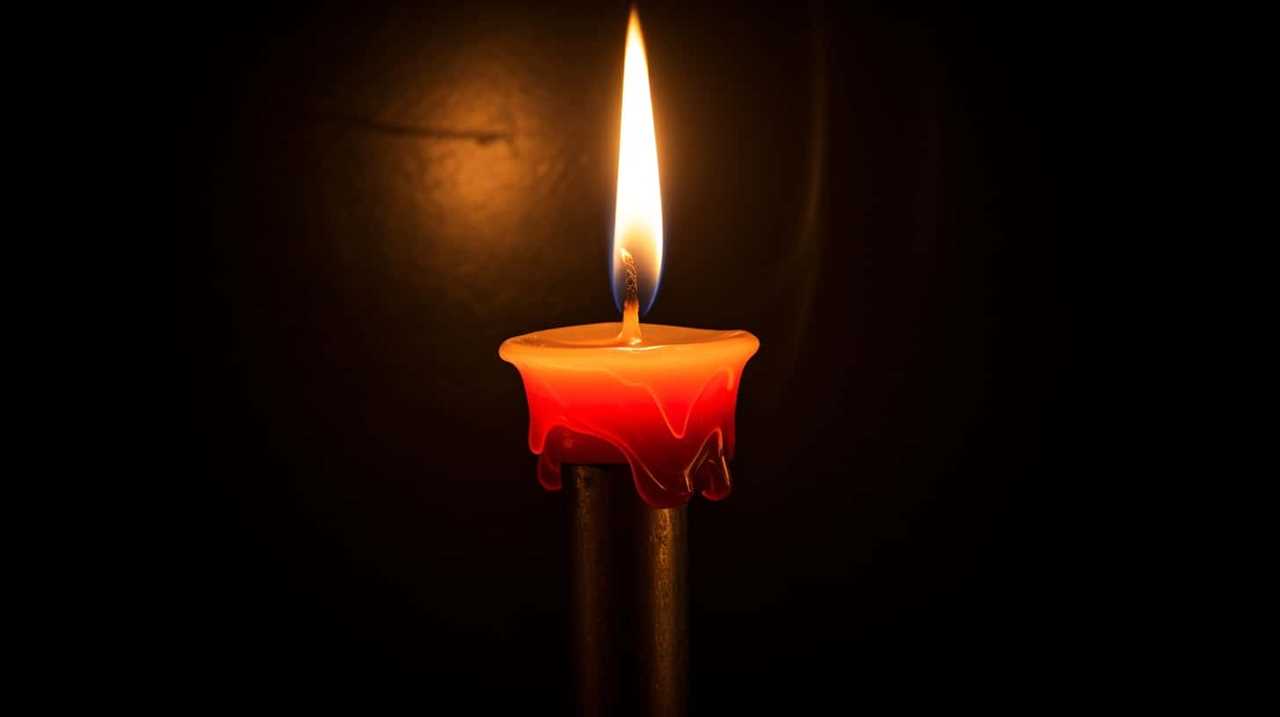
Avoid Overheating Wax
Setting the right temperature is essential to avoid overheating the wax while melting it safely. By doing so, you not only prevent accidents but also ensure that the wax doesn’t discolor during the melting process.

To achieve the optimal temperature, it’s recommended to use a double boiler or a dedicated wax melting pot. This will provide a gentle and even heat distribution, minimizing the risk of overheating. It’s crucial to monitor the temperature closely using a thermometer designed for candle making.
The ideal temperature for most waxes is between 170°F and 185°F (76°C and 85°C). Going beyond this range can lead to the wax becoming too hot, which can result in accidents or cause the wax to discolor.
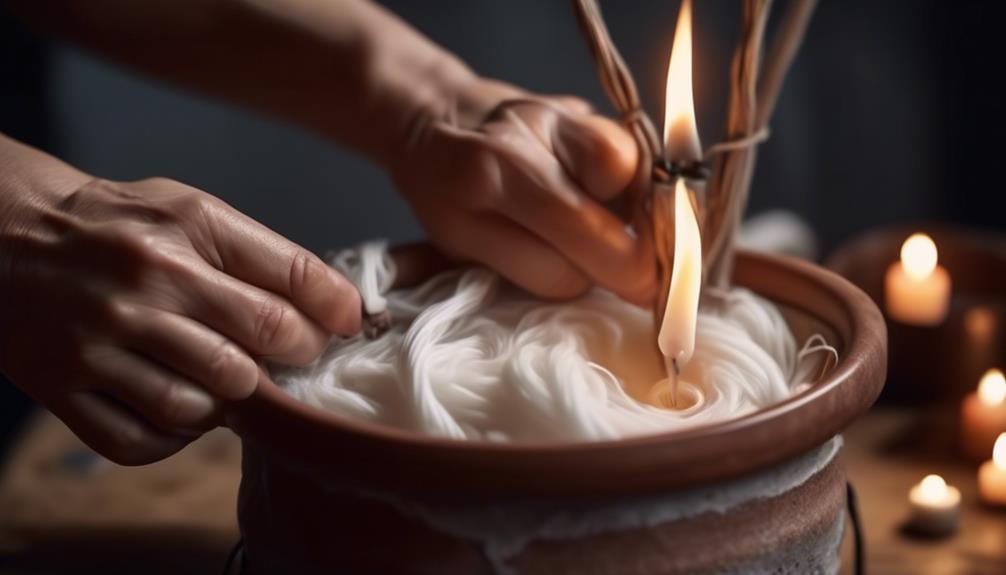
Break the Wax Into Smaller Pieces
To begin, we’ll need to break the wax into smaller pieces. This step is crucial for ensuring even melting and preventing any accidents during the melting process. Here are four breaking techniques that will help you safely break the wax:
- Knife method: Use a sharp knife to carefully cut the wax into smaller chunks. Make sure to apply steady pressure and keep your fingers away from the blade.
- Freezing method: Place the wax in a freezer for a few hours until it becomes hard. Then, take it out and gently tap it on a hard surface to break it into smaller fragments.
- Hammer method: Wrap the wax in a clean cloth and place it on a sturdy surface. Use a hammer to gently strike the cloth-wrapped wax until it breaks into smaller pieces.
- Grating method: If you have a grater with large holes, you can easily grate the wax into smaller shavings. This method is especially useful for smaller candle wax quantities.
Add Fragrance or Color (Optional)
Now that we’ve broken the wax into smaller pieces, it’s time to add fragrance or color to our candles.

Adding fragrance can create a pleasant ambiance and enhance the overall experience. Whether you prefer a subtle scent or a bold aroma, there are various options available to suit your preferences.
Additionally, adding color can further personalize your candles and complement your home decor. Let’s explore the different scents and hues that can elevate your candle-making process.
Scented or Unscented
We can enhance the aroma and visual appeal of our melted candle wax by adding fragrance or color if desired. When it comes to scented candles, there are numerous benefits to consider. Here are four reasons why scented candles are a great choice:
- Aromatherapy: Certain scents can promote relaxation, reduce stress, and improve mood.
- Masking Odors: Scented candles can help eliminate unwanted odors in your home and create a more pleasant environment.
- Creating Ambiance: The right fragrance can set the tone for a cozy evening, a romantic dinner, or a relaxing bath.
- Personalization: With a wide variety of scents to choose from, you can find one that matches your personality, preferences, and the occasion.
When choosing candle scents, consider your desired mood, the season, and the room you’ll be using it in. Whether you prefer floral, fruity, woody, or fresh scents, there’s a perfect fragrance for everyone.

Choosing the Perfect Hue
For the perfect hue, we can enhance our melted candle wax by adding a quantifier determiner of fragrance or color if desired. Choosing the right scent is crucial in creating the desired ambiance for your space. Experimenting with different fragrance combinations can result in unique and captivating aromas. Consider blending floral scents with citrus undertones for a refreshing atmosphere, or choose warm and spicy notes for a cozy and inviting feel. Additionally, playing with color combinations can add an artistic touch to your candles. Below is a table showcasing popular color options and their corresponding meanings:
| Color | Meaning |
|---|---|
| Red | Passion, energy |
| Blue | Calm, tranquility |
| Yellow | Happiness, positivity |
| Green | Harmony, growth |
Stir the Wax Gently
To ensure a smooth and even melting process, gently stir the wax with a heat-resistant spoon. Proper stirring techniques are essential in preventing wax spills and achieving a consistent texture. Here are four steps to help you stir your candle wax effectively:
- Start by placing the heat-resistant spoon in the center of the wax container, making sure it touches the bottom. This will help distribute the heat evenly and prevent any hot spots.
- Using a gentle circular motion, stir the wax slowly and steadily. Avoid stirring too vigorously, as this could create air bubbles and affect the final appearance of your candles.
- Continue stirring until all the wax is completely melted. Make sure to scrape the sides of the container to ensure that no unmelted wax remains.
- Once the wax is fully melted, remove the spoon and set it aside. Be careful not to touch the hot spoon or spill any wax during this process.
Monitor the Melting Process
To ensure a successful melting process, closely observe the wax as it heats. Monitoring the temperature is crucial to prevent the wax from overheating and causing potential hazards. Use a thermometer to track the temperature and adjust the heat source accordingly. Additionally, keep an eye out for any signs of the wax boiling or bubbling excessively, as this may indicate that the temperature is too high.
To prevent wax spills, it’s essential to use a double boiler or a dedicated melting pot with a spout. This will allow you to pour the melted wax into containers with accuracy and precision. Place a heat-resistant mat or tray underneath the melting pot to catch any potential drips or spills. By actively monitoring the melting process and taking necessary precautions, you can ensure a smooth and safe experience.
In the next section, we’ll discuss how to pour the melted wax into containers.
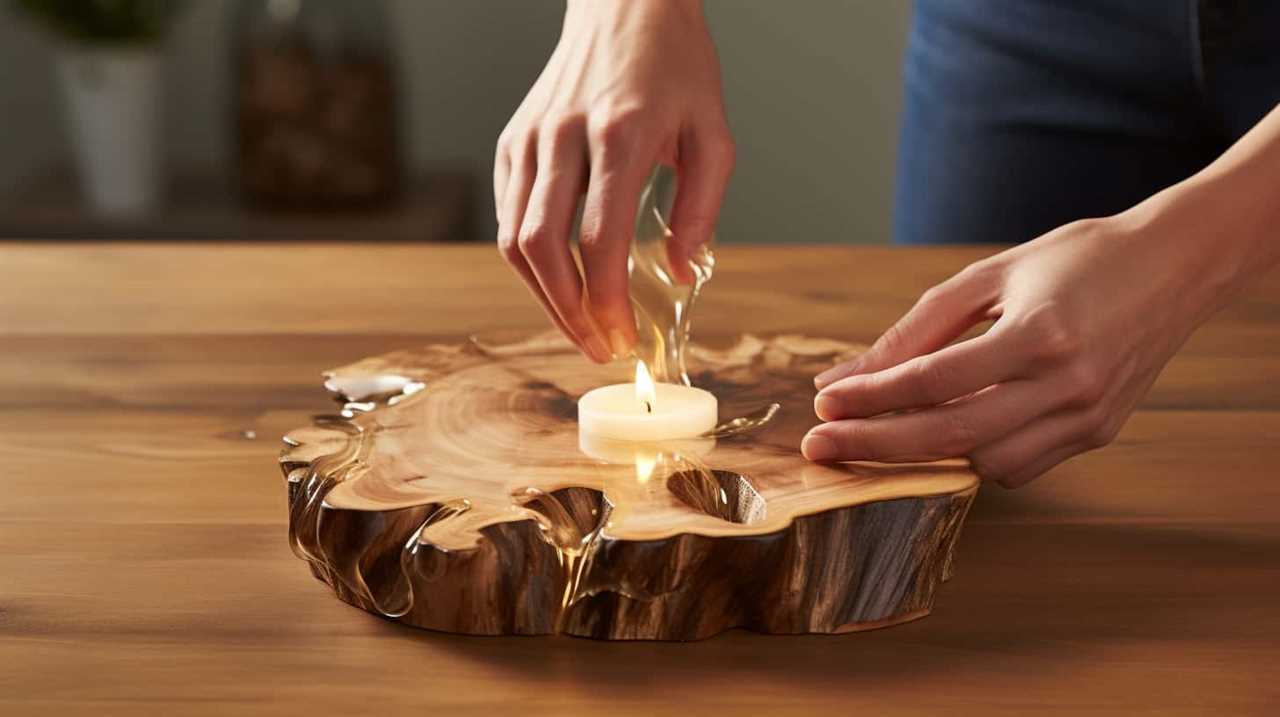
Pour the Melted Wax Into Containers
We pour the melted wax into containers for safe and accurate candle making. This step requires careful attention to pouring techniques to prevent wax spills. Here are four essential steps to ensure a successful pour:
- Prepare your containers: Place your clean and dry candle containers on a heat-resistant surface. Ensure they’re stable and won’t tip over during the pouring process.
- Use a pouring pitcher: To maintain control and accuracy, pour the melted wax from a pouring pitcher. The narrow spout helps to direct the flow and reduces the risk of spills.
- Slow and steady pour: Begin pouring the melted wax into the containers slowly, allowing time for the wax to settle and level. Avoid rushing the process, as this can lead to uneven candles or spills.
- Avoid overfilling: Leave some space at the top of the container to prevent overflowing when the candle is burning. This also helps to prevent any hot wax from spilling over the sides.
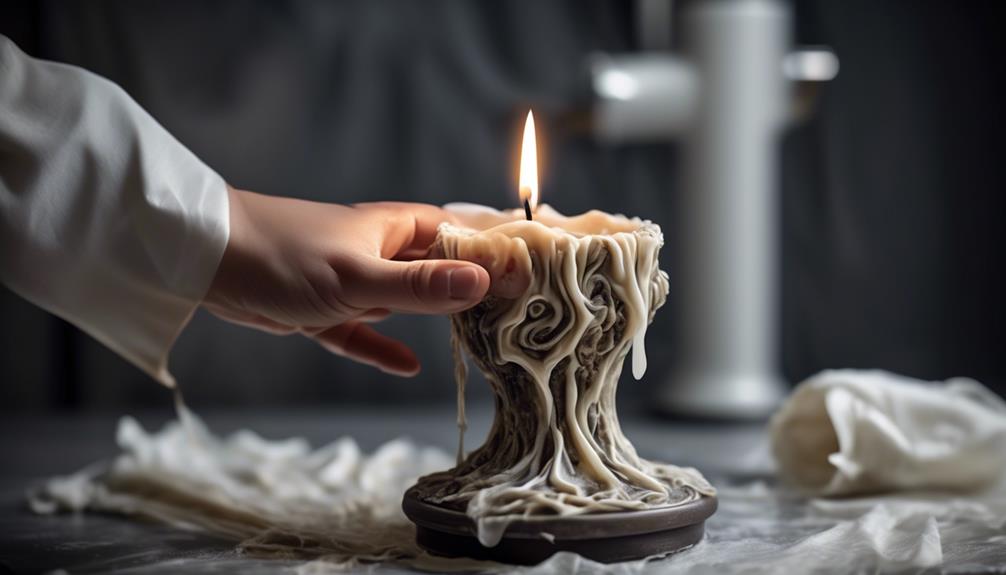
Allow the Candles to Cool and Set
After pouring the melted wax into the containers, we need to allow the candles to cool and set. This step is crucial in ensuring that the candles solidify properly and maintain their shape. Allowing the candles to cool slowly and naturally will prevent any cracking or unevenness in their appearance. It’s important to find a suitable location for the cooling process, preferably in a room with proper ventilation to ensure the wax sets without any interference.
The ventilation helps in dissipating any fumes or odors that may be produced during the cooling process. Once the candles have cooled completely, they should have a smooth and solid texture, indicating that they’re ready for use.

Now that the candles have set, we can move on to the next step: cleaning up any spills and residue.
Clean up Spills and Residue
To clean up any spills and residue, we can use an absorbent material. Here are some cleaning techniques for removing wax stains:
- Scrape off excess wax: Use a plastic scraper or a credit card to gently remove any solidified wax from the surface. Be careful not to scratch or damage the material.
- Blot with a paper towel: Place a paper towel over the remaining wax stain and apply gentle pressure. The heat from an iron set on low can help soften the wax, making it easier to absorb.
- Use rubbing alcohol: Moisten a clean cloth with rubbing alcohol and dab the stained area. The alcohol will break down the wax and allow it to be absorbed into the cloth.
- Launder or clean as usual: Depending on the material, you can launder clothing or wash surfaces with warm water and mild detergent to remove any residue.
Store Leftover Wax Properly
To ensure proper storage of leftover wax, it’s important to use airtight containers. This not only helps maintain the quality of the wax but also prevents any spills or leaks. Airtight containers provide a secure seal, keeping the wax intact and free from contaminants.
When choosing containers, opt for ones that are specifically designed for storing wax, such as glass jars or metal tins with tight-fitting lids. Avoid plastic containers as they may not provide a sufficient barrier against moisture and air.
Additionally, it’s advisable to label your containers with the type of wax and the date it was stored. This will help you keep track of your inventory and ensure you’re using the oldest wax first.
Proper storage of leftover wax is essential for maintaining its quality and preventing any wax spills or mishaps.
Frequently Asked Questions
Can I Use Any Type of Wax to Make Candles?
When making candles, it’s important to consider the type of wax you use. Different types have their pros and cons. Some popular options include soy, beeswax, and paraffin. Each has unique characteristics that can affect the candle’s burn time, scent throw, and appearance.
How Long Does It Take for the Melted Wax to Cool and Set?
The cooling time and setting process of melted wax can vary depending on factors such as temperature and type of wax used. It’s important to allow ample time for the wax to cool and set properly to ensure a safe and long-lasting candle.

What Should I Do if I Accidentally Spill Melted Wax on My Skin?
If you accidentally spill melted wax on your skin, immediately run the affected area under cold water to cool and solidify the wax. Gently peel it off and apply a soothing lotion to alleviate any discomfort.
Can I Use Food Coloring to Add Color to My Candles?
Yes, you can use food coloring to add color to your candles. However, using natural dyes for candle coloring is a healthier alternative. There are many methods available to color your candles without relying on food coloring.
How Long Can I Store Leftover Wax Before It Goes Bad?
Leftover wax can be stored for a long time if properly stored. To maximize the shelf life, keep it in an airtight container in a cool, dark place. Avoid exposing it to extreme temperatures or sunlight.
Conclusion
In conclusion, melting candle wax can be done safely by following these steps.
By choosing the right type of wax, preparing your work area, and using the double boiler method, you can ensure a smooth and controlled melting process.
Setting the right temperature and pouring the melted wax into containers will create beautifully crafted candles. Remember to allow them to cool and set, and clean up any spills or residue.
Finally, store any leftover wax properly for future use. With these tips, you can confidently create your own candles at home.