Are you ready to hone your skills in creating your own luxurious vanilla candles? We know how much you enjoy the comforting scent that fills the room when a vanilla candle is lit.
Imagine being able to make your own, personalized version of this beloved fragrance. Picture yourself crafting beautiful candles that not only provide a captivating aroma but also create a cozy ambiance in any space.
Whether you’re a seasoned candle maker looking to expand your repertoire or a curious beginner eager to learn, this guide will equip you with the skills and knowledge needed to make the perfect vanilla candle.
So, let’s dive in and discover the joy of creating your very own aromatic masterpiece.
Key Takeaways
- Choose the right fragrance: Vanilla fragrance oils or essential oils can be found at craft stores or online.
- Prepare the work area: Find a clean and well-ventilated space with a flat surface. Cover it with newspaper or a plastic sheet.
- Clean the container: Thoroughly clean the candle container inside and out using warm soapy water and a sponge or cloth.
- Accurate measurements: Use a kitchen scale or measuring cup to measure the desired amount of wax.

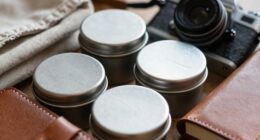
YINMIT Wooden Display Riser Stand, Tiered Perfume and Cologne Organizer Stand, 4 Tier Spice Rack Organizer, Rustic Display Shelf for Candles (4 Tier)
Vintage Appearance: Rustic and aesthetic wood grain that fits perfectly with the black matt paint. Simple and elegant...
As an affiliate, we earn on qualifying purchases.
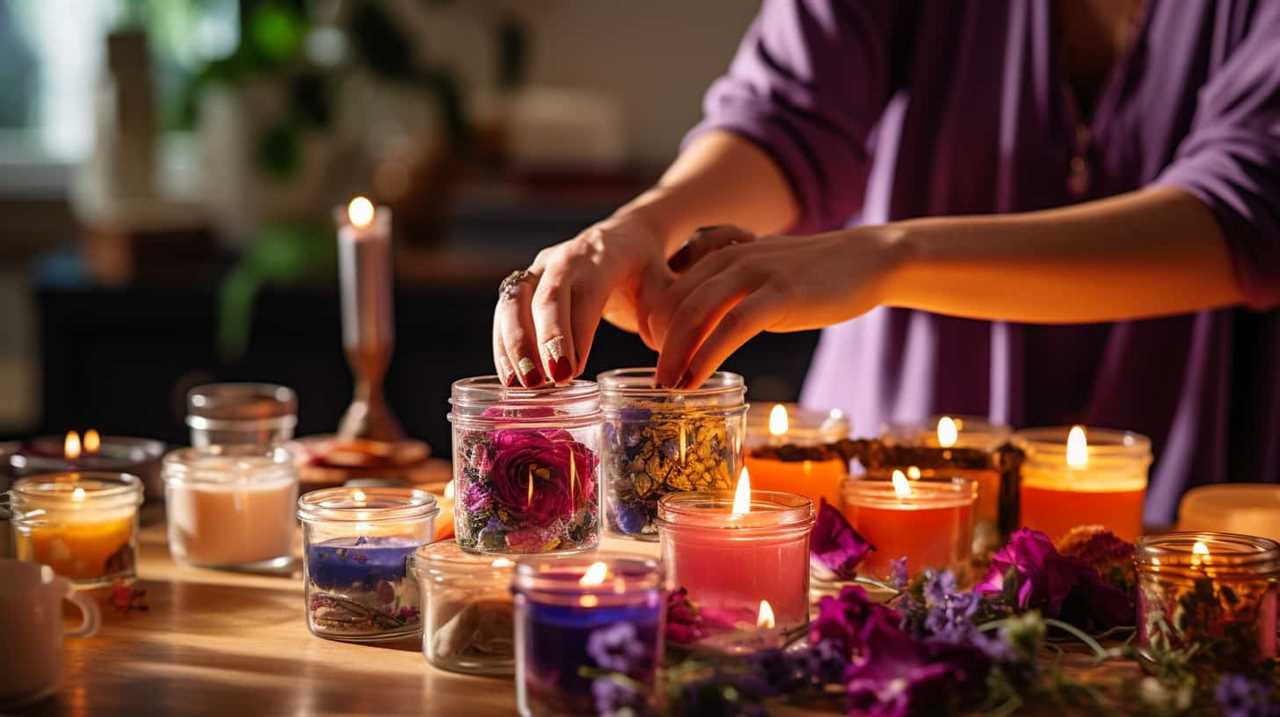
Gathering the Supplies
To begin making a vanilla candle, we’ll gather the necessary supplies. First, we need to choose the right fragrance. Vanilla, with its warm and comforting scent, is a popular choice. You can find vanilla fragrance oils or essential oils at craft stores or online.
Next, we’ll prepare the work area. Find a clean and well-ventilated space with a flat surface. Cover the surface with newspaper or a plastic sheet to protect it from any spills or drips. Make sure to have all the supplies within reach, such as a double boiler or microwave-safe container for melting the wax, a thermometer, a stirring utensil, and the candle container.
Now that we’ve gathered everything we need, let’s move on to preparing the candle container.
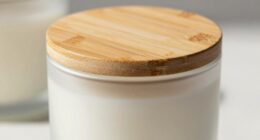
ALVOROG Rolling Cart with Drawer and Wood Table Top, 3 Tier Metal Rolling Utility Cart on Wheels with DIY Pegboards, Hanging Baskets, Hooks for Kitchen, Bedroom, Office, Craft Supplies
Elegant Wood Table Top & Pegboards:This 3 tier rolling cart features a high-quality wood table top that adds...
As an affiliate, we earn on qualifying purchases.
Preparing the Candle Container
Now that we’ve gathered all of our supplies, let’s prepare the candle container. Proper candle container preparation is essential for a successful and long-lasting candle. Here are three important steps to follow:

- Clean the container: Start by thoroughly cleaning the candle container. Remove any dust, dirt, or residue from the inside and outside of the container. You can use warm soapy water and a sponge or cloth to clean it. Rinse it well and make sure it’s completely dry before proceeding.
- Remove labels and stickers: If your candle container has any labels or stickers, peel them off. Use a damp cloth or adhesive remover to remove any sticky residue. It’s important to have a clean and smooth surface for the candle.
- Check for cracks or damages: Inspect the candle container for any cracks or damages. A cracked container can lead to wax leakage and potential hazards. If you find any cracks, it’s best to choose a different container for your candle.

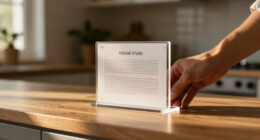
Wesiti Wax Melt Molds Clear Empty Plastic Wax Melt Clamshells Container Pet Single Cube 1 oz Candle Molds for DIY Chocolates Wickless Candles Soap Making(100 Pcs)
Sufficient Quantity: you will receive 100 wax melt containers, the sufficient quantity can meet your more daily use...
As an affiliate, we earn on qualifying purchases.
Measuring and Melting the Wax
We measure and melt the wax to prepare it for the candle-making process. Accurate measurements are crucial for the success of your vanilla candle. To measure the wax, you can use a kitchen scale or a measuring cup. Place the container on the scale or pour the wax into the measuring cup until you reach the desired amount.
Next, it’s time to melt the wax. You can use a double boiler or a microwave for this step. If using a double boiler, fill the bottom pot with water and place it on the stove. Place the wax in the top pot and heat it until it melts completely. If using a microwave, put the wax in a microwave-safe container and heat it in short bursts, stirring in between, until it’s completely melted.
Once the wax is melted, it’s ready for the next step of adding the vanilla fragrance oil.
Now that the wax is melted, it’s time to move on to the next step of adding the vanilla fragrance oil.


50 Packs Wax Melt Clamshells Molds,Wax Melt Containers,6 Cavity Clear Plastic Cube Tray for Wickless Wax Melt Candles
Perfect Size:Each clamshell mold is 4.5 x 3 x 1 inch and each mold has 6 cubes,every cube...
As an affiliate, we earn on qualifying purchases.
Adding the Vanilla Fragrance Oil
To enhance the aroma of our vanilla candle, we add the vanilla fragrance oil. This step is crucial for creating a scented candle that fills the room with a delightful vanilla scent.
Here are three key points to consider when adding the fragrance oil:
- Measure the right amount: Use a measuring spoon to accurately measure the required amount of vanilla fragrance oil. This ensures that the scent isn’t overpowering or too weak.
- Mix it thoroughly: Once you have measured the fragrance oil, add it to the melted wax. Stir the mixture well to evenly distribute the fragrance throughout the wax.
- Maintain the wick: While adding the fragrance oil, make sure to trim the wick to about ¼ inch. This helps in maintaining a steady and safe burn. Regular wick maintenance is essential for candle safety.
Choosing the Right Wick
Three factors should be considered when selecting the appropriate wick for our vanilla candle: wick types, wick size, and burn rate. Wick types refer to the material the wick is made from, such as cotton or wood. The size of the wick determines how much wax it can melt and how big the flame will be. Finally, the burn rate is the speed at which the wick consumes the wax. To help you choose the right wick, here is a table that outlines some common wick types and their recommended sizes:
| Wick Type | Wick Size (Diameter) |
|---|---|
| Cotton | 2.5 mm – 3.5 mm |
| Wood | 3.5 mm – 4.5 mm |
| Ribbon | 4.5 mm – 5.5 mm |
Securing the Wick in the Container
After selecting the appropriate wick for our vanilla candle, the next step is to securely place it in the container. Proper wick securing is crucial to ensure that the candle burns evenly and safely.

Here are three important steps to follow for successful wick placement:
- Center the wick: Start by placing a small amount of melted wax at the bottom center of the container. Press the metal tab of the wick into the wax, ensuring it stands upright. Hold the wick in place until the wax hardens.
- Use a wick holder: If you’re working with a wider container, consider using a wick holder. These handy tools keep the wick centered and straight while the candle sets. Simply attach the wick to the holder and balance it on top of the container.
- Secure the wick with a clothespin: For a more DIY approach, you can use a clothespin to secure the wick. Attach the clothespin to the top of the wick, allowing it to rest on the rim of the container. This will keep the wick straight and centered as the candle solidifies.
Pouring the Melted Wax Into the Container
Once we’ve securely placed the wick in the container, it’s time to pour the melted wax into it. Before we begin, it’s important to ensure that the wick is centered and straight in the container. This will help the candle burn evenly.
To pour the melted wax, we can use different techniques depending on the container’s size and shape. For smaller containers, such as tea cups or votive holders, it’s best to pour the wax slowly and steadily, starting from the center and moving towards the edges. This helps to avoid any spills or overflow.
For larger containers, like mason jars or glass containers, we can use the double pour technique. This involves pouring the wax halfway, allowing it to cool and set slightly, and then pouring the remaining wax on top. This technique helps to prevent any sinkholes or uneven surfaces.
Once the wax is poured, we need to let the candle cool and set. This process usually takes a few hours, depending on the size of the container. It’s important to avoid moving or disturbing the candle during this time to ensure a smooth and even finish.
Allowing the Candle to Cool and Set
Now we need to let the candle cool and set. This is an important step in the candle-making process as it allows the wax to solidify and ensures that the candle will burn evenly.
Here are three things to keep in mind during the cooling process and setting time:
- Find a cool, dry place: Choose a location away from direct sunlight and drafts to allow the candle to cool at an even temperature.
- Be patient: Depending on the size of the candle, it may take several hours or even overnight for the wax to fully harden. Avoid touching or moving the candle during this time.
- Check for firmness: Once the candle has cooled, gently press the surface to ensure it’s firm and set. If the wax feels soft or tacky, give it more time to harden.
Now that our candle has cooled and set, we can move on to the next step: trimming the wick.
Trimming the Wick
Now that our vanilla candle has cooled and set, it’s important to trim the wick before lighting it.
This step is crucial for safety reasons, as a long wick can cause the flame to become too large and create a fire hazard.
To trim the wick, simply use a pair of scissors or a wick trimmer to cut it down to a length of about ¼ inch.
Regularly maintaining the wick by trimming it will ensure a clean and even burn, preventing any soot or smoke from accumulating.
Wick Length for Safety
To ensure safety, we regularly trim the wick of our vanilla candle to the recommended length. Maintaining the proper wick length is crucial for preventing accidents and ensuring optimal candle burning. Here are three key points to consider:
- Trim the wick to ¼ inch: Use a wick trimmer or scissors to trim the wick to a length of about ¼ inch before lighting the candle. This helps control the flame height and prevents excessive flickering.
- Avoid long wicks: Longer wicks can lead to an oversized flame, which can cause the candle to burn too hot and potentially create a fire hazard. Keeping the wick at the appropriate length helps maintain a safe and controlled burn.
- Trim regularly: It’s essential to trim the wick before each use, as it tends to become longer with repeated burning. Regular trimming ensures a consistent burn and reduces the risk of soot buildup.
Wick Trimming Techniques
When trimming the wick of our vanilla candle, we use a wick trimmer or scissors to ensure it’s at the proper length. Proper wick maintenance is essential for candle safety and optimal burning performance. Here’s a step-by-step guide on how to trim the wick:
- Gather the necessary tools: a wick trimmer or a pair of scissors.
- Ensure the candle is completely cool and extinguished before trimming the wick.
- Remove any excess debris or burnt wick from the candle surface.
- Use the wick trimmer or scissors to trim the wick to approximately 1/4 inch in length.
- Dispose of the trimmed wick in a safe manner.
- Avoid trimming the wick too short, as it may cause the candle to burn unevenly or produce excessive soot.
Importance of Wick Maintenance
To ensure a safe and optimal burning experience, we must understand the importance of regular wick maintenance, specifically trimming the wick of our vanilla candle. Proper wick maintenance not only enhances the candle’s performance but also promotes candle safety. Here are three key reasons why wick maintenance is crucial:
- Prevents excessive smoke: Trimming the wick to 1/4 inch before each burn helps control the flame’s size, reducing the amount of smoke produced.
- Extends candle lifespan: A well-trimmed wick ensures a steady and controlled burn, preventing the candle from burning too quickly and extending its overall lifespan.
- Minimizes soot buildup: Regularly trimming the wick prevents excessive carbon buildup, minimizing the amount of soot released into the air and keeping your candle and surroundings clean.
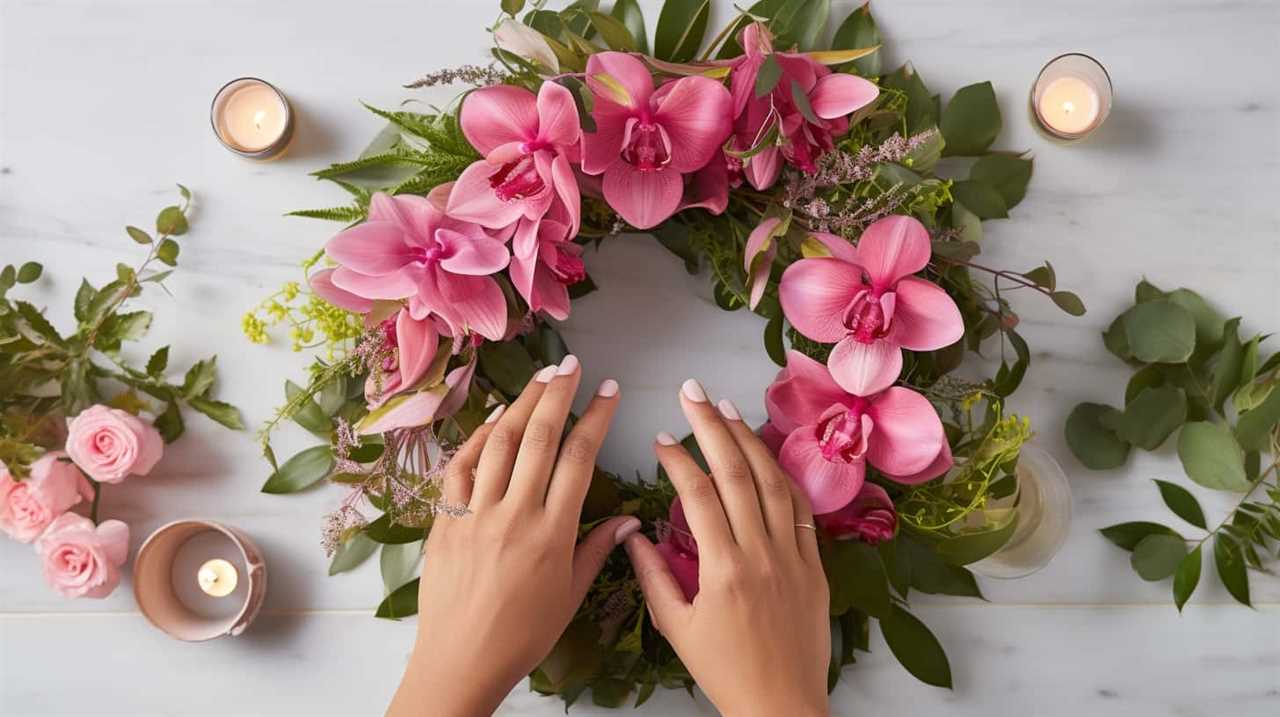
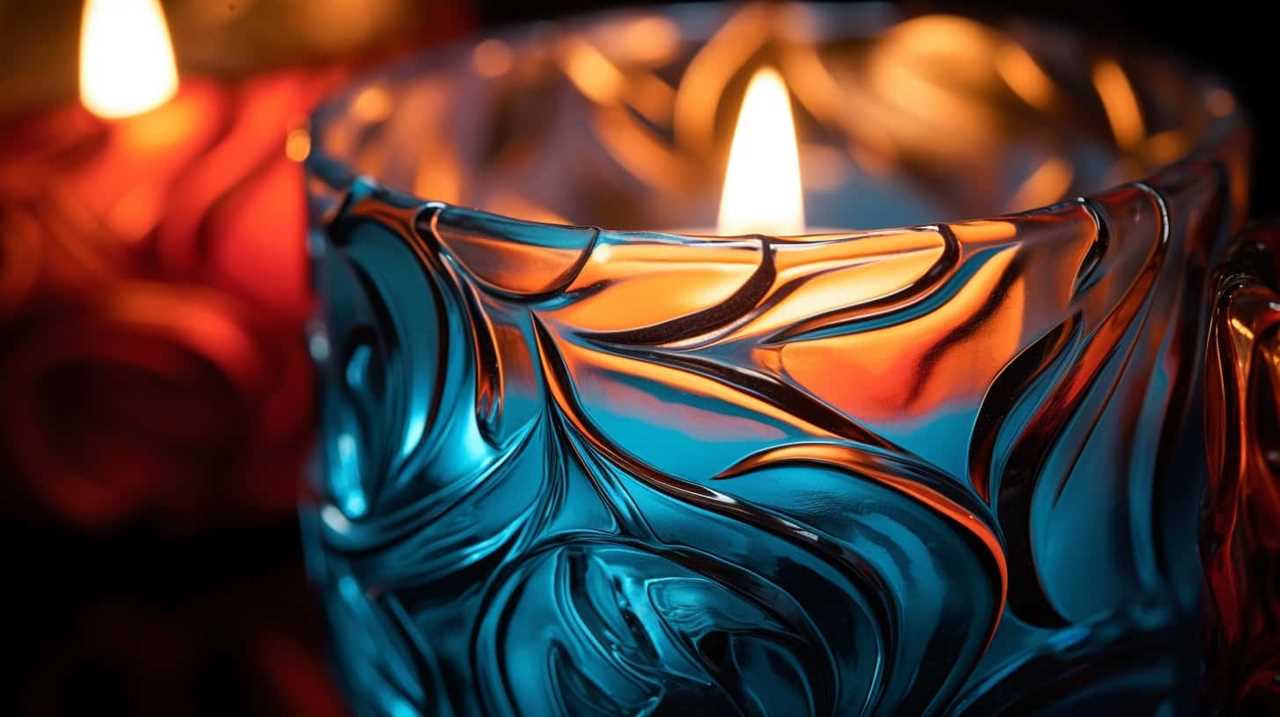
Decorating the Candle Container (Optional)
Now that we’ve learned how to trim the wick, let’s move on to the optional step of decorating the candle container.

There are many ways to personalize the container and make it unique to your style. Some ideas include using personalized labels, adding embellishments like ribbons or charms, or even painting the container with your favorite colors.
Let’s explore some DIY techniques and creative designs to make your candle container truly special.
Personalized Container Ideas
We can enhance the aesthetic appeal of our vanilla candle by decorating the container in a personalized way. Here are three ideas to inspire you:
- DIY Candle Holders: Create unique candle holders by repurposing old glass jars, teacups, or mason jars. You can paint them in different colors, add glitter, or wrap them in decorative ribbons or lace. Get creative and experiment with various materials to match your personal style.
- Custom Candle Labels: Design custom labels for your vanilla candle using printable sticker paper or adhesive labels. You can include the fragrance name, your own branding, or even a personalized message. Consider using elegant fonts, decorative borders, or illustrations that reflect the scent of the candle.
- Embellishments and Accessories: Add a touch of elegance by attaching embellishments to the candle container. Options include ribbons, bows, charms, or even dried flowers. Choose materials that complement the scent and enhance the overall aesthetic of the candle.
DIY Embellishment Techniques
Our favorite way to personalize the vanilla candle container is by using various DIY embellishment techniques. These techniques allow you to create unique and beautiful designs that reflect your personal style. Here are some embellishment ideas to inspire your DIY candle designs:

- Decoupage: Cut out decorative paper or fabric and use adhesive to attach it to the container. This adds a charming and whimsical touch to your candle.
- Ribbon and Lace: Wrap a ribbon or lace around the container and secure it with double-sided tape or glue. This adds a touch of elegance and sophistication to your candle.
- Paint and Stencils: Use acrylic paint and stencils to create intricate designs on the container. You can experiment with different colors and patterns to achieve a personalized look.
- Embossed Metal: Attach embossed metal sheets or stickers to the container for a vintage and industrial style.
By using these DIY embellishment techniques, you can transform a plain vanilla candle into a work of art.
Now, let’s move on to creative label designs.
Creative Label Designs
To further enhance the personalized touch of our DIY vanilla candle, we can explore creative label designs for decorating the candle container. Adding a label to your candle not only adds a professional and polished look, but it also allows you to customize and personalize your creation.
Here are three creative label design ideas to consider for your vanilla candle:
- Handwritten Labels: Use your own handwriting to create a unique and personal label for your candle. This adds a charming and rustic touch that’s sure to impress.
- Custom Stickers: Design and print your own custom stickers to apply to the candle container. You can include the name of the scent, your brand logo, or any other design elements that reflect your personal style.
- Vintage-inspired Tags: Attach vintage-inspired tags to the candle container using a piece of twine or ribbon. These tags can be found at craft stores or you can create your own by distressing plain paper and adding handwritten details.
Safety Precautions for Candle Burning
When burning candles, it’s important to take safety precautions. Here are some steps you can follow to ensure a safe candle-burning experience.
First, always trim the wick to ¼ inch before lighting the candle. This helps prevent excessive flickering and reduces the risk of the flame getting too large.
Additionally, make sure to place the candle in a stable and heat-resistant holder or container. Avoid using flammable materials as candle holders. If you want to personalize your candle, consider using non-combustible materials like glass, ceramic, or metal containers.
Lastly, never leave a burning candle unattended and keep it away from flammable objects.

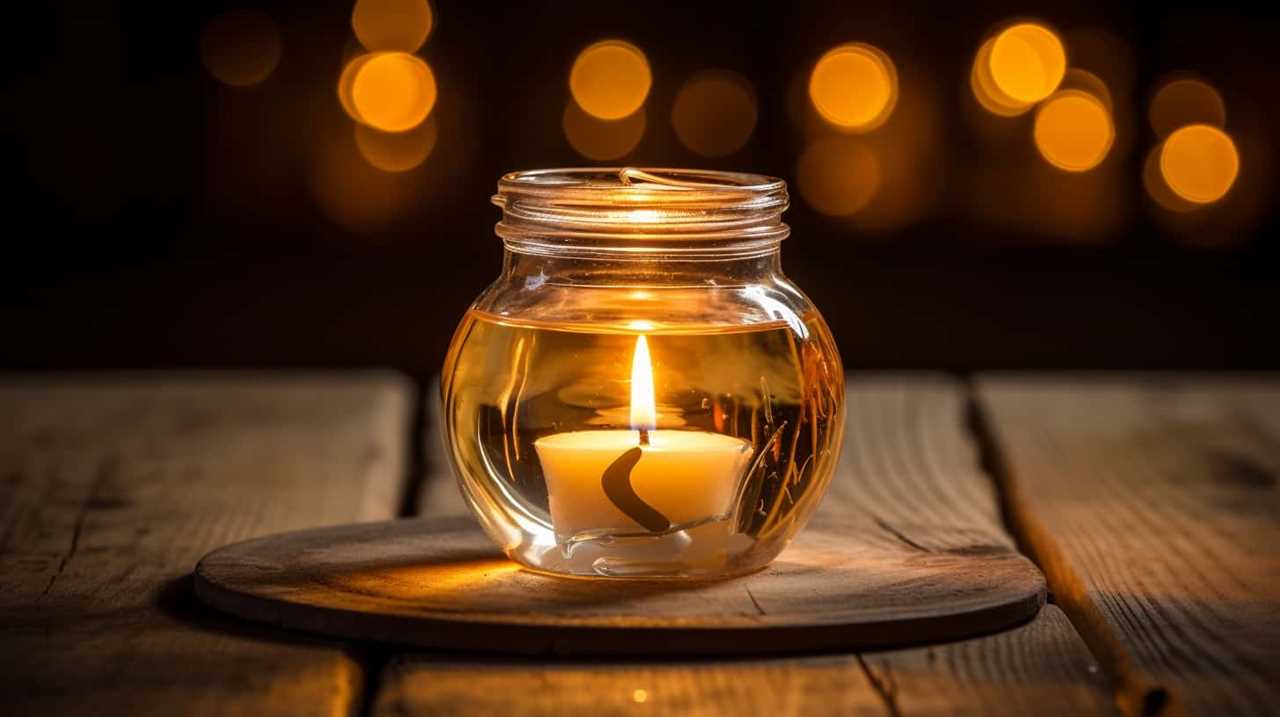
Lighting Your Vanilla Candle
To safely light your vanilla candle, grab a long-reach lighter or a matchstick. Here are some important steps to follow for proper wick care and candle safety:
- Make sure the wick is trimmed to about 1/4 inch before lighting. This helps prevent excessive smoke and ensures a clean, even burn.
- Hold the lighter or matchstick at an angle and bring the flame close to the wick. Avoid touching the flame directly to the wick, as this can cause the candle to soot or smoke excessively.
- Once the wick is lit, allow the candle to burn for at least one hour. This helps prevent tunneling and promotes an even burn.
By following these steps, you can safely enjoy your vanilla candle.
Now, let’s move on to the next section for tips on proper candle maintenance.
Proper Candle Maintenance
For maintaining your vanilla candle properly, we recommend regularly trimming the wick and keeping the wax pool clean. Proper wick care is essential to prevent soot buildup and ensure a clean, even burn. Before each use, trim the wick to about 1/4 inch to promote a steady flame and prevent excessive smoke. Additionally, keeping the wax pool clean is crucial for optimal candle performance. Remove any debris or trimmings from the wax pool before lighting the candle. This will prevent the wick from getting clogged and ensure a consistent burn. To make candle maintenance easier, here are some helpful tips:
| Wick Care | Candle Storage |
|---|---|
| Trim wick to 1/4 inch | Store in a cool area |
| Remove debris from pool | Keep away from heat |
| Avoid burning for long | Avoid direct sunlight |
| periods of time |
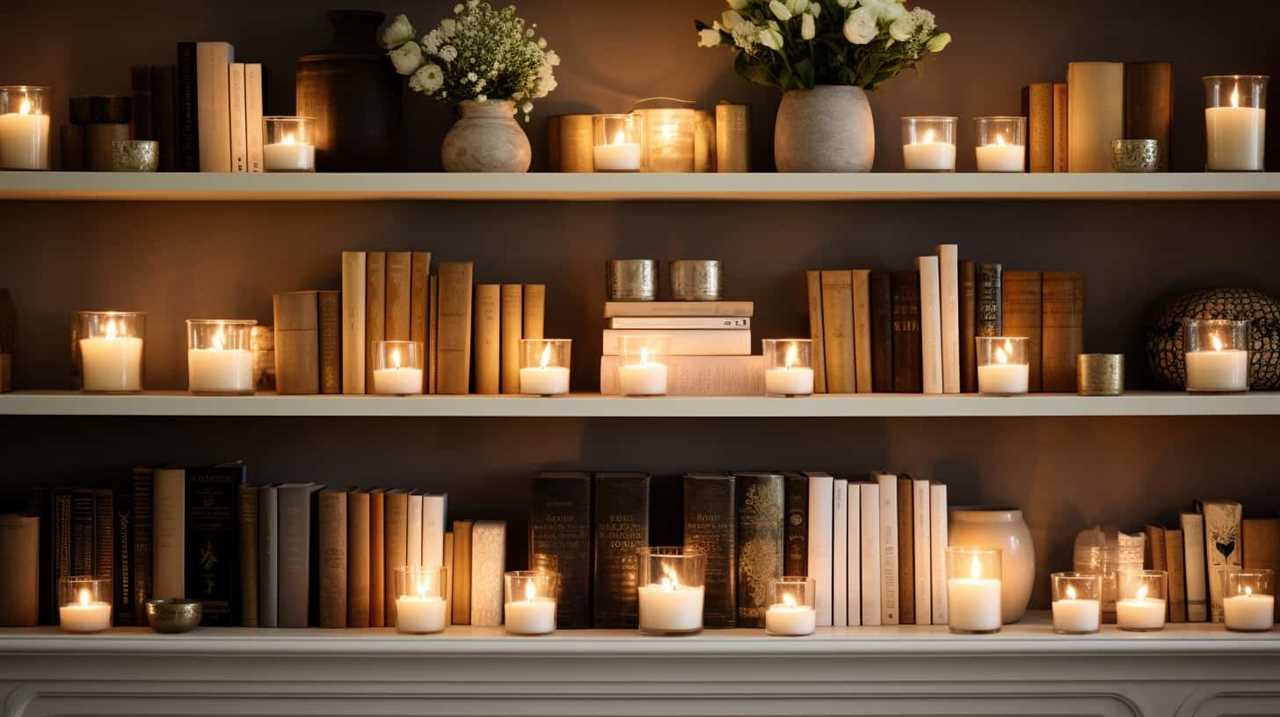
Enjoying the Scent and Ambiance
To fully enjoy the scent and ambiance of your vanilla candle, we recommend creating a cozy atmosphere by dimming the lights and lighting the candle in a safe and ventilated area.
Here are some tips to enhance your experience:
- Choose scented candles: Opt for high-quality scented candles to ensure a strong and long-lasting fragrance. Vanilla-scented candles are popular for their warm and comforting aroma.
- Use candle accessories: Enhance the ambiance by using candle accessories such as candle holders, decorative trays, or votive stands. These not only add a touch of elegance but also help protect surfaces from wax drips.
- Experiment with placement: Try placing your vanilla candle in different areas of your home to enjoy its scent throughout. Consider areas like the living room, bedroom, or bathroom for a cozy and relaxing atmosphere.
Frequently Asked Questions
How Long Does It Take for the Candle to Cool and Set?
It takes a few hours for the candle to cool and set completely. During this time, it’s important to let the candle sit undisturbed to ensure a smooth and even finish.
Can I Use Any Type of Container for the Candle?
We can use various containers, like mason jars or teacups, to create our vanilla candle. If vanilla isn’t your preferred fragrance, you can experiment with alternative scents like lavender or cinnamon.
How Much Vanilla Fragrance Oil Should I Add to the Melted Wax?
For the best type of vanilla candle, we recommend using soy wax. When it comes to adding vanilla fragrance oil to the melted wax, a general rule is to use 1 ounce of fragrance oil per pound of wax.
What Are Some Safety Precautions I Should Take When Burning the Candle?
When burning a candle, it’s crucial to prioritize safety. Always keep the candle away from flammable objects, never leave it unattended, and trim the wick regularly to prevent accidents.
How Often Should I Trim the Wick for Optimal Burning?
To maintain the optimal burning of your candle and ensure a longer burning time, it is recommended that you trim the wick before each use. This helps prevent excessive smoke and ensures a clean, even burn.
Conclusion
Making your own vanilla candle is a simple and rewarding process. With just a few supplies and some easy steps, you can create a beautiful and fragrant addition to your home.
The rich and warm scent of vanilla will fill the air, creating a cozy and inviting atmosphere.
So go ahead, indulge yourself in the art of candle making and enjoy the delightful scent and ambiance that your homemade vanilla candle will bring.