Hello there! Have you thought about giving your candles a special touch? Look no further, as we have everything you need.
In this guide, we’ll show you how to paint a candle and make it truly one-of-a-kind. From choosing the perfect candle to selecting the right paints, we’ll walk you through each step of the process.
So grab your brushes and let’s get started on this creative journey together. Trust us, painting a candle is as easy as pie and as fun as a barrel of monkeys. No need for fancy equipment or expert skills – anyone can do it!
So let’s dive in and bring some color and creativity into your space. Let’s paint some candles!
Key Takeaways
- Consider the candle scent, size, style, and wax type/color when choosing the right candle
- Gather necessary materials and clear a designated workspace before starting
- Look for paints designed for candle painting and apply a thin, even layer of base coat
- Experiment with different brush sizes, techniques, and patterns to create unique designs

MTLEE 78 Pcs DIY Candle Painting Kit Include 12 White Taper Candles 60 Colored Tealight Candles 6 Paint Brushes for Crafts Birthday Wedding Party Favors(Multi Color)
- Complete DIY Candle Painting Kit: Includes candles and brushes for decorating
- Assorted Candle Sizes: Taper and tea candles in various sizes
- Vibrant Color Selection: 60 colorful tea candles in multiple colors
As an affiliate, we earn on qualifying purchases.
As an affiliate, we earn on qualifying purchases.
Choosing the Right Candle
When painting a candle, we need to start by choosing the right type of candle. The first thing to consider is the candle scent. Do you want a calming lavender scent or a refreshing citrus scent? The scent will play a big role in setting the mood and ambiance of the room.
Next, consider the candle size. Are you looking for a small votive candle or a large pillar candle? The size will determine how much surface area you have to work with when painting. Additionally, the size will also affect the burn time of the candle.
Now that we’ve chosen the perfect candle, let’s move on to preparing our workspace for the painting process.
Preparing Your Workspace
To prepare our workspace for painting, we gather all the necessary materials and clear a designated area on a flat surface.

Setting up your workspace is essential for a smooth and enjoyable painting experience. First, we make sure to gather all the materials we’ll need, such as paintbrushes, paints, palette, water container, and paper towels. Having everything within easy reach saves time and prevents unnecessary interruptions.
Next, we clear a designated area on a flat surface, like a table or a desk, to provide a stable and comfortable workspace. Removing any clutter ensures that we’ve enough space to work and prevents accidents.
With our workspace ready, we can now move on to selecting the perfect paints for our candle painting.
Selecting the Perfect Paints
We carefully consider our options to find the ideal paints for our candle painting. When selecting paints for candle art, it’s important to choose ones that are specifically designed for this purpose. Look for paints that are labeled as ‘candle paints’ or ‘candle wax paints’ to ensure they adhere well to the surface of the candle.

Additionally, consider the type of paint you want to use. Acrylic paints are a popular choice for candle painting as they dry quickly and provide vibrant colors. However, you can also experiment with other types of paints, such as oil-based or enamel paints, to achieve different effects. Mixing colors and experimenting with different techniques can add depth and uniqueness to your candle art.
Now that we’ve selected our paints, let’s move on to applying the base coat on the candle.
Applying Base Coat on the Candle
How do we apply the base coat on the candle for our painting? It’s a crucial step in achieving a beautiful finished product. Here are some tips to guide you:
- Start by cleaning the surface of the candle to remove any dirt or residue.
- Choose a base coat color that complements your desired design.
- Using a brush or sponge, apply a thin and even layer of paint to the entire candle.
- Allow the base coat to dry completely before moving on to the next step.
- Experiment with blending techniques or alternative painting methods to create unique effects.
By following these steps, you’ll create a solid foundation for your candle painting and ensure that your design stands out.

Now, let’s move on to the next step: adding details and embellishments.
Adding Designs and Patterns
After applying the base coat, we can now move on to adding designs and patterns to our candle painting. This is where we can let our creativity shine and make our candles truly unique.
One way to do this is by exploring different painting techniques. We can use brushes of different sizes to create various strokes and textures on the candle surface.
Another option is to use stencils for intricate designs. Stencils allow us to easily transfer complex patterns onto the candle without the need for freehand painting skills. We can experiment with different stencils and colors to achieve the desired effect.
Once we’re satisfied with our designs, we can move on to the next step: drying and sealing the paint.
Drying and Sealing the Paint
To ensure the longevity and durability of our candle painting, it’s crucial to properly dry and seal the paint. Here are some sealing techniques to follow:
- Allow the paint to dry completely before sealing to prevent smudging or smearing.
- Use a clear acrylic sealer to protect the paint from fading and moisture damage.
- Apply the sealer in thin, even coats to avoid a tacky or uneven finish.
- Let each coat of sealer dry thoroughly before applying the next layer.
- Avoid applying too much sealer, as it can make the paint appear cloudy or dull.
By following these sealing techniques, you can enhance the lifespan of your painted candle and keep it looking vibrant for longer.
However, there are some common mistakes to watch out for, such as rushing the drying process or using an improper sealer.

Now that we’ve covered drying and sealing, let’s move on to the next section about displaying and enjoying your painted candle.
Displaying and Enjoying Your Painted Candle
Now we can start to think about how we’ll display and enjoy our painted candle. After all the hard work of painting, it’s time to showcase our masterpiece.
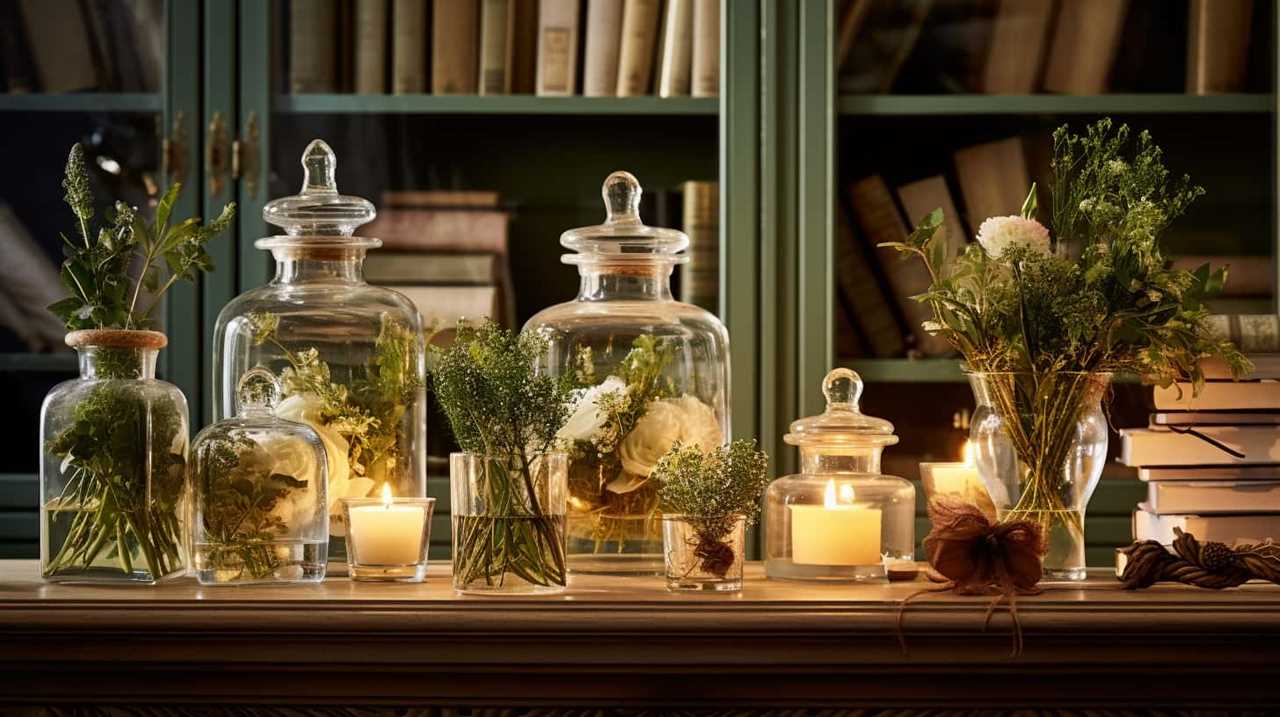
There are various decorating techniques for painted candles that can enhance their beauty and make them stand out. You can add embellishments like ribbons, beads, or dried flowers to create a unique and personalized look. Another option is to place the painted candle in a decorative holder or on a stylish tray.
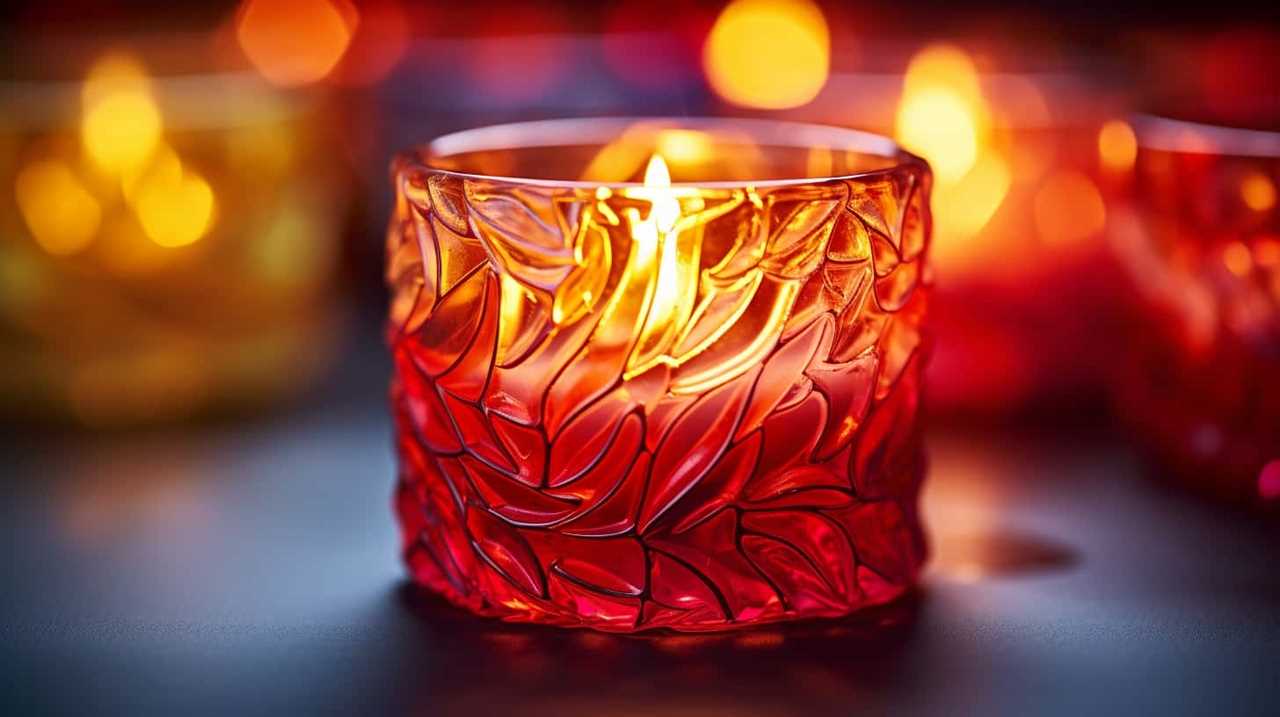
When it comes to enjoying your painted candle, lighting it up is the key. The warm glow of the flame will illuminate the painted design and bring it to life. So, find a safe spot to display your painted candle, light it up, and bask in the beauty of your creation.
Frequently Asked Questions
Can I Use Any Type of Candle for Painting?
Yes, we can use various types of candles for painting. However, when it comes to candle painting techniques, it is important to choose the right type of paint. The best types of paint for candle painting are acrylic and oil-based paints.
What Are Some Common Mistakes to Avoid When Painting a Candle?
When painting candles, there are common mistakes to avoid. It’s important to choose the right paint and follow common techniques. We’ll provide tips and details on how to avoid these mistakes.
How Long Does It Take for the Paint to Dry on a Candle?
The drying time of paint on a candle depends on the type of paint used. It is best to use a paint specifically designed for candles, as it will dry faster and adhere better.
Can I Use Regular Acrylic Paint on a Candle?
Yes, you can use regular acrylic paint on a candle. However, it’s important to keep in mind that it may not adhere as well as specialized candle paints. Here are some tips for beginners in candle painting.
How Can I Prevent the Painted Design From Fading or Smudging Over Time?
To prevent painted designs on candles from fading or smudging, we recommend a few tips. First, use acrylic paint specifically designed for candles. Then, apply a layer of clear, heat-resistant sealant to protect the design and ensure longevity.
Conclusion
So there you have it, folks! Painting a candle may seem like a mundane task, but with the right techniques and a touch of creativity, it can become a truly enjoyable experience. From selecting the perfect candle to adding beautiful designs, this article has provided detailed and informative steps to help you create a masterpiece.
So go ahead, grab your paints, and let your imagination run wild as you transform a simple candle into a work of art.
Happy painting!