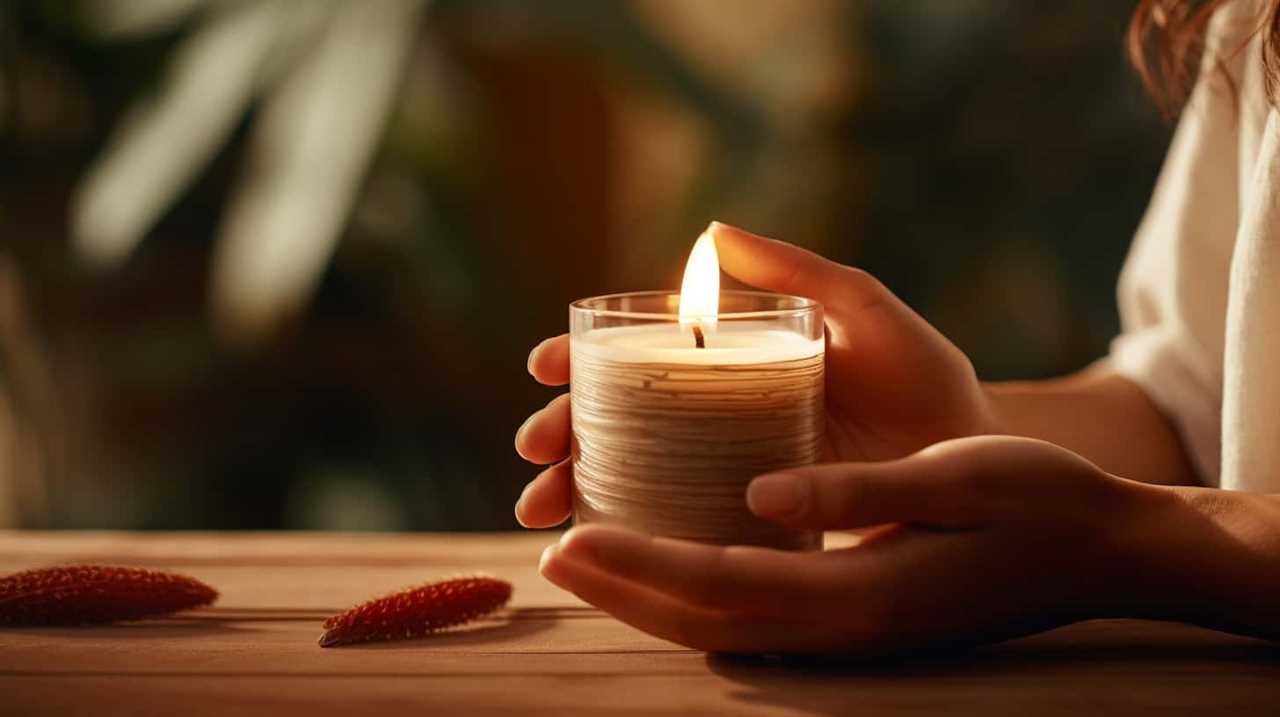
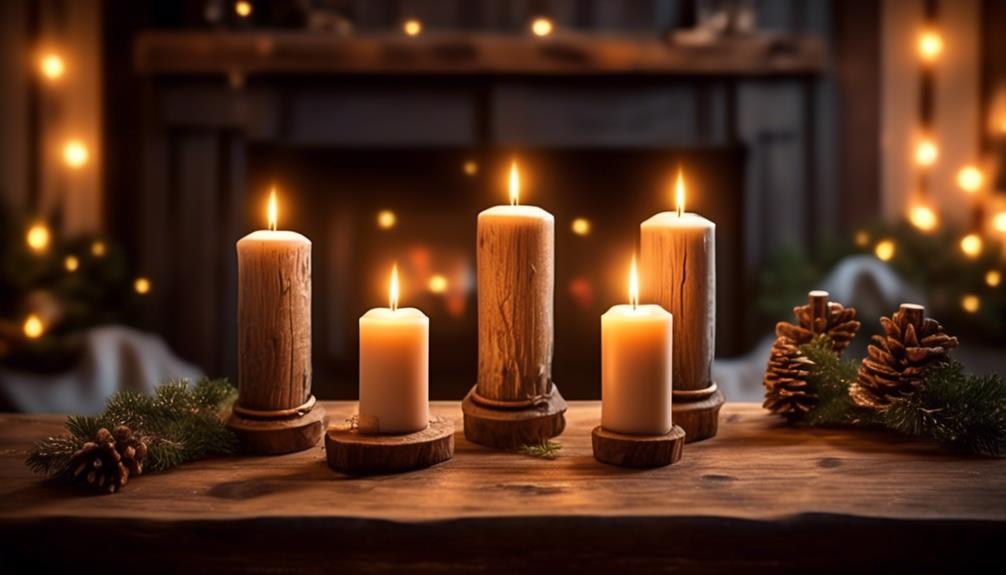
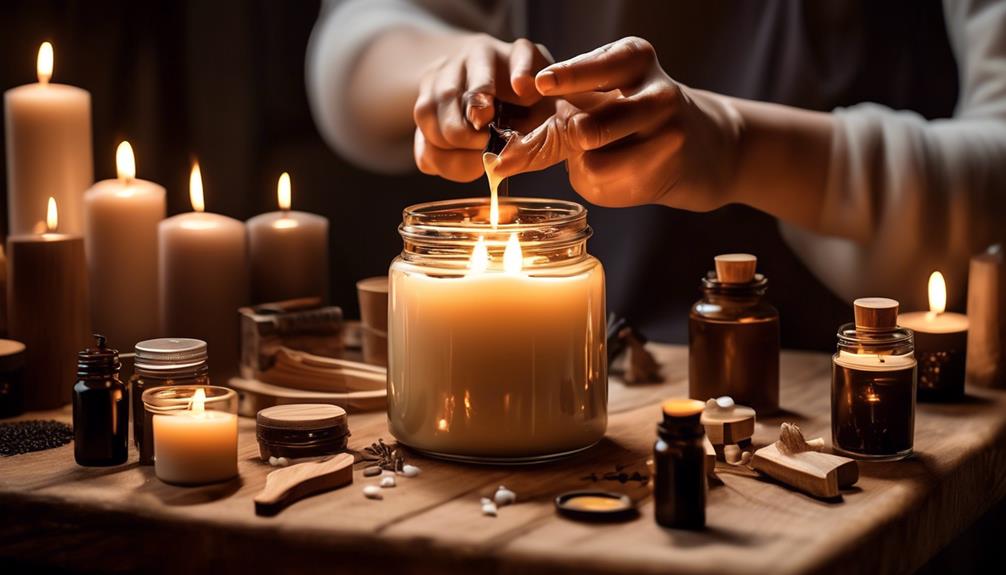
Let’s illuminate the process of crafting wood wick candles. Creating these cozy enhancements for your space can be a calming and fulfilling activity.
Beginning with the selection of the right materials, each step in the candle-making journey unveils a blend of creativity and precision. From measuring and melting the wax to the final touch of trimming the wood wicks, there's a sense of fulfillment in every stage.
Join us as we explore the intricacies of this craft, guiding you through the steps to achieve your own beautifully crafted wood wick candles that can add warmth to any space.
Key Takeaways
- Choose soy wax beads for cleaner and longer burning candles.
- Use essential oils for natural fragrance without synthetic chemicals.
- Select stable containers for wood wick candles.
- Properly prepare wooden wicks for even burning.

Vtopmart 25 PCS Clear Plastic Drawer Organizers Set, 4-Size Versatile Bathroom and Vanity Drawer Organizer Trays, Storage Bins for Makeup, Bedroom, Kitchen Gadgets Utensils and Office
- Versatile Drawer Organizer Set: Fits various home drawers and spaces
- Includes 25 Bins in 4 Sizes: Customizable storage options for different items
- Non-Slip and Durable Design: Silicone pads prevent slipping, sturdy plastic construction
As an affiliate, we earn on qualifying purchases.
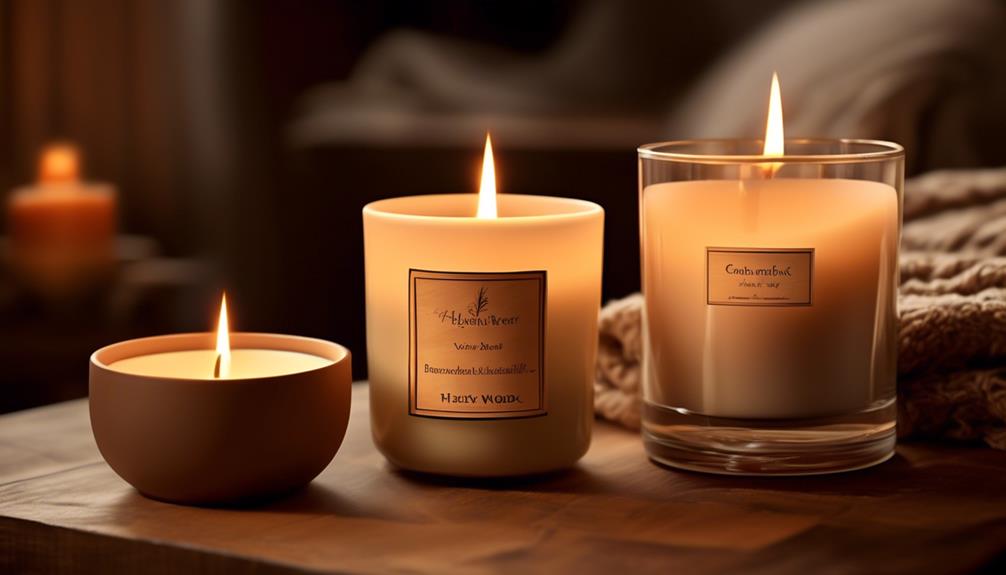
Selecting the Right Materials
For crafting a wood wick candle that embodies natural elegance and sustainability, we opt for soy wax beads and essential oils as our primary materials.
Soy wax beads, derived from soybean oil, burn cleaner and longer than traditional paraffin wax, making them an eco-friendly choice for candle making.
Essential oils, extracted from plants, provide a natural fragrance that's free from synthetic chemicals found in artificial scents.
When selecting containers for wood wick candles, stability is key to prevent tipping over while accommodating the unique characteristics of a wood wick. Repurposing existing containers or exploring thrift stores can yield creative and sustainable options for your candle-making endeavors.
Before pouring wax into reused containers, ensure all leftover wax is removed for a clean and uniform burn.
When choosing wooden wicks and bases, verify they're the correct size for your selected containers to optimize the burning process.
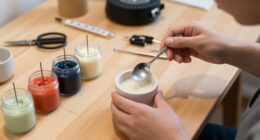
Weighing and Melting Your Wax
Let's begin by ensuring we weigh our wax accurately to achieve the perfect candle consistency.
Once we've our measurements, we can then safely melt the wax, being mindful of the correct temperatures.
Throughout the process, it's crucial to monitor the wax temperature closely to avoid any mishaps and ensure a successful candle-making experience.
Weighing Wax Accurately
To ensure precise measurements when making a wood wick candle, begin by utilizing a digital kitchen scale to accurately weigh the necessary amount of wax beads. This step is crucial in achieving a consistent and high-quality candle. Here are some tips for weighing wax accurately:
- Place a heat-resistant container on the scale and tare it to zero before adding the wax.
- Slowly pour the wax beads into the container until the desired weight is reached.
- Avoid overfilling the container to ensure accurate measurements.
- Double-check the weight on the scale before moving on to the melting process.
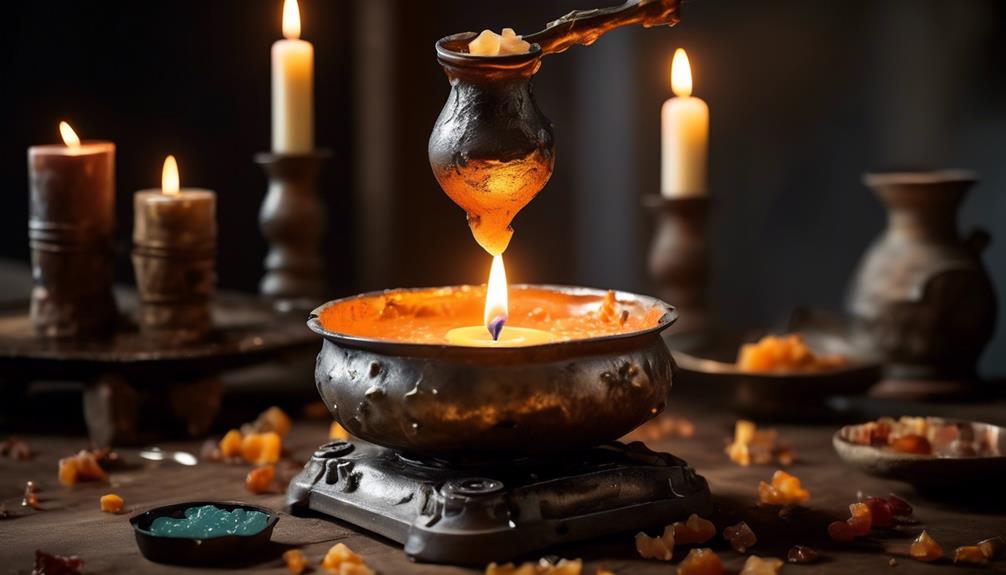
Melting Wax Safely
After accurately weighing the necessary amount of wax beads, the next step in creating a wood wick candle is to safely melt the wax. To begin, place the wax beads in a double boiler over low to medium heat. Stir occasionally with a heat-resistant utensil to ensure even melting. It's crucial to monitor the temperature using a thermometer; the wax should reach around 170-180°F (77-82°C) for optimal consistency. Avoid overheating, as this can be a fire hazard.
Once the wax is completely melted, remove it from the heat source. Now, carefully insert the wood wick into the center of your candle container. Slowly pour the melted wax into the container, ensuring the wick stays centered. Allow the candle to cool and harden before trimming the wick to the desired length.
Monitoring Wax Temperature
Upon weighing your wax beads accurately, the next step in crafting a wood wick candle involves safely melting the wax in a double boiler over low to medium heat. To ensure optimal results, it's crucial to monitor the wax temperature diligently.
Here are some essential tips for monitoring the wax temperature effectively:
- Use a thermometer to track the temperature of the melted wax.
- Aim for a temperature range of 160-180°F (71-82°C) for most candle waxes.
- Avoid overheating the wax to maintain the quality of the final product.
- Stir the hot wax gently to distribute heat evenly and promote uniform cooling before pouring it into your candle containers.
Preparing Your Wooden Wicks
When crafting wooden wicks for your candle-making venture, combining two identical wicks and securing them in a metal sustainer sets the foundation for a successful burn. This process ensures that the wicks burn evenly, providing a steady flame throughout the candle's life. To enhance the adherence of the wicks to the sustainer, consider using a glue dot or wick sticker to secure them in place effectively.
| Step | Instructions | Tips |
|---|---|---|
| Combine the Wicks | Take two identical wooden wicks and place them together. | Ensure the wicks are aligned perfectly. |
| Secure in Sustainer | Insert the wicks into a metal sustainer. | Press down firmly to secure them in place. |
| Enhance Adherence | Use a glue dot or wick sticker to secure the wicks. | Apply pressure for a few seconds to ensure proper adhesion. |
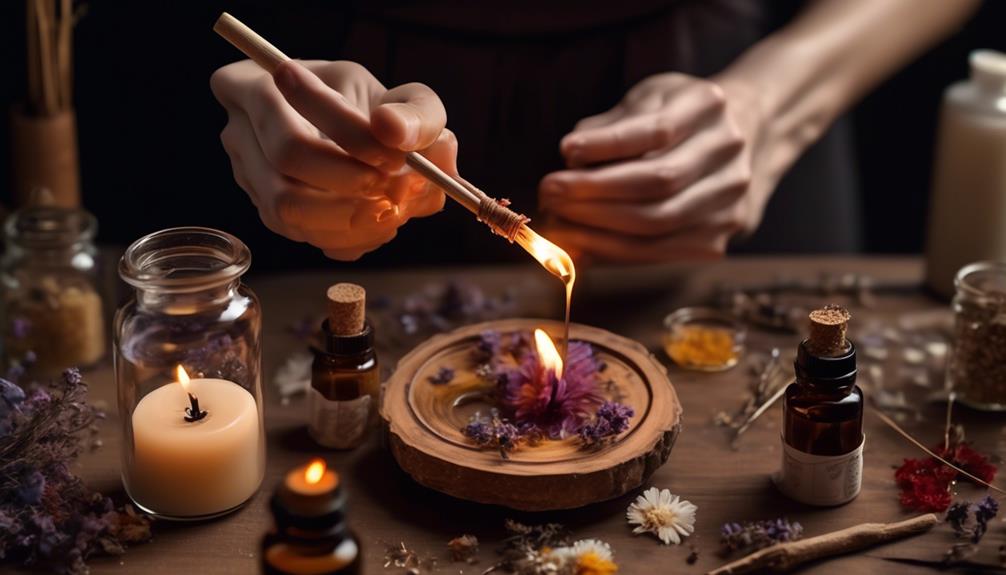
Adding Dye and Fragrance Oil
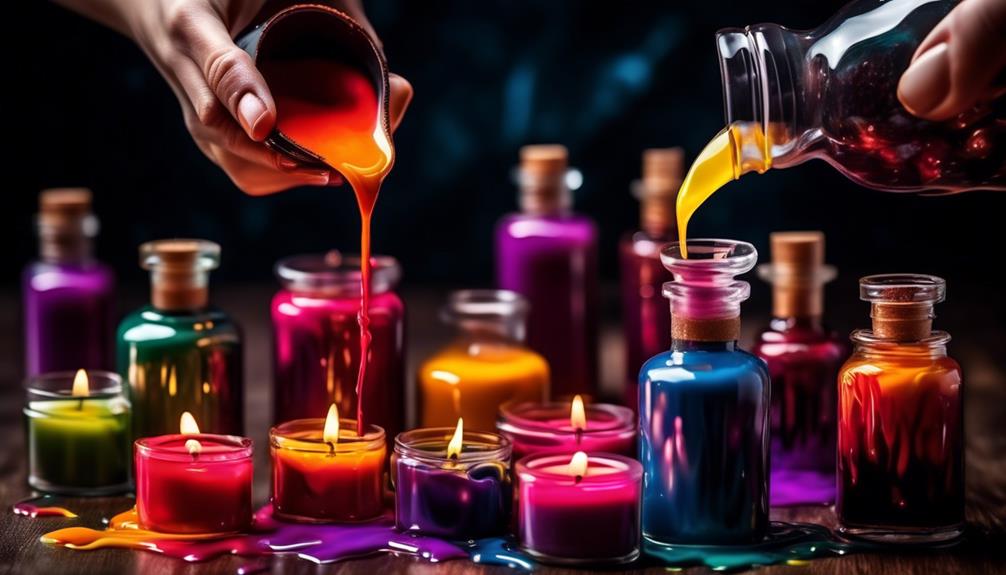
Now, let's focus on the creative step of adding dye and fragrance oil to our wood wick candle.
We'll explore the art of choosing dye colors that reflect our personal style and the mood we wish to evoke.
Next, we'll delve into the selection of fragrance oils, each carrying its unique aroma to enhance our candle-making experience.
Choosing Dye Colors
Our next step involves selecting dye colors and adding fragrance oils to enhance the visual and aromatic appeal of our wood wick candle. When making candles, the choice of dye colors is crucial in achieving the desired aesthetic. Here are some tips to guide you in choosing the perfect dye colors for your candle:
- Consider the wood type: Match the dye color with the type of wood used in your candle to create a harmonious look.
- Test shades: Experiment with different dye concentrations to achieve the exact hue you desire.
- Complement fragrances: Coordinate the dye colors with the fragrance oils for a cohesive sensory experience.
- Layering effects: Explore layering different dye colors to create unique visual effects in your candle.
Selecting Fragrance Oils
To enhance both the visual appeal and aromatic experience of our wood wick candle, the next crucial step involves carefully selecting fragrance oils that will complement the chosen dye colors. When choosing fragrance oils, consider scents that align with the mood or theme of your candle. Here is a table to guide you in selecting the perfect fragrance oil for your wood wick candle:
| Fragrance Oil Type | Suggested Candle Themes |
|---|---|
| Floral | Relaxation and Serenity |
| Citrus | Energy and Freshness |
| Woody | Warmth and Coziness |
| Spicy | Invigorating and Rich |
Remember to add fragrance oils sparingly to avoid overwhelming the candle's scent. Finding the right balance will ensure a delightful olfactory experience for anyone enjoying your wood wick candle.
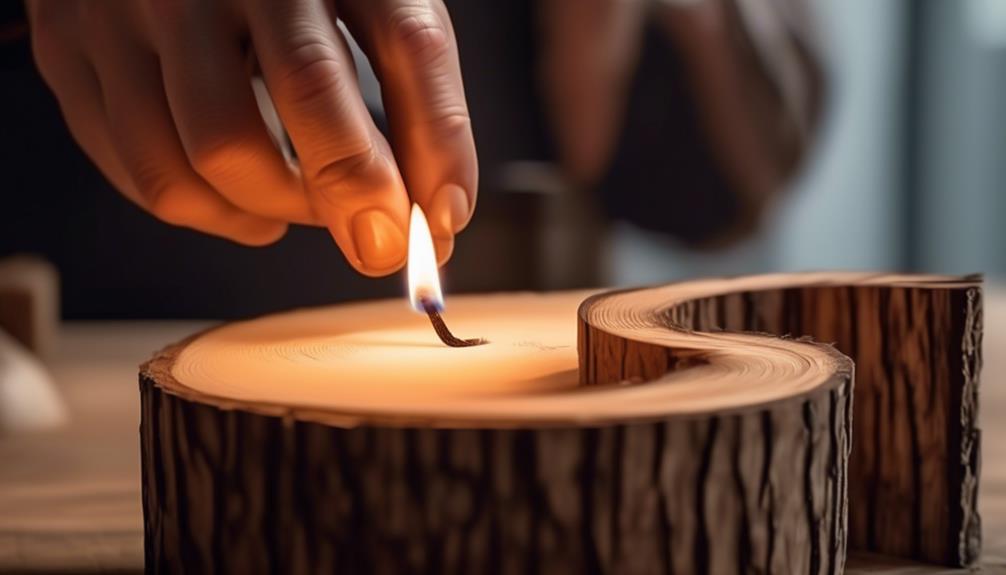
Placing the Wick in the Container
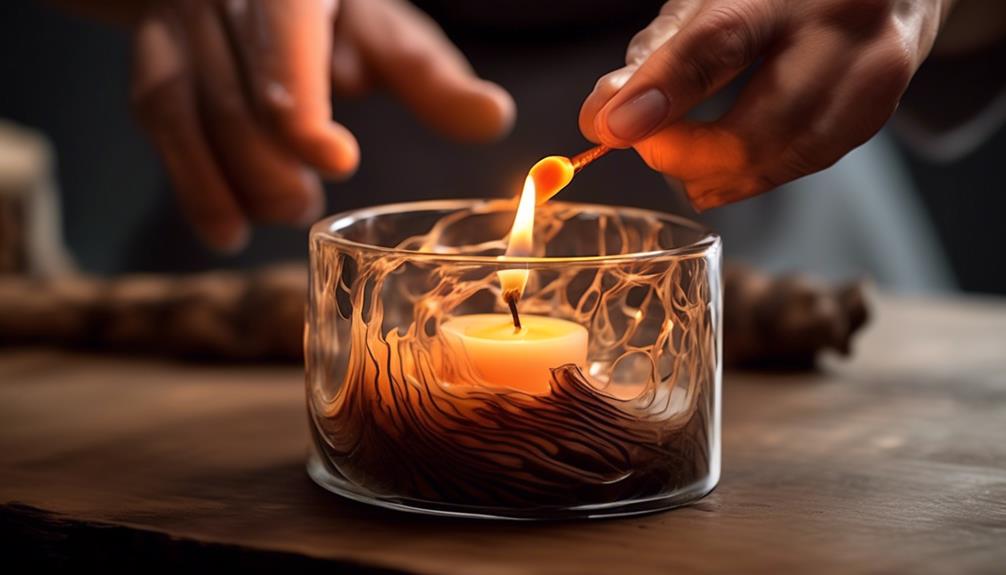
With a steady hand, gently lower the wood wick into the center of the container, ensuring it stands upright and secure. This step is crucial for a well-made wood wick candle.
To properly place the wick, consider the following:
- Stick The Wick: Press the metal base of the wood wick firmly onto the bottom of the container. This will help keep the wick centered as you pour the wax.
- Ensure Alignment: Check that the wick is straight and not leaning to one side. A centered wick will burn evenly and prevent tunneling.
- Use Hot Glue: Apply a small amount of hot glue to the base of the wick to secure it in place. This extra step will ensure the wick remains in the center during the candle-making process.
- Adjust if Needed: If the wick moves while pouring the wax, gently nudge it back to the center using a wooden skewer or chopstick. Proper placement of the wick is essential for a successful wood wick candle.
Pouring the Wax
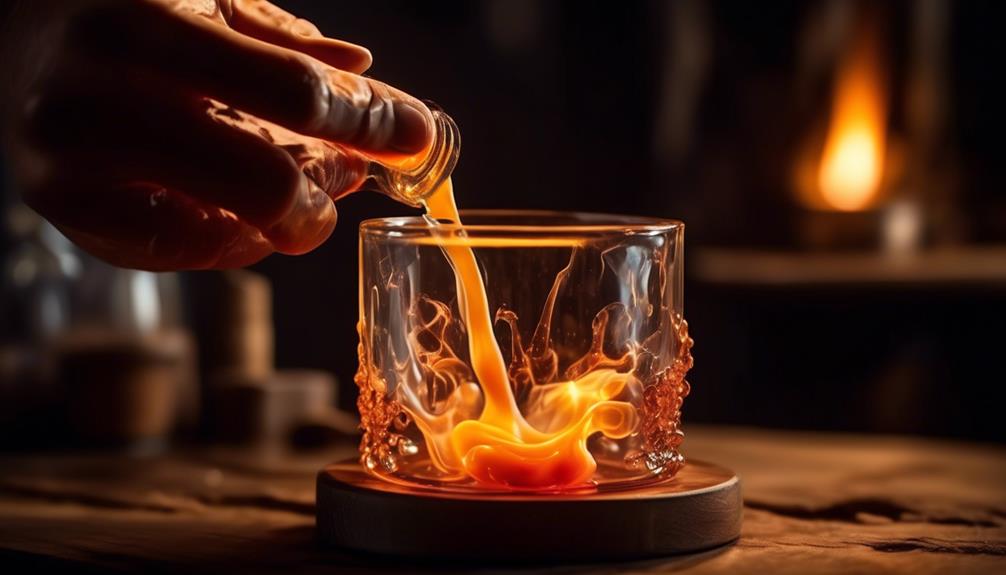
Slowly and steadily stream the melted wax into the container, being cautious not to exceed the jar's widest point to avoid spills or bubbles. Pouring the wax for your wood wick candle is a critical step that requires precision and care. Here's a table to guide you through this process:
| Wax Pouring Tips | Description | Importance |
|---|---|---|
| Pour Slowly | Prevents splashing and air bubbles from forming on the surface of the wax. | Essential |
| Avoid Overfilling | Filling past the widest point of the jar can lead to spills and uneven candles. | Crucial |
| Center the Wick | Ensure the wick remains in the center of the container while pouring the wax. | Key Step |
| Do Not Pour on the Wick | Directly pouring wax onto the wick can affect its burning performance. | Vital |
| Add Fragrance Carefully | If adding fragrance, mix it gently into the wax before pouring for even scent. | Enhances Aroma |
Topping Up Your Candles

When adding more wax to your candles, ensure to do so carefully to maintain their quality and appearance. Topping up your candles not only adds longevity to their burn time but also enhances their aesthetic appeal. Here's how to do it effectively:
- Make Sure Your Candle is Cool: Before topping up your candle, ensure that the existing wax has cooled down completely. This prevents any unwanted mixing of new and old wax.
- Add the Fragrance: If you want to maintain the scent intensity of your candle, consider adding a few drops of fragrance oil to the melted wax before pouring it into the container.
- Pour the Wax Slowly: To avoid air bubbles and ensure a smooth finish, pour the new wax into the container slowly and steadily. This technique helps in creating a seamless layer.
- Check for Level: After pouring the wax, make sure to check if the candle is level to ensure an even burn. Adjust if necessary before the wax sets.
Trimming Your Wicks
To ensure an optimal and safe burning experience, regularly trim your wicks to a recommended length of 1/4 inch. Trimming the wick helps to maintain a clean and efficient burn, preventing excessive smoking and ensuring a steady flame. Here's a detailed guide on how to trim your wicks properly:
Trimming Your Wicks Guide
| Step | Instructions | Tips |
|---|---|---|
| 1. Prepare | Gather scissors and ensure the candle is cool to the touch. | Trim wicks before each use. |
| 2. Measure | Measure 1/4 inch from the wax surface and mark it. | Ensure the wick is centered. |
| 3. Trim | Trim the wick straight across using sharp scissors. | Avoid cutting the wick at an angle. |
| 4. Dispose | Remove the trimmed portion from the candle. | Clean any debris from the wax. |
| 5. Re-center | If the wick has moved, gently reposition it back into the center using a small dot of glue at the bottom. | Avoid over-trimming the wick. |
Enjoying Your Creation
Ensuring your wood wick candle burns cleanly and efficiently by trimming the wicks to the recommended length of 1/4 inch sets the stage for fully enjoying your creation.
Once you have mastered the art of creating a wood wick candle, it's time to revel in the fruits of your labor. Here are some tips on how to make the most of your wood wick candle:
- Savor the Scent: Take a moment to appreciate the aroma of your wood wick candle as it fills the room with a delightful fragrance.
- Create Ambiance: Dim the lights, play some soft music, and bask in the cozy atmosphere your wood wick candle helps create.
- Share Your Creations: Gift your wood wick candles to friends and family, spreading the joy of your craft to others.
- Learn How to Make More: Use your first wood wick candle as a stepping stone to explore new scents, colors, and designs in your future candle-making endeavors.
Candle Making Tips
Let's start by exploring essential tips that can elevate your candle-making game.
From choosing the right wick to mastering wax melting techniques and selecting the perfect fragrance oils, we'll cover all the crucial aspects to help you create the perfect wood wick candle.
These tips are key to ensuring your candles burn beautifully, smell divine, and become a true reflection of your craftsmanship.
Wick Selection Tips
Considering the ambiance you wish to create, the wick selection for your wood wick candle plays a crucial role in achieving the desired burn and aesthetic outcome. When choosing a wick for your wood wick candle, keep these wick selection tips in mind:
- Material Matters: Different wicks are made from various materials like cotton, wood, or paper, each offering unique burning characteristics.
- Size Sensibility: Select a wick size that matches the diameter of your candle to ensure an even burn without tunneling.
- Coating Consideration: Some wicks come pre-coated with substances like wax or priming agents to enhance performance.
- Testing Trials: Experiment with different wicks to find the one that best suits your wax, container, and desired burn time.
Wax Melting Techniques
To achieve a smooth and quality wood wick candle, mastering the art of wax melting techniques is essential. When melting wax for candle making, it's crucial to heat it gently to avoid scorching. Use a double boiler or a dedicated wax melter to heat the wax slowly and evenly.
Stir the molten wax occasionally to promote uniform melting. Once the wax is completely liquefied, carefully pour it into your chosen candle container. To prevent any spills or drips, consider placing the container on a cookie sheet before pouring. This will also make cleanup easier.
Fragrance Oil Choices
Mastering the art of wax melting techniques sets the foundation for crafting exquisite wood wick candles; now, exploring the world of fragrance oil choices elevates the sensory experience of candle making. When choosing fragrance oils for your wood wick candles, consider these tips:
- Choose quality oils: Opt for fragrance oils specifically designed for candle making for a long-lasting scent.
- Mix and match: Experiment with different scent combinations to create unique candles tailored to your preferences.
- Adjust fragrance strength: Vary the amount of oil used based on your desired scent intensity.
- Check compatibility: Ensure the fragrance oils are compatible with your chosen wax type for optimal scent throw.
Frequently Asked Questions
How Do You Make Candles With Wood Wicks?
We love crafting candles with wood wicks! It's a creative process that adds charm to any space.
The crackling sound and cozy ambiance they bring are unmatched.
Our favorite part is experimenting with different scents and container designs to make each candle unique.
Plus, the eco-friendly materials used in wood wick candles make them even more special.
Making candles with wood wicks is an art that we enjoy perfecting.
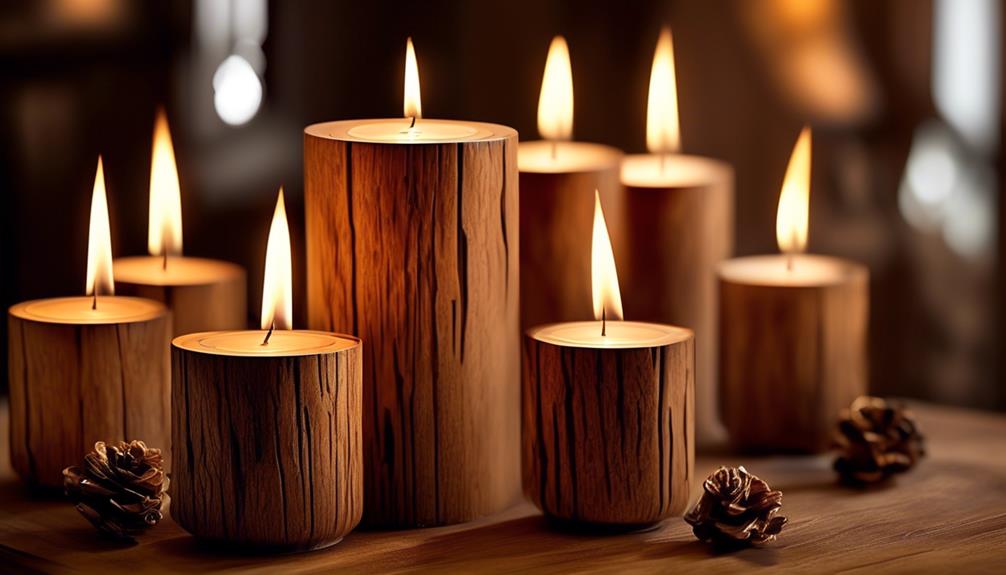
What Type of Wood Is Used in Wood Wick Candles?
Popular wood choices for wood wick candles include cherry, birch, and cedar. Each type of wood offers a unique crackling sound when the candle burns. The wood wicks are treated to ensure a clean and consistent burn.
The choice of wood not only affects the sound but also influences the scent throw and overall aesthetic of the candle. Each wood type brings its own character to the candle-making process, enhancing the final product.
What Are the Ingredients in Wood Wick Candles?
We craft wood wick candles with soy wax beads for eco-friendliness. We use essential oils for delightful scents and wooden wicks for that mesmerizing crackle. Metal wick sustainers and glue dots hold these elements together in elegant cube glass containers.
It's like orchestrating a symphony of nature's finest elements, bringing warmth and ambiance to any space.
Are Wood Wicks Good for Candles?
Wood wicks are excellent choices for candles because they provide a unique sensory experience with their crackling sound, scent, and warm glow. They're made from natural soy wax beads and essential oils, making them eco-friendly.
The crackling sound they produce adds to the cozy ambiance of any space. Easily customizable with various scents and container options, wood wick candles offer a modern twist on traditional candle-making.
Conclusion
As we watch the flickering flame dance on the wooden wick candle we created, we're reminded of the warmth and comfort it brings.
The sweet aroma fills the room, creating a cozy atmosphere that envelops us in a sense of tranquility.
Our hands crafted this masterpiece, and now it brings light and joy into our lives.
Let the gentle glow of our homemade wood wick candle illuminate the beauty of our creation.