
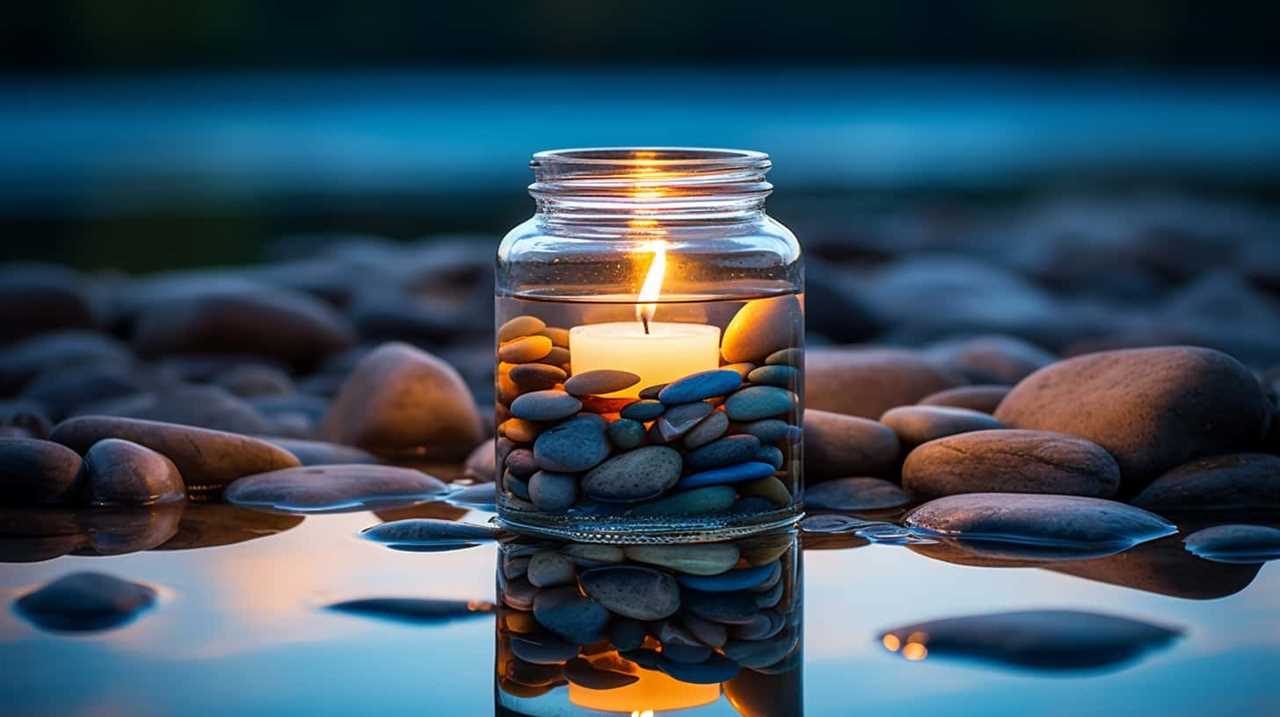
Have you ever felt the comforting warmth and gentle light of a candle’s flame? It acts as a guiding light, leading us in the darkness and setting a cozy ambiance.
Today, we want to share with you the art of making tallow candles – a craft that not only brings light but also serves others. With just a few simple steps, you can create these beautiful candles to brighten someone’s day or enhance any occasion.
Our journey begins by gathering the necessary supplies, preparing the tallow mixture, and choosing the perfect molds.
So, let’s embark on this candle-making adventure together and discover the joy of sharing light and warmth with those around us.

Key Takeaways
- Making your own candles allows for creativity and ensures natural ingredients.
- Tallow is a rendered animal fat that offers a long-lasting burn and minimal smoke.
- Choosing the right molds and wicks is crucial for creating beautiful and functional DIY candles.
- Proper solidification and wick trimming are essential for clean and steady burning.

Noneea 3 in 1 Candle Accessory Set,Candle Care Kit,Candle Wick Trimmer,Wick Dipper with Gift Packaging(Black)
【Candle Accessories Set】3 in 1 candle accessory set, candle care kit,wick trimmer, candle whistle, candle wick dipper with...
As an affiliate, we earn on qualifying purchases.
Gather the Necessary Supplies
First, we’ll gather the necessary supplies to make a tallow candle. Making your own candles not only allows you to be creative, but it also offers several benefits. By using candle making techniques and creating DIY candles, you can ensure that the ingredients are natural and free from harmful chemicals. This is especially important for those who desire serving others, as it provides a safe and healthy option for lighting up their homes.
To make a tallow candle, you’ll need tallow, wicks, a container, and optional essential oils for fragrance. Tallow, a rendered animal fat, is an excellent choice for candle making due to its long-lasting burn and minimal smoke. Gathering these supplies will set the foundation for a successful and fulfilling candle-making experience.

Ohtomber 3 in 1 Stainless Steel Candle Accessory Set, Wick Trimmer Cutter, Snuffer Extinguisher & Dipper, Wick Scissor Clipper Care Kit, Put Out Tool with Gift Package for Candle Lover, Gold
3 in 1 Candle Accessory Set - Our candle care kit includes candle wick trimmer (7.28”), candle snuffer...
As an affiliate, we earn on qualifying purchases.
Prepare the Tallow Mixture
To prepare the tallow mixture, we’ll gather the necessary ingredients and begin the rendering process.
First, we need to obtain high-quality tallow, which is the main ingredient for our candles. Tallow can be sourced from local farms or purchased online.
Once we have our tallow, we’ll start the melting process by cutting it into small pieces and placing them in a heat-safe container. We can use a double boiler or a slow cooker to melt the tallow slowly and evenly.
It’s important to monitor the temperature and stir occasionally to prevent scorching.
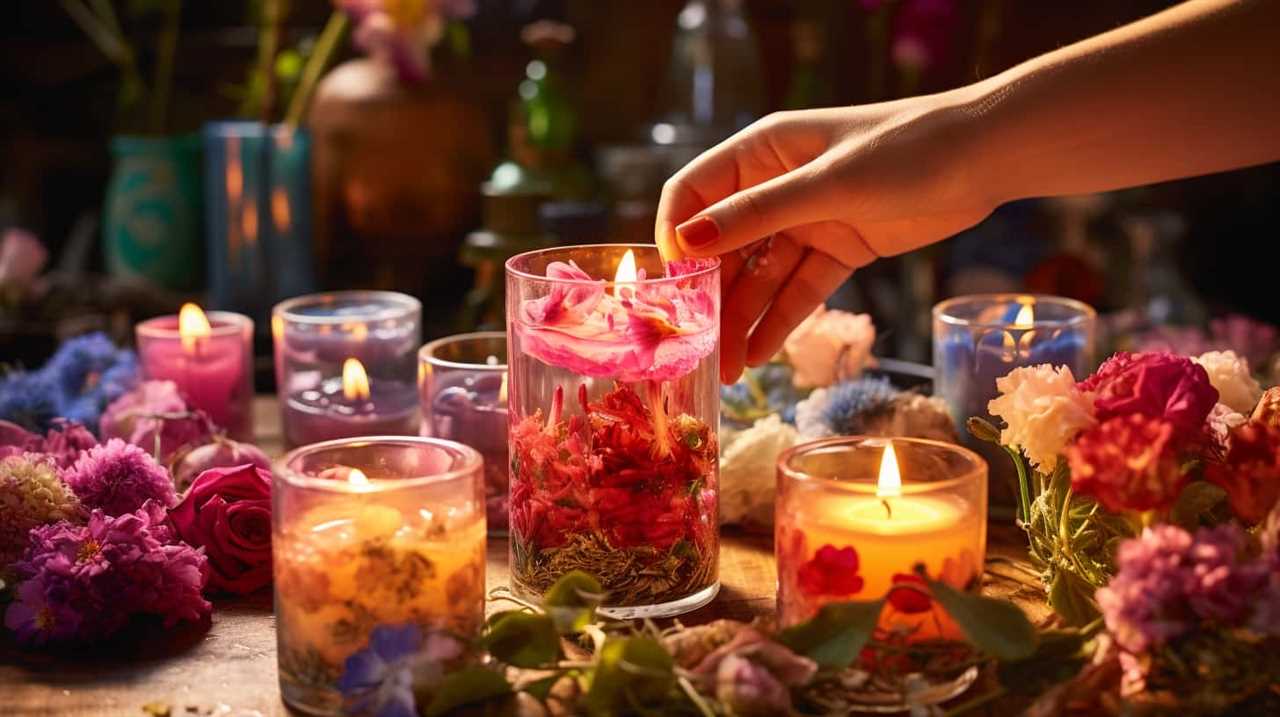
As the tallow melts, we can also consider adding fragrance options such as essential oils or dried herbs to enhance the aroma of our candles.
This step allows us to create personalized and fragrant tallow candles that will bring joy to those we serve.

Viscacha 3 in 1 Candle Accessory Set with Candle Wick Trimmer & Wick Dipper & Candle Snuffer Extinguisher, Wick Cutter & Wick Scissor Candle Gift Set for Candle Lovers(Black)
Candle Accessory Set: Viscacha premium Candle Gift Set is crafted with everything you need to elongate the life...
As an affiliate, we earn on qualifying purchases.
Choose Your Candle Molds
For our tallow candle-making process, we will now select our candle molds. The choice of candle mold is crucial for creating beautiful and functional DIY candles. There are various candle making techniques, and each requires a specific type of mold. Here are some popular options:
| Mold Type | Description |
|---|---|
| Metal Molds | These molds are durable, heat-resistant, and perfect for creating pillar or votive candles. They can be reused multiple times and provide a smooth finish. |
| Silicone Molds | Flexible and easy to remove, silicone molds are ideal for making intricate and detailed candles. They come in various shapes, sizes, and designs, allowing you to unleash your creativity. |
| Glass Containers | Repurposing glass jars or containers is a cost-effective option. They are versatile and give a rustic, farmhouse feel to your candles. |
Choosing the right candle mold depends on your desired outcome and candle making technique. Consider the benefits of DIY candles, such as customization, cost savings, and the satisfaction of creating something by hand.

calary Candle Wick Trimmer, Candle Snuffer and Wick Dipper & Candle Accessory Set, 3 in 1 Candle Care Kit for Candle Lover (Gold)
Material: This candle snuffers are made of stainless steel, it is not easy to rust, not easy to...
As an affiliate, we earn on qualifying purchases.
Prepare the Wicks
Now that we’ve chosen our candle molds, let’s move on to preparing the wicks for our tallow candles. The type of wick you use will depend on the size and shape of your candles. Here are a few common wick types to consider:
- Square braided wicks: These are great for container candles and provide a steady flame.
- Round braided wicks: Perfect for pillar candles, these wicks are sturdy and produce a consistent burn.
Once you have chosen the appropriate wick type, it’s important to size it correctly. The size of the wick will determine how well the candle burns. To determine the right wick size, consider the diameter of your candle and refer to a wick sizing chart.
With our wick types and sizes chosen, we’re now ready to move on to the next step: pouring the tallow into the molds.
Pour the Tallow Into the Molds
We will carefully pour the melted tallow into the molds.
Once the tallow has been melted and is in a liquid state, it’s important to work quickly before it starts to solidify again.
Take the prepared candle molds and place them on a heat-resistant surface.

Gently pour the melted tallow into each mold, ensuring that it fills the mold completely. It’s essential to pour slowly and steadily to prevent any air bubbles from forming.
Once all the molds are filled, set them aside to cool and solidify. The cooling time will vary depending on the size of the candle molds and the temperature of the room.
It’s advisable to leave the molds undisturbed for at least a few hours or until the tallow has completely solidified.
Let the Candles Cool and Solidify
Once the tallow has been poured into the molds, it’s important to let the candles cool and solidify properly. The cooling time for candles can vary depending on the size and thickness of the candles, but it usually takes a few hours for them to completely solidify.
During this process, the tallow undergoes a solidification process where it transforms from a liquid state to a solid state, forming a stable and long-lasting candle. Proper solidification is crucial to ensure that the candles burn evenly and effectively.
Cooling Time for Candles
The candles require a period of time for cooling and solidifying. Once the tallow has been poured into the molds, it’s important to let the candles cool completely before handling them. The solidification time can vary depending on factors such as the size of the candles and the temperature of the room. Here are a few things to keep in mind during the candle cooling process:
- Allow enough time for the candles to cool and solidify properly.
- Avoid touching or moving the candles until they’re fully hardened to prevent any deformities.
- Keep the candles in a cool, dry place to ensure a smooth and even solidification.
After the cooling process is complete, the candles will be ready for the next step: the solidification process. This involves removing them from the molds and trimming the wicks to prepare them for use.
Solidification Process of Candles
After pouring the tallow into the molds, we need to allow the candles to cool and solidify completely. This cooling time is crucial as it ensures that the candles harden properly and are ready for use. The cooling process typically takes a few hours, but it may vary depending on the size and thickness of the candles. It’s important not to rush this step, as prematurely removing the candles from the molds can result in deformation or a soft, uneven texture.
Proper solidification ensures that the candles burn evenly and efficiently. When the tallow solidifies completely, it forms a stable base for the wick, allowing for a steady and controlled flame. This is essential for achieving a clean, long-lasting burn.
Importance of Proper Solidification
To ensure the candles harden properly and are ready for use, we need to allow them to cool and solidify completely. Proper solidification is crucial in creating high-quality tallow candles. Here are some important techniques to consider:
- Even Cooling: It’s essential to prevent uneven cooling, as it can lead to cracks and uneven surfaces. To achieve even cooling, make sure to place the candles in a draft-free area with consistent room temperature.
- Avoid Disturbances: During the solidification process, avoid moving or disturbing the candles. Any disturbance can affect the final texture and appearance of the candles.
- Patience: It may be tempting to check on the candles frequently, but it’s important to exercise patience. Letting the candles cool undisturbed for the recommended time ensures a smooth and uniform finish.
Trim the Wicks
To ensure a clean and steady burn, we need to trim the wicks of our tallow candles. Wick trimming is an important aspect of candle safety, as it helps prevent excessive smoke, flickering, and uneven burning. When a wick is too long, it can create a larger flame, which can lead to soot buildup and potential fire hazards. By keeping the wick trimmed to the recommended length, we can enjoy a safer and more enjoyable candle experience.
Here is a simple guide on how to trim your tallow candle wicks:
| Step | Instructions |
|---|---|
| 1 | Allow the candle to cool completely. |
| 2 | Use scissors or wick trimmers to trim the wick to ¼ inch. |
| 3 | Remove any debris or trimmings from the candle. |
| 4 | Dispose of the trimmed wick properly. |
| 5 | Light the candle and enjoy a clean, steady burn. |
Remember to always follow proper candle safety guidelines and never leave a burning candle unattended.
Test the Candles for Proper Burning
To ensure optimal performance, we conduct a thorough test to assess the proper burning of our tallow candles. Here are some candle burning tips and troubleshooting candle issues that we follow during the testing process:
- Check the wick: Ensure that the wick is properly centered and trimmed to about ¼ inch. This helps the candle burn evenly and prevents excessive smoke.
- Burn time: Allow the candle to burn for at least one hour per inch in diameter. This ensures a wide, melted wax pool and prevents tunneling.
- Extinguish flame: If the flame becomes too high or flickers excessively, extinguish it and trim the wick. This helps control the flame and prevents soot buildup.
- Candle placement: Keep candles away from drafts, flammable objects, and out of reach of children and pets.
By following these candle burning tips and troubleshooting candle issues, you can enjoy a safe and long-lasting burn.
Now, let’s move on to the next step: decorating your tallow candles (optional).
Decorate Your Tallow Candles (Optional)
Now let’s move on to decorating our tallow candles, if desired. Adding a decorative touch to your candles can enhance their beauty and create a more inviting ambiance. One option is to use decorative candle holders. These come in various styles and materials, such as glass, metal, or ceramic, and can add an elegant or rustic touch to your candles. When choosing a candle holder, make sure it’s the appropriate size and shape to securely hold your tallow candle.
Before adding any decorations, it’s important to remember candle safety precautions. Ensure that any materials you use to decorate the candle are non-flammable and won’t pose a risk when the candle is lit. Avoid placing decorations too close to the flame, as this can cause a fire hazard. Always monitor your candles while they’re lit and keep them away from flammable objects.
Now that you have decorated your tallow candles, let’s move on to the next step: storing them properly.
Store Your Tallow Candles Properly
Now let’s talk about how to properly store your tallow candles to ensure their longevity.

The ideal storage conditions for tallow candles include keeping them in a cool, dry place away from direct sunlight and extreme temperatures.
It’s also important to store them in an airtight container or wrap them tightly in wax paper to prevent moisture and dust from affecting their quality.
But how long can you expect your tallow candles to last? Let’s find out.
Ideal Storage Conditions
Proper storage conditions are crucial for maintaining the quality of our tallow candles. To ensure their longevity and optimal performance, here are some ideal storage conditions to consider:
- Temperature: It’s important to store tallow candles in an area with a consistent and cool temperature. Ideally, the temperature should be between 50-70 degrees Fahrenheit. Extreme temperatures can cause the candles to melt or become brittle, affecting their burn time and overall quality.
- Humidity levels: Excessive humidity can cause tallow candles to absorb moisture, leading to a decrease in their performance. It’s recommended to store them in a dry environment with humidity levels below 65%. This will prevent the candles from becoming soft or developing mold.
Shelf Life of Tallow Candles?
To ensure the longevity of our tallow candles, it’s important to understand their shelf life and how to properly store them. Shelf life considerations are crucial in maintaining the quality and performance of tallow candles. When stored correctly, tallow candles can last for a significant period of time.
One key aspect of tallow candle maintenance is to store them in a cool, dry place away from direct sunlight. Exposure to heat and sunlight can cause the tallow to melt or become discolored, affecting both the appearance and performance of the candle. Additionally, it’s important to protect the candles from moisture, as this can lead to mold or mildew growth.
Furthermore, it’s recommended to store tallow candles in airtight containers or sealed packaging to prevent them from absorbing any odors or dust. This will help preserve their scent and appearance over time.
Tips for Troubleshooting Common Issues
If you encounter any problems while making tallow candles, we recommend checking for air bubbles in the wax mixture. Air bubbles can cause uneven burning and decrease the overall quality of your candles.

Here are some troubleshooting tips to help you resolve common candle-making issues:
- Troubleshooting techniques for air bubbles:
- Gently tap the container on a flat surface to release any trapped air bubbles.
- Use a toothpick or skewer to pop the bubbles before the wax hardens.
- Troubleshooting techniques for uneven burning:
- Ensure that the wick is centered in the candle and trimmed to the appropriate length.
- Avoid drafts that can cause uneven heat distribution.
Enjoy the Warmth and Ambiance of Your Homemade Tallow Candles
Now that you’ve successfully made your own tallow candles, it’s time to enjoy the warmth and ambiance they bring to your home.
Candle-making techniques vary, but the satisfaction of creating your own homemade candles remains constant.
Not only do these candles provide a cozy atmosphere, but they also offer the benefits of a sustainable and eco-friendly option.

Candle-Making Techniques
We will now explore the candle-making techniques that will allow us to enjoy the warmth and ambiance of our homemade tallow candles. Candle making is a beautiful and fulfilling craft that brings joy to both the maker and the recipient. Here are some techniques to help you create your own homemade candles:
- Choose the right materials: Use high-quality tallow, wicks, and molds to ensure the best results.
- Melt and pour: Heat the tallow in a double boiler, then carefully pour it into your chosen mold.
- Customize with scents and colors: Add essential oils or dried herbs to create unique fragrances, and use natural dyes for a pop of color.
- Trim the wicks: To ensure a clean burn, trim the wick to about ¼ inch before lighting.
- Enjoy the benefits: Homemade tallow candles not only provide a warm and cozy atmosphere, but they also emit a soft, natural light that can promote relaxation and calmness.
Benefits of Homemade Candles
To fully appreciate the benefits of homemade candles, let’s delve into the warmth and ambiance that our homemade tallow candles bring to any space.
One of the greatest advantages of making your own candles is the ability to use natural ingredients. Unlike store-bought candles that often contain synthetic fragrances and additives, homemade candles allow you to choose high-quality, natural ingredients. This means you can create a healthier and safer environment for yourself and your loved ones.
Additionally, homemade candles offer a unique charm and character that store-bought ones simply can’t replicate. The process of creating your own candles allows for customization, allowing you to create scents and designs that perfectly suit your taste and style.
Frequently Asked Questions
How Long Does It Take for the Tallow Candles to Cool and Solidify?
It takes a specific amount of time for tallow candles to cool and solidify. The cooling time depends on factors such as the melting point of the tallow and the surrounding temperature.
Can I Use Any Type of Wicks for the Tallow Candles?
Different types of wicks for tallow candles can be used. To choose the right one, consider the desired burn time, size of the candle, and type of wax. Experimentation may be needed for optimal results.
What Are Some Common Issues That Can Occur While Making Tallow Candles?
Common issues that can occur while making tallow candles include uneven burning, excessive smoke, and wick-related problems. To troubleshoot, ensure proper wick size, trim as needed, and use a stable container.
How Should I Store the Tallow Candles to Ensure Their Longevity?
To ensure the longevity of your tallow candles, we recommend storing them in a cool, dry place away from direct sunlight. This will help preserve their quality and prevent any unwanted melting or damage.
Are There Any Safety Precautions I Should Take While Making Tallow Candles?
When making tallow candles, it’s important to prioritize safety. To ensure a safe process, we recommend using proper candle making equipment and considering tallow alternatives if needed. Taking these precautions will help prevent accidents and promote a successful candle making experience.
Conclusion
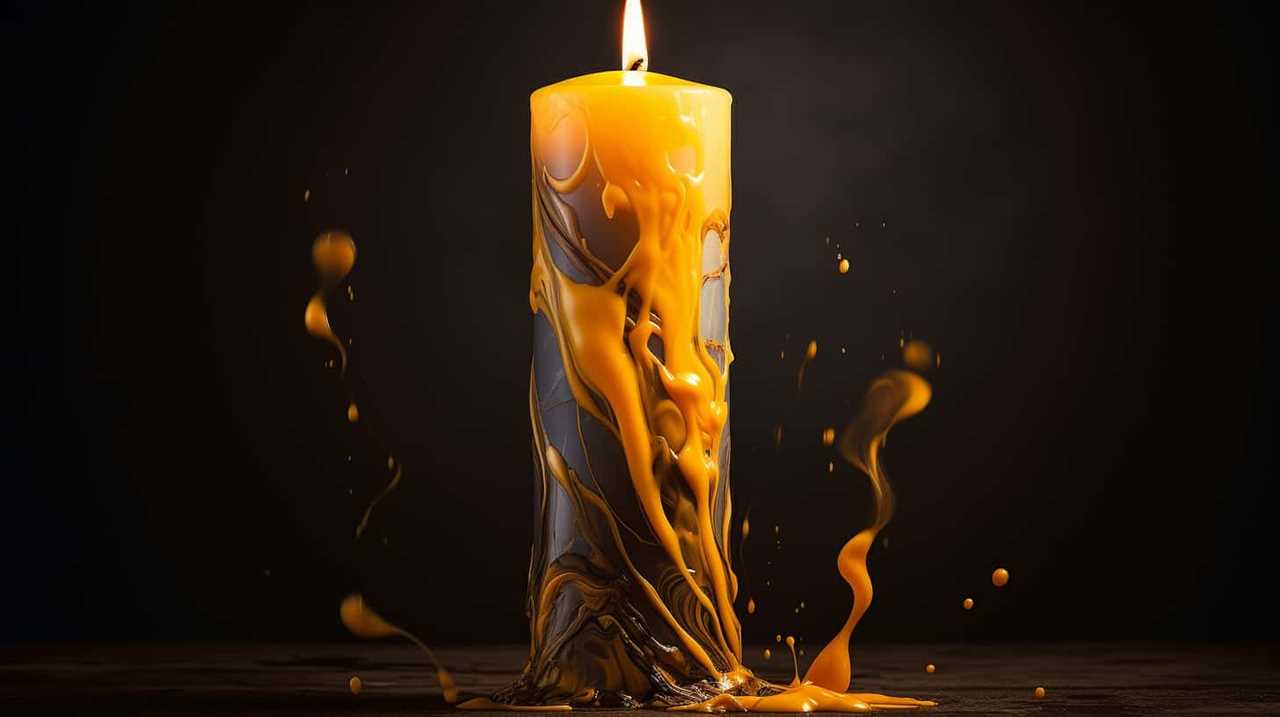
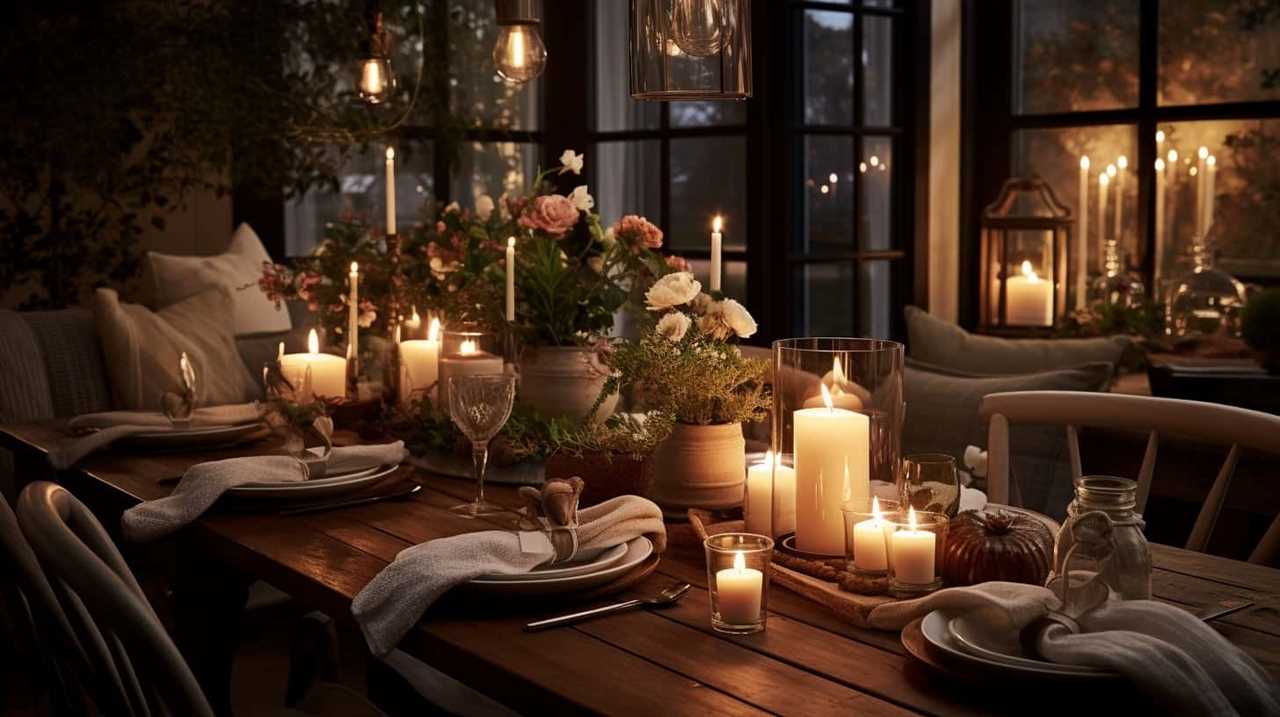
In the flickering glow of your homemade tallow candles, warmth and ambiance dance harmoniously, casting enchanting shadows upon your surroundings.
Like a gentle embrace, these handcrafted creations bring a touch of old-world charm to your home.
With careful preparation and attention to detail, you have mastered the art of tallow candle making, infusing your space with the soft glow of creativity and craftsmanship.
Enjoy the mesmerizing allure of these unique treasures and bask in the radiant glow they provide.