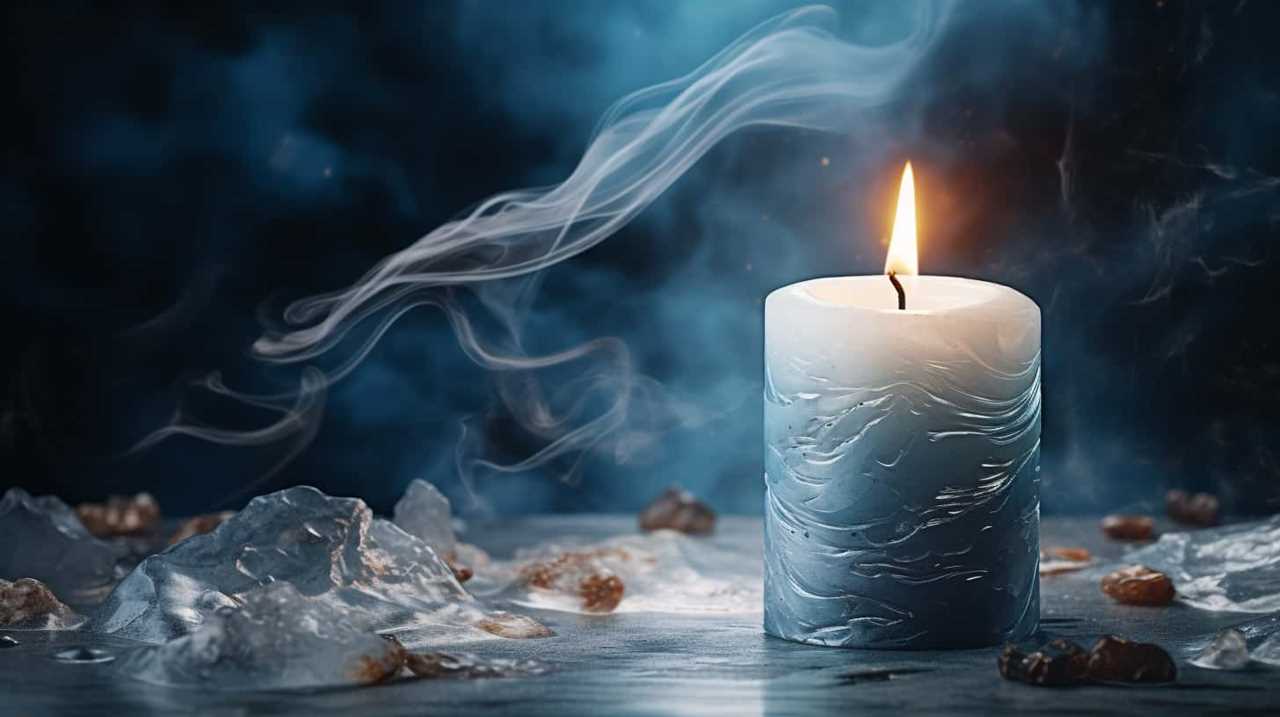
Are you prepared to explore the mystical power of black candles? Come with me as we delve into the technique of coloring candle wax in different shades of black. If you are interested in learning more about this fascinating practice and its special effects, continue reading to uncover the mysteries behind the magic of black candles. Let’s journey into this captivating world together!
With our guidance, you’ll learn the steps to transform ordinary candles into captivating works of darkness. Safety is our utmost priority, so we’ll ensure you have all the necessary supplies and precautions to create these mesmerizing creations.
From choosing the right dye to melting and solidifying the wax, we’ll be with you every step of the way.
So let’s dive into this transformative process and unleash the magic of black candles in your life. Together, we’ll create something truly extraordinary.
Key Takeaways
- Wear protective gloves and aprons, use a designated dyeing area, and avoid overheating the wax.
- Choose the right wax and dye based on budget, preferences, and desired candle characteristics.
- Use a double boiler or dedicated wax melter, stir the black dye thoroughly, and adjust the color if needed.
- Pour the wax slowly into clean molds, allow it to cool for 24 hours, and then remove the candles for use.
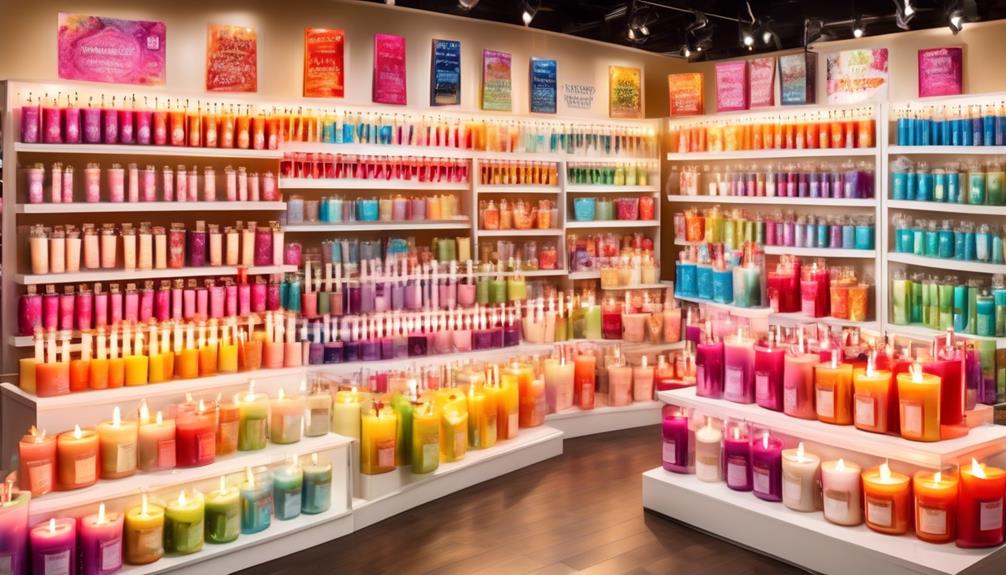
Top picks for "candle black"
Open Amazon search results for this keyword.
As an affiliate, we earn on qualifying purchases.
Safety Precautions for Dyeing Candle Wax Black
To ensure our safety while dyeing candle wax black, we must adhere to a set of essential precautions.
First and foremost, preventing dye stains is crucial. We recommend wearing protective gloves and aprons to avoid any direct contact between the dye and our skin or clothing.
Additionally, using a designated dyeing area or covering the work surface with newspapers can prevent accidental spills or splatters.
Another important precaution is to avoid overheating the wax. We suggest using a double boiler or a heat-resistant container placed in a water bath to control the temperature. This will prevent the wax from reaching its flash point and causing potential fire hazards.
Gathering the Necessary Supplies for Dyeing Candle Wax Black
Now let’s discuss the essential materials needed for dyeing candle wax black.
To achieve the desired color, you’ll need black candle dye, which can be found at craft stores or online.
Additionally, choosing the right wax is crucial for successful dyeing. Look for a high-quality, unscented wax that’s suitable for candle making and can hold color well.
Essential Dyeing Materials
We will gather the essential dyeing materials needed to dye candle wax black.
To achieve the desired black color, you’ll need black candle dye specifically formulated for wax. This dye is highly concentrated, allowing for a deeper color saturation.
Additionally, you’ll require a heat-resistant container for melting the wax, such as a double boiler or a wax melting pot. A thermometer is essential to monitor the temperature of the wax accurately.
To stir the dye into the melted wax, a heat-resistant spoon or a stirring stick is necessary. Lastly, make sure to have protective gloves and an apron to avoid any accidental spills or stains.
With these materials at hand, you’ll be well-equipped to start dyeing your candle wax black.
Now, let’s move on to the next step: choosing the right wax.
Choosing the Right Wax
For this step, let’s gather the necessary supplies for dyeing candle wax black by selecting the appropriate type of wax. Choosing the right type of wax is crucial in achieving the desired results for your black candles. Here are some pros and cons of different wax options to help you make an informed decision:
- Paraffin Wax:
- Pros: It’s readily available, affordable, and easy to work with.
- Cons: Paraffin wax can produce soot and may not provide the best scent throw.
- Soy Wax:
- Pros: Soy wax is a natural and renewable resource, producing clean-burning candles.
- Cons: It tends to have a softer texture, which may require additional additives for stability.
- Beeswax:
- Pros: Beeswax candles have a natural honey-like scent and long burn time.
- Cons: Beeswax is more expensive and may require higher dye concentrations for a deep black color.
Consider your budget, preferences, and desired candle characteristics when choosing the right wax for dyeing your candles black.
Choosing the Right Type of Dye for Black Candle Wax
When choosing the right type of dye for black candle wax, there are several important points to consider.
First, consider the color intensity and saturation that you desire. Some dyes may produce a more vibrant black color, while others may create a darker, more muted shade.
Second, ensure that the dye is compatible with the type of wax you’re using. Certain dyes may work better with soy wax, while others may be more suitable for paraffin wax.
Lastly, consider the effectiveness of the dyeing method. Some dyes may require a longer dyeing time or specific temperature conditions to achieve the desired black color.
Color Intensity and Saturation
To achieve a deep and rich black color in candle wax, selecting a dye with high color intensity and saturation is essential. Here are three key factors to consider when choosing the right type of dye for black candle wax:
- Blending multiple dyes for unique color effects: Experimenting with different combinations of dyes can help you create custom shades of black. For example, mixing a blue dye with a black dye can result in a deep midnight black color.
- Techniques for achieving a matte or glossy black finish: Depending on the desired effect, you can choose a dye that provides a matte or glossy finish. Matte black gives a sophisticated and elegant look, while glossy black adds a touch of shine and glamour to your candles.
- Compatibility with wax: Make sure the dye you select is compatible with the type of wax you’re using. Some dyes are specifically designed for soy wax, while others work best with paraffin or beeswax.
Considering these factors will help you achieve the perfect black color for your candle wax. Now, let’s move on to the next section and explore the importance of dye compatibility with wax.
Compatibility With Wax
We can select a dye with high color intensity and saturation to achieve a deep and rich black color in candle wax. However, it’s essential to consider the compatibility of the dye with the wax. Not all dyes are suitable for use in candle wax, as some may not mix well or may not produce the desired color.
To ensure wax compatibility, it’s recommended to use dyes specifically formulated for candle making. These dyes are designed to dissolve easily in wax and provide consistent color results. Additionally, it’s important to follow proper dyeing techniques, such as heating the dye to the recommended temperature and stirring it thoroughly into the wax.
Dyeing Method Effectiveness
To ensure the best results when dyeing candle wax black, it’s important to choose the right type of dye that will effectively achieve the desired color. Here are three key factors to consider when selecting the dye for your black candle wax:

- Dyeing Techniques: Different dyeing techniques require different types of dyes. For example, if you plan to dip your candles in dye, you’ll need a dye that’s suitable for immersion dyeing. On the other hand, if you prefer to use a brush or a sponge to apply the dye, you’ll need a dye that works well with those techniques.
- Troubleshooting Tips: Some dyes may have a tendency to bleed or fade over time. It’s crucial to choose a dye that’s known for its colorfastness and stability. Additionally, consider the compatibility of the dye with the type of wax you’re using to prevent any unwanted reactions or inconsistencies.
- Color Intensity: Black is an intense and dark color, so it’s important to choose a dye that can create a deep, rich black hue. Look for dyes specifically formulated for black colors, as they often contain higher concentrations of pigments to achieve the desired intensity.
By carefully considering these factors, you can choose the right type of dye that will effectively dye your candle wax black.
Now, let’s move on to the next step: preparing the candle wax for dyeing.
Preparing the Candle Wax for Dyeing
To prepare the candle wax for dyeing, we need to first melt it in a double boiler. This method ensures that the wax melts evenly and reduces the risk of overheating. It’s important to take safety precautions during this process to prevent accidents and ensure a smooth dyeing experience.
Here are some safety precautions to follow when melting candle wax:
- Use a double boiler: Place the wax in a heat-resistant container and set it inside a larger pot filled with water. This indirect heat method prevents the wax from coming into direct contact with the heat source and reduces the chances of it catching fire.
- Monitor the temperature: The optimal melting temperature for most candle waxes is between 160°F (71°C) and 180°F (82°C). Use a thermometer to constantly monitor the temperature and adjust the heat accordingly.
Melting the Candle Wax for Dyeing
Now that we’ve prepared the candle wax for dyeing, let’s focus on the next step: melting the wax.
The optimal melting temperature for candle wax is typically between 160-180 degrees Fahrenheit. It’s important to use a suitable melting container, such as a double boiler or a dedicated melting pot, to ensure even heat distribution and prevent overheating.
Optimal Melting Temperature
We found that heating the candle wax to an optimal melting temperature is crucial for achieving the desired black dye color. To ensure the best results, consider the following:
- Optimal melting equipment: Investing in a high-quality double boiler or a dedicated candle wax melter can provide precise temperature control. These specialized tools are designed to melt wax evenly and maintain a consistent temperature throughout the dyeing process.
- Temperature control: It’s essential to heat the wax gradually and avoid sudden temperature changes. Start by melting the wax at a low temperature, gradually increasing it until the wax has completely melted. This slow and controlled approach prevents overheating and ensures that the wax retains its properties.
- Testing and monitoring: Regularly check the temperature of the melting wax using a thermometer specifically designed for candle making. This will help you maintain a stable and optimal melting temperature, ensuring the best dye absorption and color consistency.
Following these guidelines will help you achieve a deep and vibrant black dye color in your candle wax.
Best Melting Container?
For melting the candle wax to achieve the desired black dye color, it’s important to choose the best melting container. The right container can help ensure even heating and easy pouring, resulting in a smooth and professional-looking finished product. When considering melting container options, there are several alternative melting vessels to choose from. Here is a comparison table to help you make an informed decision:
| Melting Container | Pros | Cons |
|---|---|---|
| Double Boiler | Provides gentle and indirect heat | Requires additional equipment |
| Stainless Steel Pot | Durable and easy to clean | May have difficulty pouring |
| Glass Jar | Allows for easy monitoring of color | Can break under high temperatures |
| Silicone Mold | Flexible and easy to remove wax | Limited size options |
| Aluminum Tin | Lightweight and conducts heat well | May leave a metallic taste |
Consider your preferences and needs when choosing the best melting container for your candle wax dyeing project.
Adding the Black Dye to the Melted Wax
To achieve a deep black color, mix a small amount of black dye into the melted wax using a dropper.
Here are three important tips to ensure a successful dyeing process:

- Start with a small amount: When adding black dye to the melted wax, it’s important to begin with a small amount and gradually increase if needed. This allows for better control over the color intensity and prevents over-dyeing.
- Stir thoroughly: Use a mixing tool, like a wooden skewer or a spoon, to stir the black dye into the melted wax. Make sure to mix the dye evenly throughout the wax to achieve a consistent color.
- Troubleshooting tips: If the black dye doesn’t fully dissolve or the color appears uneven, try reheating the wax slightly and stirring again. If the color is still not satisfactory, consider using a different brand or type of black dye for better results.
Mixing the Dye Thoroughly Into the Wax
Achieving a uniform and vibrant black color requires thoroughly mixing the dye into the melted wax. Proper mixing techniques are crucial to ensure that the dye is evenly distributed throughout the wax, resulting in a consistent black hue. Here are some tips to help you achieve the desired result:
| Mixing Techniques | Troubleshooting Tips |
|---|---|
| Stirring: Use a heat-resistant spoon or spatula to stir the dye into the wax. Stir in a figure-eight motion to ensure thorough mixing. | If you notice streaks or patches of color in the wax, continue stirring until the dye is fully incorporated. |
| Whisking: For larger batches of wax, you can use a whisk to vigorously mix the dye. This can help break up any clumps and achieve a more uniform color. | If the wax becomes too thick or difficult to work with, try adding a small amount of melted wax to thin it out. |
| Heating: Applying gentle heat to the mixture can aid in the mixing process. Use a double boiler or a candle wax melter to maintain a consistent temperature while stirring. | If the wax starts to cool and harden before you achieve the desired color, reheat it slightly to continue mixing. |
Testing the Color of the Dyed Wax
Now that we’ve successfully dyed our candle wax black, it’s important to test the color to ensure it meets our desired specifications.
There are several factors to consider during this process.
First, we need to assess the color intensity and saturation to determine if it’s deep and rich enough.
Additionally, we should check the compatibility of the dye with the wax to ensure it has blended well without any separation or clumping.
Lastly, we must evaluate the lightfastness of the dye to ensure it won’t fade over time, maintaining its vibrant black color.
Color Intensity and Saturation
When testing the color intensity and saturation of the dyed wax, we can use a simple method to ensure desired results. Here are three steps to help achieve the perfect color for your candles:
- Start by mixing different colorants: Experiment with various color mixing techniques to create unique shades. Combine small amounts of different colorants to achieve the desired hue. Remember to take note of the proportions used to reproduce the color later.
- Test the color on a small sample: Before adding the dye to your entire batch of wax, it’s essential to test the color on a small sample first. This will allow you to assess the color intensity and saturation, ensuring it matches your desired outcome.
- Aim for a matte finish: If you prefer a matte finish, consider adding a small amount of black pigment to your dye mixture. This can help create a more subdued and velvety appearance.
By following these steps, you can ensure that the color of your dyed wax is exactly as you envisioned.
Now, let’s explore the next aspect: dye compatibility with wax.
Dye Compatibility With Wax
To assess the compatibility of the dye with the wax and test the color of the dyed wax, we can follow a simple procedure.
First, select a small amount of wax and melt it in a heat-resistant container. Once melted, add a small amount of the dye and mix thoroughly until the color is evenly distributed. Allow the wax to cool and solidify.
Observe the color and assess its compatibility with your desired shade. If the color is too light, add more dye in small increments until the desired intensity is achieved. Conversely, if the color is too dark, you can either dilute the dye by adding more wax or start with a lighter shade of dye.
Troubleshooting common dyeing problems, such as uneven color distribution or color bleeding, can be addressed by adjusting the dye concentration or incorporating different dyeing techniques.
Lightfastness and Fading
Continuing from the previous subtopic, we can evaluate the lightfastness and fading of the dyed wax by conducting a color test. This test will help us determine if the color of the wax will withstand exposure to light and prevent color fading over time.
Here are three key points to consider when performing lightfastness testing and preventing color fading:
- Choose a suitable wax dye: Opt for dyes specifically designed for candle making, as they often have better lightfastness properties. These dyes are formulated to resist fading when exposed to light.
- Conduct a lightfastness test: Apply the dyed wax to a small area of a white candle and place it in a location that receives direct sunlight. Monitor the candle’s color over a period of time, noting any fading or color changes.
- Protect the dyed wax: To prevent color fading, avoid placing the dyed candles in direct sunlight for extended periods. Store them in a cool, dark place when not in use to minimize light exposure.
Adjusting the Color Intensity if Needed
We can enhance the color intensity of the black candle wax by adding more dye if necessary. Adjusting the color saturation allows us to achieve the desired shade of black for our candles. To do this, simply add a small amount of black candle dye to the melted wax and stir well. If the color is still not intense enough, gradually add more dye until the desired shade is reached. Be careful not to add too much dye at once, as it can overpower the wax and affect the quality of the candle. Use the table below as a guide to determine the amount of dye needed based on the weight of the wax:
| Wax Weight (in grams) | Dye Amount (in grams) |
|---|---|
| 100 | 2 |
| 200 | 4 |
| 300 | 6 |
| 400 | 8 |
| 500 | 10 |
Once the color intensity is adjusted to your liking, we can move on to the next step of pouring the black wax into candle molds.
Pouring the Black Wax Into Candle Molds
Once the desired shade of black is achieved by adjusting the color intensity, we can proceed to pour the melted black wax into the candle molds. Preparing the molds is an important step to ensure successful pouring. Here are three key points to consider:
- Clean the molds: Before pouring the black wax, make sure the molds are clean and free from any residue. This will prevent any unwanted particles from getting trapped in the candles.
- Use a steady hand: Pour the black wax slowly and steadily into the molds. This helps to avoid air bubbles and ensures an even distribution of the wax within the mold.
- Troubleshoot pouring techniques: If you encounter any difficulties while pouring, such as wax spilling or uneven filling, try adjusting the pouring angle or using a pouring aid like a funnel. This will help you achieve a smooth and consistent pour.
Once the black wax is poured into the molds, we can move on to the next step of allowing the candles to cool and solidify.
Allowing the Candles to Cool and Solidify
After pouring the black wax into the molds, it’s important to allow the candles to cool and solidify. This step is crucial in ensuring that the candles are ready for use. The cooling time can vary depending on the size and shape of the candles, as well as the ambient temperature.
Generally, it’s recommended to allow the candles to cool for at least 24 hours. During this time, the wax will gradually solidify, resulting in a stable and consistent wax consistency. It’s important not to disturb the candles during the cooling process to avoid any imperfections or uneven surfaces.
Once the candles have completely cooled and solidified, they’re ready to be removed from the molds and enjoyed.
Removing the Candles From the Molds
The extraction of the candles from the molds requires careful handling to ensure their intactness. Here are three steps to help you remove the candles successfully:
- Gently tap the mold: Start by tapping the sides of the mold with a soft mallet or the palm of your hand. This will loosen the wax and help it separate from the mold.
- Apply gentle pressure: Once the candles are loosened, apply gentle pressure to the bottom of the mold. Use your fingers or a small, flat tool to push the candle out. Avoid using excessive force, as it can damage the candle.
- Remove excess dye and prevent dye bleeding: After removing the candles, gently wipe off any excess dye on the surface using a soft cloth or paper towel. This will prevent the dye from bleeding onto other surfaces when the candles are lit.
Trimming the Wicks of the Black Candles
To ensure a clean and even burn, we trim the wicks of our black candles before lighting them. Proper wick maintenance is essential for an optimal candle-burning experience. Trimming the wick not only prevents excessive smoke and sooting but also helps to maintain a steady flame and prolong the life of the candle.
When it comes to trimming techniques, there are a few key steps to follow. First, gather a pair of sharp scissors or a wick trimmer. Next, extinguish the candle if it’s already burning. Wait for the wax to cool and harden before proceeding. Trim the wick to approximately 1/4 inch in length, ensuring that it’s centered and upright. Be careful not to trim it too short, as this can lead to a weak flame or difficulty in relighting the candle.
Regularly trimming the wicks of your black candles is an important part of candle maintenance. By following these simple steps, you can ensure a clean and even burn every time you light your candle.
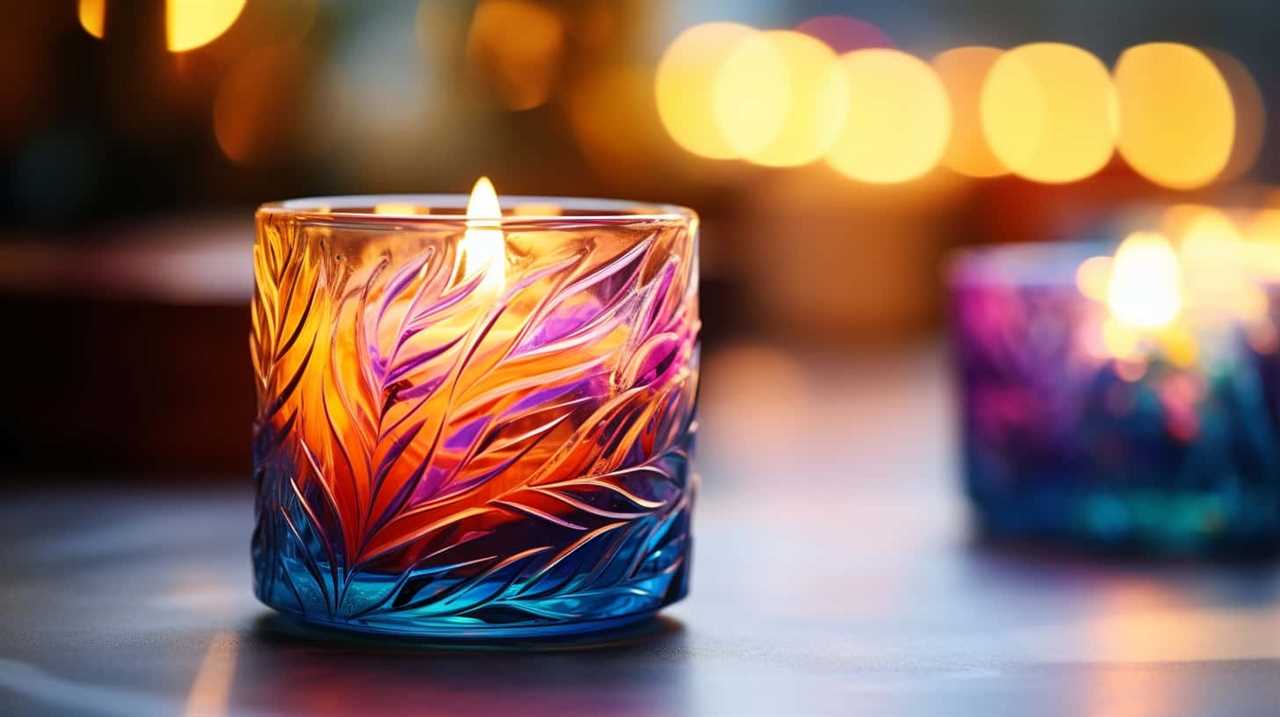
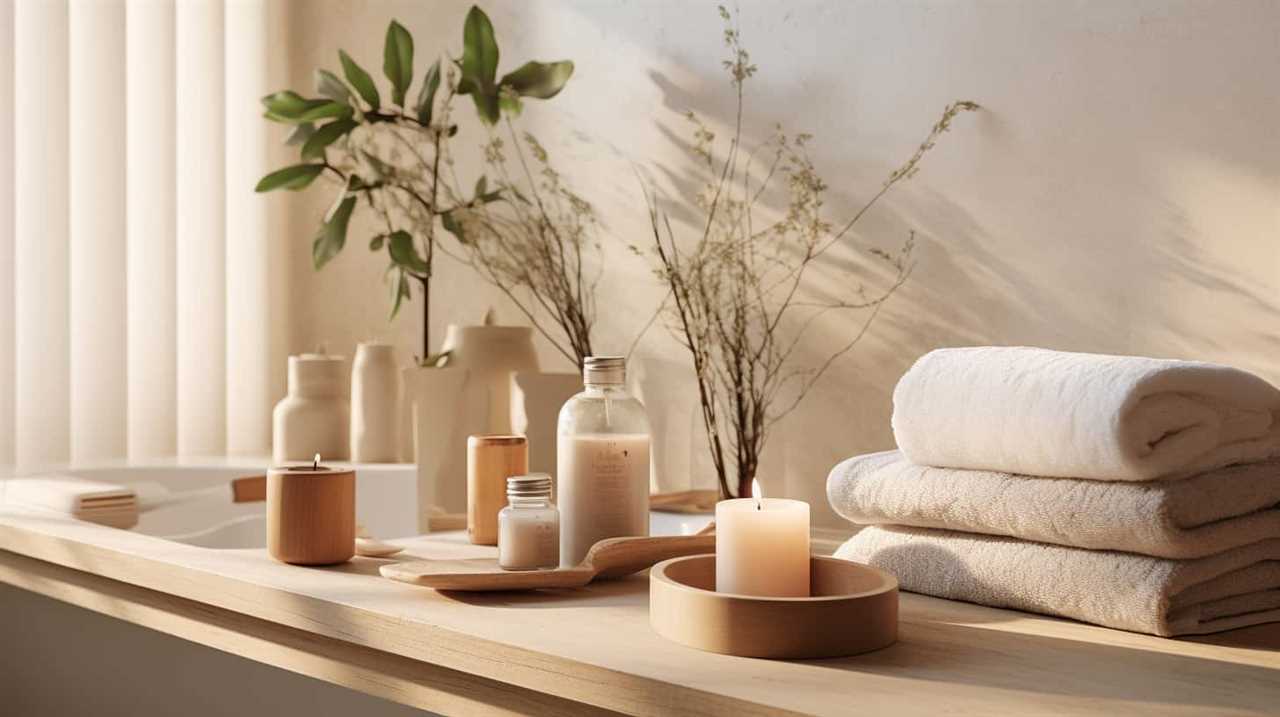
Enjoying and Displaying Your Newly Dyed Black Candles
We love admiring and showcasing our newly dyed black candles. After all the effort put into dyeing them, it’s time to enjoy their beauty. Here are three creative candle arrangements to help you display your black candles:
- Grouping: Arrange candles of varying heights together in a cluster on a decorative tray or dish. This creates a visually appealing centerpiece for any table or mantel.
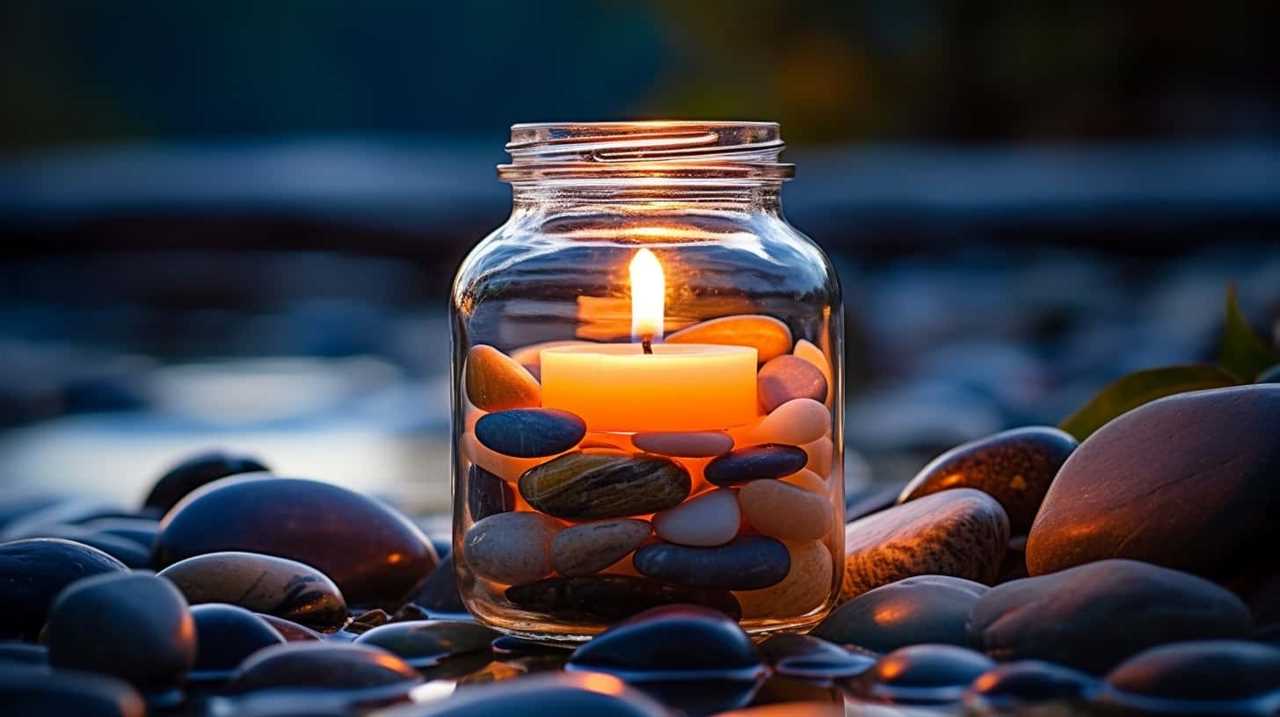
- Mason jar lanterns: Place a black candle inside a mason jar and surround it with small rocks or sand. Light the candle to create a cozy and atmospheric glow. These lanterns can be hung or placed on surfaces for a charming display.
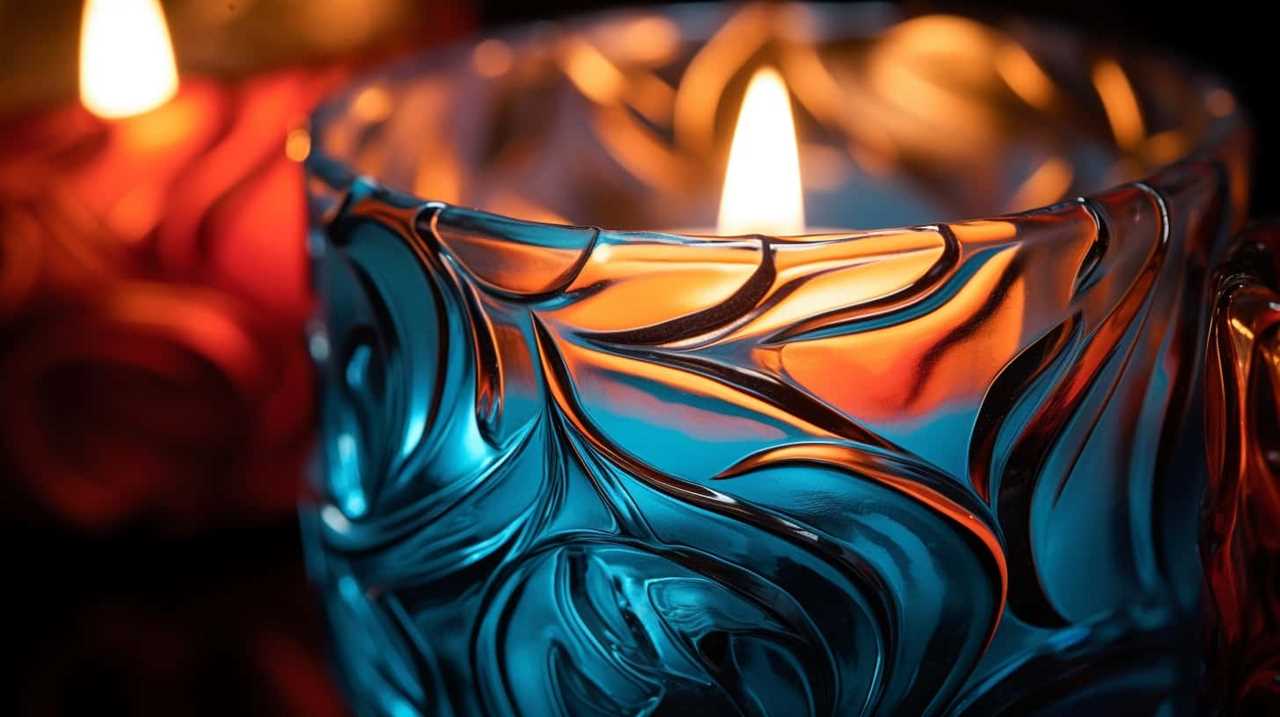
- Candle holders: Use unique candle holders, such as vintage brass or modern geometric designs, to showcase your black candles. These holders add an extra touch of style and elegance to your display.
Frequently Asked Questions
Can I Use Any Type of Wax to Dye Black Candles?
We can use different types of wax for making candles, but there are pros and cons to consider when using black dye. It’s important to understand the potential effects and limitations before proceeding with dyeing candle wax black.
How Long Should I Let the Candles Cool Before Removing Them From the Molds?
Before removing the candles from the molds, it is advised to let them cool for at least 2-4 hours. This cooling time allows the candle wax to solidify and ensures that the candles maintain their shape when taken out of the molds.
What Safety Precautions Should I Take When Melting the Wax?
To ensure safety while melting wax, it is important to take proper precautions. Use a double boiler to control the melting temperature, wear protective gloves and eyewear, and work in a well-ventilated area.
How Do I Adjust the Color Intensity of the Dyed Wax?
To achieve a consistent black shade in dyed candle wax, we adjust the color intensity. By gradually adding small amounts of black dye and thoroughly mixing, we can control the darkness of the wax.
Can I Use the Same Dye for Different Colors of Candles?
Yes, you can use different dye colors for different candles. It allows for customization and variety. Alternatively, you can explore other methods such as using colored wax or adding decorative elements to achieve desired candle colors.
Conclusion
In the darkness of the black candles, there lies a symbol of mystery and power. By following the precise steps outlined in this article, you can transform ordinary candle wax into a captivating and alluring shade of black.
With the right safety precautions and supplies, you can create beautiful and unique candles that will add an enchanting touch to any space. Let the symbolism of black ignite your imagination and bring a sense of intrigue to your candle-making journey.