
To create instant table wow factor with floating candles, gather candle wax, wicks, heatproof containers, and optional colors or fragrances. Melt the wax carefully, add color or scent, then pour into molds or clear containers, securing the wicks. Let them cool and trim the wicks before placing in water-filled bowls or glasses. Decorate around the candles with petals or stones for extra effect. Keep exploring for more tips to perfect your stunning floating display.
Key Takeaways
- Use colorful or scented wax and varied sizes for eye-catching, personalized floating candles.
- Secure wicks at the bottom of clear, water-like containers for a seamless floating effect.
- Add decorative elements like flower petals or pebbles around candles to enhance visual appeal.
- Incorporate floating greenery or layered candles for a dynamic, striking table centerpiece.
- Ensure candles are fully cooled and wicks trimmed for a safe, elegant, and instant wow factor.

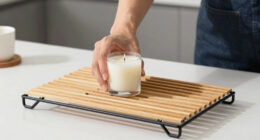
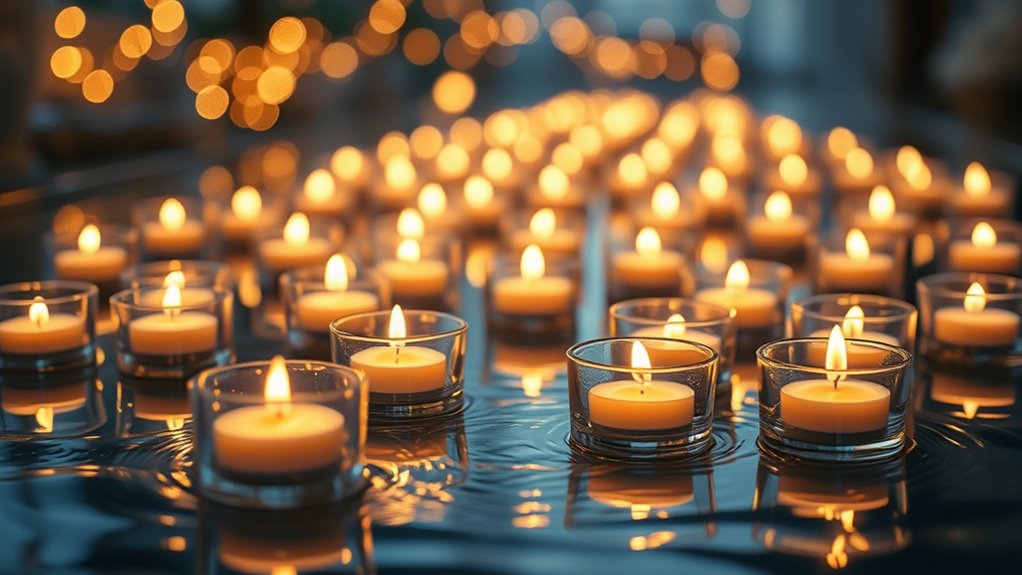
Floating candles can instantly add a magical touch to any setting, and making your own is simpler than you might think. This DIY decor idea is perfect for transforming ordinary tables into enchanting displays without much effort or expense. Candle crafting is a fun and creative way to customize your decor, giving you the freedom to pick colors, sizes, and scents that match your event or mood. With just a few supplies, you can craft stunning floating candles that create a warm, inviting glow and elevate your table setting to a whole new level.
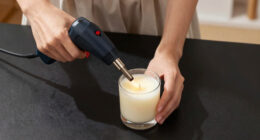
To get started, gather some basic supplies: candle wax (paraffin or soy wax work well), wicks suitable for floating candles, a heatproof container or mold, fragrance oils if you want a pleasant scent, and dye for coloring. You’ll also need a double boiler or a microwave-safe container to melt the wax safely. Once you have everything, set up your workspace in a well-ventilated area. Melting the wax is straightforward—just heat it gradually until fully liquid, stirring gently to mix in your chosen color and fragrance. During candle crafting, precision matters; ensure your wicks are centered and secure at the bottom of your mold before pouring. This helps keep the candle stable and prevents uneven burning.
Pour the hot wax into your mold or container, leaving some space at the top. Let the wax cool and solidify completely—this might take a few hours. If you’re making multiple candles, you can repeat the process to create a variety of sizes or colors for a layered, striking effect. Once cooled, trim the wicks to about half an inch, and your floating candles are ready to use. To enhance the floating effect, consider choosing clear or translucent containers that mimic the appearance of water, making the candles seem as if they’re suspended in mid-air. Additionally, understanding contrast ratio helps in selecting containers and backgrounds that highlight the candles’ glow, creating a more mesmerizing display.
When placing your DIY floating candles on a table, consider adding decorative elements like flower petals, pebbles, or floating greenery to create an even more mesmerizing display. The beauty of candle crafting lies in customizing every detail, from scent to color to presentation. These homemade floating candles not only impress guests but also add a personal touch that’s hard to match with store-bought options. With a little effort and a bit of creativity, you’ll have a stunning centerpiece that transforms any space into an enchanting scene, perfect for dinners, parties, or special occasions.

Syntic 40 Pack Small Glass Jars with Cork Lids, 7oz Empty Mason Jars for Making Candles, Yogurt Container with PE Lids for Wedding Favors, Baby Shower, Candy, Spices with Twine, Labels
Candy Bottles with 6 Kinds of Accessories - Perfectly satisfying your daily lifestyle demands. 40 PE lids +...
As an affiliate, we earn on qualifying purchases.
Frequently Asked Questions
Can I Use Any Type of Wax for Floating Candles?
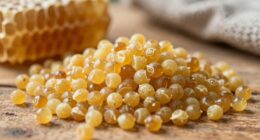
You can’t use just any wax varieties for floating candles, as some may not work well or could be unsafe. Look for waxes like paraffin, soy, or beeswax, which are ideal for floating candles. Be mindful of candle additives like dyes or fragrances, as they can affect how well the wax floats or burns. Always select a wax suitable for candle making to guarantee safety and a beautiful floating effect.
How Long Do Homemade Floating Candles Typically Last?
Imagine a gentle glow dancing on water’s surface—your homemade floating candles’ lifespan is like that, fleeting yet magical. Typically, their candle longevity depends on the wax melting point and size, lasting anywhere from 4 to 8 hours. Using a wax with a higher melting point can extend their burn time, so choose your materials wisely for lasting beauty. Expect a warm, enchanting ambiance without a long-term commitment.
What Safety Precautions Should I Take When Making Floating Candles?
When making floating candles, you should prioritize fire safety by never leaving lit candles unattended. Always place your candles on stable, non-flammable surfaces to prevent accidents. Keep flammable items away, and guarantee your candles are fully extinguished after use. Be cautious with placement, avoiding drafts that could tip or ignite nearby objects. These safety measures help you enjoy your beautiful floating candles without any hazards.
Can I Add Scents or Colors to My Floating Candles?
Yes, you can add scented options and color customization to your floating candles. Use fragrance oils designed for candle making to infuse pleasant scents, but add them carefully to avoid affecting the candle’s burn quality. For colors, incorporate candle dye or crayon shavings into the wax before pouring. Just guarantee the scents are compatible with the wax and that the colors are evenly mixed for a beautiful, personalized touch.
What Are the Best Containers for Floating Candles?
When choosing containers for floating candles, consider candle size and container durability. You want a shallow, wide bowl or dish that supports the candle without tipping. Glass or ceramic containers work best because they’re durable and heat-resistant, ensuring safety and stability. Avoid thin or fragile materials that could crack or break. Selecting the right container enhances the overall look and keeps your floating candles safe and secure.

YJHSS 24-Pack 8oz Candle Tins with Lids, Metal Candle Jars for Candle Making, Bulk Empty Containers for Beginners & DIY Storage -Black
Capacity: 8oz =235ml; Dimensions : 3.15" (Diameter) x 2.35" (Height); Each candle tins are made of premium tinplate,...
As an affiliate, we earn on qualifying purchases.
Conclusion
Now that you’ve learned how to make your own floating candles, you can create magic, set the mood, and impress your guests. You’ll enjoy the glow, embrace the charm, and feel the satisfaction of a DIY masterpiece. These candles bring warmth, elegance, and a personal touch to any space. So, light them up, let your creativity shine, and transform your table into a stunning centerpiece that sparks joy, wonder, and unforgettable moments.

Etienne Alair Organic Soy Candle Wax for Candle Making, 10 lbs Natural Candles Making Supplies, Beeswax-Free, Paraffin-Free, Pure Soy Wax Flakes Perfect for Candles, Tealights and Melts
All-In-One Starter Kit – Everything you need to dive into candle making! Our Etienne Alair soy candle wax...
As an affiliate, we earn on qualifying purchases.

American Soy Organics Freedom Soy Wax Beads for Candle Making - Natural Candle Making Supplies - Paraffin-Free, Beeswax-Free Candle Wax for Container Candles, Tealights and Wax Melts, 25 lbs
NATURAL SOY WAX BEADS - Best candle making supplies make the best soy candles! These safe, ethically produced,...
As an affiliate, we earn on qualifying purchases.