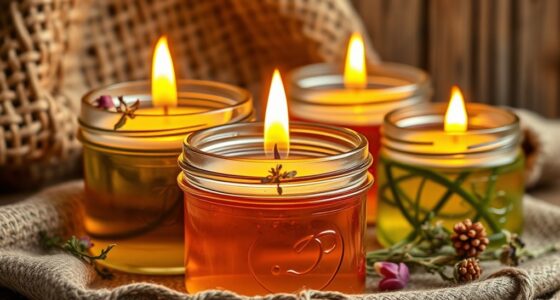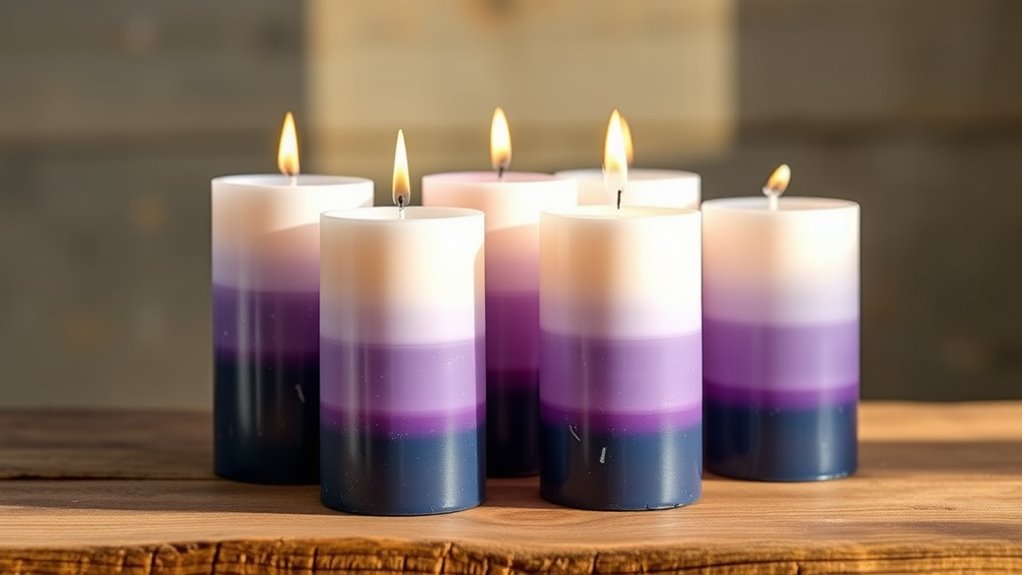

To create stunning ombre candles with smooth color gradients, start by choosing a harmonious color palette and organizing your workspace with safety tools. Melt wax carefully using a double boiler, maintaining proper temperatures, and add dye gradually for controlled color depth. Layer the wax at different temperatures, pouring thin layers to build seamless progressions. Keep your workspace clean, and don’t forget to adjust wicks and scent as needed. Continue exploring these techniques to master flawless ombre effects.
Key Takeaways
- Select a harmonious color palette and add dye gradually for smooth gradient transitions.
- Pour wax layers at decreasing temperatures (around 170°F, 160°F, 150°F) for seamless blending.
- Overlap each layer slightly and cool each before adding the next to create a natural ombre effect.
- Use a thermometer to monitor wax temperature precisely during pouring for consistent layers.
- Incorporate gentle swirling or tilting to blend edges for a cohesive color gradient.

Complete Candle Making Kits for Adults Beginners, DIY Candle Making Supplies Include Soy Wax,Wax Melter,Scents,Dyes,Wicks,Wicks Sticker,Candle Tins & More-Full Candle Maker Set – Arts & Crafts Kits
All-IN-ONE Complete Premium DIY Candle Making Kit: The candle making supplies are suitable for all levels and contain…
As an affiliate, we earn on qualifying purchases.
As an affiliate, we earn on qualifying purchases.
Gathering Materials and Preparing Your Workspace
To start your DIY ombre candles, gather all the necessary materials first. You’ll need wax, candle wicks, and your chosen candle scent to create a fragrant, personalized touch. Selecting the right wick is essential; opt for a wick that suits your candle’s size and wax type to guarantee an even burn. Prepare your workspace by covering surfaces with newspaper or parchment paper to catch any drips. Have your dye or colorants ready if you plan to add color later. Use a double boiler or a heat-safe container to melt the wax safely. Keep a thermometer nearby to monitor temperature. Organize tools like stirring sticks, measuring cups, and a pouring pitcher for easy access. This preparation ensures a smooth, enjoyable candle-making process. Additionally, considering space optimization can help you keep your workspace organized and clutter-free during your craft session. Proper workspace setup can also minimize safety hazards and improve your overall crafting experience. Incorporating temperature control techniques is also vital to achieve consistent color blending and gradient effects in your candles.

FansArriche Candle Dye – 18 Colors Liquid Oil-Based Dye for Candle Wax, Vivid Candle Color for DIY Candle Making, Highly Concentrated Natural Candle Color
【HIGHLY CONCENTRATED】 Brand new formula with highly concentrated colors for your creativity. A little goes a long way….
As an affiliate, we earn on qualifying purchases.
As an affiliate, we earn on qualifying purchases.
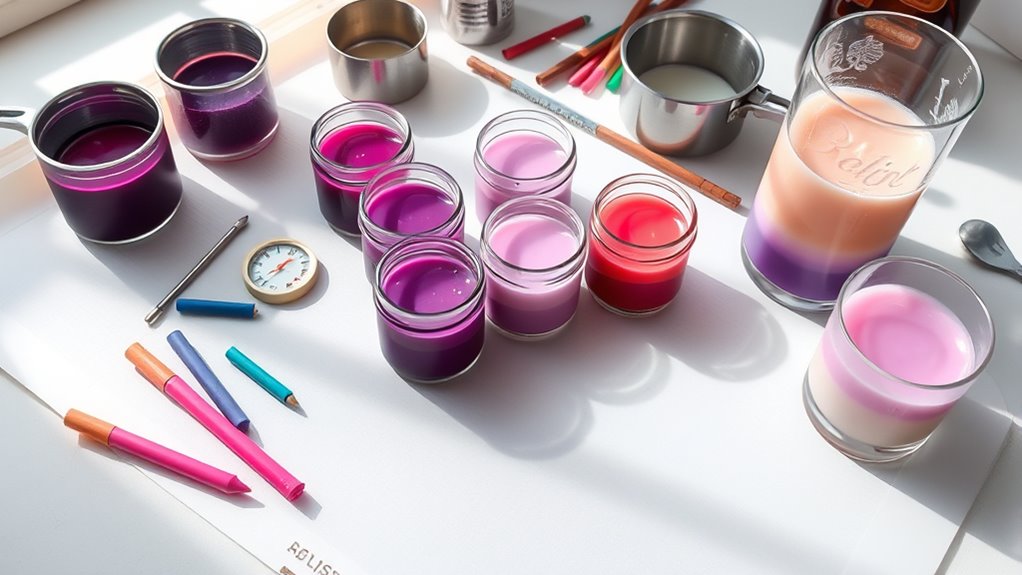
Selecting and Mixing Candle Colors for the Gradient
Choosing the right colors is key to achieving a stunning omre effect. Your color palette selection sets the tone for your candle’s gradient, so pick shades that blend well together. Start with a base color and gradually add darker or lighter hues for depth. When mixing color dyes, add small amounts at a time to control the intensity. Test your colors in a small amount of melted wax before committing to your full batch. This helps you see how the dyes will look once solidified. Keep in mind that some dyes may change slightly when cooled, so adjust your mixes accordingly. Understanding color blending techniques can help you achieve more professional and harmonious results. Additionally, experimenting with color gradient patterns can inspire unique and personalized designs for your candles. Developing an eye for color harmony ensures your candle creations are visually appealing and cohesive. Exploring color mixing practices can further enhance your ability to create smooth and seamless gradients.
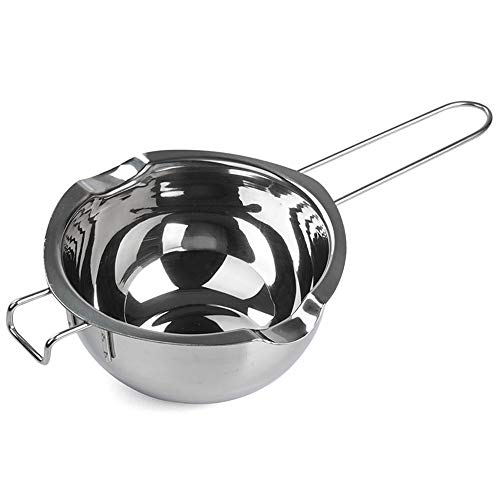
Stainless Steel Double Boiler Pot for Melting Chocolate, Candy and Candle Making (18/8 Steel, 2 Cup Capacity, 480ML)
【Superior Material 】- Made of 18/8 Stainless steel, Rust Resistant, Sturdy,and proper temperature to melt things but not…
As an affiliate, we earn on qualifying purchases.
As an affiliate, we earn on qualifying purchases.
Melting and Tempering the Wax Safely

To melt your wax safely, always use a double boiler or a heat-safe container over low heat to prevent accidents. Keep a thermometer nearby to monitor the wax temperature, guaranteeing it stays within the ideal range. By following these techniques, you’ll avoid overheating and ensure your candles turn out perfect. Additionally, understanding wax melting points can help you achieve the best results and prevent issues like burning or uneven melting. Using a temperature-controlled method can further improve your control over the melting process. Being aware of safety precautions when working with hot wax is essential to prevent burns and spills. Staying informed about automation in business can also inspire innovative ways to streamline your candle-making process and improve efficiency.
Safe Melting Techniques
When melting wax for your candles, safety should always come first. Use a double boiler or a dedicated melting pot to prevent direct heat contact, reducing the risk of fire. Keep the area well-ventilated and never leave melting wax unattended. Always add your candle scent after melting, ensuring it doesn’t overheat, which can degrade the fragrance. Proper wick selection is essential; choose a wick that matches your candle size to prevent uneven burning or tunneling. Use a thermometer to monitor the temperature, avoiding overheating the wax. Wear protective gloves and safety glasses to prevent splashes. Keep a fire extinguisher nearby, and never pour hot wax down the drain. Following these safe melting techniques guarantees a smooth, safe candle-making process. Additionally, understanding safety precautions techniques can inspire creative design elements for your candles and enhance your crafting skills. Remember to check the essential oil safety tips before adding scents to avoid potential hazards. Incorporating proper ventilation practices also minimizes inhalation of fumes and ensures a healthier crafting environment.
Optimal Wax Temperatures
Maintaining the correct wax temperature is essential for a successful candle, as overheating can cause uneven burning or wax discoloration. To achieve ideal wax consistency, use a reliable thermometer and monitor the temperature closely. For melting, aim for around 170°F (77°C), which ensures the wax is fully melted without burning. When tempering, keep the wax between 150°F to 160°F (65°C to 71°C) to prevent separation and maintain a smooth, glossy surface. Precise temperature control allows the wax to flow evenly, making it easier to blend colors seamlessly for your ombre effect. Consistently checking the temperature throughout the process helps you maintain the right wax consistency, leading to professional-looking candles with vibrant gradients and clean finishes. Additionally, understanding AI’s role in safety measures can help incorporate technological solutions for monitoring temperature and ensuring safe candle-making practices. Recognizing the importance of lifestyle habits like workspace organization can also contribute to a more efficient and enjoyable candle-making experience. Implementing proper filtration and pump protection techniques can further improve the quality of your candles by ensuring clean, clog-free pouring.
EricX Light 100 Piece Natural Candle Wick, Low Smoke 6" Pre-Waxed & 100% Natural Cotton Core,For Candle Making,Candle DIY
Pre-waxed and tabbed
As an affiliate, we earn on qualifying purchases.
As an affiliate, we earn on qualifying purchases.
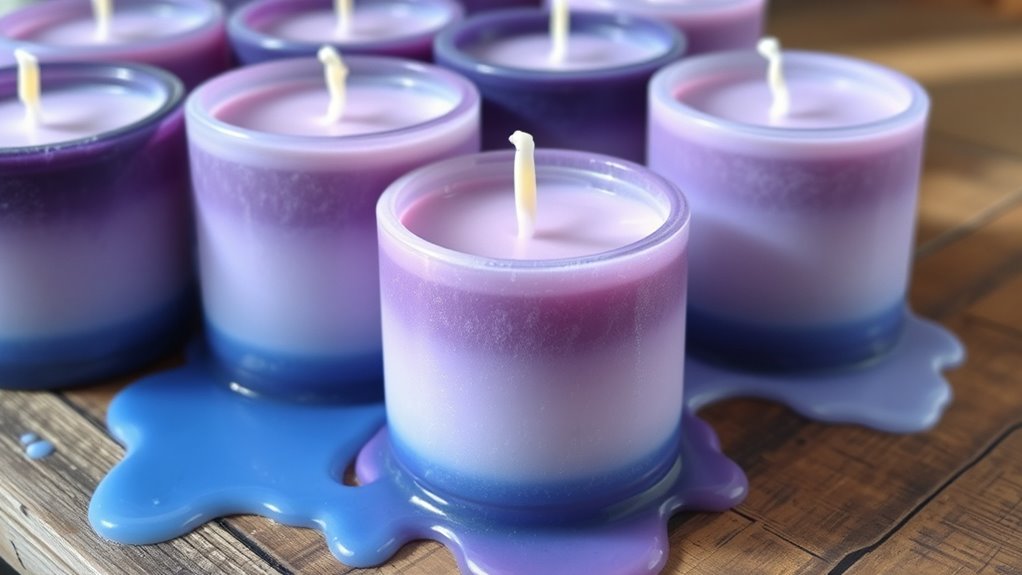
Layering the Wax to Create a Smooth Transition
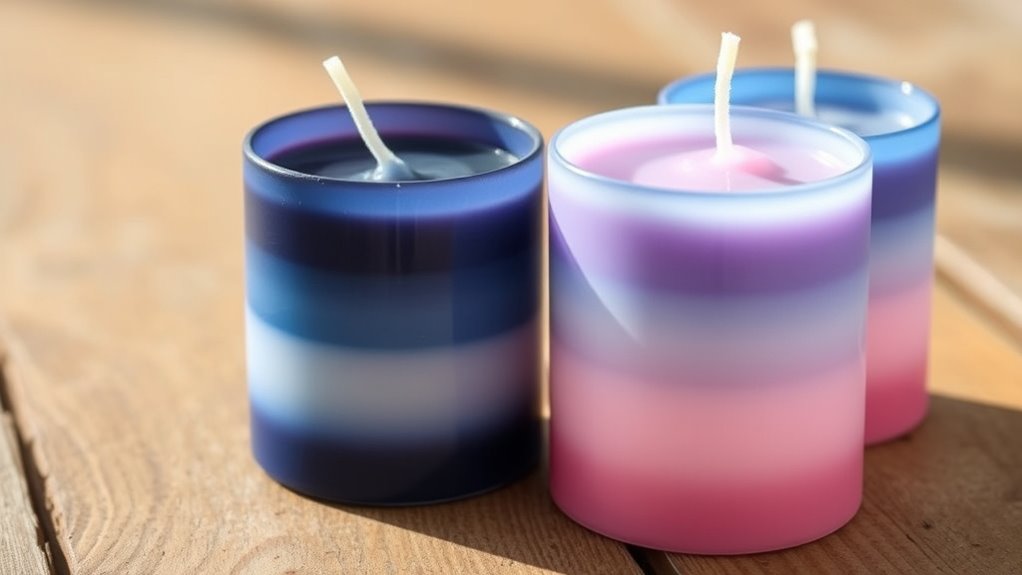
To achieve a seamless ombre effect, focus on your melting and pouring techniques to guarantee each layer flows smoothly into the next. Use gradual color blending by pouring slightly overlapping wax layers at the right temperatures. This careful approach helps create a polished look with a natural, gradient shift. Additionally, maintaining consistent application pressure ensures an even distribution of wax for a flawless transition. Being mindful of layer thickness can also enhance the overall smoothness of the gradient, preventing uneven spots. Incorporating layer concepts into your process can help organize each step for better control and results. Paying attention to the market-related returns of your chosen wax colors can further improve the visual gradient and overall candle quality.
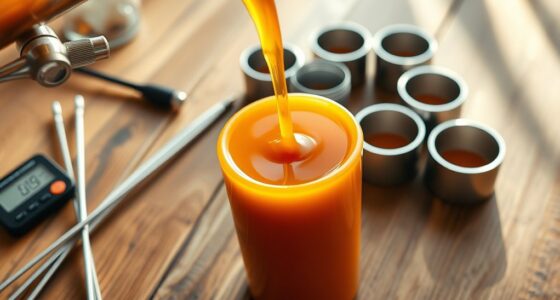
Melting and Pouring Technique
Achieving a seamless ombre effect requires careful melting and pouring of the wax in successive layers. Start by melting your wax in a double boiler until smooth, then select your scent and pour the first layer. Guarantee your wick is centered and secured before pouring. As you pour each layer, let the wax cool slightly to avoid mixing colors, creating a clean gradient. Work quickly but precisely to layer the wax without disturbing previous sections. For added control, keep a thermometer nearby to maintain ideal temperature. Use the following guide for layering:
| Step | Temperature | Technique |
|---|---|---|
| 1 | 170°F | Pour first layer |
| 2 | 160°F | Pour second layer |
| 3 | 150°F | Final pour |
| 4 | – | Adjust scent if needed |
| 5 | – | Center wick |
This method ensures a smooth transition and professional-looking ombre candle. Additionally, monitoring the temperature throughout the process helps achieve consistent results. Proper wax melting techniques are essential to prevent uneven color blending and to attain a flawless gradient. Incorporating layering techniques can further enhance the visual appeal of your candles and ensure a more refined ombre effect.
Gradual Color Blending
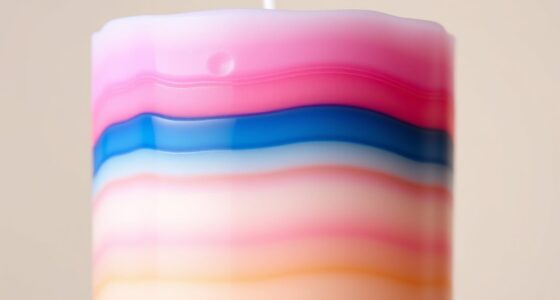
Creating a seamless gradient between colors hinges on gradual blending during the layering process. To achieve this, carefully pour your wax in thin, overlapping layers, allowing each to cool slightly before adding the next. This helps with smooth color mixing, ensuring the progression appears natural and fluid. Use a thermometer to keep the wax at a safe pouring temperature, maintaining candle safety. As you layer, gently tilt or swirl the container to blend the edges, creating a soft gradient. Patience is key—rushing can cause uneven blending or cracking. Remember, proper candle safety includes avoiding overheating wax and working in a well-ventilated area. With careful layering and attention to detail, your candle will display a beautiful, gradual color shift.
Achieving the Perfect Gradient: Tips and Techniques
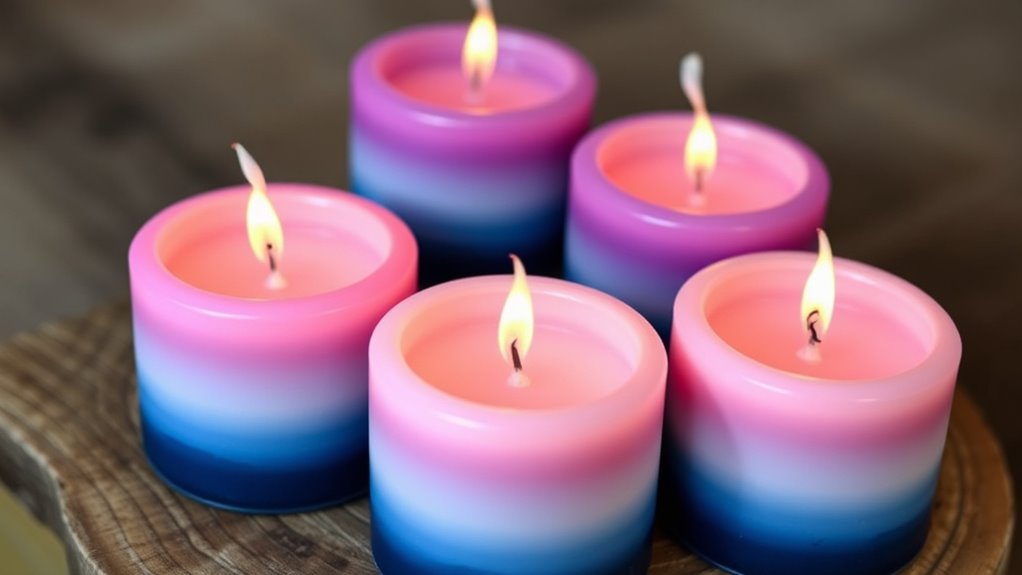
Mastering the perfect gradient involves paying close attention to your color shifts and layering techniques. To achieve smooth color blending, start with light colors at the bottom and gradually add darker shades, maintaining gradient symmetry. Use a steady hand to layer wax evenly, avoiding abrupt *progressions*. Consistent temperature control helps the colors blend seamlessly. Here’s a simple guide:
| Step | Technique |
|---|---|
| 1 | Start with pale hues |
| 2 | Gradually introduce darker tones |
| 3 | Keep layers thin and even |
| 4 | Use gentle, sweeping motions |
| 5 | Check for smooth transitions |
Focus on gradual color shifts and even layering to create a visually appealing, harmonious gradient. Patience is key to flawless ombre candles.
Finishing Touches and Troubleshooting Common Issues

Once your candle has the desired gradient, the finishing touches can elevate its appearance and guarantee safety. To enhance scent integration, consider adding a few drops of essential oil on the surface or embedding scent beads before pouring the wax. This ensures a pleasant aroma that complements your visual design. Decorative embellishments, like dried flowers, metallic accents, or custom labels, add personality and polish. Just ensure embellishments are flame-safe and adhere properly. If you notice issues like uneven color blending or wax cracking, troubleshoot by adjusting your pouring temperature or using a heat gun for touch-ups. Always trim the wick to the appropriate length before lighting, and double-check that no debris or embellishments are loose, preventing potential hazards. These steps help you perfect your ombre candle safely and beautifully.
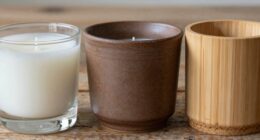
Displaying and Caring for Your Ombre Candles

To keep your ombre candles looking their best and guarantee safety, proper displaying and care are essential. First, choose a safe, stable location away from drafts and direct sunlight to prevent melting or fading. Second, consider candle scent selection carefully; opt for subtle fragrances that won’t overpower the visual gradient. Third, for storage and preservation, wrap your candles in tissue paper or store them in a cool, dark place to maintain their color and scent integrity. When displaying, use elegant holders that complement your candle’s design, ensuring they’re secured upright. Regularly trim the wicks to prevent uneven burning. By following these steps, you’ll preserve the beauty and safety of your DIY ombre candles, allowing them to serve as stunning accents or thoughtful gifts.
Frequently Asked Questions
How Can I Customize the Ombre Effect With Multiple Colors?
To customize the ombre effect with multiple colors, you should use color mixing techniques that blend seamlessly. Start by layering your chosen colors in the wax, gradually shifting from light to dark or vice versa. Pour each layer when the previous one cools slightly to create smooth layered color shifts. Use a heat gun or hairdryer to gently blend the edges for a more polished, gradient look.
What Are the Best Tools for Blending Candle Colors Seamlessly?
You need the power of a fine-tipped heat gun or a dedicated candle blending tool to blend candle colors seamlessly. These tools deliver the perfect touch, allowing you to control heat precisely for smooth color mixing and wax melting. Use a small spatula or a silicone brush to gently coax the wax into flawless gradients. With these tools, you’ll create stunning, professional-looking ombre candles that wow everyone!
Can I Create Ombre Candles With Scented Wax?
Yes, you can create ombre candles with scented wax. Use scented wax techniques like adding fragrance oils at different melting stages or blending fragrances carefully to guarantee even scent distribution. When working with color gradients, incorporate fragrance during each wax layer’s melting phase, then blend gently to maintain scent integrity. This approach allows you to achieve beautiful, fragrant ombre candles that appeal visually and aromatically.
How Do I Prevent Color Bleeding Between Layers?
Worried about color bleeding when layering wax? To prevent this, wait until each layer cools slightly, but is still tacky, before adding the next. This creates better adhesion and prevents color mixing. Use a hairdryer on low to gently warm the edges if needed. Proper wax layering guarantees sharp color separation, giving you a stunning ombre effect without unwanted blending. Patience is key for perfect results.
What Safety Precautions Should I Follow During Candle Creation?
You should prioritize fire safety by never leaving melting wax unattended and keeping a fire extinguisher nearby. Handle hot wax carefully, using heat-resistant gloves and tools to avoid burns. Work in a well-ventilated area, and keep flammable objects away from your workspace. Always follow manufacturer instructions for melting and pouring wax, and guarantee your workspace is organized to prevent accidents. Staying cautious ensures a safe and enjoyable candle-making experience.
Conclusion
Now that you’ve mastered the art of creating stunning ombre candles, you’re ready to turn your space into a canvas of color. With patience and practice, your candles will glow with a mesmerizing gradient that’s as smooth as silk. Think of each candle as a beautiful story told through shades — a flickering masterpiece crafted by your own hands. Light up your creativity and let your DIY skills shine bright!