Did you know that an astounding 1.2 trillion digital photos were taken worldwide in 2017? With such a large number of special moments captured, it’s understandable why people are always seeking out creative ways to display these memories.
One creative and sentimental idea is to make a photo candle. In this tutorial, we will show you how to make your very own photo candle using simple supplies and easy steps.
We will guide you through the process, from choosing the perfect photo to adding the finishing touches. So gather your supplies and get ready to create a beautiful keepsake that will light up your home and warm your heart.
Let’s get started!

Key Takeaways
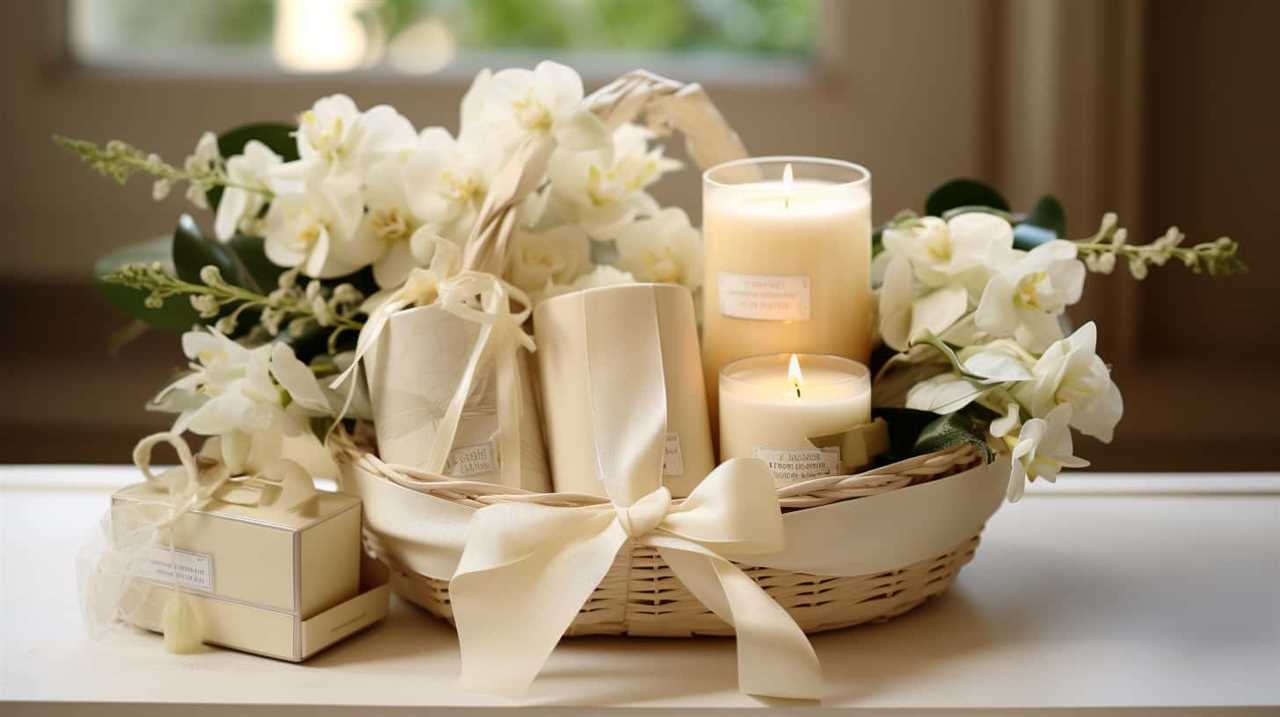
- Gather supplies: plain pillar candle, printed photo, wax paper, scissors, clear packing tape
- Consider personal or scenic image for the photo
- Enhance the photo using editing tools if needed
- Clean the glass jar or container

UDIKEFO Gifts for Dad, Fathers Day Christmas Birthday Dad Gifts from Daughter Son - Sandalwood Scented Candle
FUNNY GIFTS FOR DAD- This sandalwood candle with a humorous saying: Dad, Please Light This Candle.It is a...
As an affiliate, we earn on qualifying purchases.
Gather Your Supplies
To make a photo candle, we’ll need to gather up all of our supplies. Photo candle making is a popular DIY candle craft that allows us to create personalized and meaningful candles.
The first essential supply we need is a plain pillar candle. It can be any size or color, depending on our preference.
Next, we’ll require a printed photo that fits the size of the candle. A laser printer is recommended for better image quality. Additionally, we need a piece of wax paper, scissors, and clear packing tape.
To transfer the photo onto the candle, we’ll also need a heat gun or hairdryer.

Lastly, we should have a clean work surface and a protective covering to catch any wax drips.
With these supplies, we’re ready to begin making our beautiful photo candle.

Homsolver Dad Gifts from Daughter Son, Gift for Dad Who Wants Nothing, Birthday Fathers Day Christmas for Stepdad Adoptive Father, Dad's Last Nerve Sandalwood Scented Candle
Dad's Gifts from Daughter: This black cedarwood juniper and sandalwood candle with a humorous saying "Dad's last nerve...
As an affiliate, we earn on qualifying purchases.
Choose the Perfect Photo
When it comes to choosing the perfect photo for your photo candle, there are a few key considerations to keep in mind.
First, think about whether you want a personal photo or a scenic image. Personal photos can add a sentimental touch to your candle, while scenic images can create a beautiful and relaxing ambiance.

Consider the mood you want to evoke and choose a photo that aligns with that vision.
Photo Selection Tips
We carefully consider the photo’s composition and emotional impact when selecting the perfect image for our photo candle. The right photo can make all the difference in creating a meaningful and visually appealing candle.
Here are some tips to help you choose the perfect photo:
- Composition: Look for a photo with a clear focal point and balanced elements. Avoid cluttered backgrounds or distracting objects that might take away from the main subject.
- Emotional Impact: Consider the mood or feeling you want your photo candle to evoke. Choose a photo that captures a special moment or conveys a specific emotion.
- Photo Editing: Enhance your photo using editing tools to adjust brightness, contrast, and colors. This can help bring out the best in your image and make it more suitable for a candle.
- Photo Printing: Ensure high-quality printing to preserve the details and colors of your photo. Use a reputable printing service or a professional printer for best results.
Personal or Scenic?
As we consider the options for choosing the perfect photo for our photo candle, one important decision to make is whether to use a personal or scenic image. Both options have their advantages and it ultimately depends on what you want to convey with your photo candle.
Using a personal image adds sentimental value to the candle. It could be a picture of a loved one, a cherished memory, or a special moment captured in time. The photo holds emotional significance and can evoke strong feelings when lit.
On the other hand, a scenic image offers aesthetic appeal. It could be a breathtaking landscape, a beautiful sunset, or a stunning cityscape. The photo adds visual interest and enhances the overall look of the candle.
Deciding between personal and scenic images comes down to personal preference and the message you want to convey. Whether you prioritize sentimental value or aesthetic appeal, both options can create a unique and meaningful photo candle.
Homsolver Gift for Dad, Fathers Day Christmas Birthday Dad Gifts from Daughter Son - Sandalwood Scented Candle (7OZ)
FUNNY GIFTS FOR DAD- This black cedarwood juniper & sandalwood candle with a humorous saying: Dad, Please Light...
As an affiliate, we earn on qualifying purchases.
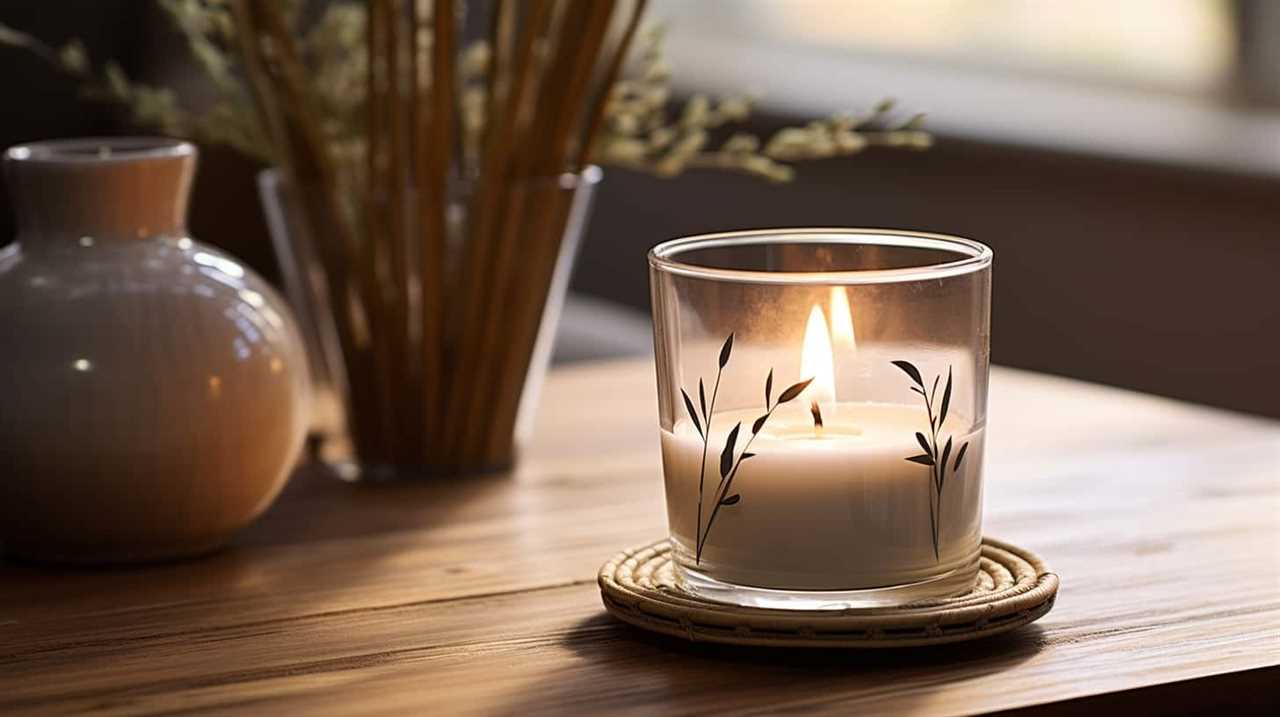
Prepare Your Candle Holder
To begin preparing our candle holder, gather a clean glass jar or container. Here are the steps to get your candle holder ready for the photo candle:
- Clean the jar: Ensure that the glass jar is free from any dirt, dust, or residue. Wash it thoroughly using warm soapy water and dry it completely.
- Decorate the holder: Add a personal touch to your candle holder by decorating it with ribbons, beads, or stickers. This will enhance the overall aesthetic appeal of your photo candle.
- Choose alternative candle photo ideas: If you prefer not to use a glass jar, you can explore other options such as a tin can, teacup, or even a terracotta pot. Get creative and experiment with different candle holder alternatives.
- Test the fit: Before inserting the photo into the candle holder, ensure that it fits properly and there’s enough space for the candle to burn safely.

Scented Candles Set | Men Candle Set, Scented Candles for Home, Gifts for Men Aromatherapy Gift Set - 4 Pack Manly Gifts for Dad Fathers Day, Soy Candle of Leather/Smoke & Vanilla/Oak/Lavender
Gifts for Him: Scented candles tailored for men make wonderful gifts for Fathers Day, birthdays, holidays, or special...
As an affiliate, we earn on qualifying purchases.
Print and Trim Your Photo
After preparing our candle holder, it’s time to move on to the next step: printing and trimming our photo.
To begin, we need to select a high-quality image and ensure it’s compatible with our printer. It’s important to use photo paper specifically designed for photo printing to achieve the best results. Once we’ve selected the image, we can proceed by loading the photo paper into the printer and adjusting the settings for optimal print quality.
After printing, it’s time to trim the photo to fit the dimensions of our candle holder. Carefully measure the size of the holder and use a sharp pair of scissors or a paper trimmer to accurately cut the photo. Take your time to ensure clean and straight edges.
Now that we’ve our trimmed photo, we can move on to the next step: applying adhesive to the candle.
Apply Adhesive to the Candle
First, we’ll apply adhesive to the candle. Choosing the right adhesive is crucial to ensure that the photo stays securely attached to the candle. Here are some techniques for applying adhesive:
- Double-sided tape: Cut small pieces of double-sided tape and stick them to the back of the photo. Press firmly to ensure a strong bond.
- Glue dots: Place glue dots evenly on the back of the photo. Gently press the photo onto the candle, ensuring it sticks properly.
- Mod Podge: Apply a thin layer of Mod Podge directly onto the candle. Carefully position the photo on top of the Mod Podge and press down gently. Allow it to dry completely.
- Heat gun: Use a heat gun to melt the surface of the candle slightly. Place the photo on the melted surface and press down gently until it adheres.
Remember to follow the instructions provided by the adhesive manufacturer for the best results.
Attach the Photo to the Candle
To attach the photo to the candle, we’ll carefully place it on the adhesive surface, ensuring a secure bond. There are different types of adhesives that can be used for this purpose.
One option is a double-sided tape, which provides a strong hold and is easy to use. Another option is a glue stick, which allows for precise placement and dries quickly. For a more permanent bond, a strong adhesive like E6000 can be used.

When attaching the photo, it’s important to smooth out any air bubbles or wrinkles to ensure a smooth surface. Once the photo is securely attached, you can get creative with how you display your photo candle.
You can place it in a decorative candle holder, or tie a ribbon around it for a festive touch. The possibilities are endless!
Seal the Photo for Protection
Now that we’ve attached the photo to the candle, it’s important to seal it for protection.
Photo preservation techniques play a vital role in ensuring the longevity of the image. Choosing the right sealant is crucial to protect the photo from moisture, fading, and damage.

Additionally, employing long-term protection methods will further safeguard the photo from environmental factors.
Let’s now discuss these points in more detail.
Photo Preservation Techniques
For photo preservation, we seal the photo to provide protection. There are several photo preservation techniques that are commonly used to seal and protect photos, ensuring their longevity and preventing damage. These techniques include:
- Lamination: This involves covering the photo with a layer of plastic film, which helps protect it from moisture, dust, and UV rays.
- Encapsulation: Similar to lamination, this technique involves sealing the photo between two layers of plastic film, creating a protective barrier.
- Sprays and Varnishes: These products are applied directly to the surface of the photo, creating a protective layer that helps prevent fading, discoloration, and damage.
- Archival sleeves and albums: These protective enclosures are made from acid-free materials and are designed to keep photos safe from environmental factors that can cause deterioration.
By employing these photo preservation techniques, we can ensure that our cherished memories are safeguarded for years to come.
Now, let’s move on to the next step: choosing the right sealant.
Choosing the Right Sealant
After considering various photo preservation techniques, we found the perfect sealant to protect our photos. Choosing the right sealant is crucial in ensuring the longevity and durability of the image.
There are several alternative sealant options available, each with its own unique properties and benefits. One option is a spray sealant, which provides a thin and even layer of protection. It’s ideal for larger photos or when a quick application is required.
Another option is a brush-on sealant, which allows for more control and precision during application. It’s suitable for smaller photos or when a thicker layer of protection is desired.

Additionally, there are sealants specifically designed for different types of prints, such as glossy or matte finishes.
When choosing a sealant, it’s important to consider the type of photo, desired level of protection, and personal preferences.
Long-Term Protection Methods
To ensure the long-term protection of your photo, we need to seal it with a high-quality sealant. This step is crucial in preserving the image and preventing any damage or fading over time. Here are some longevity techniques and preservation methods to consider:
- Choose a sealant specifically designed for photographs. Look for one that’s acid-free and archival quality to ensure maximum protection.
- Apply the sealant evenly and carefully to the entire surface of the photo. Use a soft brush or sponge to avoid any scratches or smudges.
- Allow the sealant to dry completely before handling the photo. This will ensure that it sets properly and provides a strong barrier against external elements.
- Consider using a UV-resistant spray sealant to provide additional protection against sunlight and fading.
By following these steps and sealing your photo with a high-quality sealant, you can ensure its longevity and preserve its beauty for years to come.
Now that your photo is protected, let’s move on to adding the finishing touches.
Add Finishing Touches
We can now add the finishing touches to our photo candle.
When it comes to photo candle design, there are endless possibilities for creating unique and creative photo candle ideas. One option is to personalize the candle by adding decorative elements such as ribbons, beads, or charms. These embellishments can be attached to the candle using glue or tied around the base.
Another idea is to incorporate a custom label with a meaningful message or a special date. This can be printed on adhesive paper and carefully placed on the candle surface.

Additionally, you could consider wrapping the candle in a transparent cellophane or organza bag, tying it with a ribbon for an elegant touch.
These finishing touches will enhance the overall look and make your photo candle a truly special keepsake.
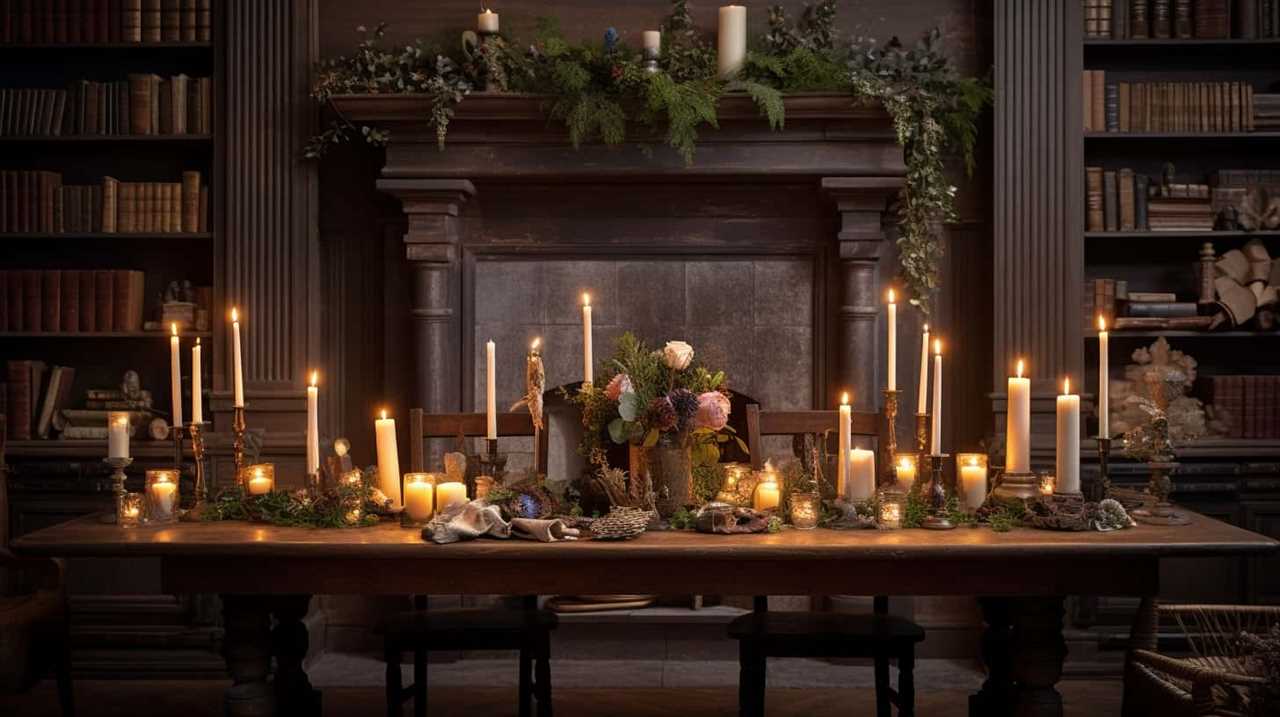
Display and Enjoy Your Photo Candle
How can we showcase and fully appreciate our photo candle?
Here are four ways to display and decorate your photo candle:
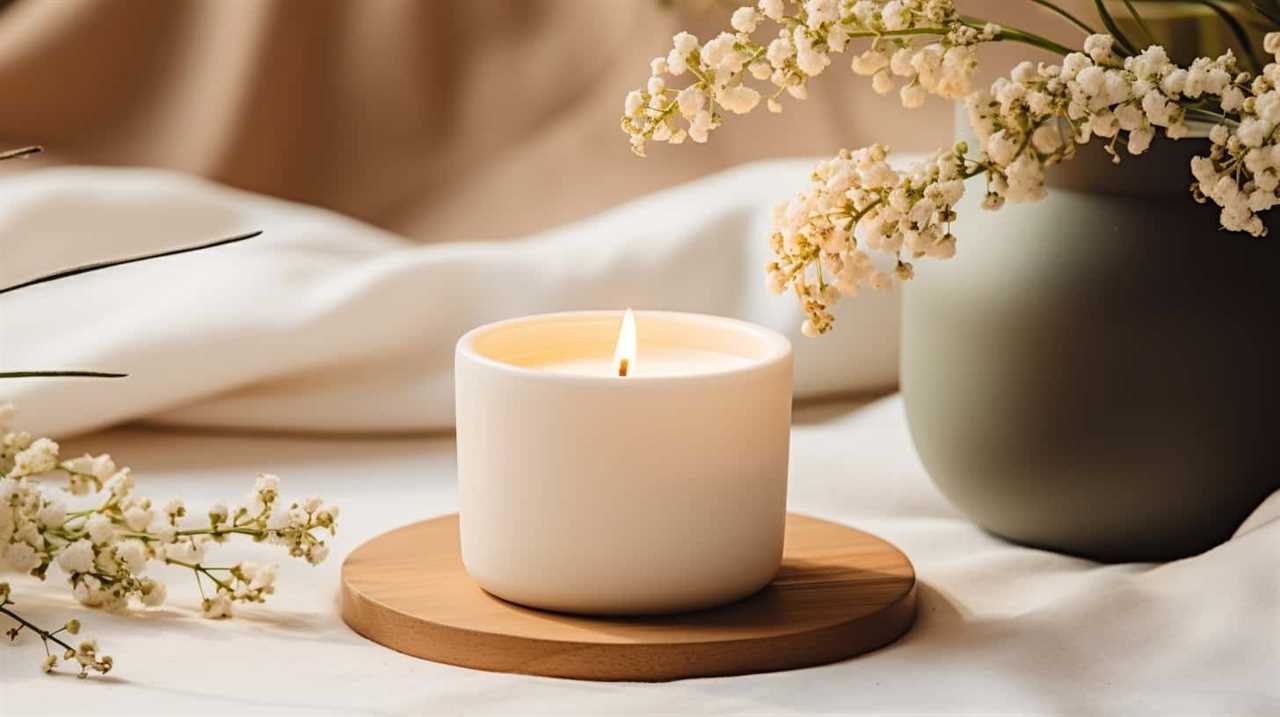
- Place it on a mantel or shelf: Find a prominent spot in your home where the photo candle can be easily seen and admired. A mantel or shelf is a great choice for displaying your photo candle.
- Create a centerpiece: Arrange your photo candle with other decorative elements, such as flowers or ornaments, to create a beautiful centerpiece for your dining table or coffee table.
- Use it as a nightlight: The soft glow of a photo candle can create a cozy and inviting atmosphere in your bedroom or living room. Use it as a nightlight to add a warm and comforting touch to your space.
- Gift it to someone special: A photo candle makes a thoughtful and personalized gift. Choose a meaningful photo and present it to a loved one for a special occasion or just to show them how much you care.
Frequently Asked Questions
Can I Use Any Type of Candle Holder for This Project?
Yes, you can use various candle holder options for this project. Consider using glass votive holders, metal lanterns, or ceramic containers. Additionally, if you prefer alternative photo attachment methods, you can try decoupage or using adhesive photo transfer paper.
What Kind of Adhesive Should I Use to Attach the Photo to the Candle?
For photo transfer in candle decorating, we recommend using a strong adhesive like clear-drying craft glue or Mod Podge. Apply a thin, even layer to ensure the photo sticks securely to the candle surface.
How Long Does It Take for the Adhesive to Dry?
The drying time of the adhesive varies depending on the type and brand used. It is important to choose a suitable candle holder that can securely hold the photo while the adhesive dries.
Can I Use a Color Photo for This Project or Does It Have to Be Black and White?
Yes, you can use a color photo for this project. It adds a vibrant touch to the candle. However, keep in mind that the colors may not appear as vivid when the candle is lit. Alternatively, you can explore other candle holder options.

How Do I Seal the Photo on the Candle for Long-Lasting Protection?
To ensure long-lasting protection for the photo on your candle, we recommend using sealing methods such as Mod Podge or clear candle wax. Additionally, alternative photo placement methods like decoupage or transferring can also be effective.
Conclusion
As we seal the photo to the candle, we not only preserve a cherished memory but also ignite a flicker of warmth and nostalgia.
Like a beacon in the darkness, this photo candle becomes a symbolic representation of the light and love that radiates from the captured moment.
So, gather your supplies, choose the perfect photo, and embark on this creative journey to create a personalized masterpiece that will illuminate your space and touch your heart.