
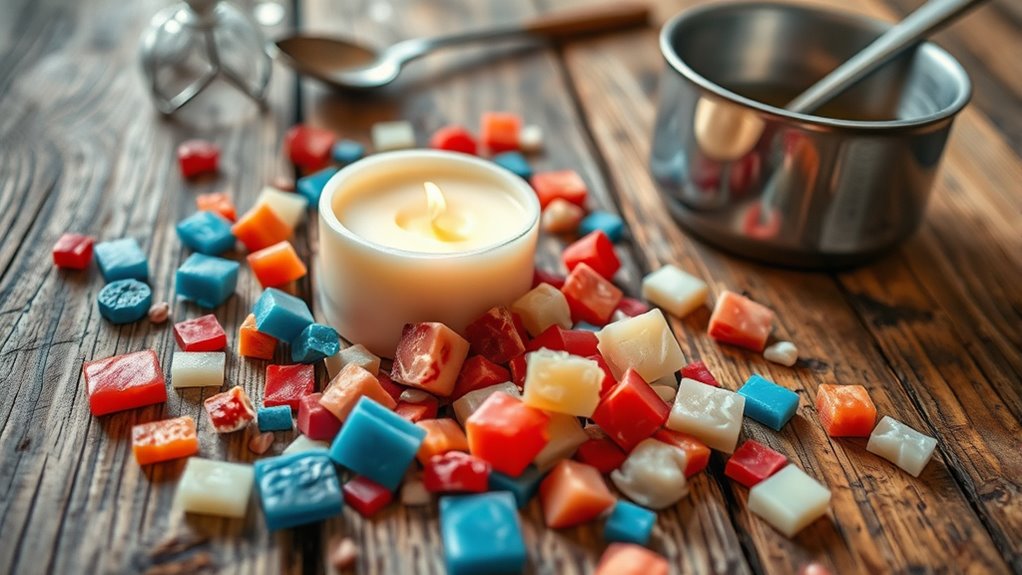
To make DIY chunk candles by reusing wax pieces, gather your leftovers and clean them of debris. Melt the wax safely using double boilers, adding colors and scents for a personal touch. Choose heat-resistant containers and secure wicks in place. Pour the melted wax into your containers, let them cool fully, and then add decorative touches like dried flowers or ribbons. For more creative tips on customizing your candles, keep exploring ways to turn your wax remnants into beautiful new creations.
Key Takeaways
- Collect leftover wax and clean it thoroughly to remove debris, ensuring a clean base for new candles.
- Melt wax using double boilers or microwave-safe containers, monitoring temperature to prevent overheating.
- Choose suitable containers with heat-resistant bases, secure wicks centrally, and pour melted wax for even burns.
- Add colors and scents to the melted wax to customize your candles creatively.
- Allow candles to cool undisturbed in a draft-free area for a professional, crack-free finish.

Complete Candle Making Kits for Adults Beginners, DIY Candle Making Supplies Include Soy Wax,Wax Melter,Scents,Dyes,Wicks,Wicks Sticker,Candle Tins & More-Full Candle Maker Set – Arts & Crafts Kits
All-IN-ONE Complete Premium DIY Candle Making Kit: The candle making supplies are suitable for all levels and contain…
As an affiliate, we earn on qualifying purchases.
As an affiliate, we earn on qualifying purchases.
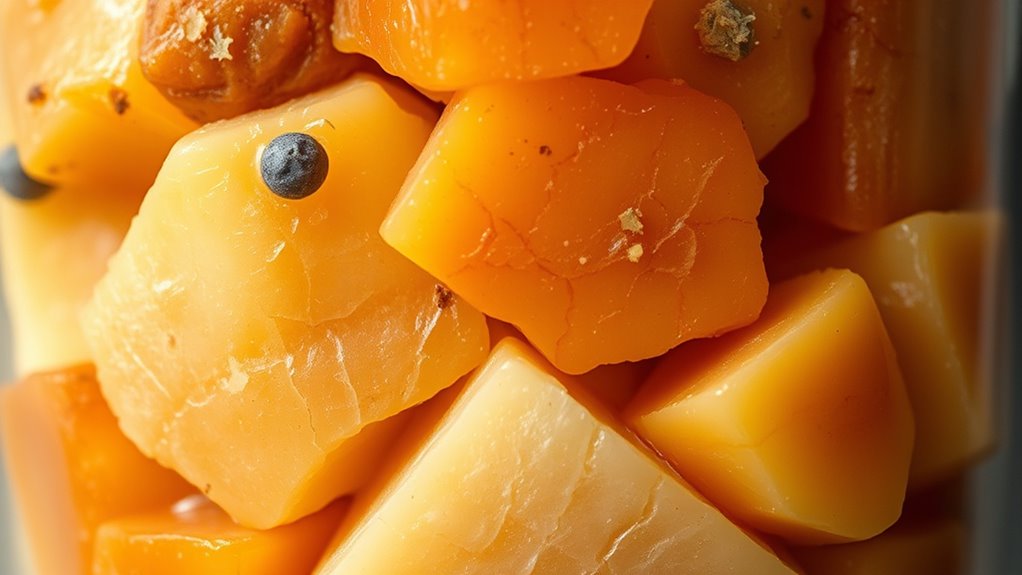
Gathering and Preparing Your Wax Remnants

Before you start making your new candles, you need to gather and prepare your wax remnants. Begin with a thorough wax collection, gathering leftover pieces from previous candles or broken wax melts. This ensures you maximize your materials and reduce waste. Next, focus on remnant cleaning by removing any debris, wicks, or impurities from the wax. Use a double boiler or microwave-safe container to gently melt the wax, stirring occasionally. As you melt, skim off any dirt or residue that floats to the surface. Properly cleaning your remnants guarantees a smooth, even burn in your finished candles. Additionally, understanding the importance of wax quality in handling your materials can help ensure safe and responsible candle-making practices. Once cleaned and melted, allow the wax to cool slightly before pouring. This preparation sets a solid foundation for creating beautiful, unique chunk candles. Monitoring user interaction data can also help you refine your process over time for better results. Being mindful of filtration techniques can further enhance the cleanliness and clarity of your final candles.

GLATABAM 7 OZ Candle Jars 12 Pack – Bulk Glass Candle Making Jars with Bamboo Lids & Labels, Heat Resistant Empty Reusable Candle Vessel for Containers(Frosted White)
【Ideal Pack】This set includes 12 warning labels. You can use them to create personalized candles as gifts, bringing…
As an affiliate, we earn on qualifying purchases.
As an affiliate, we earn on qualifying purchases.
Choosing the Right Containers for Your Candles
Selecting the right containers is essential to guarantee your chunky candles look attractive and burn safely. Start by considering container materials—glass, metal, or ceramic—each offers different heat resistance and durability. Glass containers are popular for their clarity and aesthetic appeal, allowing the layered wax to shine through. Metal options, like tin or aluminum, are sturdy and heat-conductive, but may require a protective lining. Ceramic containers provide a stylish look and good heat retention but can be heavier and more fragile. Proper container selection also involves ensuring the container’s size and shape suit the amount of wax you’re using, preventing overflow or uneven burning. Additionally, choosing containers with heat-resistant features helps avoid accidents and prolongs candle life. Make sure to consider the thermal conductivity of your chosen material to optimize burning performance and safety. It’s also helpful to select containers that are easy to clean, ensuring maintenance is simple and your candles stay looking their best. Think about aesthetic considerations as well, choosing containers that complement your decor and personal style. Ensure the container has a stable base and is heat-safe. Properly selecting containers enhances both the visual appeal and safety of your DIY chunk candles.
EricX Light 100 Piece Natural Candle Wick, Low Smoke 6" Pre-Waxed & 100% Natural Cotton Core,For Candle Making,Candle DIY
Pre-waxed and tabbed
As an affiliate, we earn on qualifying purchases.
As an affiliate, we earn on qualifying purchases.
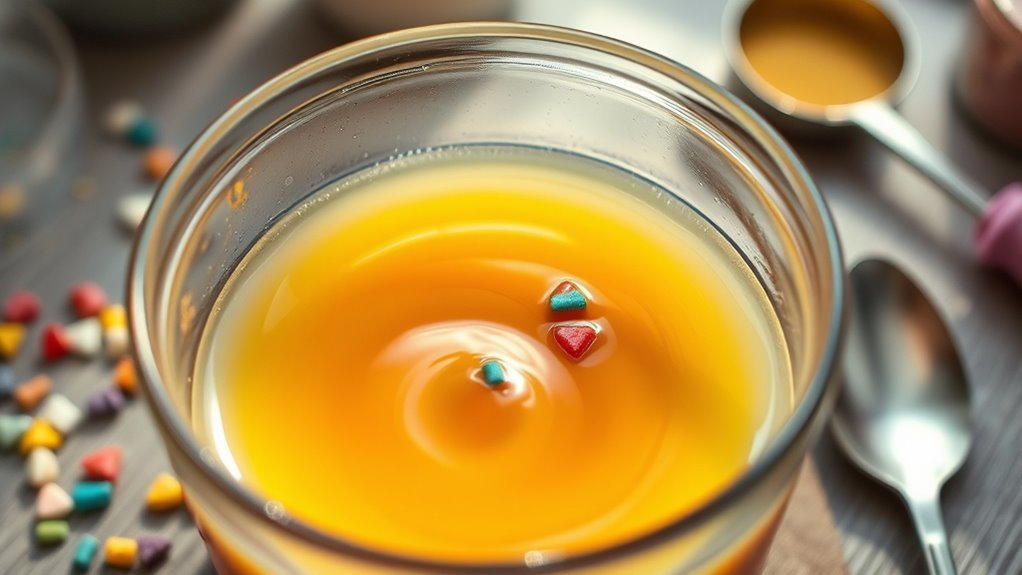
Melting and Combining Wax Pieces Safely

Once you’ve chosen the perfect containers for your chunky candles, it’s time to focus on melting and combining the wax pieces safely. Always follow safety precautions to prevent accidents, like working in a well-ventilated area and keeping a fire extinguisher nearby. Use proper wax melting techniques, such as a double boiler, to avoid direct heat that can cause overheating or fires. Keep the wax temperature below 185°F (85°C) to prevent burns or splattering. Be cautious when handling hot wax, and never leave melting wax unattended. To ensure safety, remember these tips:
- Use a double boiler or melting pot
- Monitor temperature with a thermometer
- Avoid overfilling the melting vessel
- Keep children and pets away during melting process
- Proper ventilation is essential when melting wax to prevent inhalation of fumes. Additionally, selecting the right textile tools can help manage hot wax safely and efficiently. Remember that maintaining proper safety precautions is vital for a successful candle-making experience. Incorporating melting techniques that prioritize even heat distribution can also improve safety and results.

FansArriche Candle dye – 10 Colors Liquid Oil-Based dye for Candle Wax, Vivid Candle Color for DIY Candle Making, Highly Concentrate Natural Candle Color
【HIGHLY CONCENTRATED】 Brand new formula with highly concentrated colors for your creativity. A little goes a long way….
As an affiliate, we earn on qualifying purchases.
As an affiliate, we earn on qualifying purchases.
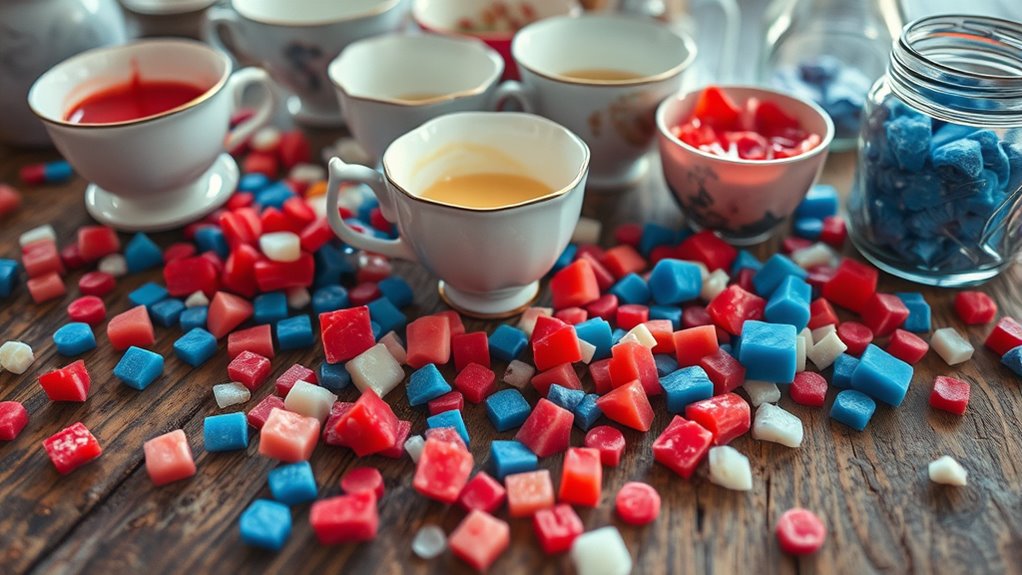
Adding Colors and Scents for Personalization

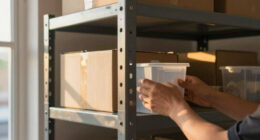
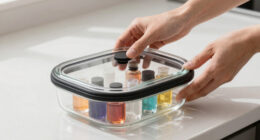
To make your candles truly unique, choose vibrant colors that match your style and mood. Then, blend fragrant oils carefully to create inviting scents without overpowering the candle. Always test your colors and scents for safety to guarantee a beautiful and safe finished product. Incorporating personalized touches like custom colors and scents can enhance the overall experience of your candles. Additionally, considering proper storage ensures that your specialty wax pieces remain fresh and ready for reuse in future projects. Using a free online tool to check your text’s capitalization can help maintain consistency in your labeling and packaging.
Choosing Vibrant Colors
Adding vibrant colors to your chunk candles instantly transforms their appearance and makes them more eye-catching. To achieve bold, consistent hues, focus on effective pigment selection. Consider the type of dye or pigment to match your desired intensity and compatibility with wax. When choosing colors, think about how they blend together; some pigments mix better for subtle gradients, while others create striking contrasts. Additionally, understanding different dog breeds can inspire creative color themes based on their unique coats and personalities. Exploring color mixing techniques can further enhance your ability to create harmonious or bold color combinations tailored to your candle designs.
Blending Fragrant Oils
Blending fragrant oils allows you to create personalized candles that not only look beautiful but also fill your space with your favorite scents. Start by experimenting with essential oil blends to achieve unique aroma combinations. Use fragrance layering by adding different scents at various stages of the melting process to create depth and complexity. For example, combine citrus oils with floral notes or warm spices for a cozy vibe. Be mindful of the amount of fragrance you add—usually around 1 ounce per pound of wax—so the scent is strong but not overpowering. Stir thoroughly to evenly distribute the oils, ensuring your candle releases a consistent aroma when burned. Proper fragrance usage is essential to achieve the desired scent strength and longevity. With a little practice, you’ll craft candles that perfectly reflect your personal scent preferences.
Testing for Safety
Before finalizing your candle, it’s important to test the safety of your personalized blend of colors and scents. This ensures you avoid potential hazards like fire safety issues or allergic reactions. Start by conducting allergen testing with a small amount of your chosen scent to check for sensitivities. Always use skin-safe dyes and avoid overly vibrant colors that could ignite or produce toxic fumes. Remember that ancient wisdom often emphasizes the importance of balance and harmony, which can be reflected in your candle-making process to ensure safety and aesthetic appeal. Incorporate proper safety precautions by working in a well-ventilated area and keeping a fire extinguisher nearby. Use only approved, non-toxic colorants and fragrances. Additionally, understanding the role of AI in healthcare can provide insights into innovative safety measures. Be mindful of storage practices for your candle supplies to maintain their quality and safety. Monitor your candle’s burn to ensure consistent, safe combustion. Taking these steps helps prevent fire safety risks and protects against allergic reactions, making your personalized candles both beautiful and safe.
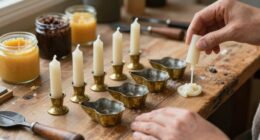
Creating a Stable Base With a Wick and Wick Holder
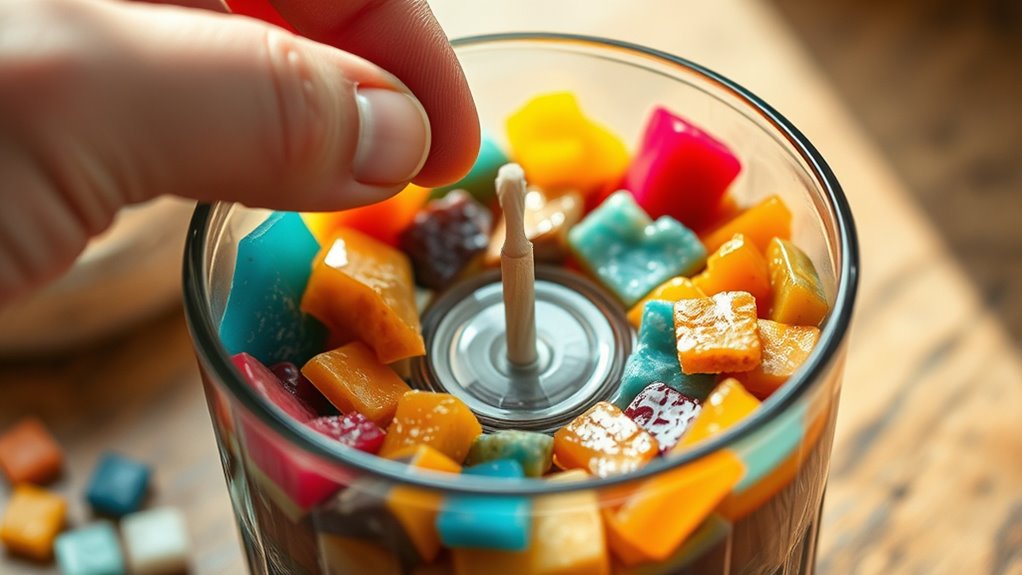
To guarantee your candle stays upright and burns evenly, start by creating a stable base with a wick and wick holder. Proper wick stabilization is essential to prevent leaning or tilting as the wax melts. Secure the wick firmly in the center of your container using a wick holder or a makeshift stand, like a pencil or chopstick. Ensure the wick’s base adheres well to the wax surface to promote good wax adhesion, which keeps it steady during pouring and cooling. If needed, you can apply a small amount of hot wax or glue to anchor the wick at the bottom. This setup ensures the wick remains centered, providing an even burn and preventing wax tunneling. Proper wick stabilization and wax adhesion are key to a successful, safe DIY candle. Additionally, selecting the right merchant services provider can help streamline your payment process if you’re selling your handmade candles. Being aware of divorce laws in your state can be helpful if you’re considering business partnerships or legal protections in your craft venture. Incorporating celebrity lifestyle insights can also inspire your candle design choices and marketing strategies. Recognizing potential affairs within your personal or business relationships can help maintain stability as you develop your craft.
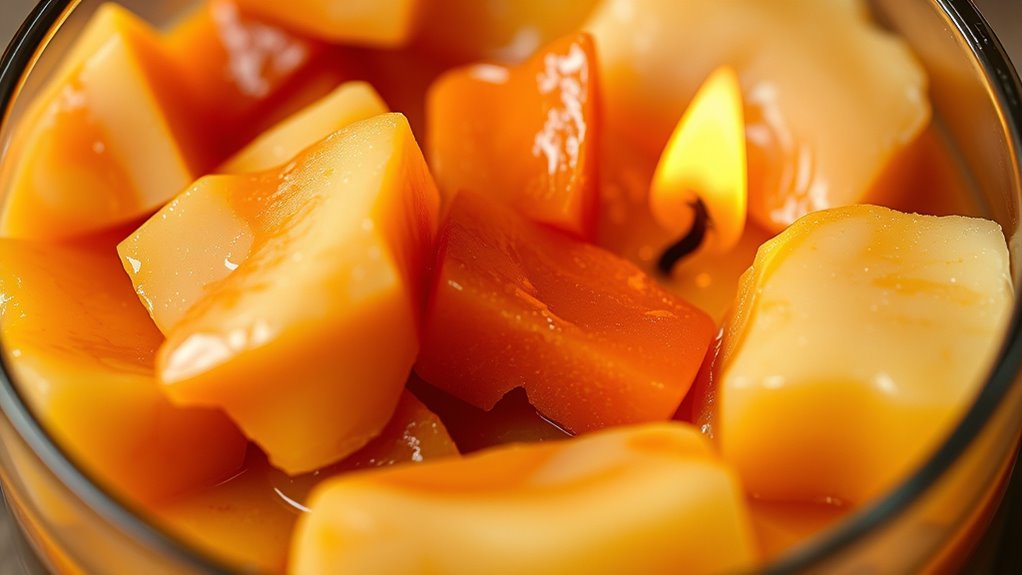
Pouring the Melted Wax Into Containers
Carefully pour the melted wax into your prepared containers, making sure the wick stays centered and upright. During this wax melting process, verify the container selection is suitable—preferably heat-resistant and appropriately sized for your candle. As you pour, consider these tips:
- Use a funnel for a cleaner, mess-free transfer
- Leave about half an inch of space at the top
- Avoid overfilling to prevent wax spillover
- Keep the wick straight and centered as you pour
Choosing the right container is essential for a stable, attractive candle. Make sure your containers are heat-safe and sturdy enough to hold the wax securely. Proper pouring techniques will result in a professional-looking candle with a neat finish.
Allowing Candles to Cool and Solidify Properly

To guarantee your candles turn out perfect, you need to let them cool and solidify correctly. Using proper cooling techniques helps prevent cracks and uneven surfaces, giving your candles a professional look. Keep in mind that solidification times can vary, so patience is key to achieving the best results.
Proper Cooling Techniques
Allowing your candles to cool and solidify properly is essential for achieving a smooth, professional finish. Proper cooling depends on temperature control and maintaining a stable ambient environment. To ensure the best results:
- Keep the candles undisturbed in a draft-free area
- Maintain a consistent room temperature, ideally around 65-75°F
- Avoid moving or touching the candles during the cooling process
- Let the candles cool gradually, usually for at least a few hours or overnight
These steps help prevent cracks, sinkholes, or uneven surfaces. A stable ambient environment minimizes temperature fluctuations that can cause imperfections. Remember, patience during cooling ensures your chunky candles set perfectly, showcasing the reusing wax pieces beautifully and professionally.
Solidification Time Tips
Ensuring your candles cool and solidify properly requires patience and attention to timing. After pouring your mixture, avoid moving or disturbing the candle as it cools. For best results, let it sit at room temperature until fully solidified; rushing this process can cause cracks or uneven surfaces. If you’re incorporating seasonal scents, note that different waxes have varying wax melting points, which influence cooling time. Cooler ambient temperatures help the wax set evenly, preventing partial melting or sinking. To speed solidification without compromising quality, you can place the candle in a cool, draft-free area. Avoid refrigerating, as rapid cooling can lead to surface imperfections. Proper solidification ensures your reusable wax pieces stay intact and look professional.
Finishing Touches and Custom Decorations
What are the best ways to add a personal touch to your DIY chunk candles? You can use decorative embellishments and decorative accents to make each candle unique. These small details elevate your design and reflect your style. Consider adding:
Add a personal touch with decorative accents that reflect your style and creativity.
- Dried flowers or herbs embedded in the wax for a natural look
- Metallic or colored wax drips as decorative accents
- Stickers or decals to personalize the surface
- Ribbons, twine, or small charms around the base
These finishing touches enhance the visual appeal and make your candles stand out. Be creative and experiment with different textures and materials to match your decor or mood. The key is to keep it simple yet meaningful, turning your candles into personalized art pieces.
Tips for Maintaining and Reusing Your Chunk Candles
To keep your chunk candles looking their best and extend their lifespan, regular maintenance is essential. Start by choosing the right scent selection to refresh or change the aroma without wasting the wax. When reusing or refilling your candles, guarantee the container’s durability; sturdy containers prevent cracking or breaking during use or cleaning. Keep the wax free of dust and debris by trimming the wick and wiping the surface gently with a soft cloth. If the wax gets uneven or develops sinkholes, remelt and pour a new layer to maintain a smooth appearance. Avoid exposing your candles to direct sunlight or extreme temperature changes, which can weaken the container and decrease scent throw. Proper care helps preserve the integrity of your candles and allows you to enjoy their beauty and aroma longer.
Frequently Asked Questions
How Long Do Homemade Chunk Candles Typically Last When Burned?
Your homemade chunk candles typically burn for about 20 to 40 hours, depending on their size and wax type. The burn time influences the overall candle lifespan, so if you use larger chunks or thicker wax, you’ll enjoy longer-lasting candles. To maximize burn time, keep the wick trimmed and avoid drafts. With proper care, your DIY candles can provide beautiful ambiance for many enjoyable hours.
Can I Add Dried Flowers or Herbs to My DIY Wax Candles?
Yes, you can add dried flowers or herbs to your DIY wax candles to create beautiful flower accents and herb infusions. Just make certain the dried flowers and herbs are fully dry to prevent mold or smoke when burning. Mix them into the wax carefully, avoiding the wick area. This adds a lovely visual element and a subtle scent, making your candles uniquely personalized and aromatic.
What Safety Precautions Should I Take During Candle Making at Home?
When making candles at home, you should always prioritize safety. Keep flammable materials away from open flames and heat sources, and work in a safe workspace that’s well-ventilated. Use heat-resistant containers and never leave melting wax unattended. Wear protective gear like gloves and safety glasses, and have a fire extinguisher nearby. Taking these precautions helps prevent accidents and guarantees a safe, enjoyable candle-making experience.
How Do I Prevent My Candles From Tunneling or Burning Unevenly?
To prevent tunneling or uneven burning, guarantee you place the wick at the center of your container and use a suitable container choice that supports steady heat distribution. Trim the wick to about ¼ inch before each burn, and let the candle burn long enough for the wax to melt evenly across the surface. This way, you promote an even burn and avoid tunneling, keeping your candles looking and functioning beautifully.
Are There Eco-Friendly Options for Disposing of Leftover Wax?
Did you know that over 300 million pounds of wax waste end up in landfills each year? You can make a difference by choosing eco-friendly disposal options. Look for recycling programs that accept candle wax or opt for biodegradable alternatives made from soy or beeswax. These options break down naturally, reducing environmental impact. Reusing leftover wax in creative ways or supporting brands committed to sustainable practices helps protect our planet.
Conclusion
By reusing wax remnants to create your own chunk candles, you not only save money but also reduce waste—did you know that Americans throw away over 250 million pounds of candle wax each year? Embracing this DIY project lets you craft personalized candles while helping the environment. So, get creative, repurpose your wax pieces, and enjoy the warm, eco-friendly glow of your handmade candles anytime you want a cozy ambiance.