
Have you ever received a beautifully wrapped gift and wondered how it was achieved so perfectly? That was exactly my experience recently when a dear friend gave me a round candle, elegantly decorated in lovely wrapping paper.
Intrigued by the impeccable presentation, I set out to learn the art of wrapping a round candle myself. In this article, I will guide you through the step-by-step process of creating a flawless wrap for your round candle, ensuring that it becomes the highlight of any gift-giving occasion.
From gathering the necessary materials to adding personalized touches, I will share my knowledge and expertise to help you achieve a professional-looking result. Get ready to impress your friends and loved ones with your newfound wrapping skills as we embark on this delightful journey of wrapping a round candle.
Key Takeaways
- Importance of measuring and cutting the wrapping paper accurately
- Using unconventional materials for wrapping to add creativity and uniqueness
- Adding decorative elements to enhance the presentation and add elegance
- Paying attention to securing and neatening any loose ends or imperfections in the wrapping

QAPPDA 8oz Amber Candle Jars Set of 30,Round Glass Jars with Black Lids,Empty 250ml Glass Candle Making Jar Bulk Thick Small Food Storage Jar for Spice,Candy,Powder
Amber Glass Jar with Airtight Lid-Each set includes 30 pack rounded amber glass jars with black screw-on metal...
As an affiliate, we earn on qualifying purchases.
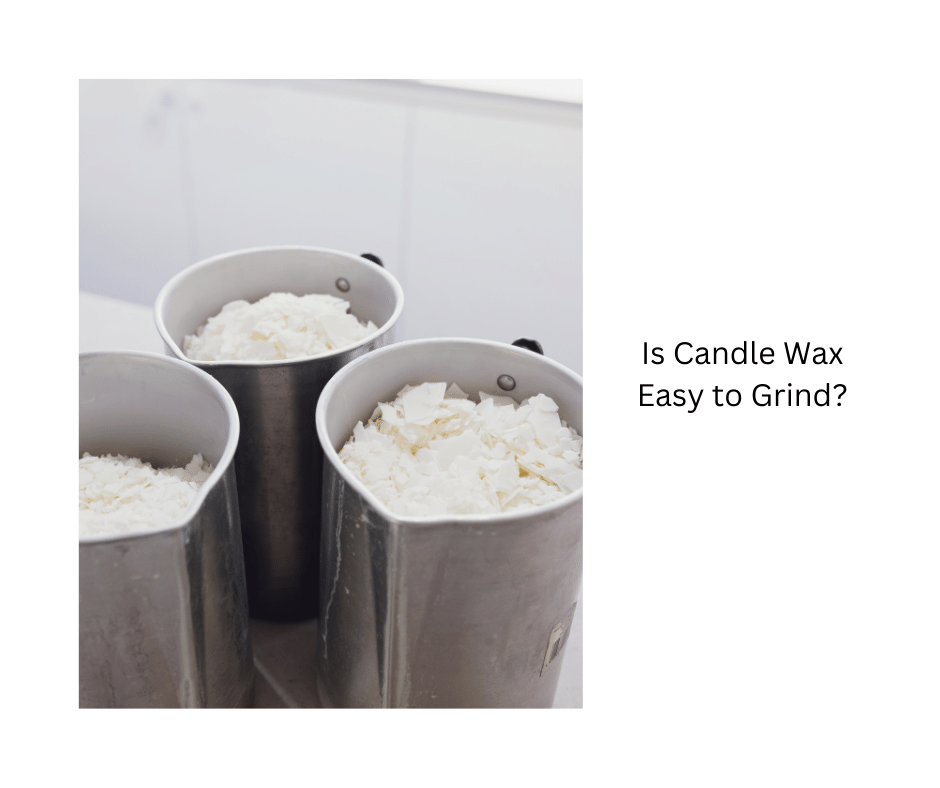
Gather Your Materials
Now you’re going to gather all the materials you’ll need to wrap your round candle. When it comes to choosing the right type of candle for wrapping, there are a few options to consider. Taper candles, pillar candles, and votive candles are all suitable choices. Taper candles have a long, slender shape, while pillar candles are wider and shorter. Votive candles are small and cylindrical. Each type offers its own unique wrapping possibilities.
Next, let’s talk about different wrapping techniques for round candles. One option is to use a clear cellophane wrap, which allows the beauty of the candle to shine through. Another technique is to use decorative paper or fabric to cover the candle, securing it with ribbon or twine. You can also experiment with different patterns and colors to create a unique and personalized look.
Now that you have an idea of the types of candles suitable for wrapping and different wrapping techniques, it’s time to move on to the next step: measuring and cutting the wrapping paper.

YJHSS 24-Pack 8oz Candle Tins with Lids, Metal Candle Jars for Candle Making, Bulk Empty Containers for Beginners & DIY Storage -Black
Capacity: 8oz =235ml; Dimensions : 3.15" (Diameter) x 2.35" (Height); Each candle tins are made of premium tinplate,...
As an affiliate, we earn on qualifying purchases.
Measure and Cut the Wrapping Paper
First, measure and cut the paper to fit the size of the candle. To ensure a perfect fit, use precise cutting techniques such as using a ruler or measuring tape to measure the circumference and height of the candle. Then, transfer these measurements onto the wrapping paper and carefully cut it out using sharp scissors.
When selecting the right paper, consider the thickness and texture. A sturdy paper will provide better support and durability, while a smooth or textured paper can add a decorative touch. Additionally, choose a paper design or color that complements the candle or the occasion it’s being wrapped for.
- Measure the circumference and height of the candle.
- Transfer measurements onto the wrapping paper.
- Cut out the paper using sharp scissors.
By measuring and cutting the wrapping paper accurately, you’ll ensure a snug and professional-looking wrap for your round candle. With the paper cut to size, we can now move on to securing the bottom of the candle.
Tecohouse Amber Candle Jars, 30 Pcs 8oz Glass Jars with Lids for Making Candles with White Labels & Inner Liners, Empty Airtight Round Cosmetic Containers for Cream, Spice, Lotion, Ointments, Liquid
Amber Candle Glass Jars: This 8 oz glass jars with lids includes 30 pack amber glass jars with...
As an affiliate, we earn on qualifying purchases.
Secure the Bottom of the Candle
To ensure a secure and polished finish, it’s important to fasten the bottom of the candle tightly. Securing the base of a cylindrical candle is crucial to prevent any unraveling or loose ends. There are a few different methods you can use to achieve this.
One effective method is to use a double-sided adhesive tape. This tape is specifically designed to securely hold objects together. Simply cut a small strip of the tape and attach it to the bottom of the candle. Press down firmly to ensure it adheres well. Another option is to use a hot glue gun. Apply a small amount of hot glue around the base of the candle and press down firmly to secure it.
To give you a visual representation, here’s a table that outlines the pros and cons of each method:
| Method | Pros | Cons |
|---|---|---|
| Double-sided tape | Easy to apply | May not provide as strong of a hold |
| Hot glue gun | Provides a strong hold | Requires a hot glue gun and can be messy |
Now that the bottom of the candle is securely fastened, let’s move on to the next step: wrapping the candle with the wrapping paper.

KEYWING 8 oz Candle Jars with Lids, 30 Pack Amber Glass Jars with Black Metal Lids, Round Candle Containers, Empty Jar for Making Candles, Powder, Liquid, Cream
High-Quality Glass: These 8 oz amber jars with lids are crafted from high-quality thick glass, ensuring durability and...
As an affiliate, we earn on qualifying purchases.
Wrap the Candle with the Wrapping Paper
Once the candle is securely fastened at the bottom, it’s time to encase it in the beautiful wrapping paper, adding a touch of elegance and charm. When it comes to wrapping techniques, there are a few options to consider.
One popular method is to wrap the candle like a present, using the same techniques you’d use for a regular gift. Start by placing the candle in the center of the wrapping paper and roll it tightly, making sure to cover the entire surface. Secure the paper with tape, being careful not to damage the candle.
Another unique gift idea is to create a custom wrap by cutting out shapes or patterns from the wrapping paper and layering them on top of each other. This adds a personal touch and makes the gift even more special.
Once the candle is wrapped, it’s time to move on to the next step: folding and securing the ends. This will ensure that the wrapping paper stays in place and gives the gift a polished finish.
Fold and Secure the Ends
Now, take a moment to carefully fold and secure the ends of the wrapping paper, creating a sense of anticipation as you prepare to reveal the beautifully wrapped gift.
To add an extra touch of elegance to your wrapped round candle, consider experimenting with different folding techniques. Here are three discussion ideas that can evoke excitement and creativity:
-
Origami-inspired folds: Explore the art of origami by incorporating intricate folds into the wrapping paper. This technique adds a unique and visually appealing element to the overall presentation.
-
Ribbon and bow: Use a luxurious satin ribbon or a rustic twine to tie a beautiful bow around the ends of the wrapped round candle. This adds a touch of charm and sophistication to the gift.
-
Wax seal: For a vintage-inspired look, consider using a wax seal to secure the ends of the wrapping paper. The seal can be personalized with a monogram or a special symbol, adding an extra layer of thoughtfulness to the gift.
Now that you’ve folded and secured the ends of the wrapping paper, it’s time to add decorative elements to further enhance the presentation of your wrapped round candle.
Add Decorative Elements
With a flourish of creativity, adorn your beautifully packaged gift with a burst of vibrant colors and sparkling embellishments. Adding decorative elements to your wrapped round candle not only enhances its visual appeal but also showcases your unique wrapping techniques.
Get ready to dive into a world of endless possibilities and transform your gift into a true work of art. Creative embellishments are the key to making your wrapped round candle stand out. Think outside the box and consider incorporating elements like ribbons, bows, or even dried flowers.
You can also experiment with different textures, such as lace or burlap, to add a touch of elegance or rustic charm. For a more whimsical look, try attaching small ornaments or charms that match the theme of your gift.
To achieve a truly unique wrapping technique, consider using unconventional materials. For example, you can wrap the round candle in a piece of fabric, securing it with a decorative pin or brooch. Alternatively, you can create a custom wrap using patterned paper, washi tape, or even newspaper cuttings. The possibilities are endless, and the only limit is your imagination.
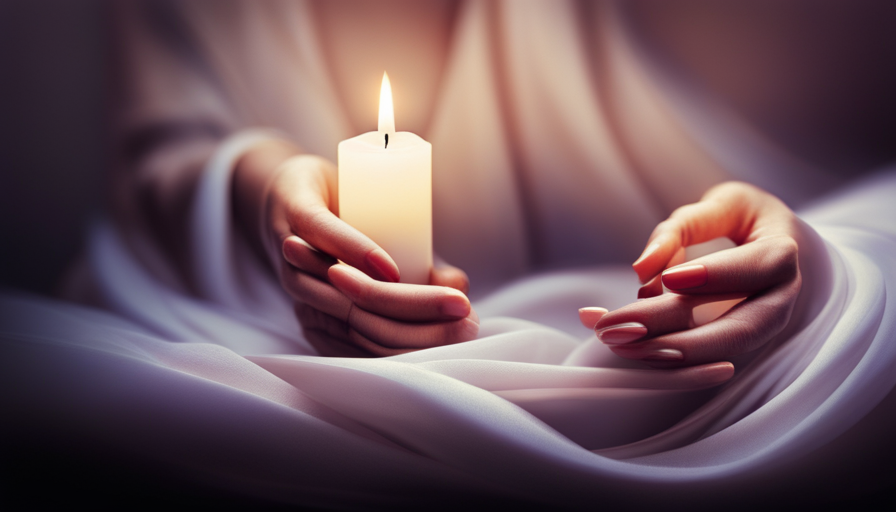
As you add the finishing touches to your wrapped round candle, remember to personalize it with a gift tag or ribbon. These small details will add a final touch of elegance and make your gift truly special.
Personalize with a Gift Tag or Ribbon
To give your beautifully adorned gift a personal touch, don’t forget to attach a gift tag or ribbon. Adding a gift tag not only adds a personalized message but also serves as a finishing touch to your wrapped round candle. There are countless gift tag ideas to choose from, depending on the occasion and the recipient’s preferences. You can opt for a simple and elegant design, such as a handwritten note on a small card, or get creative with decorative tags that complement the theme of the candle. Consider incorporating the recipient’s name or a meaningful quote to make it extra special.
When it comes to choosing the right ribbon color, think about the overall aesthetic you want to achieve. Soft pastel ribbons create a delicate and romantic look, while bold and vibrant colors add a pop of excitement. You can also match the ribbon color to the recipient’s favorite color or the theme of the occasion. Play around with different textures and patterns to create a visually appealing combination.
Now that your round candle is beautifully adorned with a gift tag or ribbon, it’s time to double-check for any loose ends or imperfections. Ensuring everything is secure and neat will guarantee that your gift looks polished and professional.
Double-check for any Loose Ends or Imperfections
Now that you’ve personalized your wrapped candle with a gift tag or ribbon, it’s time to double-check for any loose ends or imperfections. This step is crucial to ensure that your wrapped candle looks flawless and professional.
First, take a close look at the edges of the wrapping paper. Make sure that they’re neatly folded and secured with tape. Smooth out any wrinkles or creases to give it a polished finish.
Next, examine the ribbon or any decorative elements you’ve added. Ensure that they’re securely attached and evenly distributed around the candle. Adjust the positioning if needed, so that they enhance the overall presentation.
Lastly, run your fingers over the entire wrapped candle to feel for any bumps or rough spots. Smooth them out gently to ensure a sleek and seamless look.
To perfect your wrapping technique, remember to pay attention to the details and take your time. A well-wrapped candle will make a great impression when it’s finally time to store or present it.
So, let’s move on to the next step and discover how to store or present your beautifully wrapped candle.
Store or Present Your Wrapped Candle
Once you’ve perfected your wrapping technique, it’s time to showcase your beautifully adorned candle with a creative display or find a safe storage spot. When it comes to gift wrapping techniques, the presentation is just as important as the wrapping itself. You want to make sure that your wrapped candle stands out and captures the attention of the recipient. One creative packaging idea is to place the wrapped candle in a decorative box or tin, adding a touch of elegance to your gift. Another option is to display the wrapped candle on a decorative tray or dish, surrounded by dried flowers or other decorative elements. This not only adds visual appeal but also provides a practical storage solution. To engage the audience further, here is a 2 column and 3 row table showcasing different creative packaging ideas:
| Packaging Idea | Description |
|---|---|
| Mason Jar | Wrap the candle in tissue paper and place it inside a mason jar. Tie a ribbon around the jar for a rustic touch. |
| Gift Bag | Place the wrapped candle inside a colorful gift bag and add some tissue paper for an extra pop of color. |
| Wooden Box | Wrap the candle in kraft paper and place it inside a wooden box. Add a personalized note for a thoughtful touch. |
Now, with your beautifully wrapped round candle, it’s time to admire your handiwork and present it to the lucky recipient.
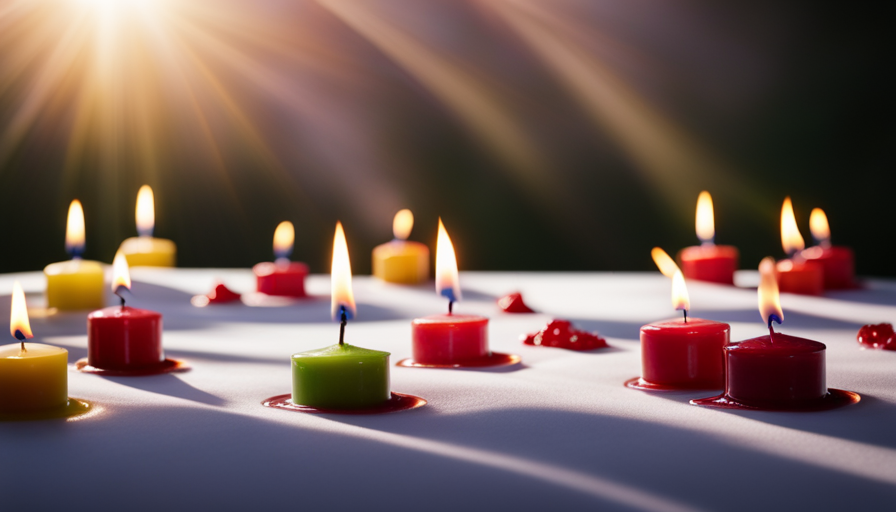
Admire Your Beautifully Wrapped Round Candle
Marvel at the stunning craftsmanship of your exquisitely adorned cylindrical masterpiece. After carefully wrapping your round candle, it’s time to admire the beauty you’ve created.
Not only does this wrapping technique work beautifully for round candles, but it can also be applied to various other types of candles. Imagine wrapping taper candles, pillar candles, or even tea lights in a similar fashion, creating a cohesive and elegant display.
Now, let’s discuss some creative ways to showcase your wrapped round candles. One idea is to place them on a decorative tray or charger, arranging them in a visually appealing pattern. You can also incorporate other elements such as dried flowers, small ornaments, or seashells to enhance the overall aesthetic.
Another option is to create a centerpiece using a glass vase or hurricane candle holder. Simply place your wrapped round candles inside, allowing the flickering flames to cast a warm and enchanting glow.
For a more unique display, consider suspending your wrapped round candles from the ceiling using fishing line or ribbon. This creates a stunning visual effect, as the candles appear to be floating in mid-air. You can also hang them in front of a mirror to create a mesmerizing reflection.
By exploring these creative ideas, you can truly showcase the beauty and elegance of your wrapped round candles.
Frequently Asked Questions
How do I choose the right wrapping paper for a round candle?
Choosing the right wrapping paper for a round candle can be as delicate as finding the perfect dance partner. Factors to consider include the candle’s size, texture, and color. Opt for a sturdy, yet flexible paper that can gracefully embrace the candle’s curves. Tissue paper or patterned wrapping paper with a bit of stretch are excellent options.
Remember, finding the right wrapping paper is like finding the perfect outfit for an elegant soiree – it should complement and enhance the beauty of the candle.
Can I use any type of ribbon to secure the ends of the wrapping paper?
When it comes to securing wrapping paper, there are various ribbon types you can use. Satin ribbon is a popular choice for its smooth and luxurious texture, while grosgrain ribbon offers a more textured and durable option. Alternatively, you can also use twine, string, or even decorative tape to secure the ends of the wrapping paper. Just make sure to choose a method that complements the overall look of your wrapped round candle.
What kind of decorative elements can I add to a wrapped round candle?
When it comes to adding decorative elements to a wrapped round candle, the possibilities are endless. One option is to use decorative candle holders that complement the color and style of the candle.
Another idea is to incorporate dried flowers into the design, which can add a touch of natural beauty and elegance. These elements not only enhance the visual appeal of the candle but also create a unique and personalized touch.
How long does it usually take to wrap a round candle?
On average, it takes about 10-15 minutes to wrap a round candle efficiently. To save time, I suggest gathering all the necessary materials beforehand, such as decorative elements, ribbon, and adhesive. Pre-cutting the ribbon to the desired length and having a clear workspace also helps streamline the process.
Additionally, using double-sided tape or a glue gun can make the wrapping more secure and efficient. Following these tips and tricks will ensure a quicker and smoother wrapping experience.
Can I use a different method to secure the bottom of the candle instead of tape?
There are several alternative candle securing methods that can be used instead of tape when wrapping round candles. One creative way is to use decorative ribbon or twine to tie the bottom of the candle together. This not only provides a secure closure but also adds a decorative touch to the wrapping.
Another option is to use a small adhesive dot or glue to hold the bottom of the candle in place. These alternative methods can provide a unique and aesthetically pleasing way to wrap round candles.
Conclusion
I hope you found this guide helpful in learning how to wrap a round candle. Wrapping candles can be a fun and creative way to personalize your gifts or add a special touch to your home decor.
Did you know that the global candle market was valued at $3.45 billion in 2019 and is projected to reach $6.64 billion by 2027? It’s clear that candles continue to be a popular choice for both gifting and personal use.
So go ahead, get wrapping, and enjoy the beauty of your perfectly wrapped round candle!