

To prevent your candles from sinking inward, it is important to follow several steps. Firstly, ensure that your candles are burned correctly. The wax solidifies quicker around the edges of the container compared to the middle, which helps in keeping the candle lit for a longer period. Consequently, as the candle cools down, the center may sink, resulting in a concave shape. The temperature of the container also influences this process, so it is advisable to store your candles in a cool setting.
First burn is critical to preventing caving in
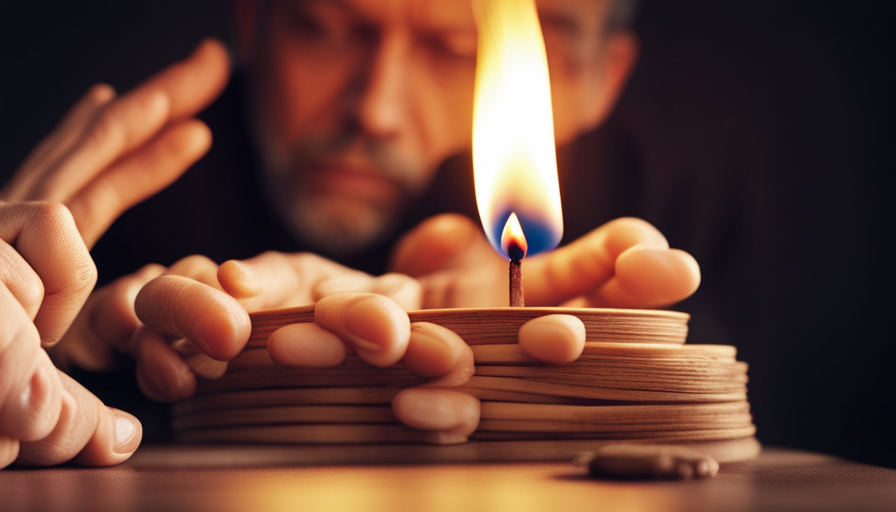
While you may not realize it, the first burn is vital to preventing caving in candles. You want to ensure that your candle is burning evenly and that it’s properly poured. If not, you risk tunneling and wasting precious wax. For this reason, you should avoid caving in your candles by following a few tips.
Firstly, ensuring that your first burn is long enough is critical to preventing tunneling and caving. This is because wax has a “memory” effect. The first burn tends to set the melt radius. As a result, if you fail to give your first burn sufficient time, the candle will end up with a memory ring in the center of the candle. This is not only an unnecessary waste of precious wax, but it can also cause the flame to die.

calary Candle Wick Trimmer, Candle Snuffer and Wick Dipper & Candle Accessory Set, 3 in 1 Candle Care Kit for Candle Lover (Gold)
Material: This candle snuffers are made of stainless steel, it is not easy to rust, not easy to...
As an affiliate, we earn on qualifying purchases.
Fixing concave surfaces
There are several ways to fix a concave candle surface. One method involves using a hair dryer or heat gun to melt the surface. This is effective for small holes, but be sure to check your work regularly. A high temperature can cause more damage than it is worth.
Another method involves using a heat gun to smooth the surface of a candle. This method works well for concave surfaces, and is ideal if the surface is oblique. You can also try using a hairdryer, which works exactly like a heat gun. Once the surface is smooth, you can pour a thin layer over it.

Viscacha 3 in 1 Candle Accessory Set with Candle Wick Trimmer & Wick Dipper & Candle Snuffer Extinguisher, Wick Cutter & Wick Scissor Candle Gift Set for Candle Lovers(Black)
Candle Accessory Set: Viscacha premium Candle Gift Set is crafted with everything you need to elongate the life...
As an affiliate, we earn on qualifying purchases.
Making a second batch of wax
The first step in making multiple colour candles is to separate the wax into two bowls. Once melted, you can use the second bowl to colour the candle with different colours. Make sure the color is evenly distributed. It is possible to create as many layers as you like.
After pouring the first batch of wax, leave a small amount aside for a second pour. This will help the second batch of wax not to overheat. The second pour should not be any higher than the first pour. It might take a third pour to ensure a perfect consistency.
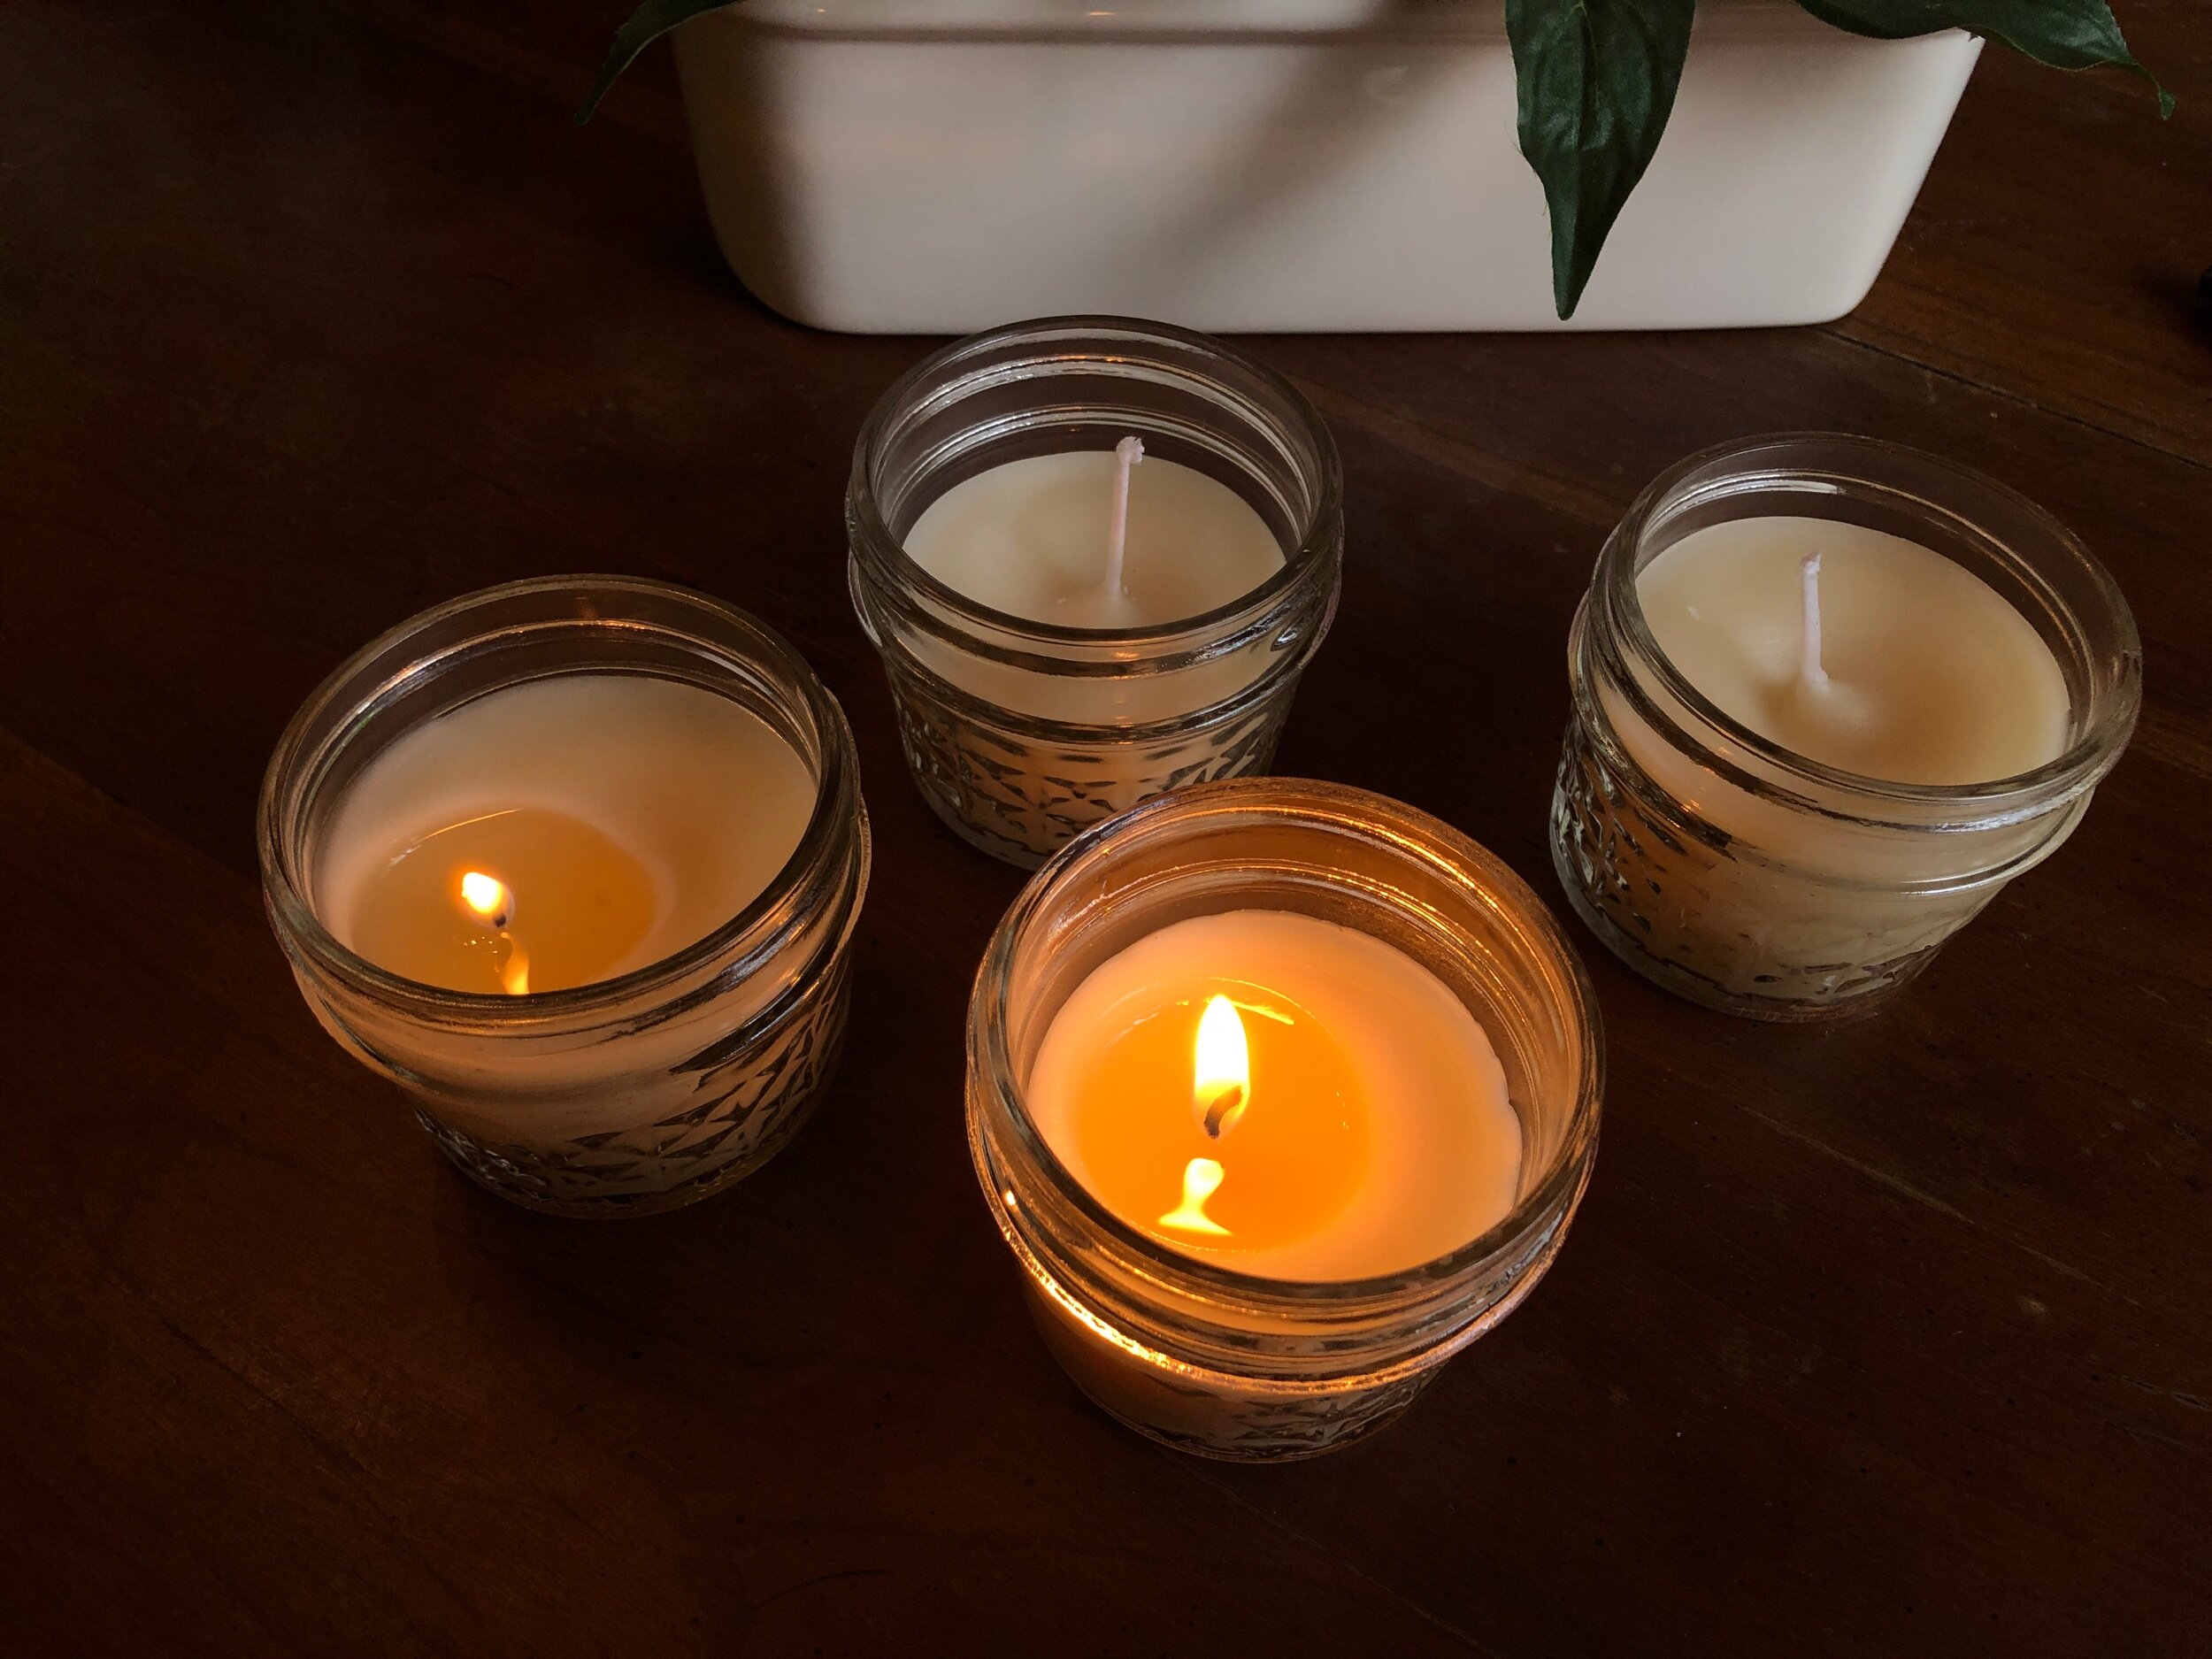
Depending on the type of wax used, certain types of candles are more susceptible to sinkholes than others. If you are working with these types of wax, you should follow special procedures to prevent sinkholes from forming. In addition, you should always leave a small relief hole around the wick to allow trapped air to escape. If a sinkhole forms in the first pour, make a second pour to fill it.
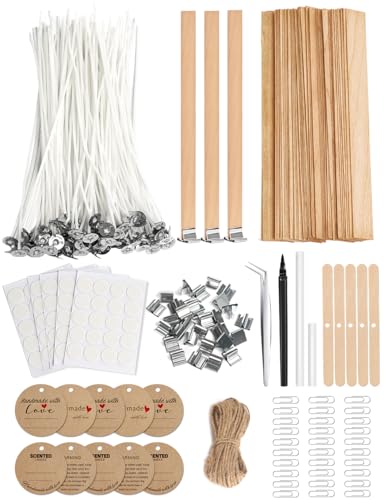
Multiwins 130 Pcs Candle Wicks for Candle Making Kit: 100 Cotton & 30 Wood Wicks with Complete Tool Set (Wick Holders, Wick Stickers, Candle Tabs, Tweezers, Pen), for Soy Beeswax DIY Candles
Ultimate Candle Making Kit - Includes 100 pre-waxed cotton wicks (4"), 30 wooden wicks (5"), 5 wick holders,...
As an affiliate, we earn on qualifying purchases.
Fixing soot marks
Candles produce soot as they burn, and it can leave marks on the walls. Although soot itself isn’t dangerous, it can cause respiratory problems and even asphyxiation if left unattended. To avoid these problems, you should follow a few steps to fix soot marks.
The first step to avoid soot marks on the wall is to place the candle in a secure location. This means keeping the candle away from drafty areas and drapes. It is also a good idea to place the candle at least 3 feet away from walls and other objects. This will prevent soot marks from forming.
Another important step is trimming the wick. A proper wick is about 1/4 of an inch long. Never leave a burning candle unattended, as this can lead to soot buildup on the wick.

VAVICO Candle Wick Trimmer Cutter Snuffer Arc Lighter Set Candle Care Kit Electric Plasma USB Rechargeable Long Windproof Lighter Candlesnuffer Candles Wicks Dipper (Rose Gold)
🕯️【Package including】Candle wick trimmer*1 Candle Snuffer*1 candle wick dipper*1 arc lighter*1 USB charging cable*1
As an affiliate, we earn on qualifying purchases.
Fixing a short or buried wick
To fix a short or buried wick in a candle, use tweezers to lift it out of the wax. You should hold it upright for about 30 seconds. Once you remove the wick, you should trim it to about 1/4 inch in length to ensure optimal burning.
In order to prevent your candles from caving in, you must fix the problem at the source. A short or buried wick can result in cracks around the wick. The cracks in the wax are caused by tiny air bubbles trapped at the bottom of the container. These trapped air bubbles make the wax sink. Once the cracks start, they are almost impossible to reverse.
A short or buried wick can occur due to a number of reasons. The wick size may be too small for the candle container or the quality of the wick is poor. Another possible cause is that the wick has been burned too quickly, which results in the wax pool hardening and causing the wick to become buried in it.