Hello everyone! Have you ever been stuck with leftover candle wax that you don’t want to waste? No worries, we’ve got the perfect solution for you!
In this handy guide, we’ll show you how to melt that wax right on your trusty stove. It’s a simple and efficient way to repurpose those remnants and create something beautiful all over again.
So, let’s roll up our sleeves and get started, shall we? With just a few materials and a little bit of time, you’ll be able to transform that unused wax into new candles or other fantastic creations.
Let’s dive in and make the most of what we’ve got!

Key Takeaways
- Gather necessary materials and prepare the stove and workspace.
- Choose a melting container and set up a double boiler system for melting the wax on low heat.
- Follow safety precautions when melting candle wax on the stove, including using a low heat setting and removing impurities and debris.
- Pour the melted wax into creative containers for homemade candles.

Ksedcon Electric Wax Melter for Candle Making with Pouring Spout, Non-Stick Small Candle Melting Pot
- Large Capacity: 1.5Qt wax melting pot for multiple candles
- Fast Melting: Melts wax in just 8 minutes with 300-600W power
- Includes Glass Lid: Safe, beginner-friendly design with protective lid
As an affiliate, we earn on qualifying purchases.
As an affiliate, we earn on qualifying purchases.
Gather Necessary Materials
To begin, we’ll need to gather the necessary materials for melting leftover candle wax on the stove.
There are various wax melting methods, but for this process, we’ll focus on using the stove.
First, you’ll need a double boiler or a heat-resistant glass bowl that can fit on top of a pot. This will help create a gentle heat and prevent the wax from burning.
Next, gather your leftover candle wax and any additional scents or colors you want to add. It’s important to note that reusing melted wax is a great way to reduce waste and save money.
Lastly, don’t forget to grab a heat-resistant spoon or spatula for stirring and a reliable thermometer to keep an eye on the wax temperature.
Now that we’ve all the necessary materials, let’s move on to preparing the stove and workspace.
Prepare the Stove and Workspace
Now that we’ve gathered all the necessary materials, let’s prepare the stove and workspace for melting the leftover candle wax. To ensure a clean and safe environment, follow these steps:
- Prepare the workspace: Clear any clutter from the countertop or table where you’ll be working. This will provide ample space to melt the wax and prevent any accidents.
- Clean the stove: Before starting the melting process, make sure your stove is clean and free from any debris or food particles. Wipe down the stovetop with a damp cloth or sponge to remove any dirt or grease.
- Protect the stove: To prevent any wax from dripping onto the stove and causing damage, place a layer of aluminum foil or a heat-resistant mat on the stovetop. This will catch any spills and make cleaning up easier.
- Set up a double boiler: Fill a saucepan with water and place it on the stove. Then, find a heatproof glass or metal container that fits snugly on top of the saucepan. This will create a double boiler and provide a gentle and even heat for melting the wax.
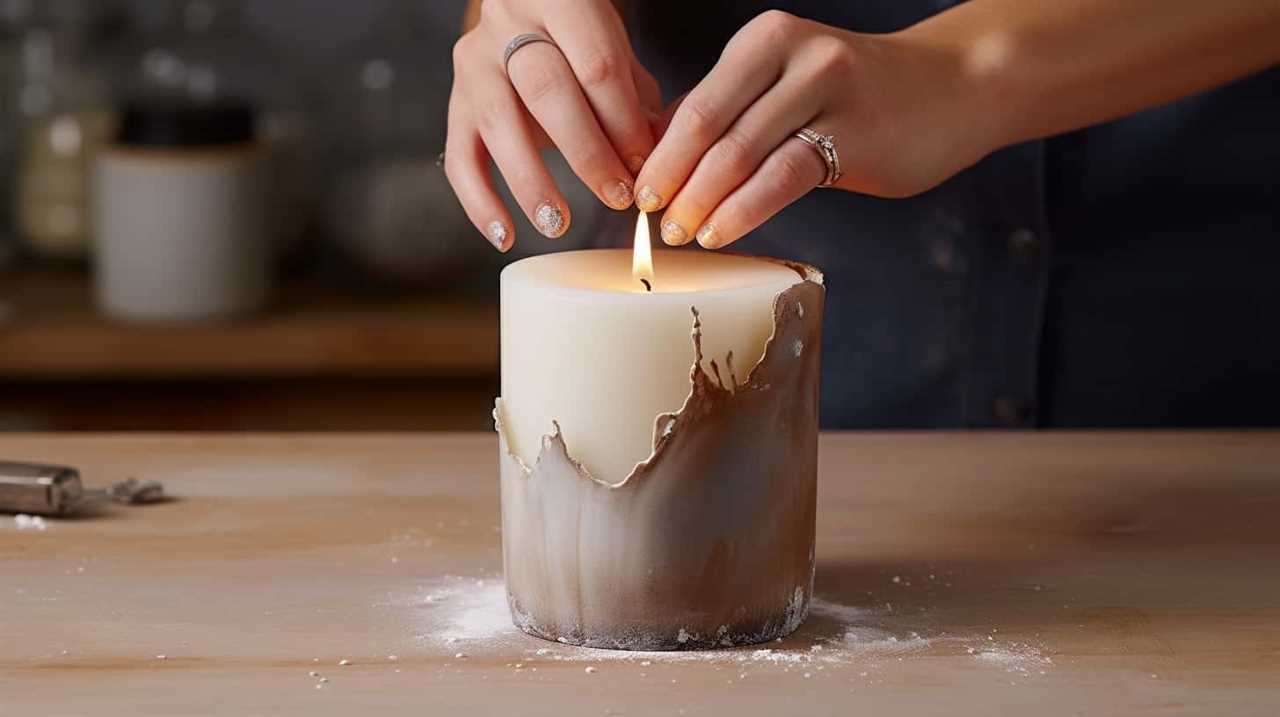
Break up the Leftover Wax
To break up the leftover wax, start by placing the candle jar in the freezer for a few hours.

Once the wax is frozen, take a butter knife and gently pry the wax out of the jar.
If the wax is still too stubborn, you can use a hammer to tap the bottom of the jar and break it into smaller pieces.
Wax Melting Techniques
We can break up the leftover wax by using a simple preposition.
Here are four techniques to melt the wax effectively:

- Use a double boiler: Fill a large pot with water and place a smaller pot or heat-resistant container inside. Put the leftover wax in the smaller pot and heat it gently. This method ensures even melting without direct heat.
- Oven melting: Place the leftover wax in an oven-safe container and heat it at a low temperature, around 150°F (65°C). Check regularly until the wax has completely melted.
- Microwave melting: Transfer the leftover wax to a microwave-safe container and heat in short bursts, stirring in between. Be cautious not to overheat and cause the wax to boil.
- Hairdryer method: Place the leftover wax in a heat-resistant container and use a hairdryer on high heat to melt it. Keep the hairdryer at a safe distance to avoid splashing.
These alternative melting methods provide flexibility and convenience when melting leftover wax.
Stove Safety Precautions
To ensure safe melting of the leftover wax on the stove, we must take certain precautions. Stove maintenance is crucial in preventing wax spills and potential accidents. Here are some steps you can follow to ensure a safe melting process:
- Clear the area: Remove any flammable objects from the stove vicinity to prevent accidents.
- Break up the wax: Before melting the leftover wax, break it into smaller pieces. This will help it melt more evenly and prevent any sudden spills.
- Use a double boiler: Place a heat-resistant container filled with water on the stove. Then, place the leftover wax in a smaller container and put it inside the larger one. This indirect heat method will ensure a controlled melting process.
- Monitor the temperature: Keep an eye on the wax while it melts, ensuring it doesn’t get too hot. High temperatures can cause the wax to ignite or boil over.
By following these stove safety precautions, you can prevent accidents and ensure a smooth melting process.
Now, let’s move on to the next step: choosing a melting container.
Choose a Melting Container
For melting leftover candle wax on the stove, we’ll need a suitable melting container. Here are some important points to consider when choosing the right container and melting wax safely:
- Heat-resistant container: Opt for a container made of glass or metal that can withstand high temperatures without cracking or melting.
- Size and shape: The container should be large enough to hold the amount of wax you want to melt, with some extra room to prevent spills. A wide-mouthed container makes it easier to pour the melted wax later.
- Handles or pour spout: Look for a container with handles or a pour spout for easy handling and controlled pouring.
- Clean and dry: Ensure that the container is clean and dry before using it to melt the wax. Any residue or moisture can affect the quality of the melted wax.
Now that we’ve chosen the right container, let’s move on to setting up a double boiler system for safe and efficient wax melting.
Set up a Double Boiler System
To properly melt leftover candle wax on the stove, we’ll need to set up a double boiler system. This method provides a gentle and controlled heat source, ensuring that the wax melts evenly without scorching or burning.
To create a double boiler, you’ll need a heat-resistant glass or metal container that fits snugly on top of a saucepan filled with water. Place the container in the saucepan, making sure it sits securely.

If you don’t have a double boiler, there are alternative melting methods you can try. For instance, you can use a heat-resistant glass jar placed directly in a saucepan with a few inches of water. Just be cautious as the direct heat could cause the jar to crack.
Troubleshooting common issues during the melting process is crucial. If the wax starts to smoke or burn, lower the heat immediately. If the wax isn’t melting evenly, stir it gently or increase the heat slightly.
Now that we’ve set up the double boiler system, we can move on to the next step and begin melting the wax on low heat.
Begin Melting the Wax on Low Heat
Now that we’ve set up the double boiler system, it’s time to begin melting the wax on low heat. This is an important step to ensure that the wax melts evenly and doesn’t burn. We want to maintain an optimal heat level, so I suggest turning the stove to the lowest setting possible.
Additionally, it’s crucial to take safety precautions such as using oven mitts and keeping a close eye on the melting process.
If you want to speed up the melting, you can occasionally stir the wax gently with a wooden spoon.
Optimal Heat Level
We can start melting the leftover candle wax on the stove by setting the heat level to low. This is the optimal heat level to ensure that the wax melts evenly and doesn’t burn.
Here are four important points to consider when melting the wax on low heat:

- Choose the right melting container: Use a heat-resistant container that can withstand the heat of the stove. Glass or metal containers are ideal options.
- Cut the wax into smaller pieces: If the leftover candle wax is in large chunks, it’s best to cut it into smaller pieces. This will help the wax melt faster and more evenly.
- Place the container on the stove: Set the container on the stove and turn the heat to low. Make sure to place it on a burner that’s suitable for the size of the container.
- Stir occasionally: As the wax begins to melt, stir it gently with a wooden spoon or a heat-resistant utensil. This will help the wax melt more evenly and prevent any hot spots.
By setting the heat level to low, we ensure that the wax melts safely and efficiently.
Now, let’s move on to the next section and discuss the safety precautions that need to be taken when melting candle wax on the stove.
Safety Precautions
As we begin melting the wax on low heat, it is important to take safety precautions to ensure a safe and efficient process. Melting candle wax can pose hazards if not done properly, so let’s discuss some key steps to prevent accidents and spills.
First and foremost, make sure to choose a sturdy and heat-resistant container for melting the wax. Avoid using plastic or flammable materials that can melt or catch fire. A metal or glass container is ideal for this task.
To further reduce the risk of accidents, place the container on a stable surface away from any flammable objects or open flames. This will minimize the chances of a fire hazard.
Additionally, always keep a close eye on the melting wax and never leave it unattended. Wax can heat up quickly and overflow, causing a mess or potentially igniting a fire.
To summarize these safety precautions, refer to the table below:
| Safety Precautions | Tips |
|---|---|
| Choose a heat-resistant container | Avoid plastic or flammable materials |
| Place the container on a stable surface | Keep away from flammable objects or open flames |
| Never leave the melting wax unattended | Keep a close eye to prevent accidents |
Speed up Melting
To ensure a smooth and efficient melting process, we can now proceed to speed up the melting of the wax on low heat. Here are some helpful melting hacks to make the process quicker and more effective:

- Use a double boiler: Place a heatproof container with the wax inside a larger pot filled with water. The indirect heat will prevent the wax from scorching or burning.
- Cut the wax into smaller pieces: By breaking down the wax into smaller chunks or shavings, it will melt faster and more evenly.
- Stir frequently: Stirring the wax regularly helps distribute the heat evenly and speeds up the melting process. Use a heat-resistant utensil to avoid any accidents.
- Increase the heat gradually: Start with a low heat setting and gradually increase it as the wax begins to melt. This gradual increase will prevent the wax from overheating.
By following these melting hacks, you can speed up the process and ensure a smooth and efficient melting of the leftover candle wax.
Now, let’s move on to the next step of removing any impurities or debris.
Remove Any Impurities or Debris
To ensure a clean and smooth melting process, it’s important to first eliminate any impurities or debris from the leftover candle wax before melting it on the stove. Here are some simple steps to remove these impurities and ensure a pristine result.
- Start by placing the leftover candle wax in a heat-resistant container. This will make it easier to handle and clean.
- Fill a pot with water and bring it to a gentle boil. Place the heat-resistant container with the candle wax inside the pot, making sure that the water level is below the rim of the container.
- Allow the water to boil for a few minutes. This will melt the candle wax and any impurities or debris within it.
- Use a clean cloth or paper towel to carefully skim the surface of the melted wax. This will remove any floating debris or impurities.
- Once the surface is clean, carefully pour the melted wax into a new container, leaving behind any remaining debris or impurities at the bottom of the original container.
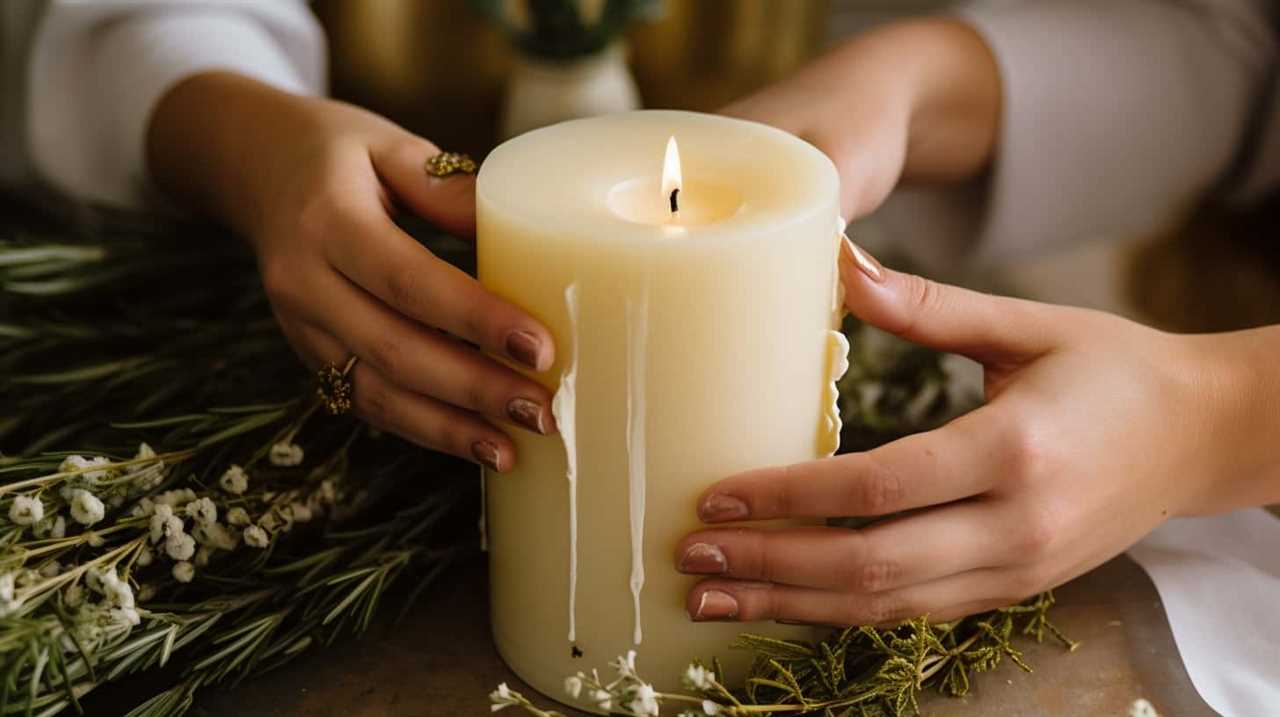
Pour the Melted Wax Into Desired Molds or Containers
After removing any impurities or debris from the melted candle wax, we can now proceed to pour it into our desired molds or containers. Here are some steps to help you with the process:

- Mold selection: Choose molds that are heat-resistant and can withstand the pouring of hot wax. Silicone molds are a popular choice as they’re flexible and make it easy to remove the hardened wax. You can also use metal or glass molds, just make sure they’re clean and dry before pouring the wax.
- Prepare the molds: Place the molds on a flat and stable surface. If using silicone molds, you may want to place them on a baking tray for added stability.
- Pouring the wax: Carefully pour the melted wax into the molds, filling them up to the desired level. Be cautious not to overfill, as the wax may expand when it cools down.
- Creative container ideas: If you prefer using containers instead of molds, look for heat-resistant jars or tins. You can also repurpose old candle containers or glass jars to give your candles a unique touch.
Remember to let the wax cool and harden completely before removing it from the molds or using the containers.
Enjoy your homemade candles or wax melts!
Frequently Asked Questions
Can I Use a Microwave Instead of a Stove to Melt Leftover Candle Wax?
Yes, you can use a microwave instead of a stove to melt leftover candle wax. However, it is important to consider microwave safety and alternative wax melting methods for the best results.
How Long Does It Typically Take for the Wax to Melt on Low Heat?
When melting leftover candle wax on the stove, it typically takes a few minutes on low heat. To remove melted wax from fabric, freeze it and scrape off excess. To prevent spills, use a double boiler or heat-resistant container.
Can I Reuse the Melting Container for Future Candle Wax Melting?
Yes, you can reuse the melting container for future candle wax melting. However, it’s important to clean it thoroughly before each use. Additionally, there are alternative melting methods such as using a double boiler or a microwave-safe container.
How Do I Clean up the Wax Residue Left on the Stove After Melting?
To clean up wax residue left on the stove, we recommend using a few simple cleaning methods. First, scrape off any excess wax with a plastic scraper. Then, wipe the area with a cloth soaked in hot, soapy water. Finally, use a clean cloth to dry the stove surface.
Can I Mix Different Colored or Scented Candle Wax Together When Melting?
When melting candle wax, it is possible to mix different colored and scented wax together. However, it is important to ensure that the wax is compatible and melts at similar temperatures for best results.
Conclusion
In just a few simple steps, you can transform your leftover candle wax into something new and beautiful.

By melting the wax on low heat using a double boiler system, you can remove any impurities and pour it into molds or containers of your choice.
So why let that wax go to waste? Get ready to create something amazing and bring new life to your old candle remnants.
Stay tuned for more exciting DIY projects!