Let’s delve into the craft of candle-making by starting with melting wax in a glass container.
As we explore this method, we'll uncover the secrets to achieving a clean and efficient process.
Stay with us as we unveil the steps to masterfully melt candle wax in glass jars, making the experience both rewarding and enlightening.
Key Takeaways
- Choose a high-grade Mason jar and consider the melting points of different wax types.
- Preheat the jar using a double boiler method and pour melted wax carefully.
- Consider adding fragrance or color and trim the wick before lighting.
- Follow safety precautions and enjoy the candle responsibly.

VEVOR 20Lbs Wax Melter for Candle Making, 10 L Extra Large Electric Wax Melting Pot, with Easy Pour Spout and 9-Level Temp Control, Easy Clean for Candle Soap Cream Beauty Bulk Production Business
Quick Heating: This wax melting pot with easy pour spout can quickly heat and melt wax with 1100W...
As an affiliate, we earn on qualifying purchases.
Tools and Materials Needed
Gather the essential tools and materials for melting candle wax in a glass jar to ensure a successful and safe process.
- Start with a high-grade Mason Jar like Ball or Kerr, ensuring it can withstand the heat of the melted wax.
- Opt for soy candle wax for a clean burn and eco-friendly choice.
- Equip yourself with a disposable utensil for stirring, ensuring it's heat-resistant.
- An oven mitt is vital to protect your hands from the hot glass jar during the melting process.
- Prepare a stockpot with several inches of water to create a double boiler setup for safe and even melting.
These tools and materials are crucial for a seamless candle-making experience in a glass jar, ensuring that each step is executed with precision and care. By having these items at hand, you set yourself up for success in crafting beautiful and fragrant candles in your chosen container.

VOISEN Wax Melter for Candle Making, Electric Non-Stick Wax Melter Holds 8Qts of Wax,Soy Wax for or Soap Business Candle Making with Heat Resistant Handle & Brass Spout,Temp Control (Black)
Excellent Wax Melter For Candle Making - Real 8 Qts/7.6L capacity wax melter HOLDS up to 12 Lbs...
As an affiliate, we earn on qualifying purchases.
Prepare the Work Area
Let's start by ensuring we have a clear work area and all the necessary tools at hand.
Clearing the workspace of any clutter will provide us with ample room to work efficiently.
Gathering the tools beforehand will help streamline the candle-making process.
Clear Work Space
To create a safe and efficient workspace for melting candle wax in a glass jar, it's essential to remove clutter, clear any flammable materials, and lay down a protective covering. Ensuring a clear work area not only promotes safety but also allows for better focus and organization during the candle-making process. Here are some key steps to clear your workspace effectively:
- Clear clutter: Remove any unnecessary items from the workspace to avoid distractions.
- Remove flammable materials: Keep the area free of anything that could catch fire easily.
- Lay down a protective covering: Place a plastic sheet or newspaper to catch any wax spills or drips.
- Organize tools and materials: Arrange all necessary items within reach for easy access during the melting process.
Gather Necessary Tools
Creating a safe and efficient workspace for melting candle wax in a glass jar begins with ensuring a clutter-free environment and clearing away any flammable materials.
To gather the necessary tools, have soy candle wax, a high-grade Mason Jar, a disposable utensil to stir, an oven mitt, and a stock pot with several inches of water ready.
Set up the double boiler by placing the stock pot on the stove or hot plate, ensuring the water level is below the jar's top. Turn the heat to low to avoid overheating and water contamination.
Place the Mason Jar without a lid in the stock pot, adding wax close to the top. Continuously add more wax as it melts and reduces in volume.
Stir the wax as it melts until completely liquid and clear before pouring it into your desired candle vessel.

VOISEN Wax Melter for Candle Making, 8Qts Candle Wax Melting Pot with Spout for Soy Wax Soap Base, Electric Wax Melter for Candle Making with Temp Control, Easy Pour,Non-Stick(White)
Excellent Wax Melter For Candle Making - Real 8 Qts/7.6L capacity wax melter holds up to 12 Lbs...
As an affiliate, we earn on qualifying purchases.
Choose the Right Wax
When selecting the right wax for candle making, it's crucial to consider the specific characteristics and properties of each type available, such as soy, paraffin, or beeswax.
- Melting Points: Different wax types have varying melting points, so it's essential to choose one that aligns with your needs and equipment capabilities.
- Scented vs. Unscented: Decide if you want to use scented or unscented wax for your candles, keeping in mind how the fragrance may affect the burning process and final product.
- Quality: Research various wax suppliers to ensure you're using high-quality wax, which can significantly impact the performance and aesthetic of your candles.
- Blending: Experiment with different wax blends to discover the perfect combination that achieves the desired scent throw, burn time, and appearance for your candle creations.

VEVOR 8Lbs Wax Melter for Candle Making, Large Electric Wax Melting Pot, 4-Level Temperature Control, Easy Pour Spout Easy Clean for Candle Soap Cream Beauty Bulk Production Business or Home ASIN
Fast Heating: This wax melting pot with easy pour spout can quickly heat and melt wax with 1200W...
As an affiliate, we earn on qualifying purchases.
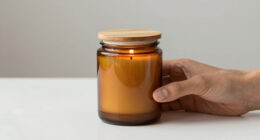
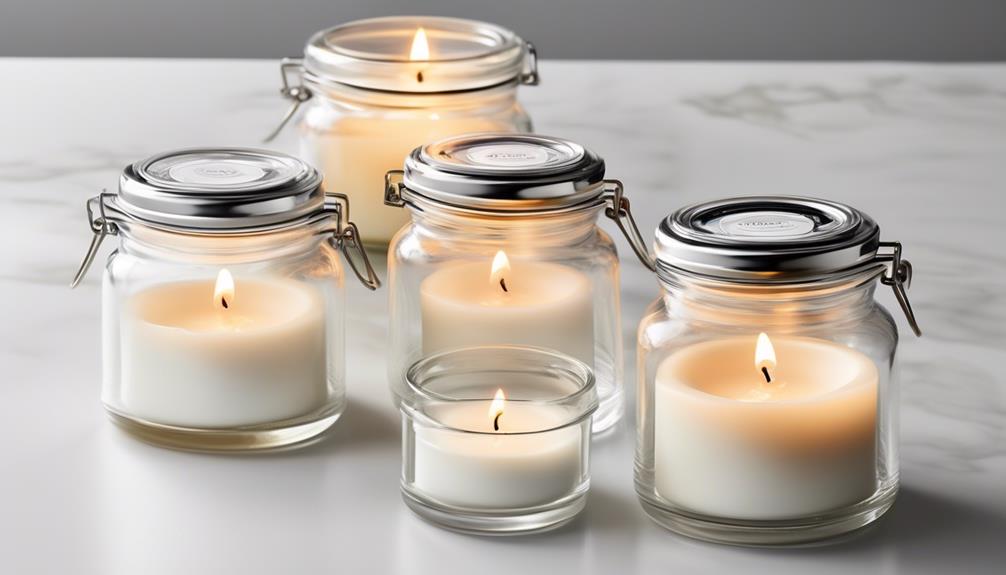
Select a Glass Jar
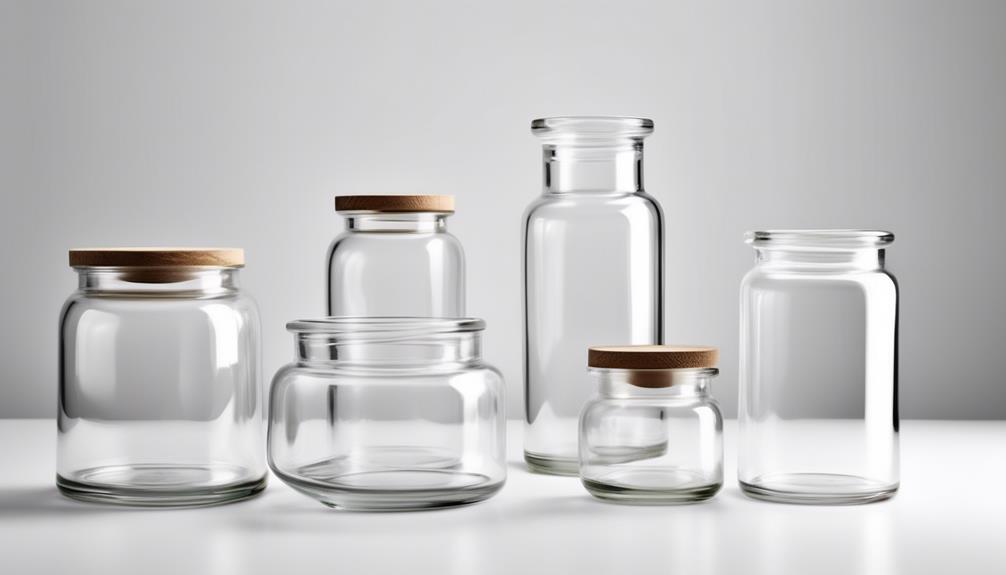
Considering the importance of the right wax for candle making, the choice of a glass jar plays a critical role in the process of melting candle wax. When selecting a glass jar to melt candle wax, it's crucial to opt for one that's heat-resistant and capable of withstanding the high temperatures involved in the melting process.
The jar should be clean, free from any residue or labels that could interfere with the wax melting smoothly. Additionally, choosing a jar with a wide mouth facilitates the pouring of the melted wax into molds or containers for candle creation.
The size of the glass jar is also a significant factor to consider when preparing to melt candle wax. Ensure that the jar is appropriately sized based on the amount of wax you intend to melt. If reusing a glass jar, inspect it thoroughly to make sure it's in good condition without any cracks or chips that could compromise the melting process.
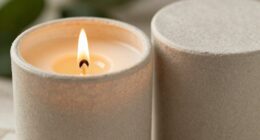
Preheat the Glass Jar
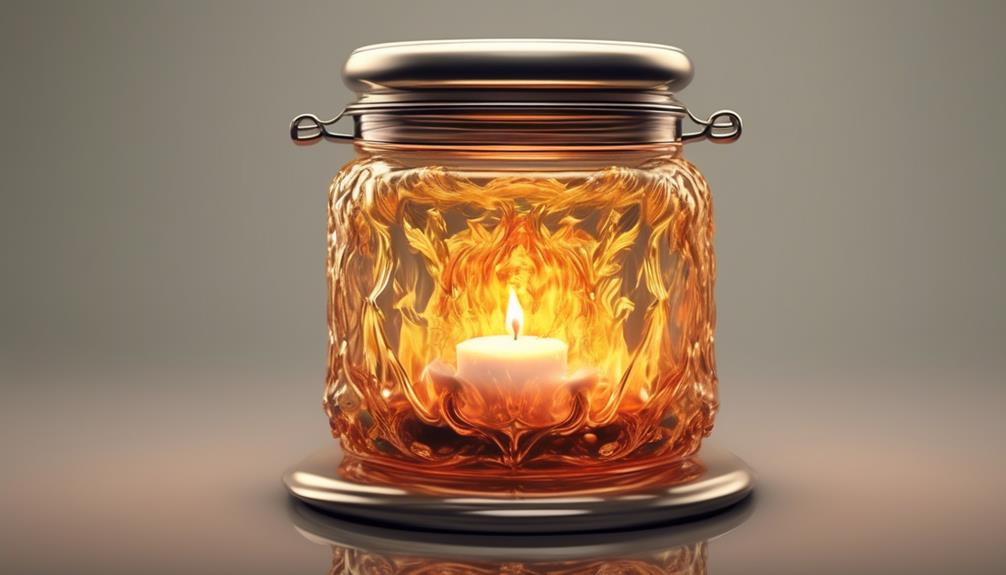
Let's prepare the glass jar by preheating it using a double boiler method to ensure a smooth melting process. We should closely monitor the temperature to avoid overheating and potential hazards.
Preheating the glass jar will create a suitable environment for the candle wax to melt evenly and without any issues.
Use Double Boiler
Have you ever considered the benefits of preheating the glass jar using a double boiler method before melting candle wax? This technique can help ensure a smoother melting process and prevent the glass from cracking due to sudden temperature changes.
Here are some key steps to successfully preheat the glass jar:
- Fill a pot with water and bring it to a gentle boil.
- Place the glass jar in the pot, ensuring the water level is below the jar's rim.
- Allow the jar to sit in the hot water until the wax inside softens.
- Use a utensil to gently remove the softened wax from the sides of the jar.
Monitor Temperature Closely
To ensure optimal results, closely monitor the temperature of the preheated glass jar during the candle wax melting process. It is crucial to prevent overheating or cracking of the candle holder. Maintaining the glass jar within the recommended temperature range is essential for a successful candle-making experience. Here is a table to highlight the key points for monitoring temperature closely:
| Monitor Temperature Closely | Candle Holder |
|---|---|
| Preheat glass jar before melting wax | Use heat-resistant gloves |
| Check temperature periodically | Prevent overheating |
| Avoid sudden temperature changes | Ensure jar remains intact |
| Follow guidelines for specific wax type | Maintain optimal conditions |
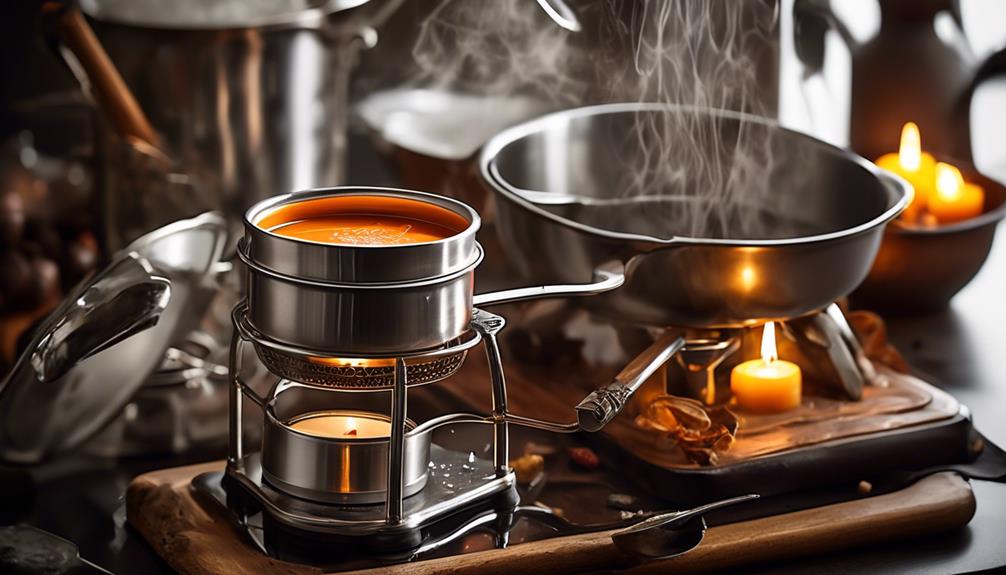
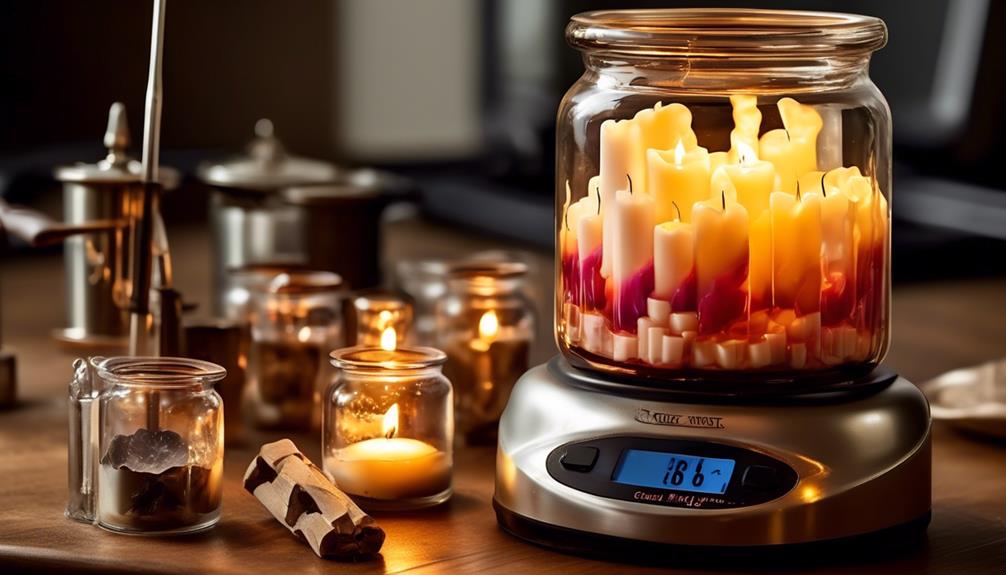
Melt the Wax in a Double Boiler
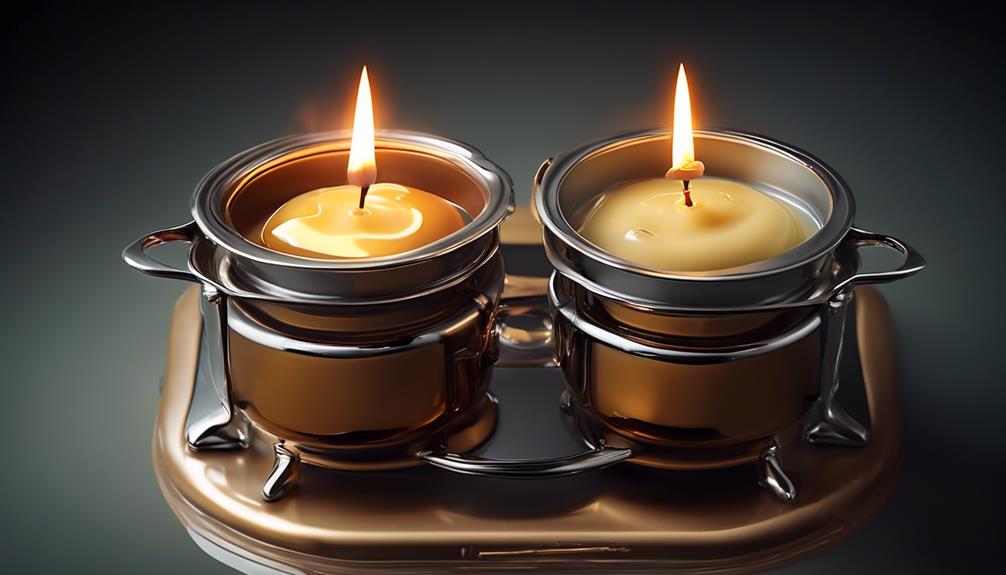
When melting candle wax in a double boiler, ensure the heat-safe glass jar is placed inside a pot of boiling water to facilitate a gradual and even melting process. This method helps prevent the wax from burning or overheating, resulting in a smoother consistency for your candles.
- Maintain Even Heating: Stir the candle wax occasionally as it melts in the double boiler to ensure uniform warmth throughout.
- Handle with Care: Always use oven mitts or heat-resistant gloves when removing the jar from the double boiler to avoid burns.
- Transfer to Candle Container: Once the wax is completely melted, carefully pour it into your chosen candle container, making sure to leave space at the top for the wick.
- Final Touches: Allow the melted candle wax to cool and solidify before trimming the wick to the desired length and lighting your beautifully crafted candle.
Add Fragrance or Color (Optional)
For an enhanced sensory experience, consider infusing your melted candle wax with a carefully selected fragrance or color. When selecting a fragrance oil or essential oil, make sure it's suitable for candle making to avoid any issues during the burning process. Add the chosen fragrance to the melted wax before pouring it into the jar, ensuring a delightful scent when the candle is lit.
If you desire to add color to your candle, opt for candle dye chips or liquid candle colorants. Mix them into the melted wax until you achieve the desired hue, but remember that a little colorant goes a long way. Start with a small amount and gradually increase as needed to avoid overpowering the candle with color.
Always be cautious and follow any safety guidelines recommended by the fragrance or color manufacturer. By carefully selecting and adding fragrance or color to your candle wax, you can create a personalized and visually appealing candle for your enjoyment.
Pour the Wax Into the Glass Jar
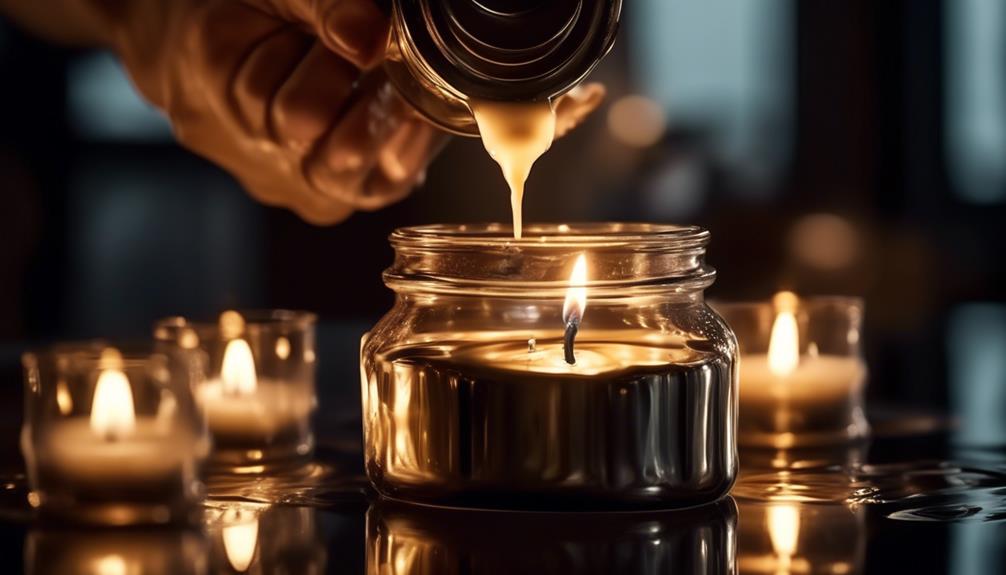
After infusing the melted candle wax with your chosen fragrance or color, the next step is to carefully pour it into the glass jar, ensuring a smooth and spill-free process. Here's how to pour the wax into the glass jar effectively:
- Slowly pour the melted wax: To avoid spills, pour the melted soy wax slowly into the glass jar.
- Fill the jar appropriately: Fill the jar up to about an inch or two below the rim to leave space for the wick and any additional decorations.
- Maintain a steady stream: Hold the jar steady and pour the wax in a steady stream to prevent the formation of air bubbles.
- Allow the wax to cool: After pouring, allow the wax to cool and solidify completely before moving or using the candle.
Let the Candle Cool and Set
As the candle rests undisturbed, allowing the wax to cool and set is crucial for achieving a perfect finished product. Placing the candle in a cool, untouched area is essential to ensure the remaining wax solidifies evenly. It's vital to resist the temptation to move or tilt the candle during this process to prevent any irregularities or spills.
The cooling period is significant; it's recommended to let the candle cool for several hours or overnight for the best results. This patience will guarantee a well-set candle ready to be enjoyed.
Once the candle has completely cooled and set, the final touch is trimming the wick to about ¼ inch before lighting. This step ensures a steady and clean burn, enhancing the overall candle-burning experience.
Ensuring the proper cooling and setting of the candle is a sure way to elevate your candle-making skills and create a high-quality final product.
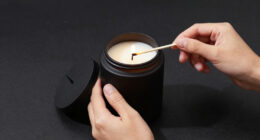
Trim the Wick and Enjoy Your Candle

To fully enjoy your candle, ensure the wick is trimmed to 1/4 inch before lighting to enhance its burning experience. When trimming the wick, use sharp scissors or a wick trimmer for a clean cut.
Here's how to trim the wick and savor your candle:
- Trim the Wick: Before each lighting, trim the wick to 1/4 inch to prevent excessive smoke and ensure a steady flame.
- Burn Time: Aim to burn the candle for 1-2 hours per inch of diameter to create an even melt pool and release the fragrance effectively.
- Safety Precautions: Avoid burning the candle for more than 4 hours at a stretch to prevent overheating and potential glass breakage.
- Extinguishing the Flame: Use a snuffer or gently blow out the flame to extinguish the candle without splattering hot wax. Always check for any debris in the wax using a paper towel before relighting.
Frequently Asked Questions
Can You Put Glass Candle Jar in Boiling Water?
Yes, we can put a glass candle jar in boiling water. It's crucial to ensure the jar is heat-resistant and can handle high temperatures.
By filling a pot with enough water to submerge the candle jar, we can place it in the pot and bring the water to a boil.
Allowing the jar to sit in the boiling water will lead to complete melting of the wax.
What Is the Best Way to Get Candle Wax Out of a Glass Jar?
When it comes to getting candle wax out of a glass jar, the best method involves a combination of freezing and heating techniques.
By freezing the candle first, we make the wax brittle and easier to remove.
Then, using gentle heat like a double boiler or warm oven, we can melt the remaining wax for a clean extraction.
This process ensures we can reuse the jar and enjoy a fresh candle without any leftover residue.
What Is the Best Way to Melt Candle Wax?
When melting candle wax, we can consider various methods like freezing, boiling water, oven heating, and the double boiler technique. Each method offers unique benefits based on convenience and effectiveness.
How Do You Heat Glass Jars for Candles?
When we prepare glass jars for candles, we ensure they're clean and dry.
To warm them up, we utilize a gentle heating method to avoid any sudden changes in temperature that could cause cracking.
By gradually heating the jars, we create a cozy environment for the wax to settle in smoothly.
This process helps us achieve a professional finish and ensures the candles burn evenly.
Conclusion
As the candle wax melts in the glass jar, we witness a transformation taking place. Just like the wax changes form under the heat, we too can evolve and adapt to new situations.
Embrace the process of melting away the old to make room for the new. Let the warmth of the candle remind us that change can be beautiful and freeing.
Enjoy the light and fragrance of your newly melted candle, and let it symbolize the power of transformation in your life.