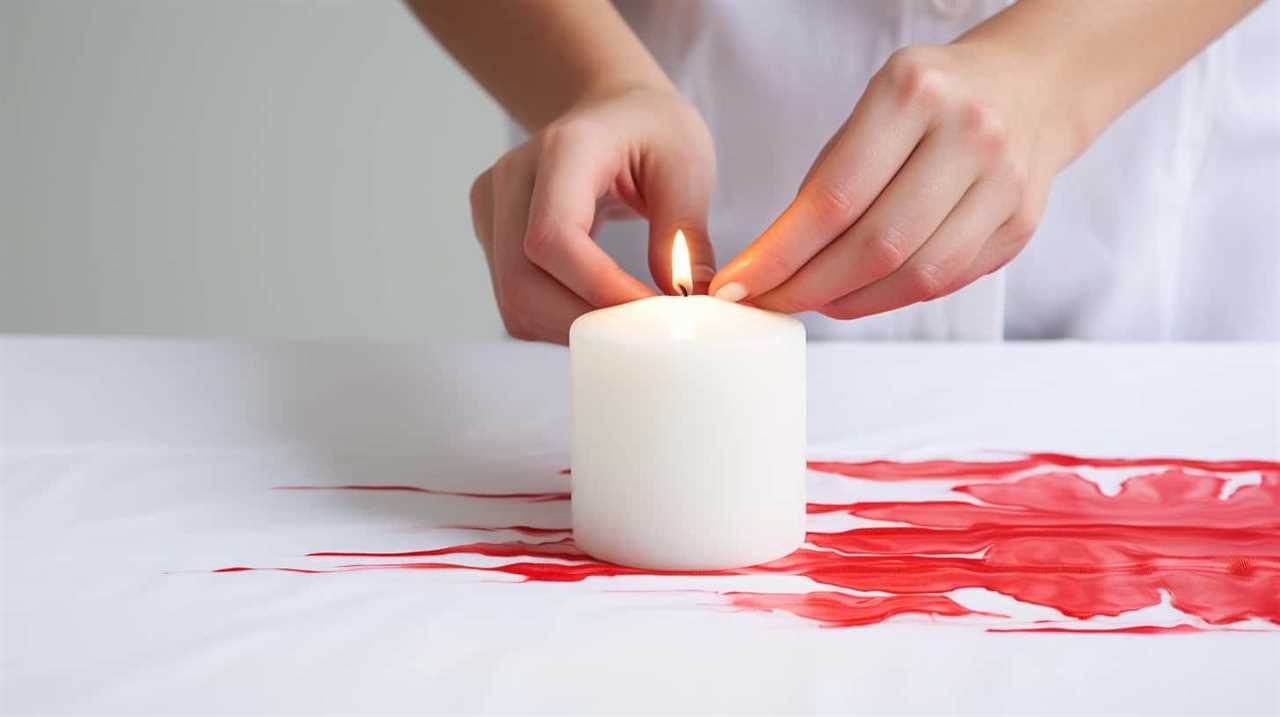
Are you prepared to discover the process of marbling a candle?
We’ll show you the step-by-step process to create a beautifully marbled candle that will impress your friends and loved ones.
In this guide, we will walk you through the entire process, from choosing the perfect candle and colors to creating the marbled effect that will make your candle stand out.
Our goal is to provide you with clear and concise instructions, so you can easily follow along and create a stunning candle that will bring joy to those you serve.
So let’s get started and dive into the art of marbling candles together!
Key Takeaways
- Choose a candle and colors that you want to use for marbling.
- Prepare your workspace to ensure a clean and organized area for the marbling process.
- Melt the wax and select your desired coloring options.
- Dip the candle in the colored wax using various techniques to create a marbled effect.

Jacquard Marbling Kit
- Versatile for paper and fabric: Marbling kit for paper and fabric
- Professional-grade design: Designed for professionals
- Beginner-friendly: Easy for beginners to use
As an affiliate, we earn on qualifying purchases.
As an affiliate, we earn on qualifying purchases.
Choose Your Candle and Colors
We will begin by selecting the desired quantity of candles and the colors for our marbling project. Candle selection is an important step in creating a beautiful marbled candle. Consider the size and shape of the candles you want to marble. Do you prefer small votive candles or larger pillar candles?
Once you have decided on the quantity, it’s time to think about color coordination. Choose colors that complement each other and create a harmonious blend. You can opt for contrasting colors for a vibrant and eye-catching effect, or choose shades from the same color family for a more subtle and elegant look. Remember, the colors you choose will greatly impact the final appearance of your marbled candle.
With our candle selection and color coordination complete, let’s move on to preparing our workspace for the marbling process.
Prepare Your Workspace
To prepare our workspace for marbling a candle, it’s important to gather all the necessary materials and ensure a clean and organized area. Here are the steps we need to take:
- Gather the wax melting supplies: You’ll need a double boiler or a microwave-safe container, wax flakes, a thermometer, and fragrance oils or essential oils for scenting the candle.
- Clear the clutter: Remove any unnecessary items from your workspace to create a clean and clutter-free environment. This will help you focus on the task at hand and prevent any accidents.
- Cover your work surface: Place a protective covering, such as a plastic tablecloth or newspaper, to catch any drips or spills during the marbling process. This will make cleanup easier and prevent any damage to your work area.
- Organize your tools: Set up a designated area for your marbling tools, such as toothpicks or skewers, so that they’re easily accessible and within reach. This will ensure a smooth and efficient workflow.
Melt the Wax
Now that we’ve prepared our workspace, it’s time to dive into the next step: melting the wax.
There are various techniques you can use to melt the wax, such as using a double boiler or a microwave. The choice will depend on your preference and the tools you have available.
Additionally, you have the option to add color to your wax using either liquid dyes or colored wax chips, allowing you to create a truly unique marbled effect.

Melting Techniques
To begin melting the wax, it’s essential to heat it using a double boiler method. This method ensures a gentle and even heat distribution, preventing the wax from burning or becoming too hot.
Here are some melting techniques to follow:
- Use a melting pot or a heat-resistant container specifically designed for candle making.
- Fill the bottom pot of the double boiler with water and place it on the stove over medium heat.
- Place the wax in the top pot or container and place it over the bottom pot with water.
- Stir the wax occasionally with a heat-resistant spoon to promote even melting.
Remember, when melting wax, it’s crucial to take safety precautions. Always monitor the heat and never leave the melting wax unattended. Use oven mitts or gloves to protect your hands when handling hot containers.
Coloring Options
To achieve the desired marbled effect, we can now explore various coloring options to add pigment to the melted wax.
There are two main options for coloring wax: wax dye and food coloring. Wax dye is specifically formulated for use with wax and is available in a wide range of colors. It’s highly concentrated, so a little goes a long way.
On the other hand, food coloring is a more accessible option and can be easily found in most kitchens. However, it’s important to note that food coloring may not produce as vibrant or long-lasting results as wax dye.
For those looking for natural dye options, there are several possibilities. Natural materials like spices, herbs, and even flower petals can be used to create beautiful, earthy tones. Just remember to strain the wax before pouring to remove any solid particles.
Whichever coloring option you choose, be sure to experiment and have fun creating unique and stunning marbled candles.
Add the Color to the Wax
First, we’ll mix a number of color dye chips into the melted wax to achieve the desired hue for the marbled effect. Coloring techniques play a crucial role in creating unique and beautiful candles. Here are some alternative materials you can use to add color to your wax:
- Natural pigments: Experiment with dried herbs, spices, or even flowers to infuse your candles with earthy tones and subtle fragrances.
- Mica powders: These shimmering powders can add a touch of elegance and sparkle to your marbled candles.
- Liquid dyes: Ideal for achieving vibrant and intense colors, liquid dyes offer a wide range of options to customize your candles.
- Wax crayons: Don’t underestimate the power of a childhood favorite! Shaving wax crayons into the melted wax can create a fun and playful marbled effect.
Now that we’ve our color prepared, let’s move on to the next step and create the marbled effect.
Create the Marbled Effect
To create the marbled effect on the candle, we will gently swirl the colored wax into the base wax using a skewer or toothpick. This technique allows us to create unique patterns and designs that will make each candle one-of-a-kind. The process is simple yet requires a delicate touch. By carefully swirling the colored wax into the base wax, we can achieve a beautiful marbled effect that adds visual interest and depth to the candle. To give you a better idea of the possibilities, here are some marbling techniques you can try:
| Technique | Description | Example |
|---|---|---|
| Swirl | Create swirling patterns | Spiral pattern |
| Feather | Achieve a feathery effect | Soft, wispy lines |
| Dip and Drag | Submerge the candle and drag it through | Zigzag pattern |
Now that you have an understanding of the marbling techniques, let your creativity flow and experiment with different patterns to create stunning marbled candles.
Dip the Candle in the Wax
Now that we’ve created the marbled effect on our candle, it’s time to take the next step and dip the candle in the wax. This is where we can really play around with different wax color combinations to achieve the desired marbling effect.
There are various techniques for marbling, such as swirling the candle in the wax or using a dip-and-drag method. Let’s explore these points further to create beautifully marbled candles.
Wax Color Combination
We can create unique color combinations for our marbled candles by dipping them in different wax colors. This step in the candle decorating process allows us to experiment with various hues and create stunning visual effects.
Here are some exciting wax color combinations to try:
- Vibrant Sunset: Dip the candle first in a warm orange wax, followed by a deep purple wax. The result will be a mesmerizing blend of sunset colors that will add warmth and beauty to any space.
- Ocean Breeze: Start by dipping the candle in a light blue wax, then gently dip it again in a darker shade of blue. This combination will create a calming and tranquil effect, reminiscent of the soothing ocean waves.
- Elegant Marble: Begin with a white wax base, then dip the candle in a soft gray wax. The final result will be an elegant and sophisticated marbled design, perfect for adding a touch of class to any setting.
- Rainbow Delight: For a vibrant and playful look, dip the candle in a variety of different colored waxes. Start with red, then move through the colors of the rainbow, ending with purple. This combination will bring a burst of joy and color to any space.
With these wax color combinations, you can elevate your candle decorating skills and create marbled candles that are truly one-of-a-kind.
Techniques for Marbling
To create beautiful marbled candles, we can achieve the desired effect by dipping the candle into the wax using different techniques. This method allows the wax to create intricate patterns and swirls on the surface of the candle, giving it a unique and artistic look. There are several marbling techniques that can be used, each yielding different results. By experimenting with different tools and methods, you can create a range of stunning marbled designs. Here is a table outlining some popular marbling techniques and the tools required for each technique:
| Technique | Tools |
|---|---|
| Dragging | Skewer, toothpick, or comb |
| Dip and Swirl | Tongs or tweezers |
| Layering | Spoon or spatula |
| Swirl and Twist | Fork or whisk |
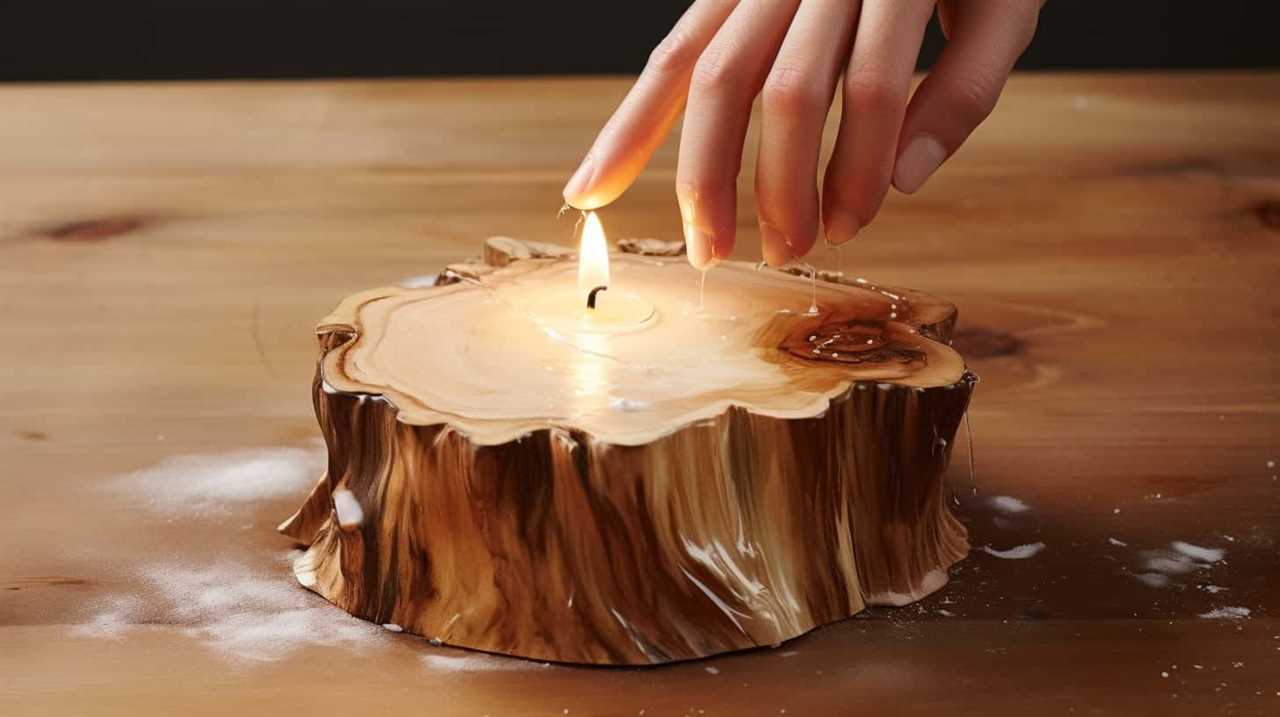
Let the Candle Dry and Set
After pouring the marbling solution, allow the candle to dry and set completely. This step is crucial in achieving a beautiful and long-lasting marbled effect on your candle. Here are some discussion ideas on the importance of patience and tips for ensuring a smooth and even finish when letting the candle dry and set:
- Patience is key: It’s important to allow enough time for the candle to dry and set properly. Rushing this process may result in a smudged or uneven marbled pattern.
- Avoid touching: Resist the temptation to touch the candle while it’s drying. Even the slightest touch can disrupt the marbled design and leave fingerprints or smudges.
- Find a suitable drying area: Choose a well-ventilated, dust-free area to let the candle dry. This will help ensure that no debris or particles get stuck on the surface, creating an uneven finish.
- Consider using a drying rack: Placing the candle on a drying rack can help promote even drying and prevent any potential mishaps or damage.
Frequently Asked Questions
How Long Does It Take for the Marbled Effect to Set on the Candle?
It usually takes around 1-2 hours for the marbled effect to fully set on the candle. To achieve a smooth marbled look, make sure to mix the colors well and work quickly.

Can I Use Any Type of Candle for Marbling?
Yes, you can use any type of candle for marbling. However, using unconventional candles like soy or beeswax can enhance the vibrancy of the marbled effect. Here are some tips for achieving a vibrant marbled effect.
What Kind of Wax Is Best for Marbling Candles?
The best wax options for marbling candles include paraffin, soy, and beeswax. To achieve the desired marbling effect, we recommend melting the wax using a double boiler or microwave method.
Can I Use Food Coloring to Add Color to the Wax?
Yes, you can use food coloring to add vibrant colors to the wax when marbling candles. Mix a few drops of food coloring into melted wax and swirl it around to create beautiful marbled patterns.
Can I Use Multiple Colors to Create a Marbled Effect on the Candle?
Using different techniques, we can create a marbled effect on candles by using multiple colors. Choosing the right colors is crucial for achieving the desired look. Let us guide you through the process.
Conclusion
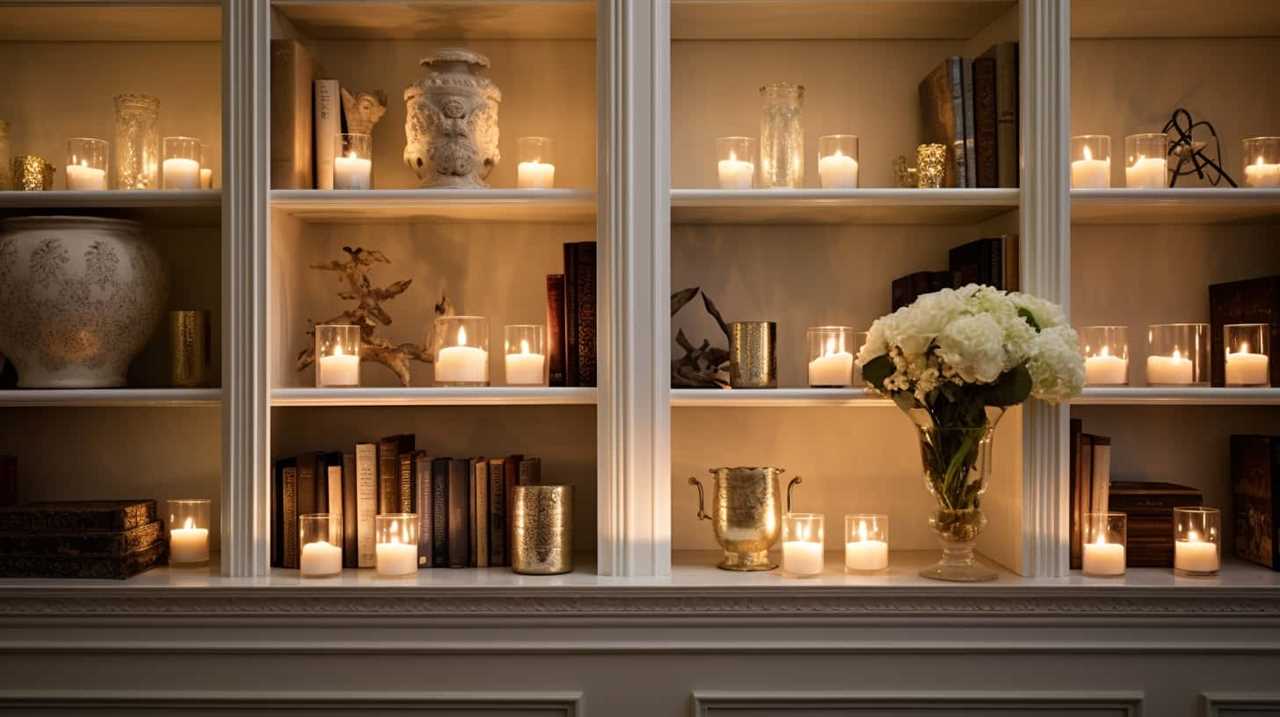
Well, congratulations! You’ve successfully transformed a plain old candle into a marvellously marbled work of art.
Now you can proudly display your sophisticated creation and bask in the admiration of your friends and family.
Just don’t be surprised if they mistake it for a priceless piece of marble sculpture – after all, your candle is a true masterpiece in disguise.