Did you know that 75% of people who decorate their homes with candles consider them a calming and visually appealing addition? If you want to add a touch of elegance and sparkle to your candle collection, making glitter candle holders would be a perfect activity for you.
In this guide, we will show you how to create stunning candle holders that will impress your guests and elevate the ambiance of any room. With just a few simple materials and our step-by-step instructions, you’ll be able to master the art of making glitter candle holders in no time.
So let’s gather our supplies and get started on this creative and rewarding DIY project.
Key Takeaways
- Candles holders can be made more calming and visually appealing with the addition of glitter.
- Cleaning and preparing the candle holders is important to ensure a clean surface for the glue and glitter.
- Glue should be applied evenly and in moderation to avoid drips and clumps.
- Sealing the glitter with additional layers of glue or decoupage medium is necessary to prevent it from falling off.

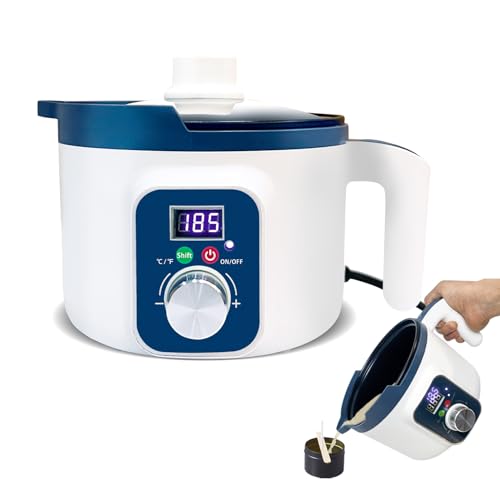
VEVOR 20Lbs Wax Melter for Candle Making, 10 L Extra Large Electric Wax Melting Pot, with Easy Pour Spout and 9-Level Temp Control, Easy Clean for Candle Soap Cream Beauty Bulk Production Business
Quick Heating: This wax melting pot with easy pour spout can quickly heat and melt wax with 1100W...
As an affiliate, we earn on qualifying purchases.
Gather Your Materials
To create our glitter candle holders, we’ll gather all the necessary materials. This DIY home decor project requires a few key items that can easily be found at your local craft store. Here’s what you’ll need:
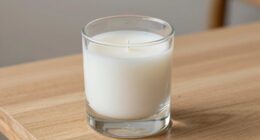
- Glass candle holders
- Glitter in various colors
- Mod Podge adhesive
- A foam brush
- A tray or newspaper to catch any excess glitter
The glass candle holders can be any size or shape you prefer, but make sure they’re clean and dry before starting. As for the glitter, choose colors that complement your existing decor or go for a bold, statement-making look.
Once you have all your materials ready, it’s time to move on to the next step and prepare the candle holders.

CasaCulina 2025 New Candle Making Kit with Hot Plate, Candle Making Supplies with Wax Melting Pot, Stirring Spoon, Anti-Scalding Pad, Candle Wicks, Wooden Wick Holders, Candle Making Pouring Pot
Tips: The heat-resistant temperature of the anti-scalding mat is below 80℃/176℉. Do not put the furnace on it...
As an affiliate, we earn on qualifying purchases.
Prepare the Candle Holders
We will begin by cleaning the glass candle holders to ensure they’re free of any dirt or residue. This step is crucial because it will provide a clean surface for the glitter and other embellishments to adhere to.
Here’s how to prepare the candle holders:
- Gather all the glass candle holders you’ll be using for your project.
- Fill a sink or basin with warm water and add a few drops of dish soap.
- Submerge the candle holders in the soapy water and let them soak for a few minutes.
- Use a soft sponge or cloth to gently scrub away any dirt or residue.
- Rinse the candle holders thoroughly with clean water to remove any soap residue.
- Dry the candle holders completely using a lint-free cloth or paper towels.
- Inspect the candle holders to ensure they’re clean and ready for the next step of adding the glitter and embellishments.
KQU Electric Wax Melting Pot for Candle Making, Wax Melter with Digital Temperature Display, Non-Stick Candle Making Pouring Pot with Spout and Automatic Constant Temp Control
Temperature Display: No additional thermometer is needed to help control the temperature of the wax. The wax melting...
As an affiliate, we earn on qualifying purchases.
Apply the Glue
For applying the glue, start by gently squeezing a small amount onto the surface of the cleaned candle holders. Use a glue that’s specifically designed for craft projects and dries clear. This will ensure that the glitter adheres properly and creates a seamless finish.
When choosing the right glitter, consider the color and size that will complement your candle holders. Fine glitter works best for a subtle sparkle, while chunky glitter creates a more dramatic effect.
To apply the glue evenly, use a small paintbrush or foam brush. Start at the bottom of the candle holder and work your way up, making sure to cover the entire surface. Avoid applying too much glue to prevent drips and clumps.
Once the glue is applied, you’re ready to move on to the next step – adding the glitter.


SAEUYVB Candle Making Kit with Wax Melter, Candle Wax for Candle Making - DIY Candle Making Supplies, Including 2lbs Soy Wax Flakes, Melting Pot, Electric Stove,Candle Kit for Adults, Beginnner
🎁【Candle Making Supplies】Candle Making Kit Includes electric hot plate for candle wax melting, 2lbs of organic soy candle...
As an affiliate, we earn on qualifying purchases.
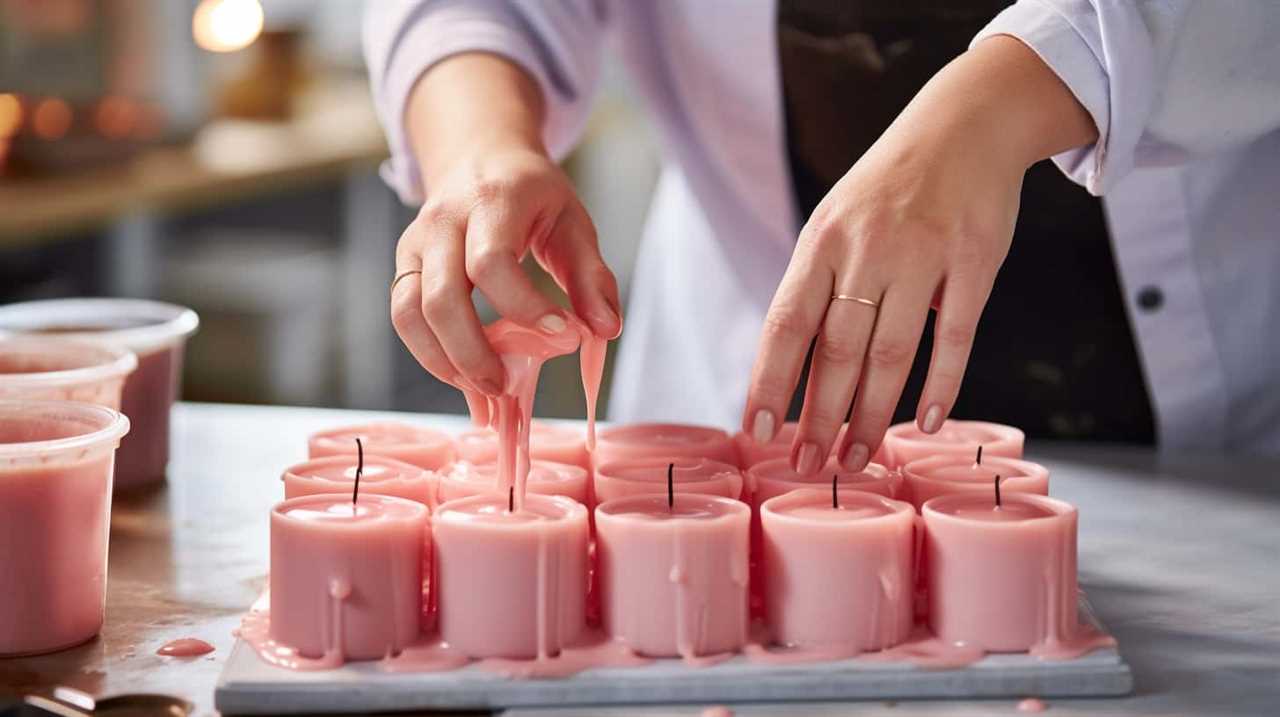
Sprinkle on the Glitter
After applying the glue, we can now move on to sprinkling on the glitter. This step will add a touch of sparkle and glam to our DIY home decor project. Here’s how to do it:
- Choose your glitter:
Select the color and type of glitter that matches your desired aesthetic. Fine glitters work best for this project. - Prepare your work area:
Lay down a protective sheet or newspaper to catch any excess glitter and make clean-up easier. - Sprinkle the glitter:
Hold the glitter container over the glued area and gently tap or shake it to release the glitter. Make sure to cover the entire glued surface evenly. - Remove excess glitter:
Gently tap the candle holder to remove any loose glitter. You can also use a soft brush to sweep away any stray glitter particles. - Let it dry:
Allow the glitter to fully dry and adhere to the glue before moving or touching the candle holder.
Now, our glitter candle holder is one step closer to being complete!
Let It Dry
The drying process is crucial for ensuring the glitter adheres properly to the candle holder. After sprinkling the glitter onto the glue-covered candle holder, it’s important to let it dry completely before moving or handling the holder.
The drying time can vary depending on the type of glue used and the thickness of the glitter layer, but it typically takes around 1-2 hours. To ensure a smooth and even drying process, place the candle holder on a flat surface in a well-ventilated area. Avoid touching or disturbing the glitter during the drying time to prevent any smudging or unevenness.
Additionally, consider the glitter color options when choosing the drying location, as certain colors may show better against different backgrounds.
Seal the Glitter
To ensure longevity and prevent glitter from shedding, it’s essential to seal the glitter on the candle holder. Here are some effective glitter sealing techniques to help you create beautiful and long-lasting glitter candle holders:
- Apply a thin layer of clear glue or decoupage medium using a foam brush. This will act as a base for the glitter and help it adhere to the candle holder.
- Sprinkle the glitter generously over the glued area while it’s still wet. Make sure to cover the entire surface evenly.
- Gently tap off any excess glitter and let it dry completely. This will ensure that the glitter stays in place.
Once the glitter is dry, apply another layer of clear glue or decoupage medium over the glittered surface. This will seal the glitter and prevent any shedding.
- Allow the second layer of glue to dry completely before moving on to the next step.
Now that the glitter is sealed, it’s time to add the candles to complete your glitter craft ideas.
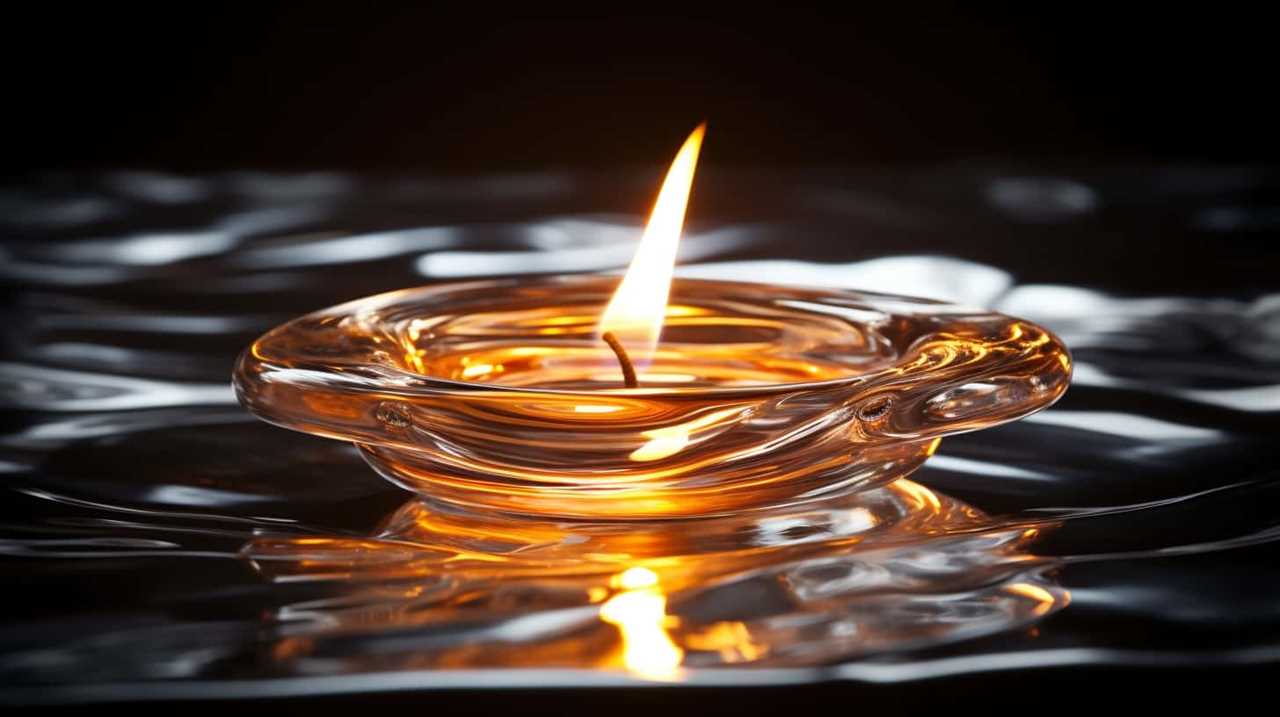
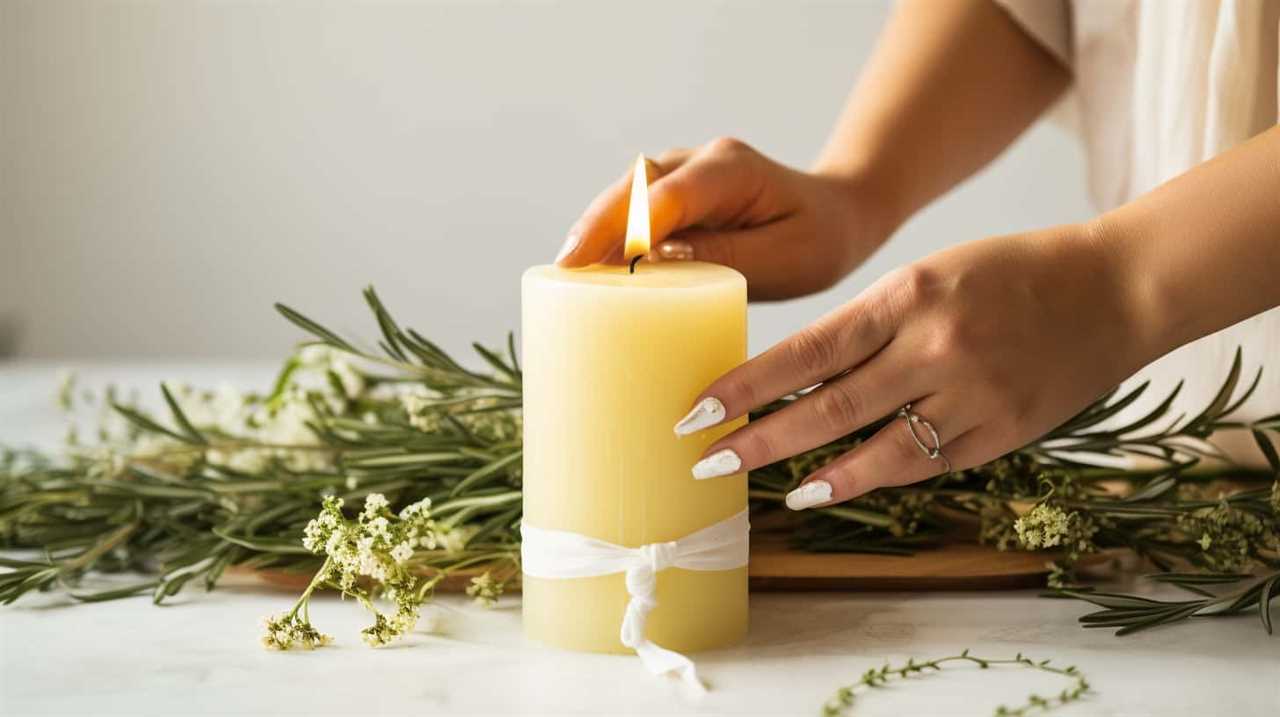
Add the Candles
Now let’s place the candles into the glitter candle holders.
The candle holder arrangement can greatly enhance the overall aesthetic of your glitter candle holders. You can choose to have a single candle in each holder or create a cluster of candles for a more dramatic effect.
When arranging the candles, make sure they’re centered and secure in the holders. You can use candle adhesive or a small amount of melted wax to hold them in place if necessary.
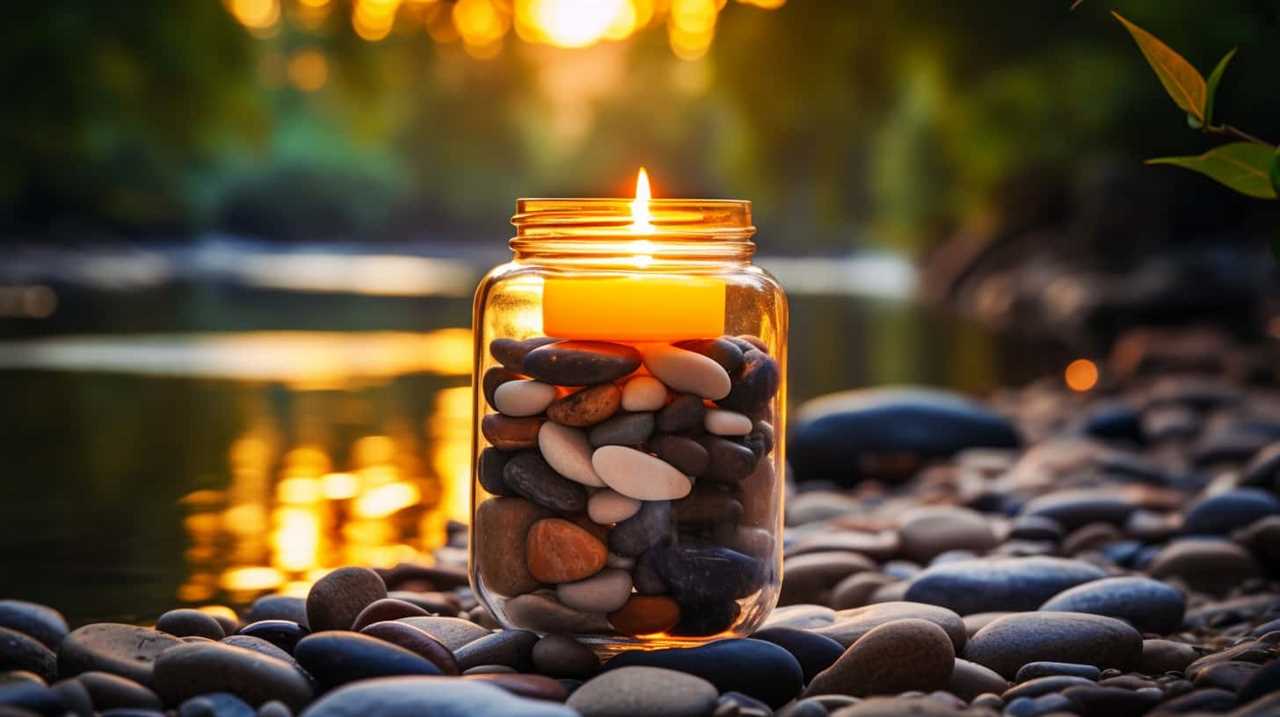
If you don’t have glitter candle holders, don’t worry! There are plenty of candle holder alternatives you can use, such as glass jars, vases, or even decorative bowls. Just make sure they’re heat-resistant and can safely hold the candles.
Display and Enjoy
Now that we’ve our glitter candle holders ready, let’s move on to displaying and enjoying them.
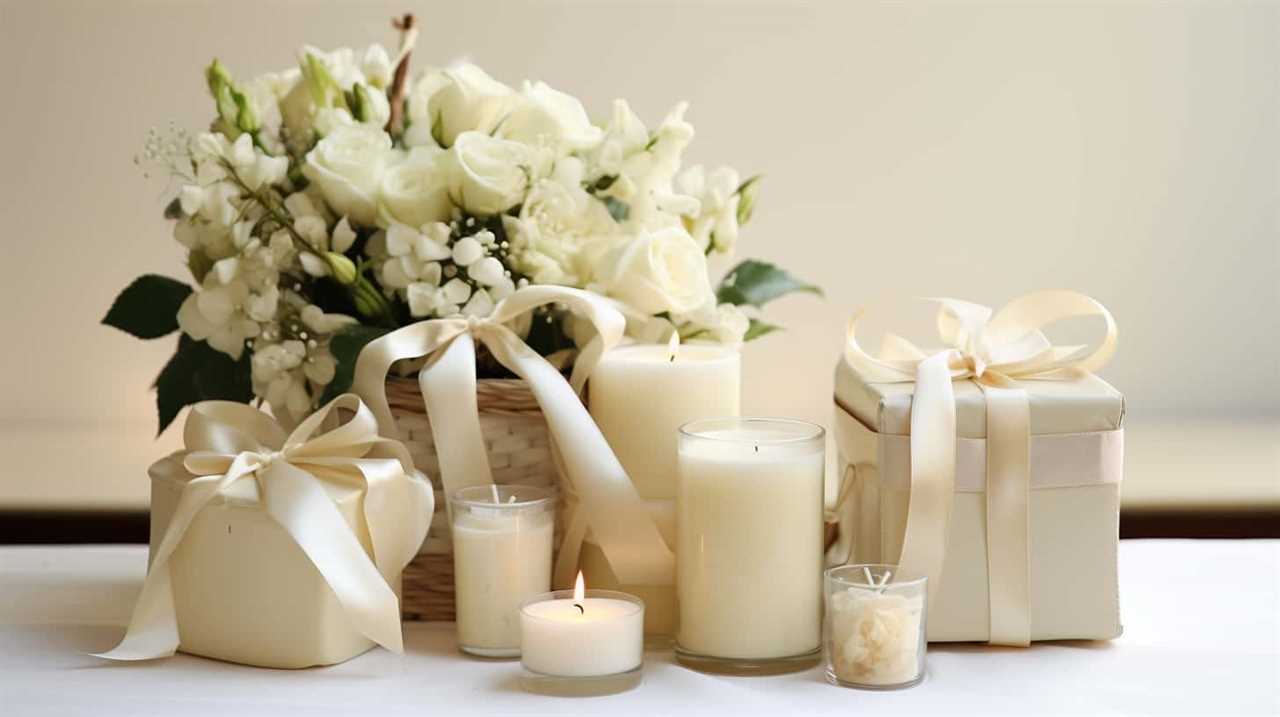
Decorating with glitter can add a touch of sparkle and glamour to any space. Consider placing your candle holders on a mantel, coffee table, or dining table to create an eye-catching centerpiece.
To enhance the ambiance, dim the lights and enjoy the flickering glow of the candles as they reflect off the glitter, creating a warm and inviting atmosphere.
Decorating With Glitter
After creating your glitter candle holders, we can now move on to displaying and enjoying them with some creative decorating ideas.
Here are two ways you can incorporate your glitter crafts into DIY party decorations:
- Glitter Centerpieces:
- Place your glitter candle holders in the center of a table as a sparkling centerpiece.
- Surround them with other glittery decorations, such as glittered pinecones or glittered flowers.
- Add fairy lights or tea lights around the candle holders to enhance the ambiance.
- Glitter Wall Art:
- Hang your glitter candle holders on a wall using adhesive hooks or ribbons.
- Arrange them in a visually appealing pattern, such as a geometric shape or a flowing design.
- Combine different sizes and colors of candle holders for a dynamic display.
- Illuminate the wall art by placing LED candles inside the holders.
Candle Holder Placement
Let’s position our glitter candle holders to showcase and appreciate their beauty. After creating these stunning candle holders, it’s important to think about where to place them in order to enhance their design and create a captivating display. Here are some tips for candle holder placement:
- Choose a focal point: Identify a central area in your space where you want to draw attention to. This could be a mantel, a dining table centerpiece, or a shelf.
- Grouping: Consider grouping multiple candle holders together to create a larger statement piece. Cluster them in varying heights and sizes for visual interest.
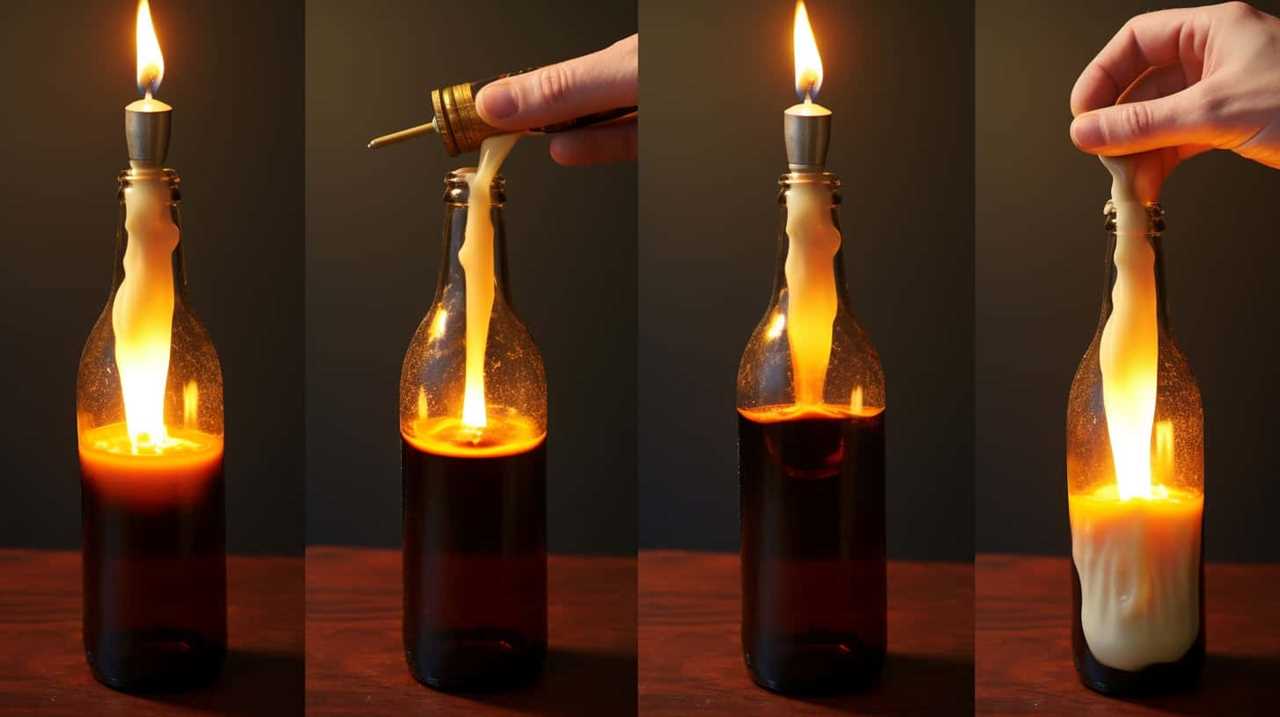
- Candle holder alternatives: Don’t limit yourself to traditional candle holders. Get creative and use other objects like glass jars, wine glasses, or even empty bottles as unique alternatives.
- Experiment with different heights: Play around with different heights by using candlesticks or varying the size of your candle holders. This adds dimension and depth to your display.
Sparkling Ambiance Tips
To fully enjoy the beauty of our glitter candle holders, we can create a sparkling ambiance by incorporating these tips into our display:
- Lighting: Use dim lighting or soft candlelight to enhance the sparkle of the glitter. Place the candle holders in strategic locations to maximize their shimmering effect.
- Decorative Accents: Surround the candle holders with other glitter crafts or DIY home decor items that complement their sparkle. Consider using reflective surfaces, such as mirrors or metallic accents, to amplify the shimmer.
- Placement: Arrange the candle holders in clusters or along a mantelpiece to create a captivating focal point. Experiment with different heights and sizes to add depth and visual interest to the display.
- Color Coordination: Choose candle holders and decor items that coordinate with the color scheme of the room. Opt for glitter that matches or complements the existing color palette to create a cohesive and harmonious ambiance.
Frequently Asked Questions
What Types of Materials Can Be Used to Make Glitter Candle Holders?
When making glitter candle holders, it’s important to choose materials that won’t react with the heat of the candles. Avoid using flammable or heat-sensitive materials. Different techniques for applying glitter include using glue or spray adhesive and sprinkling the glitter onto the holder.
How Long Does It Typically Take for the Glue to Dry?
To speed up the drying process of glue for glitter candle holders, you can use a hairdryer on low heat or place them in a well-ventilated area. Alternatively, you can secure the glitter without glue by using adhesive spray or double-sided tape.
Can Different Colors of Glitter Be Mixed Together?
Yes, different colors of glitter can be mixed together to create unique combinations. This allows for endless creativity and countless possibilities when using glitter in various crafts.
Is There a Specific Type of Glue That Works Best for This Project?
The best glue for this project is a clear-drying craft glue, which provides a strong bond and dries quickly. However, if you don’t have craft glue, you can also use a hot glue gun or a strong adhesive like E6000.
Are There Any Special Precautions to Take When Lighting the Candles in the Glitter Candle Holders?
To safely light candles in glitter candle holders, there are a few precautions to take. First, make sure the glitter is securely attached to the holder. Second, place the holder on a stable surface. Finally, never leave the lit candles unattended.

Conclusion
In conclusion, by following these simple steps, you can create stunning glitter candle holders that will add a touch of elegance and sparkle to any space.
The juxtaposition of the glitter against the smooth candle holders creates a captivating visual contrast.
With a little patience and creativity, you can easily transform ordinary candle holders into beautiful decorative pieces.
So gather your materials, let your imagination shine, and enjoy the enchanting glow of these glittery candle holders.