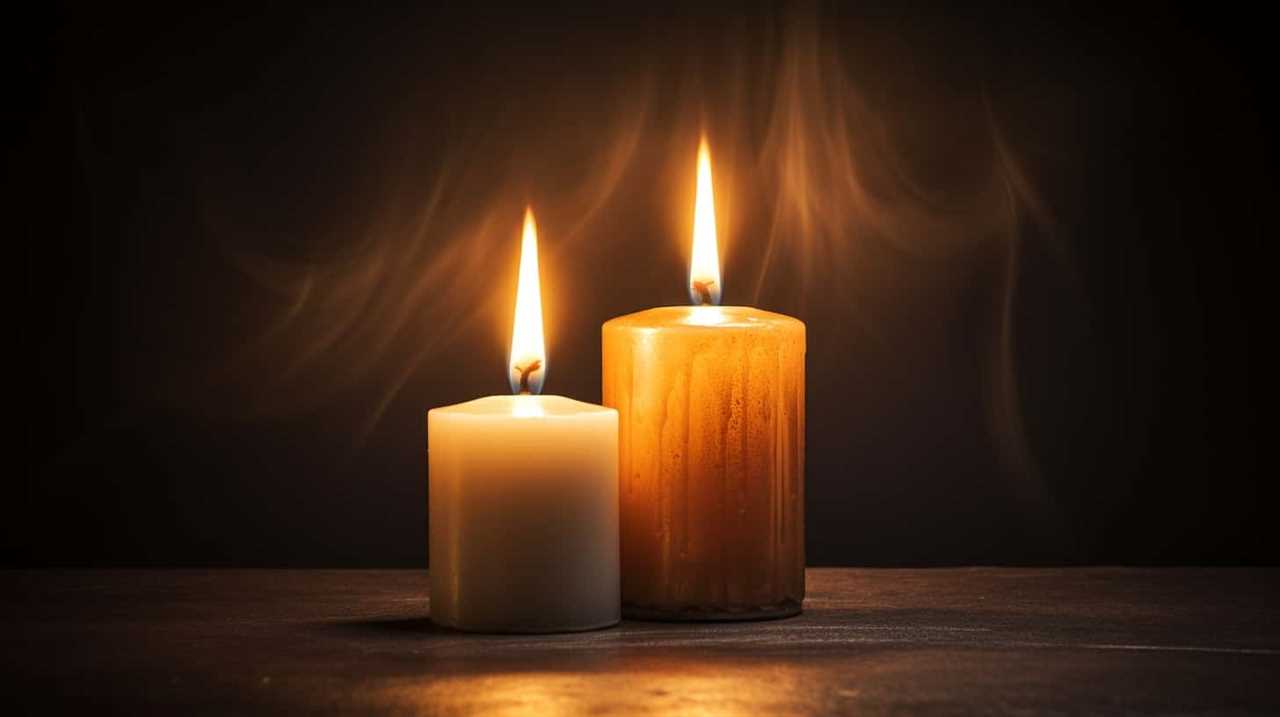
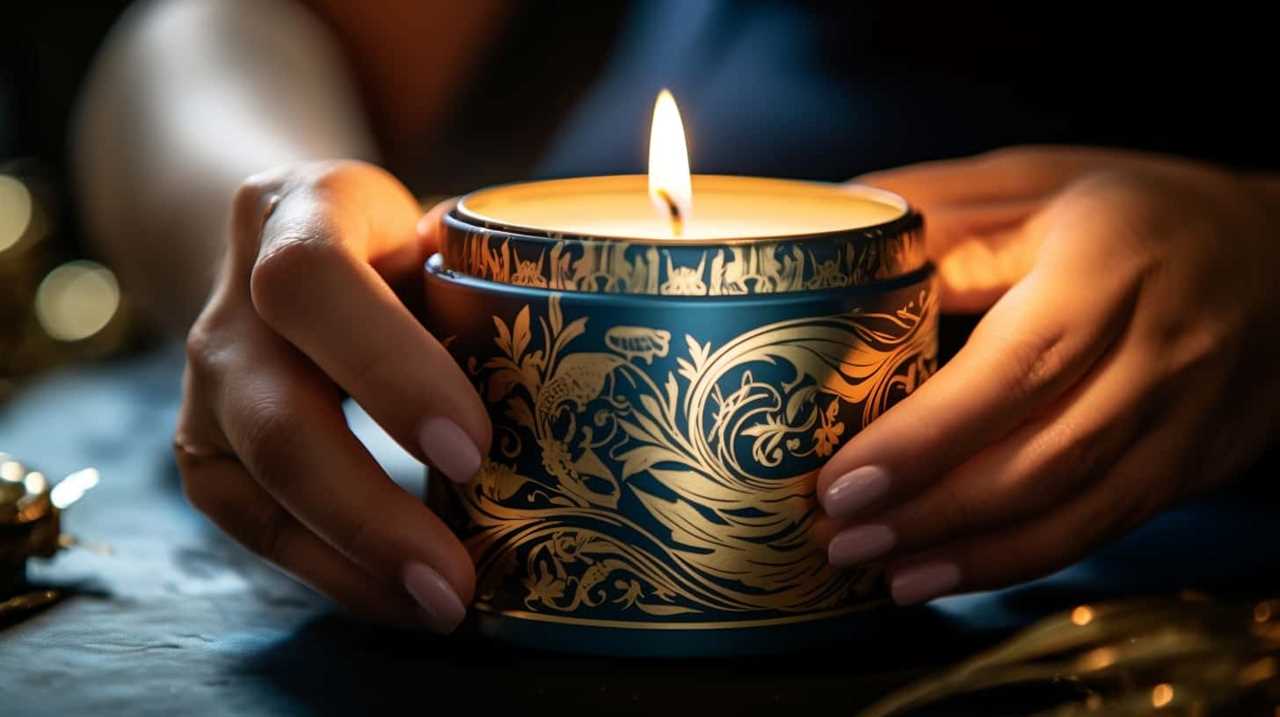
Are you searching for a unique way to add warmth and atmosphere to your living space? You’re in for a treat! This tutorial will teach you how to create gel candles in the comfort of your own home.
Our step-by-step instructions will help you create beautiful and fragrant candles that will delight both you and your loved ones. With just a few essential tools and materials, you can easily craft personalized candles to add a touch of elegance to any space.
Whether you want to relax after a long day or create a cozy atmosphere for a special occasion, making gel candles is a wonderful way to serve others by creating a soothing and inviting environment.
So, let’s get started and light up your home with the magic of homemade gel candles!
Key Takeaways
- Transparency and density of gels affect the appearance and burn time of the candle
- Safety precautions are essential when working with gel candles
- Double boiler, thermometer, and stirring utensils are necessary tools for making gel candles
- Selecting the right container, adding color and fragrance, and enhancing the aesthetic appeal are important steps in making gel candles.

Dawhud Direct Decorative Votive Candle Holders, Vintage Decor Flameless Candlescape Set, 3 LED Tea Light Candles, Rocks and Tray - Fall Table Decor (Earth Tones)
Warm Seasonal Centerpiece: Add cozy charm to fall gatherings with this candlescape; doubles as centerpiece table decorations that...
As an affiliate, we earn on qualifying purchases.
Choosing the Right Gel for Your Candle
When making a gel candle at home, it’s important to choose the right gel for our candle by considering factors such as transparency, density, and compatibility with fragrances. Gel candle properties vary depending on the type of gel used.
Some gels are highly transparent, allowing for beautiful light transmission, while others may have a slight cloudiness to them. Density is another important factor to consider. Gels with lower density tend to have longer burn times, while higher density gels burn faster.
Additionally, it’s crucial to ensure that the gel is compatible with the fragrances you plan to use. Some gels may not hold fragrance as well as others, resulting in a weaker scent throw.
Lastly, it’s essential to follow gel candle safety precautions to prevent accidents and ensure a safe and enjoyable candle-making experience.
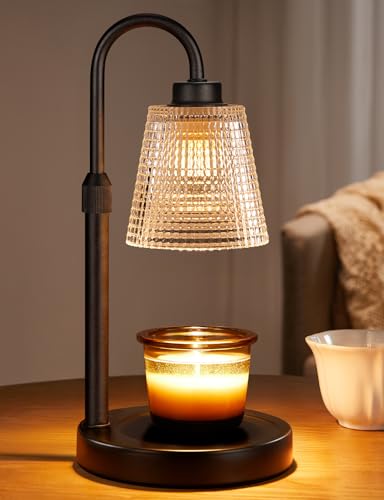
Innqoo Candle Warmer Lamp with Timer, Dimmable Candle Warmer for Jar Candles, Height Adjustable Wax Melts Warmer, Birthday Gifts for Women Mom, House Warming Gifts New Home Decor
【Flame-Free & Eco-Safe Candle Warmer】Unlike traditional candles, our candle lamp warmer uses light source to melt the candle...
As an affiliate, we earn on qualifying purchases.
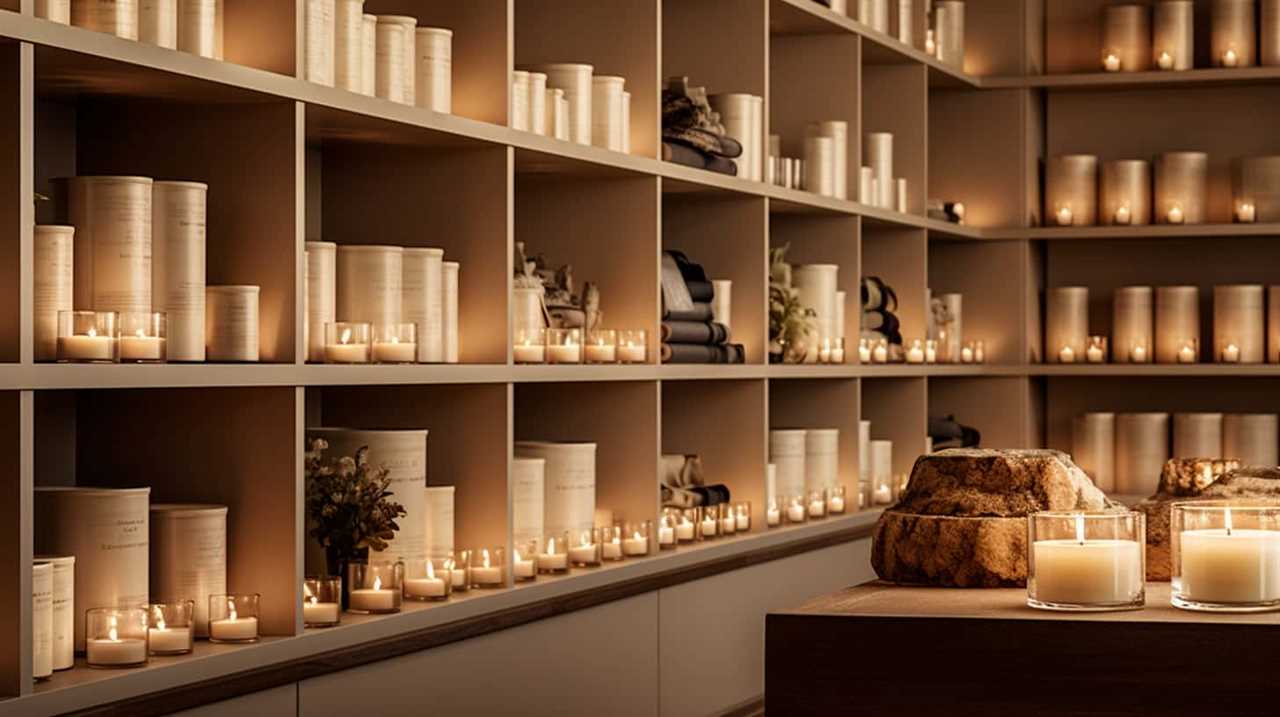
Essential Tools and Materials
To make a gel candle at home, we will need a few essential tools and materials. These items are crucial for ensuring the safety and success of your DIY project. Here’s a list of what you’ll need:
| Tools | Materials | Safety Equipment |
|---|---|---|
| Double boiler | Gel wax | Heat-resistant gloves |
| Thermometer | Candle wicks | Safety goggles |
| Stirring utensil | Fragrance oil | Apron |
| Container | Colorants | Fire extinguisher |
Using a double boiler will help melt the gel wax evenly without direct heat. The thermometer is necessary to monitor the temperature and prevent overheating. A stirring utensil will ensure proper mixing of the fragrance oil and colorants. When working with hot materials, it’s important to wear heat-resistant gloves and safety goggles to protect yourself. Additionally, an apron can help keep your clothes clean. Lastly, it’s always good to have a fire extinguisher nearby for any unexpected accidents. By having these tools and materials ready, you’ll be well-prepared to create your own gel candles while prioritizing safety. If you encounter any issues, refer to gel candle troubleshooting guides for assistance.
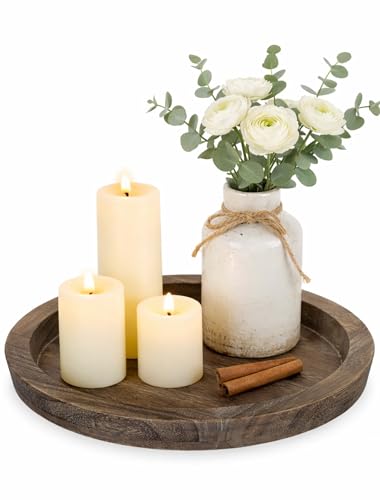
Hanobe Candle Plate Holder Tray: Round Wood Decorative Candle Plate - Rustic Farmhouse CoffeeTable Decor - Tealight Pillar Trays for Home Decor (Distressed)
Decorative Table Centerpiece: Our small candle tray is a a lovely table centerpiece for any table, placed it...
As an affiliate, we earn on qualifying purchases.
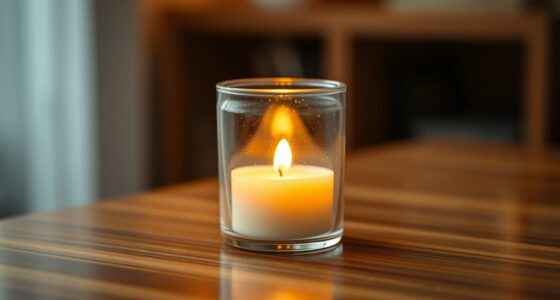
Preparing the Container
For preparing the container, we’ll need to select a suitable vessel for our gel candle. Here are some important considerations for container selection and decoration:
- Size: Choose a container that can hold the desired amount of gel wax, leaving enough space at the top for the wick and any decorative elements.
- Material: Opt for heat-resistant materials like glass or metal that can withstand the high temperatures of the burning gel candle.
- Shape: Select a container with a wide opening to make it easier to pour the gel wax and arrange decorative elements.
- Transparency: Transparent containers allow the beautiful colors and textures of the gel wax to shine through, enhancing the overall aesthetic.
- Decorative Elements: Consider adding decorative elements like dried flowers, seashells, or colored sand to enhance the visual appeal of your gel candle.

Waterless Essential Oil Diffuser,Hotel Scent Diffuser,500ml Large Capacity,5000sq.ft.,Waterless Diffuser for Home & Hotel Use,Black
Waterless Scent Diffuser: Unlike traditional diffusers, this waterless device utilizes cold-mist diffusion technology. It requires neither water nor...
As an affiliate, we earn on qualifying purchases.
Adding Color to Your Gel Candle
Now let’s talk about how to add color to your gel candle.
There are various color options available for gel candles, including liquid dyes and color blocks.
You can also mix different colors together to create unique effects and shades.
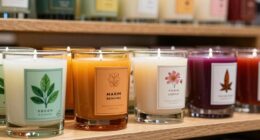
Color Options for Gel
We can enhance the visual appeal of our gel candle by adding color options. Here are some ideas to consider when choosing the right gel color for your candle:
- Deep Ocean Blue: Imagine the tranquility of the ocean with a gel candle in a beautiful shade of blue.
- Vibrant Sunset Orange: Create a warm and cozy atmosphere by using a vibrant orange gel color that resembles a stunning sunset.
- Soft Lavender: For a soothing and relaxing ambiance, opt for a delicate lavender gel color that brings a touch of serenity to your space.
- Earthy Green: Bring the freshness of nature indoors with a gel candle in a calming green shade, reminiscent of lush greenery.
- Romantic Rose Pink: Set a romantic mood with a gel candle in a soft pink hue that exudes elegance and charm.
When adding color to your gel candle, consider using natural dyes to maintain a sustainable and eco-friendly approach. Natural dyes derived from fruits, vegetables, and herbs can provide a unique and organic touch to your candle-making process.
Mixing Colors for Effects
To create unique and eye-catching effects, we can mix different colors when adding color to our gel candle. By using various mixing techniques, we can achieve beautiful gradients and patterns that will enhance the visual appeal of our candles.
One technique is called layering, where we pour different colored gel layers on top of each other. This creates a stunning multi-colored effect when the candle is lit.
Another technique is marbling, where we swirl different colored gels together to create a marbled pattern.
We can also experiment with blending different colors to create custom shades that suit our preferences.
Mixing colors in our gel candles allows us to unleash our creativity and make candles that are truly one-of-a-kind.
Now, let’s move on to the next step of selecting and adding fragrance to our gel candles.
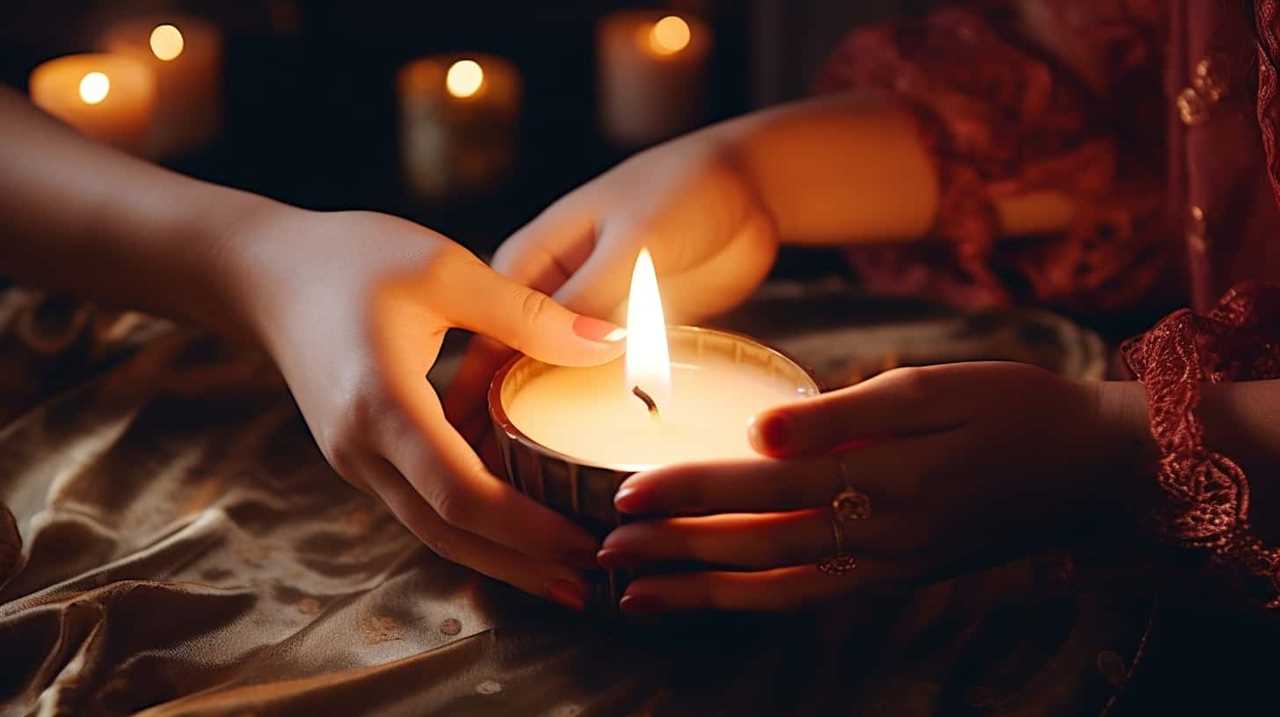
Selecting and Adding Fragrance
When selecting and adding fragrance to our homemade gel candles, it’s important to consider the scents that complement the overall atmosphere we want to create. Here are some tips to help you choose the perfect fragrance for your gel candles:
- Choosing unique fragrances: Look for scents that aren’t commonly found in commercial candles, such as lavender lemonade or vanilla chai.
- Experimenting with scent combinations: Mix different fragrances together to create unique and interesting scent combinations. For example, try blending lavender with vanilla for a soothing and comforting aroma.
- Considering the season: Select scents that reflect the season, like cinnamon and apple for fall or ocean breeze for summer.
- Matching scents with colors: Coordinate the fragrance with the color of the gel candle to create a cohesive and visually appealing experience.
- Testing the scent strength: Start with a small amount of fragrance oil and gradually increase the amount until you achieve the desired scent strength.
Adding Decorative Elements
Now let’s talk about adding decorative elements to our gel candles to enhance their aesthetic appeal.
There are numerous creative options available to embellish our candles and make them truly unique.
From colorful beads and glitter to dried flowers and seashells, the possibilities are endless.
Adding these decorative elements not only adds visual interest to our candles but also allows us to personalize them to our liking.
Enhancing Aesthetic Appeal
Let’s explore the ways we can enhance the aesthetic appeal of our homemade gel candles by adding decorative elements. Here are five ideas to make our candles even more visually pleasing:

- Dried flowers and herbs: Add a touch of nature by placing dried flowers or herbs in the gel. The vibrant colors and textures will create a beautiful visual effect.
- Glitter and sequins: For a touch of sparkle, sprinkle some glitter or sequins into the gel. This will add a glamorous and festive touch to our candles.
- Colorful beads: Create a stunning layered effect by adding colorful beads to the gel. The beads will add depth and visual interest to our candles.
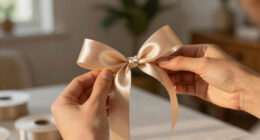
- Ribbons and bows: Tie a ribbon or bow around the base of the candle for an elegant and decorative touch. Choose a ribbon that complements the color scheme of our candle.
- Decorative charms: Attach a decorative charm to the wick or the side of the container. This will add a personal and unique touch to our homemade gel candles.
Creative Embellishment Options
To further enhance the aesthetic appeal of our homemade gel candles, we can explore various creative embellishment options by adding decorative elements.
One of the creative embellishment ideas is to incorporate dried flowers or herbs into the gel. This not only adds a beautiful touch but also releases a pleasant fragrance when the candle is lit.
Another idea is to embed small seashells, colorful beads, or gemstones into the gel to create a unique and eye-catching design.
Additionally, you can experiment with different container options such as glass jars, tea cups, or even wine glasses to give your gel candles a distinctive look.
These creative embellishments will make your homemade gel candles stand out and add a personal touch to your decor.
Now, let’s move on to the next step of pouring the gel into the container.
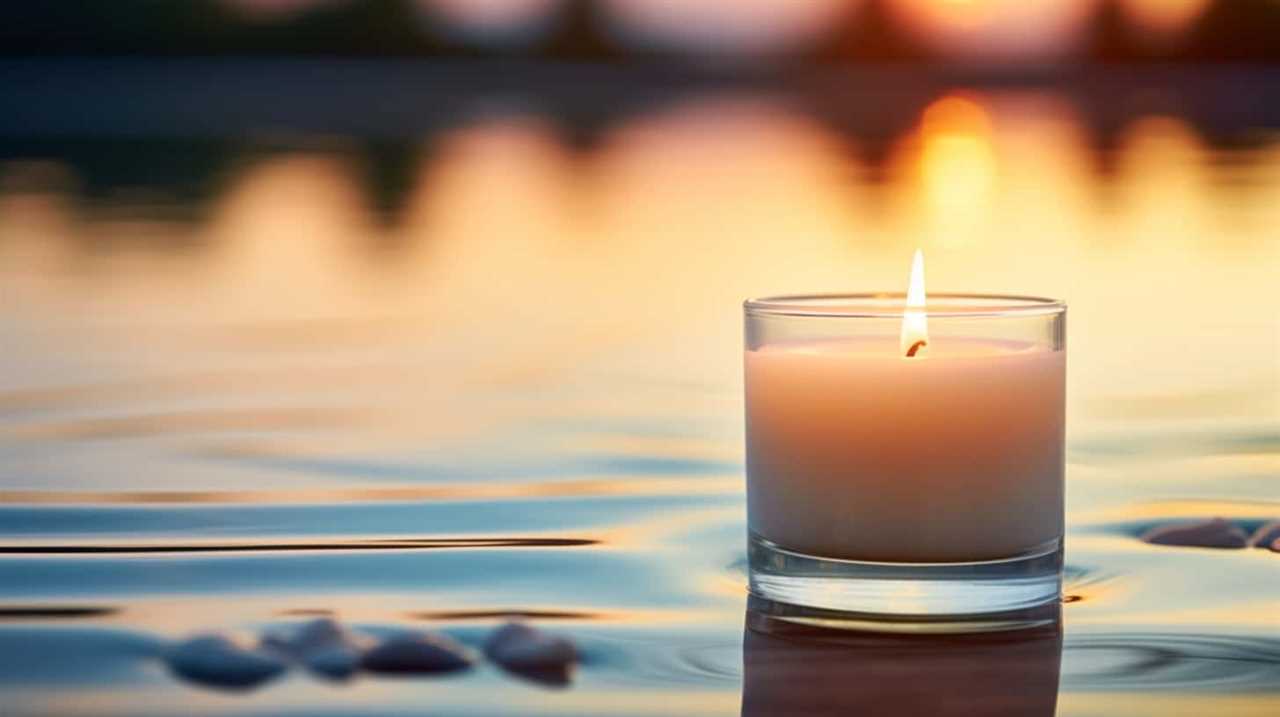
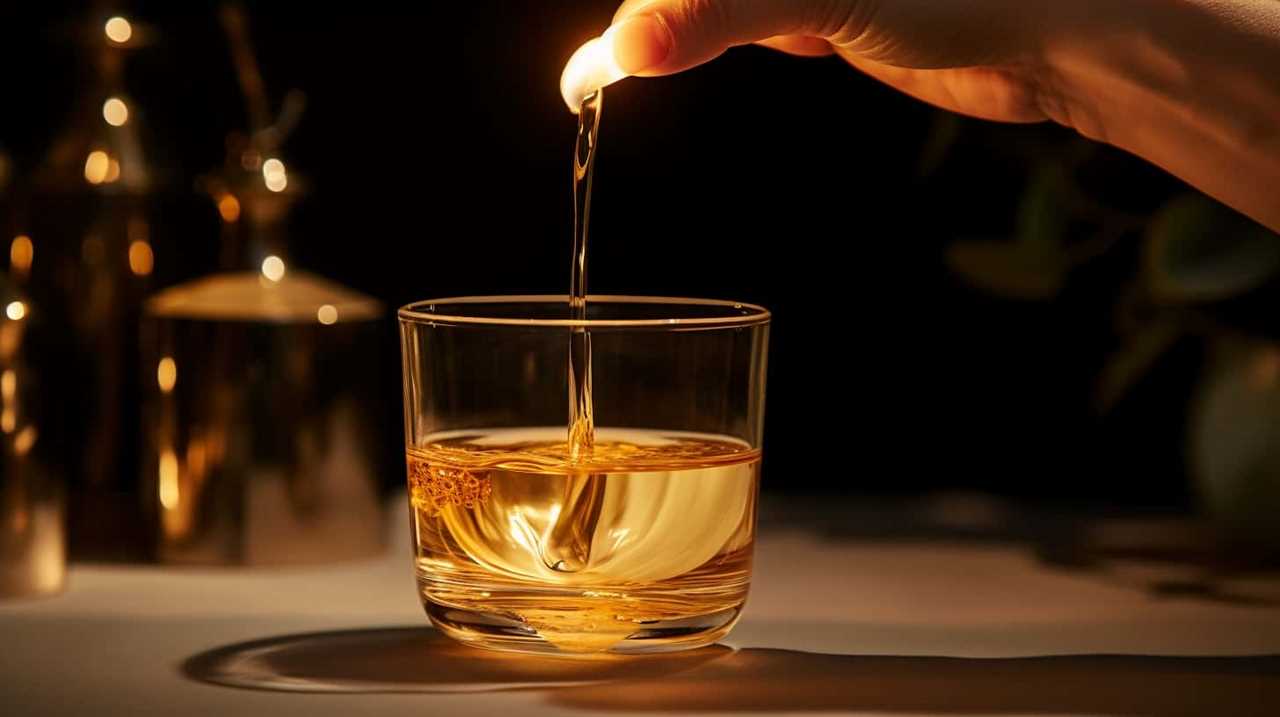
Pouring the Gel Into the Container
We carefully pour the gel into the container, ensuring a smooth and even distribution.
To create a vivid image in your mind, imagine the following:
- The translucent gel cascading down into the container, like a beautiful waterfall.
- The gel gently filling every crevice of the container, creating a seamless appearance.
- The container slowly transforming into a vessel of glowing light as the gel settles.
- The fragrance of the gel permeating the air, creating a soothing and inviting atmosphere.
- The container becoming a work of art, with the gel capturing and reflecting the light in mesmerizing patterns.
When pouring the gel, it’s important to follow gel candle safety precautions. Make sure to work in a well-ventilated area and avoid direct contact with the gel, as it can cause skin irritation.
Always keep flammable materials away from the candle-making process and never leave a burning gel candle unattended.
Securing the Wick
After pouring the gel into the container, we need to securely attach the wick to ensure a successful gel candle. Proper wick placement and size are crucial for optimal performance and safety.
To secure the wick, follow these simple steps:
- Choose the right wick size: The size of the wick depends on the diameter of your container. A larger diameter requires a thicker wick to ensure proper burning.
- Center the wick: Place the wick in the center of the container. You can use a wick sticker or a dab of hot glue to hold it in place.
- Keep the wick straight: Make sure the wick is straight and taut. You can use a wick holder or a pencil to keep it in position while the gel solidifies.
- Trim the wick: Once the gel has set, trim the wick to about ¼ inch to prevent excessive smoke and ensure a clean burn.
Allowing the Candle to Set
Now that we’ve secured the wick, it’s time to allow the gel candle to set.
The setting time for gel candles can vary, but generally, it takes around 24 to 48 hours for the gel to fully solidify. It’s important to keep the candle in a cool, dry place during this time to ensure proper setting.
Additionally, the ideal temperature for setting gel candles is around 70 to 75 degrees Fahrenheit.
Setting Time for Gel
To ensure proper setting, it’s important to allow the gel candle to cure for a minimum of 24 hours. During this time, the gel transforms from a liquid to a solid state, creating a beautiful and long-lasting candle.
Here are five important things to keep in mind during the gel curing time:
- Avoid moving or disturbing the candle while it sets, as this can affect its final appearance and texture.
- Place the candle in a cool, dry area with good ventilation to aid in the curing process.
- Keep the candle away from direct sunlight, as excessive heat can cause the gel to melt or warp.
- Maintain an ideal temperature of around 70-75 degrees Fahrenheit for optimal curing.
- Use a timer or set a reminder to ensure you don’t disturb the candle before the 24-hour curing period is complete.
Now that you know how long to let the gel candle set, let’s move on to discussing the ideal temperature for setting.
Ideal Temperature for Setting
During the gel curing time, it’s crucial to maintain an ideal temperature of around 70-75 degrees Fahrenheit for optimal setting. This temperature range ensures that the gel candle sets properly and avoids common setting issues.
If the temperature is too low, the gel may take longer to set or not set at all. On the other hand, if the temperature is too high, the gel may become too liquid and not solidify correctly.
To achieve the ideal temperature, you can use a thermometer to monitor the temperature of the gel as it cools. If you encounter any setting issues, such as uneven or incomplete setting, adjust the temperature accordingly and allow the candle to cure for a longer period of time.
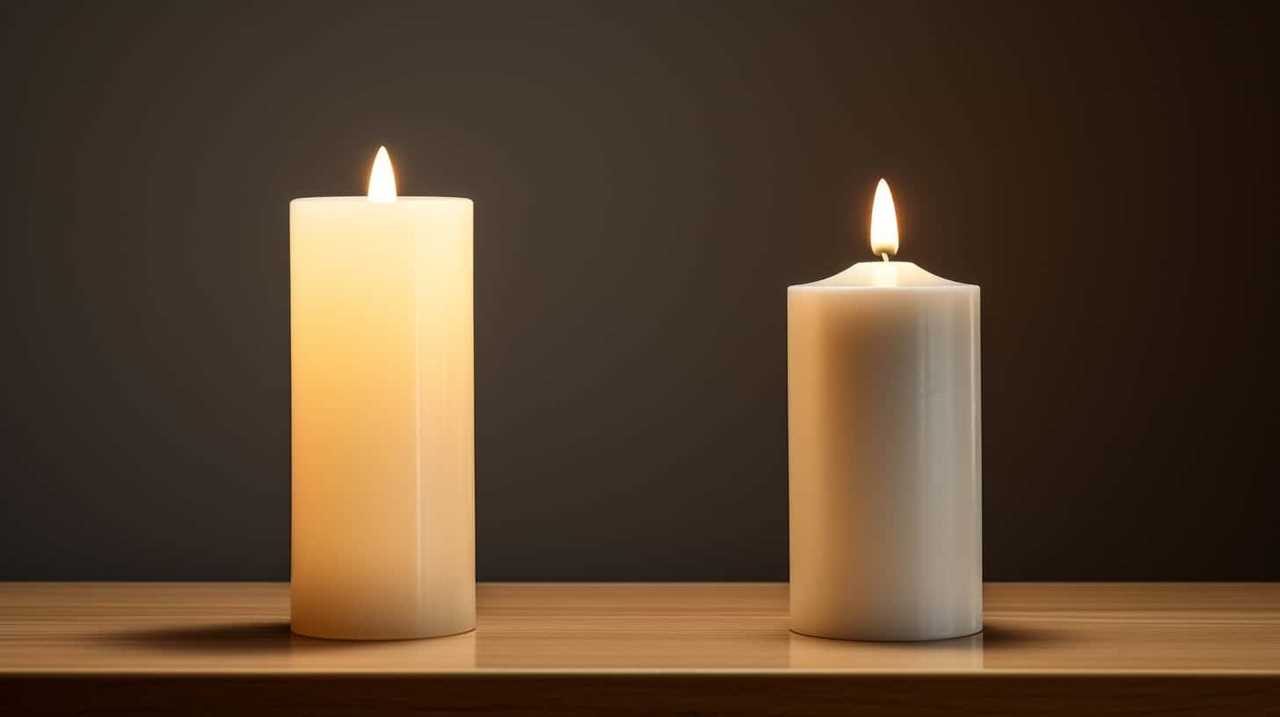
Lighting and Enjoying Your Gel Candle
We can light and enjoy our gel candle by following these simple steps:
- Ensure candle safety by placing the gel candle on a stable, heat-resistant surface.
- Use a long-reach lighter or matches to carefully ignite the wick.
- Allow the gel candle to burn for at least one hour during the initial lighting to ensure an even melt pool.
- Trim the wick to about ¼ inch before each subsequent lighting to prevent excessive soot and maintain a clean burn.
- Enjoy the mesmerizing glow and soothing ambiance of your gel candle, but remember to never leave it unattended.
Following these steps ensures both candle safety and proper gel candle maintenance, allowing you to fully enjoy the beauty and relaxation that a gel candle brings to your space.
Frequently Asked Questions
How Do I Choose the Right Gel for My Gel Candle?
When choosing gel for your candle, consider the gel type that suits your needs, such as low-density or high-density gel. Additionally, explore the wide range of gel color options available to add a personalized touch to your candle.

What Are the Essential Tools and Materials Needed to Make a Gel Candle?
To make a gel candle, we’ll need essential tools like a heat-resistant container, wicks, gel wax, fragrance oil, and colorants. Safety precautions are crucial, so choose the right gel type and follow proper instructions to ensure a successful and secure candle-making experience.
How Do I Prepare the Container for My Gel Candle?
When preparing containers for our gel candles, we carefully consider both functionality and aesthetics. Container selection is important as it sets the tone for the candle’s style and ensures a safe and enjoyable experience for those we serve.
How Can I Add Color to My Gel Candle?
To add color to gel candles, we can use different techniques to create unique patterns. Troubleshooting common issues like uneven color distribution can be resolved by stirring the dye thoroughly and experimenting with different dye concentrations.
What Are the Different Ways to Select and Add Fragrance to My Gel Candle?
There are various ways to choose and add fragrance to our gel candles. We can explore different types of fragrance oils, like floral or citrus scents. To ensure a strong scent, we can test the fragrance’s throw before adding it to the candle.
Conclusion
In conclusion, making gel candles at home is a fun and creative project that anyone can enjoy. By following the steps outlined in this article, you can create beautiful and fragrant candles to enhance the ambiance of your space.
Did you know that gel candles burn up to three times longer than traditional wax candles? This interesting statistic highlights the longevity and value of gel candles, making them a great choice for any candle lover.
So why not give it a try and see the magic of gel candles for yourself?