Do you want to discover the techniques for making **flying candle lanterns**? You’re in the right place! We have everything you need to perfect this captivating craft. Begin this thrilling adventure to design your own captivating floating lanterns and brighten up the night sky with your one-of-a-kind designs. Prepare to unleash your imagination and add a sprinkle of magic to your environment with these stunning lanterns. Jumpstart your journey now and explore the magic of crafting flying candle lanterns like an expert!
Making these beautiful lanterns might seem tricky, but trust us, it’s easier than you think. In this guide, we’ll show you step by step how to create your very own flying candle lanterns.
From gathering the materials to troubleshooting common issues, we’ve got all the information you need. So grab your scissors and tissue paper, and let’s get started on this fun and creative project together.
By the end, you’ll have a stunning lantern that will light up the sky and leave everyone in awe. Let’s make some magical memories with flying candle lanterns!
Key Takeaways
- Gathering the necessary materials and ensuring candle holder safety are important steps in making flying candle lanterns.
- Decorating the candle holder with tissue paper or other materials allows for personalization and creativity.
- Safety precautions should be taken when handling open flames and choosing the fuel source for the lanterns.
- Releasing the lanterns should be done in open areas, following regulations, and considering the environmental impact.
Gather the Necessary Materials
To make flying candle lanterns, we’ll need a few essential materials.
First, gather some lightweight paper, like tissue paper or rice paper, to serve as the lantern’s body.
You’ll also need thin bamboo strips or wire to create the lantern’s frame and handle.
To secure the paper to the frame, you’ll need glue or tape.

Additionally, gather some candles or tea lights to provide the necessary light source.
Safety precautions are important when working with open flames, so be sure to have a fire extinguisher or water source nearby.
It’s also a good idea to work in a well-ventilated area and keep a safe distance from flammable materials.
Taking these safety measures will help ensure a smooth and hazard-free lantern-making process.

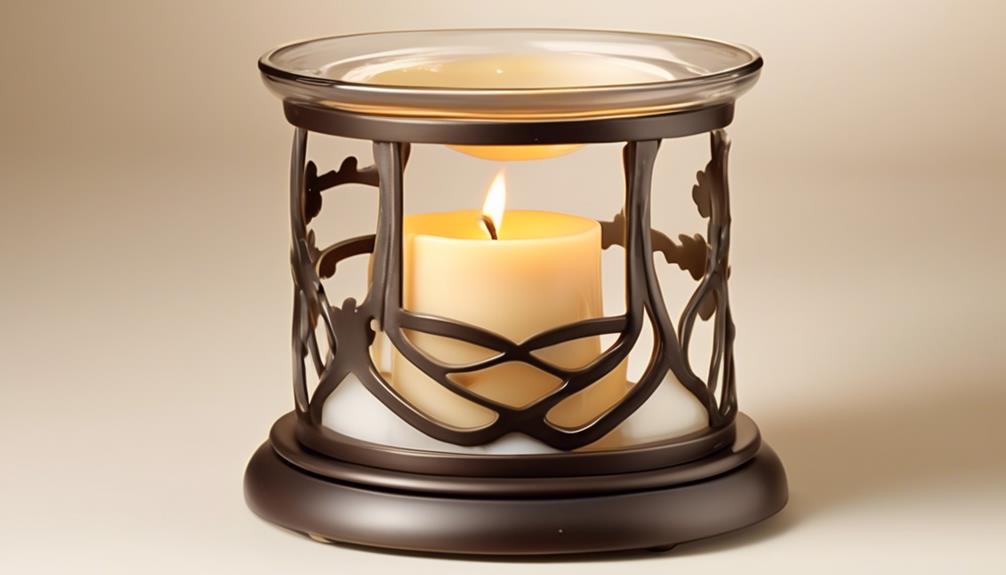
Prepare the Candle Holder
Now let’s move on to preparing the candle holder for our flying candle lanterns.
To ensure the safety of our lanterns, we need to gather the appropriate materials for the candle holder, such as heat-resistant glass or metal containers.
Once we’ve the materials, we can also get creative and decorate the candle holders to add a personal touch to our lanterns.
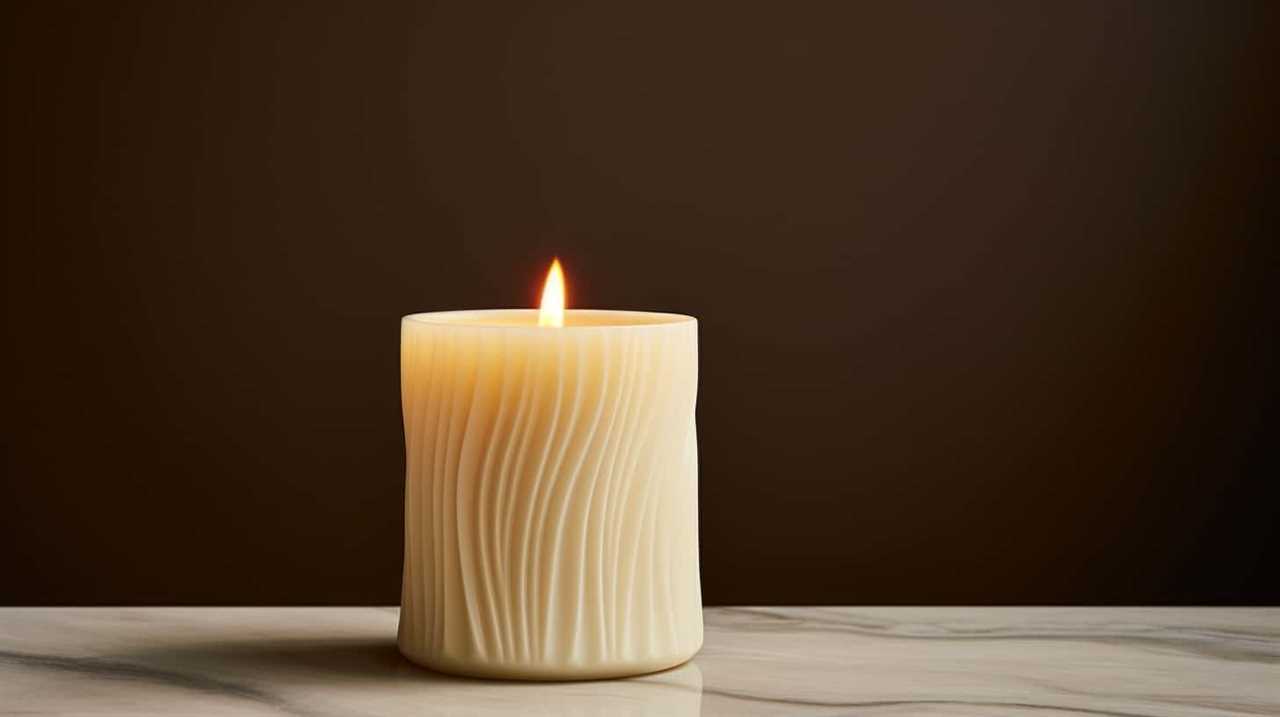
Candle Holder Materials
We will begin by gathering the materials needed for the candle holder. There are many alternatives to traditional candle holders that you can consider. Here are a few DIY ideas to inspire you:
| Material | Description | Pros | Cons |
|---|---|---|---|
| Mason Jars | Versatile and easy to find | Affordable, reusable | Limited sizes available |
| Wine Bottles | Unique and elegant | Stylish, eco-friendly | Difficulty in cutting the glass |
| Tin Cans | Recyclable and customizable | Cheap, easy to work with | Can be sharp if not properly handled |
These are just a few options, but feel free to explore other materials as well. Once you have chosen your preferred candle holder material, you can move on to the next step of decorating them to add a personal touch.
Now, let’s discuss how to decorate your candle holders to make them even more beautiful and unique.
Decorating Candle Holders
How can we enhance the beauty of our candle holders while preparing them for decoration? There are various decorating techniques and candle holder alternatives that can help us achieve this.
Before we begin decorating, it’s important to ensure that our candle holders are clean and free from any dust or residue. We can use a soft cloth or mild cleaning solution to wipe them down. Once they’re clean, we can start applying our chosen decoration method.

This could involve painting the candle holders with vibrant colors, adding glitter or beads for a glamorous touch, or even using decoupage to create unique designs. The options are endless, and it’s up to our creativity and personal preference.
As we move into the next section on ensuring candle holder safety, we must also consider how our chosen decorations may affect the functionality and safety of the candle holders.
Ensuring Candle Holder Safety
To ensure the safety of our candle holders, we need to start by preparing them. Proper candle holder maintenance is essential for fire safety precautions. Here’s how you can ensure the safety of your candle holders:
- Clean the candle holder: Remove any wax residue or debris from previous use. This will prevent any potential fire hazards.
- Check for cracks or damage: Inspect the candle holder for any cracks or damage that could compromise its integrity. Replace any damaged holders to avoid accidents.
- Use a sturdy base: Ensure that the candle holder has a stable and non-flammable base. This will prevent it from tipping over and causing a fire.
- Keep flammable items away: Always place the candle holder on a fire-resistant surface and keep it away from flammable materials such as curtains, fabrics, or paper.
Cut the Tissue Paper Into the Desired Shape
To begin, carefully cut the tissue paper into your desired shape. This step is crucial in creating the perfect flying candle lantern. You can use crafting techniques such as folding or cutting intricate patterns to add a unique touch to your lantern.
If you want to explore tissue paper alternatives, consider using translucent vellum or even thin fabric like organza. These materials can create a different visual effect and add an elegant touch to your lantern. Remember to measure and mark your desired shape accurately before cutting to ensure a precise outcome. Take your time and use sharp scissors for clean and neat edges.
Once you have cut the tissue paper into your desired shape, you’re ready to move on to the next step of assembling the lantern.
Attach the Tissue Paper to the Candle Holder
Now that we’ve cut the tissue paper into the desired shape, it’s time to attach it to the candle holder. We can use glue, double-sided tape, or even adhesive spray as adhesive options for tissue paper. However, it’s important to consider safety concerns with flames and ensure that the adhesive used is flame-resistant.
Lastly, let’s not forget about design ideas for lanterns. We can get creative with different colors, patterns, and even add decorative elements like ribbons or glitter to make our flying candle lanterns truly unique.
Adhesive Options for Tissue Paper
We frequently use double-sided tape to attach the tissue paper to the candle holder. However, there are alternative adhesives that can be used for this purpose. Here are some options to consider:
- Glue sticks: These are easy to use and provide a strong bond between the tissue paper and the candle holder. Make sure to choose a glue stick that’s safe to use with paper and doesn’t contain any harmful chemicals.
- Mod Podge: This versatile adhesive is often used in crafts and works well for attaching tissue paper to various surfaces. It dries clear and provides a durable bond.
- Spray adhesive: This type of adhesive can be applied evenly and quickly. It’s important to use it in a well-ventilated area and follow the safety precautions mentioned on the can.
- Craft glue: There are different types of craft glues available, such as tacky glue or white glue. These provide a strong bond and are safe to use with tissue paper.
Remember to always follow safety precautions when using any adhesive, and test it on a small area of the tissue paper before applying it to the entire candle holder.
Safety Concerns With Flames
When attaching the tissue paper to the candle holder, it’s important to consider safety concerns with flames. Fire prevention should be a top priority to ensure a safe and enjoyable experience when using flying candle lanterns.
To minimize the risk of accidents, it’s recommended to handle open flames with caution and keep a fire extinguisher nearby. Additionally, it’s crucial to keep the lanterns away from flammable materials and structures.

To further enhance safety, consider using flameless alternatives such as LED candles or battery-operated lights. These alternatives eliminate the risk of fire while still providing a beautiful glow.
Design Ideas for Lanterns
To create unique designs for your flying candle lanterns, attach the tissue paper to the candle holder using various patterns and colors. This will allow you to customize your lanterns and add a personal touch to your decorations. Here are some design ideas to inspire you:
- Cut out shapes: Use scissors to cut out shapes from the tissue paper, such as stars, hearts, or flowers. Attach them to the candle holder to create a whimsical and playful look.
- Layered colors: Experiment with layering different colored tissue paper to create a vibrant and multi-dimensional effect. This will add depth and visual interest to your lantern designs.
- Gradient effect: Arrange tissue paper in different shades of the same color, starting with a darker shade at the bottom and gradually transitioning to a lighter shade at the top. This will create a beautiful gradient effect when the candle is lit.
- Geometric patterns: Cut the tissue paper into geometric shapes like triangles, squares, or hexagons, and arrange them in a pattern on the candle holder. This will give your lanterns a modern and stylish look.
By attaching tissue paper in various patterns and colors, you can create stunning lantern designs that will impress your guests.
Now, let’s move on to the next step and learn how to create the wire frame for the lantern.

Create the Wire Frame for the Lantern
Begin by gathering the necessary materials for the lantern’s wire frame. To construct the wire frame for your flying candle lantern, you will need the following items:
| Materials | Tools |
|---|---|
| 12-gauge wire | Wire cutters |
| Pliers | Measuring tape |
| Marker | Needle-nose pliers |
To start, measure and cut four pieces of 12-gauge wire to your desired lantern size. These will serve as the vertical supports for your lantern frame. Next, cut four additional pieces of wire to form the horizontal supports. Use the pliers to bend the wire into the desired shape, ensuring that the corners are secure. Connect the pieces of wire using the marker to mark the points where they should intersect. Finally, use the needle-nose pliers to twist the wire at the marked points, creating a sturdy and stable wire frame for your lantern.
Creating a solid wire frame is crucial for the stability and functionality of your flying candle lantern. By following these steps and using the appropriate materials, you will be able to construct a durable and aesthetically pleasing lantern frame design.
Attach the Wire Frame to the Candle Holder
Continuing with the process, we attach the wire frame to the candle holder by securing it in place using small metal fasteners. This step is crucial in the candle holder assembly as it ensures that the wire frame is securely attached, providing stability and support for the lantern.

To properly attach the wire frame to the candle holder, follow these steps:
- Position the wire frame over the candle holder, aligning the holes on both components.
- Insert the metal fasteners through the holes, ensuring they go through both the wire frame and the candle holder.
- Use pliers to tighten the metal fasteners, ensuring a secure connection.
- Repeat the process for all sides of the wire frame, ensuring it’s evenly attached to the candle holder.
Add the Fuel Source to the Lantern
Now that we’ve attached the wire frame to the candle holder, it’s time to add the fuel source to the lantern.
When it comes to fuel types for lanterns, there are a few options to consider. However, it’s important to prioritize safety and follow the necessary precautions when adding fuel to ensure a successful and safe flight.
Fuel Types for Lanterns
We regularly add the fuel source to the lanterns when making flying candle lanterns. The fuel type plays a crucial role in the performance and safety of the lanterns.

Here are different types of lanterns and their pros and cons:
- Paraffin oil: This commonly used fuel provides a steady flame and long burning time. However, it can produce smoke and odor, which may affect the ambiance of your event.
- Lamp oil: Lamp oil is a clean-burning fuel that emits minimal smoke and odor. It offers a reliable flame and is readily available. However, it tends to be more expensive than other options.
- Bioethanol: This eco-friendly fuel is made from renewable sources and burns cleanly without smoke or odor. It’s a great choice for those concerned about the environment. However, it may be harder to find compared to other fuel types.
- Candle wax: Solid wax candles can be melted and used as fuel for lanterns. They’re convenient and affordable but may not provide as long of a burning time as liquid fuels.
When choosing the fuel type, consider factors such as burn time, cost, environmental impact, and availability.
Now, let’s move on to safety precautions when adding fuel to the lanterns.
Safety Precautions When Adding Fuel
To ensure the safe addition of fuel to the lanterns, it’s important to follow certain precautions.

When handling the fuel for the flying candle lanterns, it’s crucial to prioritize fueling safety.
Firstly, make sure to use only approved fuel sources that are specifically designed for lanterns. Avoid using flammable liquids or substances that can cause explosions or fires.
When adding fuel to the lantern, do it in a well-ventilated area to prevent the buildup of harmful fumes.
Additionally, always handle the fuel containers with care, ensuring they’re tightly sealed and stored away from heat sources or open flames.

Finally, be cautious when pouring the fuel into the lantern, avoiding any spills or drips that could ignite and cause accidents.
Test the Lantern for Stability and Balance
After assembling the flying candle lantern, carefully examine its stability and balance by gently releasing it from a height. Testing the lantern’s stability is crucial to ensure a safe and successful flight.
Here are four key testing techniques and safety measures to consider:
- Balance check: Ensure the lantern remains level when released. An imbalanced lantern may veer off course and pose a fire hazard.
- Wind resistance: Test the lantern’s ability to withstand wind. A well-balanced lantern should remain steady even in mild gusts.
- Fuel durability: Verify that the lantern’s fuel source lasts for the desired duration. This ensures that the lantern stays airborne for an enjoyable amount of time.
- Structural integrity: Inspect the lantern for any signs of damage or weak points. A sturdy lantern is less likely to collapse mid-flight.
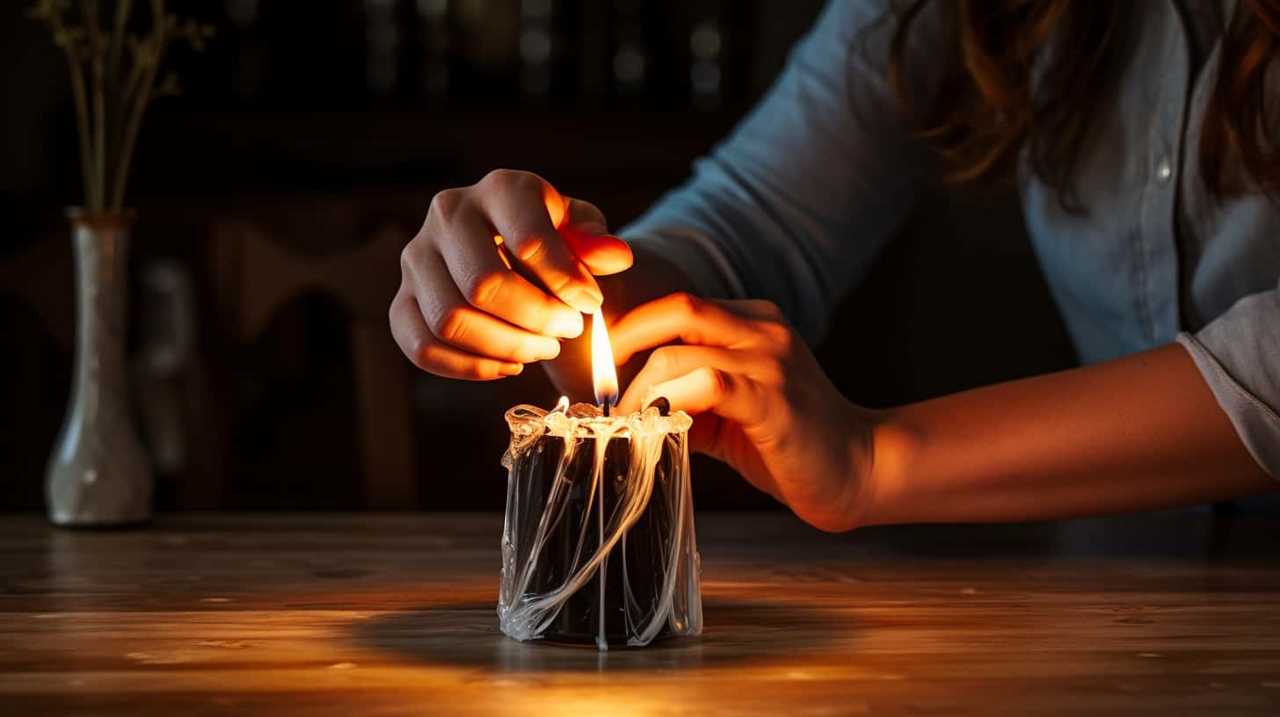
Light the Fuel Source
Now that we’ve tested the lantern for stability and balance, it’s important to discuss how to safely light the fuel source.

When fueling the lantern, it’s crucial to follow safety tips to prevent accidents. Additionally, choosing the right fuel is essential for the lantern to burn properly and achieve the desired flight.
Safety Tips for Fueling
We recommend using a long lighter or a fireplace match to safely ignite the fuel source of the flying candle lanterns. Proper handling and fueling techniques are essential to ensure a safe and enjoyable experience. Here are some safety tips to keep in mind:
- Choose a well-ventilated area: Always fuel the lanterns outdoors to prevent any buildup of flammable gases.
- Avoid overfilling: Fill the fuel canister up to the recommended level only. Overfilling can lead to excessive flame and increase the risk of accidents.
- Keep a safe distance: Maintain a safe distance from the flame when igniting the lantern. This will prevent accidental burns and ensure your safety.
- Extinguish with care: After use, extinguish the lantern by smothering the flame with a fireproof material. Don’t blow it out, as this can cause sparks and further fire hazards.
Choosing the Right Fuel
To ensure a successful launch, we need to carefully select and ignite the fuel source for our flying candle lanterns. Fuel safety is of utmost importance, as using the wrong type of fuel can lead to accidents. It’s essential to choose a fuel that burns steadily and provides enough heat to lift the lantern into the sky.
While traditional options like kerosene and lamp oil are commonly used, there are alternative options available that are safer and more environmentally friendly. Ethanol-based fuels, such as bioethanol or denatured alcohol, are excellent choices as they burn cleanly and produce less smoke. These fuels are also readily available and easy to handle.

By choosing the right fuel, we can ensure a safe and successful flight for our candle lanterns.
Now that we’ve selected the right fuel, it’s time to release the lantern into the sky.
Release the Lantern Into the Sky
After lighting the candle and attaching it securely to the lantern, we carefully hold onto the frame and prepare to release it into the sky.
Before you let your lantern soar, there are a few safety precautions to keep in mind:

- Choose an open area: Ensure there are no obstacles like trees or power lines nearby. This will prevent any accidents or fire hazards.
- Check the wind conditions: Avoid flying lanterns on windy days as they can become unpredictable and pose a danger to both people and property.
- Keep a fire extinguisher nearby: In case of any mishaps, having a fire extinguisher handy can help you quickly tackle any flames.
- Consider the environmental impact: While releasing lanterns is a beautiful sight, it’s important to remember that they can contribute to pollution. Opt for biodegradable lanterns or consider alternative eco-friendly celebrations.
Ensure Safe and Responsible Use of Flying Lanterns
To ensure the safe and responsible use of flying lanterns, we should always follow proper guidelines and regulations.
When using flying lanterns at night, it’s important to exercise caution and take certain precautions. Firstly, choose an open area away from buildings, trees, and power lines to minimize the risk of fire and entanglement.
It’s advisable to check weather conditions before lighting the lanterns to prevent them from being blown off course. Additionally, it’s crucial to never release lanterns near airports or during windy conditions.
Moreover, be mindful of the environmental impact of flying lanterns. Avoid releasing them near bodies of water to prevent pollution and harm to marine life.

Lastly, always clean up any remnants of the lanterns to maintain the cleanliness of the surroundings.
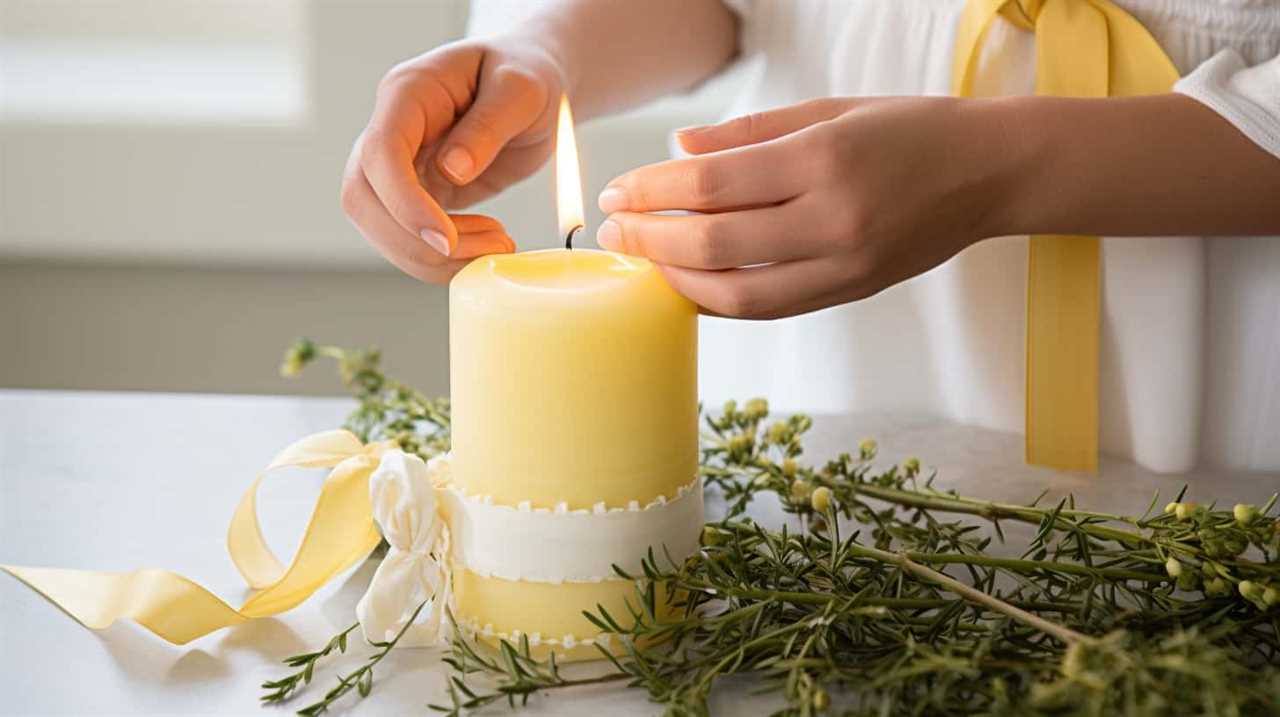
Decorate the Lantern for Added Flair
We can enhance the aesthetic appeal of the lantern by adding decorative elements. Here are four ways to decorate the lantern and add flair to your creation:
- Floral Embellishments: Attach delicate flowers like roses, daisies, or lavender to the lantern using thin wire or glue. This will add a touch of elegance and natural beauty.
- Color Selection: Choose colors that complement your event or theme. Soft pastels create a romantic atmosphere, while vibrant hues bring energy and excitement. Consider using a color palette that matches the surroundings or the occasion.
- Ribbon and Fabric: Tie colorful ribbons or fabric strips around the lantern’s handle or bottom. This adds movement and visual interest, creating a whimsical and festive look.
- Personalized Details: Add personalized touches like monograms, initials, or meaningful symbols. Use stencils or hand-paint them onto the lantern to make it unique and special.
Customize the Lantern for Different Occasions
For different occasions, we can personalize the lantern to suit the specific event or celebration. Designing lanterns with creative customization ideas can add a unique touch and make the experience even more special.
One idea is to use colored tissue paper or fabric to cover the lantern, creating a vibrant and eye-catching display.

Another option is to attach small decorations such as ribbons, flowers, or beads to the lantern’s frame, adding a festive flair.
Additionally, you can use stencils and paint to create intricate designs or patterns on the lantern’s surface. These personalized touches will make the lantern stand out and reflect the theme or atmosphere of the occasion.
Now that we know how to customize our lanterns, let’s move on to troubleshooting common issues with flying lanterns.
Troubleshooting Common Issues With Flying Lanterns
As we customize our lanterns for different occasions, it’s important to be aware of common issues that may arise when flying candle lanterns. To ensure a safe and successful experience, here are a few troubleshooting tips to keep in mind:

- Check the weather conditions: Strong winds can cause the lanterns to veer off course or even catch fire. Avoid flying them in windy or rainy conditions.
- Use fire-resistant materials: To prevent lantern accidents, make sure to use fire-resistant paper and avoid using flammable decorations or materials.
- Properly light the candle: Make sure the candle is securely attached to the lantern and that it’s lit evenly. This will ensure a stable and controlled flight.
- Maintain a safe distance: Always release the lanterns in open areas away from buildings, trees, and power lines to prevent any potential accidents.
By following these troubleshooting tips, you can enjoy a safe and memorable experience with flying candle lanterns.
Now, let’s move on to the next section and share your flying lantern experience with others.
Share Your Flying Lantern Experience With Others
After troubleshooting common issues with flying lanterns, let’s now share our memorable experiences with others.
Flying lanterns have long been regarded as a symbol of hope and unity. When we release these lanterns into the night sky, they carry our wishes and dreams, creating a sense of connection and togetherness.

The act of releasing lanterns has deep cultural significance in many societies. In Asian cultures, for example, flying lanterns are often released during festivals and celebrations as a way to honor ancestors and bring good fortune. This tradition has spread to other parts of the world, where people gather to release lanterns and share in the beauty and symbolism they represent.
The sight of hundreds of lanterns floating in the sky is truly awe-inspiring and leaves a lasting impression on all who witness it.
Frequently Asked Questions
How Long Does It Take to Make a Flying Candle Lantern?
To make flying candle lanterns, it takes about 30 minutes. First, we decorate the lanterns with colorful designs. Then, we carefully attach the candle and fuel cell. Finally, we safely launch the lanterns into the sky.
Are There Any Alternative Materials That Can Be Used Instead of Tissue Paper?
When it comes to alternative materials for flying candle lanterns, there are a few options to consider. While tissue paper is commonly used, we’ve found that lightweight fabric or even thin plastic can work as well. Each material has its pros and cons, so it’s important to choose wisely.

What Is the Maximum Weight That the Lantern Can Hold?
The weight limit for flying candle lanterns depends on the materials used and the size of the lantern. Different fuel sources can affect the maximum weight capacity, but it can be increased with stronger materials and a larger design.
Are There Any Safety Precautions That Need to Be Taken While Lighting the Fuel Source?
When lighting the fuel source of flying candle lanterns, it is crucial to follow safety precautions to prevent accidents and minimize the hidden dangers associated with them.
Can the Lantern Be Reused, or Is It a One-Time Use Item?
Yes, the lantern can be reused multiple times. There are alternative designs available that allow for easy replacement of the fuel source. It is important to follow safety precautions when handling and refueling the lantern.
Conclusion
In conclusion, making flying candle lanterns is a fun and creative activity that can add a touch of magic to any event or occasion. By following these step-by-step instructions, you can easily create your own lanterns and customize them to suit your style and theme.

So gather your materials, let your imagination soar, and light up the night sky with these enchanting lanterns that are sure to impress your friends and family.
Get ready to experience anachronism like never before!