Have you ever wanted to personalize your DIY candles with your own custom labels?
You’re in luck! This tutorial will guide you through the process of creating unique candle labels right from the comfort of your own home.
By crafting one-of-a-kind labels, you can not only add a personal touch to your candles but also transform them into meaningful gifts for your friends and family.
We will take you through each step, from selecting a design theme to affixing the labels onto your candles.
With our simple instructions, you’ll be able to design beautiful labels that will elevate the look of your candles and make them stand out.
Embark on this creative journey with us and turn your candles into something truly extraordinary!
Key Takeaways
- Choose a design theme inspired by nature, cultures, or aesthetic styles
- Gather and prepare materials for labeling process
- Measure, cut, and print labels accurately and precisely
- Apply adhesive and attach labels securely to candle containers

YJHSS 24-Pack 8oz Candle Tins with Lids, Metal Candle Jars for Candle Making, Bulk Empty Containers for Beginners & DIY Storage -Black
Capacity: 8oz =235ml; Dimensions : 3.15" (Diameter) x 2.35" (Height); Each candle tins are made of premium tinplate,...
As an affiliate, we earn on qualifying purchases.
Choose a Design Theme
To begin, we need to decide on a design theme for our candle labels. Creating eye-catching and creative label designs is essential to capture the attention of our customers. We want our labels to reflect the essence of our candles and evoke a sense of tranquility and relaxation.
One way to find inspiration for label themes is by exploring nature. The vibrant colors of flowers, the calming waves of the ocean, or the serene beauty of a forest can all serve as great starting points. Additionally, we can draw inspiration from different cultures, such as Japanese minimalism or Mediterranean aesthetics.

VEVOR 20Lbs Wax Melter for Candle Making, 10 L Extra Large Electric Wax Melting Pot, with Easy Pour Spout and 9-Level Temp Control, Easy Clean for Candle Soap Cream Beauty Bulk Production Business
Quick Heating: This wax melting pot with easy pour spout can quickly heat and melt wax with 1100W...
As an affiliate, we earn on qualifying purchases.
Gather Your Materials
After deciding on a design theme for our candle labels, it’s important to gather all the necessary materials for the labeling process.
To start, we need to choose label templates that match our aesthetic vision. There are numerous options available online, ranging from elegant and minimalist designs to vibrant and whimsical ones.
Once we have our templates, we’ll need adhesive paper or sticker sheets, a printer, and scissors or a paper trimmer. Additionally, we may want to consider investing in a cutting machine for more intricate designs.
For those who prefer a more hands-on approach, DIY label making techniques like hand painting or calligraphy can add a personal touch.
Whatever method we choose, having all the materials ready will make the labeling process smooth and enjoyable.
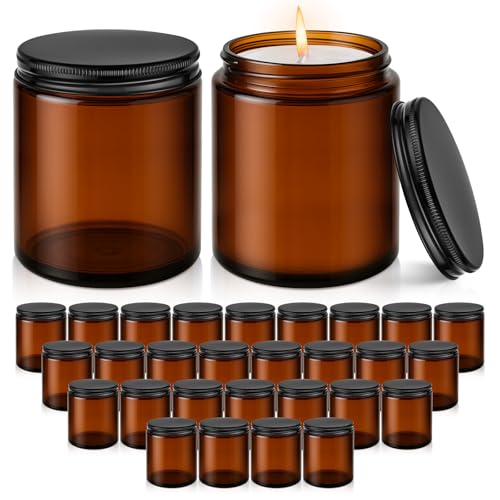
Tecohouse Amber Candle Jars, 30 Pcs 8oz Glass Jars with Lids for Making Candles with White Labels & Inner Liners, Empty Airtight Round Cosmetic Containers for Cream, Spice, Lotion, Ointments, Liquid
Amber Candle Glass Jars: This 8 oz glass jars with lids includes 30 pack amber glass jars with...
As an affiliate, we earn on qualifying purchases.
Measure and Cut Your Label Sheets
Once we have gathered all the necessary materials for making candle labels at home, we can begin by measuring and cutting our label sheets. Measuring accuracy is crucial to ensure that our labels fit perfectly on the candles. To achieve this, we can use a ruler or a measuring tape to carefully measure the dimensions of our label sheets. Next, we need to employ effective cutting techniques to achieve clean and precise cuts. A sharp pair of scissors or a paper cutter can be used for this purpose. It is important to follow the measured lines accurately and make smooth, straight cuts. By paying attention to measuring accuracy and using proper cutting techniques, we can create professional-looking candle labels that will enhance the overall aesthetic of our homemade candles.
| Column 1 | Column 2 | Column 3 |
|---|---|---|
| Measuring accuracy | Cutting techniques | Create professional labels |
| Use a ruler or measuring tape to measure dimensions accurately | Use sharp scissors or a paper cutter for clean cuts | Enhance the aesthetic of homemade candles |
| Pay attention to measured lines | Follow measured lines accurately | |
| Make smooth and straight cuts |

KEYWING 8 oz Candle Jars with Lids, 30 Pack Amber Glass Jars with Black Metal Lids, Round Candle Containers, Empty Jar for Making Candles, Powder, Liquid, Cream
High-Quality Glass: These 8 oz amber jars with lids are crafted from high-quality thick glass, ensuring durability and...
As an affiliate, we earn on qualifying purchases.
Design and Print Your Labels
Now that we’ve measured and cut our label sheets, let’s move on to the exciting part – designing and printing our labels!
When it comes to designing, we’ve a few tips to help make your labels stand out and reflect the unique personality of your candles.
And as for printing options, we’ll explore different methods that you can use to bring your label designs to life.

Design Tips for Labels
We’ll tackle the design tips for candle labels by exploring how to efficiently design and print your own labels at home.
When it comes to label design inspiration, the possibilities are endless. Look for inspiration in nature, art, or even your favorite scents. Let your creativity run wild and create unique designs that reflect your brand and captivate your customers.
As for label customization options, consider using different fonts, colors, and graphics to make your labels stand out. Experiment with different label shapes and sizes to find what works best for your candles. Don’t forget to include important information such as the fragrance, burn time, and safety instructions.
Once you have your design ready, printing your labels at home is a cost-effective option. Invest in high-quality label paper and a reliable printer to ensure professional-looking results.
With these design tips, you can create beautiful candle labels that will enhance the overall aesthetic of your candles and attract customers.
Printing Options for Labels
To ensure professional-looking results, we can explore different printing options for designing and printing your own candle labels at home. Here are some printing techniques and label customization options:
- Inkjet Printing: This method is suitable for printing vibrant and detailed labels. It allows for easy customization and offers a wide range of colors.
- Laser Printing: Laser printers produce high-quality labels with sharp and crisp text. They’re perfect for printing small text and intricate designs.
- Thermal Printing: This technique uses heat to transfer ink onto the label. It’s ideal for simple designs and text-based labels.
Apply Adhesive to the Labels
Now let’s talk about applying adhesive to the labels. Proper adhesive application is crucial to ensure that the labels stick securely to your candles.
We’ll also discuss the importance of choosing the right label materials, as certain adhesives may work better with specific materials.
Proper Adhesive Application
For applying adhesive to the labels, we need to ensure a proper and even application. This step is crucial to ensure that the labels adhere securely to the candle containers. Here are some adhesive application techniques to help you achieve the best results:
- Smooth and Clean Surface: Before applying adhesive, make sure the surface of the containers is clean and free from any dust or oil. A smooth surface will allow the adhesive to adhere better.
- Even Distribution: Apply the adhesive in a thin, even layer on the back of the labels. This will help prevent any lumps or bubbles from forming and ensure a smooth, professional-looking finish.
- Press Firmly: Once you’ve applied the adhesive, press the labels firmly onto the containers. This will help the adhesive bond properly and ensure that the labels stay in place.
Choosing Label Materials
After ensuring a proper adhesive application, we can now move on to choosing label materials for our candle labels. The type of label material you choose will play a significant role in the overall look and durability of your labels. There are several label material options available, each with its own set of considerations.
Consideration 1: Durability – It is important to select a label material that can withstand heat and moisture, ensuring that your labels will not smudge or peel off easily.
Consideration 2: Appearance – Choose a label material that complements the overall design and aesthetic of your candles. Consider the color, texture, and finish of the material to enhance the visual appeal.

Consideration 3: Printability – Ensure that the label material is compatible with your printing method, whether it be inkjet, laser, or thermal printing.
To help you make an informed decision, here is a table summarizing some popular label material options:
| Material | Durability | Appearance | Printability |
|---|---|---|---|
| Glossy | High | Shiny | Good |
| Kraft | Medium | Natural | Good |
| Vinyl | High | Glossy | Excellent |
| Clear | Medium | Transparent | Excellent |
Now that we have explored label material options and considerations, we can move on to the next step of attaching labels to your candles.
Attach Labels to Your Candles
To attach labels to our candles, we can use a subordinating conjunction like ‘once’ to indicate the next step in the process. Once we’ve our custom candle labels or personalized candle labels ready, we can follow these simple steps to attach them securely:
- Gently clean the surface of the candle with a soft cloth to remove any dust or residue.
- Peel off the backing of the label and carefully position it on the desired spot of the candle.
- Smooth out any air bubbles or wrinkles by gently pressing the label onto the candle.
By following these steps, we can ensure that our candles look professional and eye-catching with their personalized labels. It’s a small but significant touch that adds a personal and thoughtful element to our candles, making them even more special for the recipients.
Add Finishing Touches
Once we’ve attached the labels to our candles, we can now add the finishing touches using a double preposition.
The finishing techniques we can employ will enhance the overall appearance and appeal of our candles. One way to do this is through label customization.
We can use various methods to personalize our labels, such as adding decorative borders, unique fonts, or even incorporating our own artwork or photographs. Additionally, we can consider using special finishing techniques like embossing or foiling to create a more luxurious and professional look.
These techniques add depth and texture to the labels, making them stand out and catch the eye.
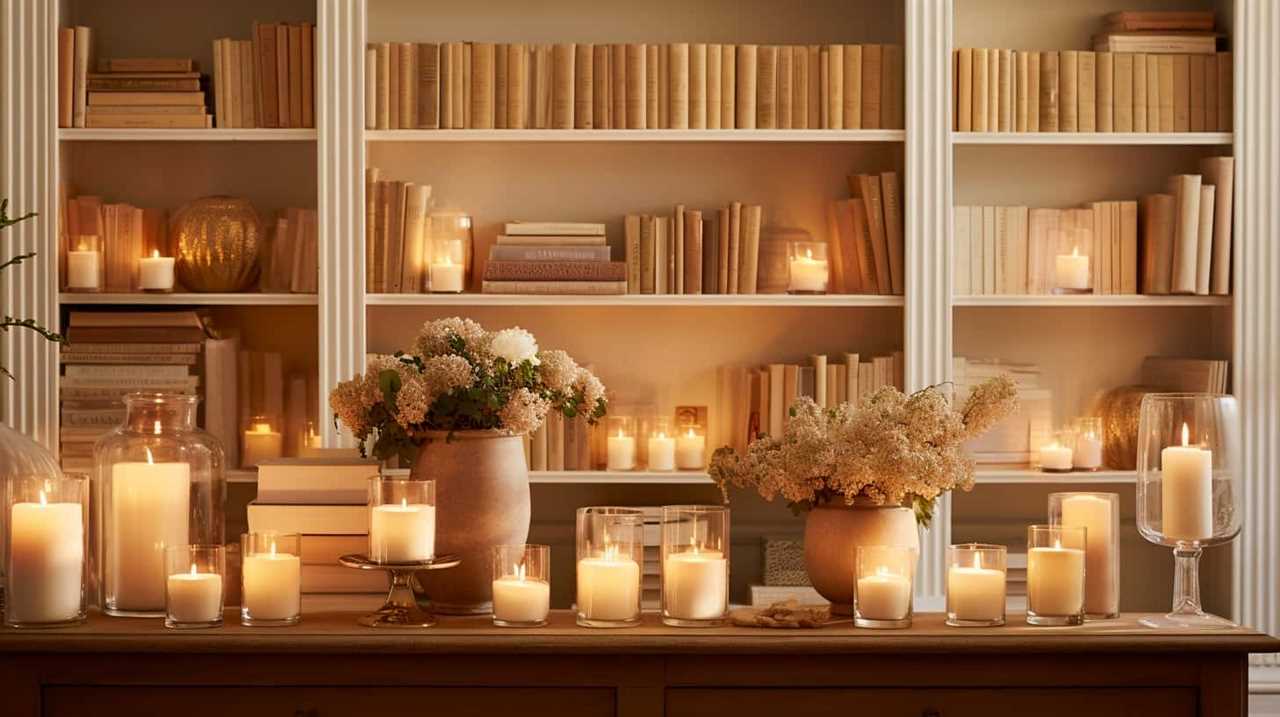
Store and Display Your Labeled Candles
To properly store and display our labeled candles, we need to consider the appropriate storage options and display fixtures.
Here are some creative candle labeling ideas to help you create an eye-catching display for your candles:
- Use unique and colorful candle label designs to attract attention and create a visually appealing display.
- Consider using different shapes and sizes of labels to add variety and create a dynamic display.
- Experiment with different materials, such as kraft paper or textured labels, to add a tactile element to your display.
By incorporating these creative candle labeling ideas, you can create a visually stunning display that will attract customers and enhance the overall ambiance of your space.
Remember to choose storage options that keep your candles protected from dust and sunlight, ensuring that they stay in perfect condition until they find their forever homes.
Frequently Asked Questions
Where Can I Find Templates for Candle Label Designs?
We found some great candle label design resources and DIY candle label ideas. They helped us create unique labels for our homemade candles. Let us share these sources and ideas with you!
Can I Use Regular Printer Paper Instead of Label Sheets for Printing My Labels?
Using regular printer paper for candle labels can be a convenient option. Pros include cost-effectiveness and accessibility. However, cons include potential smudging and durability issues. Consider these factors before deciding which method to use.
What Type of Adhesive Is Best for Attaching Labels to Candles?
The best adhesive for candle labels depends on the type of surface and label material. Some tips for attaching labels to candles include using a strong adhesive, ensuring a smooth application, and allowing enough drying time for the adhesive to set properly.
How Long Should I Wait Before Lighting a Candle After Applying the Label?
After applying the label, we should wait for the curing process to complete before lighting the candle. Applying the label directly to the wax surface ensures a secure attachment and prevents any potential fire hazards.
Can I Reuse Candle Labels if I Want to Change the Scent or Color of a Candle?
Yes, you can reuse candle labels if you want to change the scent or color of a candle. By carefully removing the previous label and applying a new one, you can give your candle a fresh look and aroma.
Conclusion
Making candle labels at home is a breeze! With just a few simple steps, you’ll have professional-looking labels that will take your candles to the next level.
From choosing a design theme to applying adhesive and adding finishing touches, you’ll be amazed at the transformation.
So why settle for plain, boring candles when you can create eye-catching masterpieces?
Get ready to impress your friends and family with your DIY candle label skills!