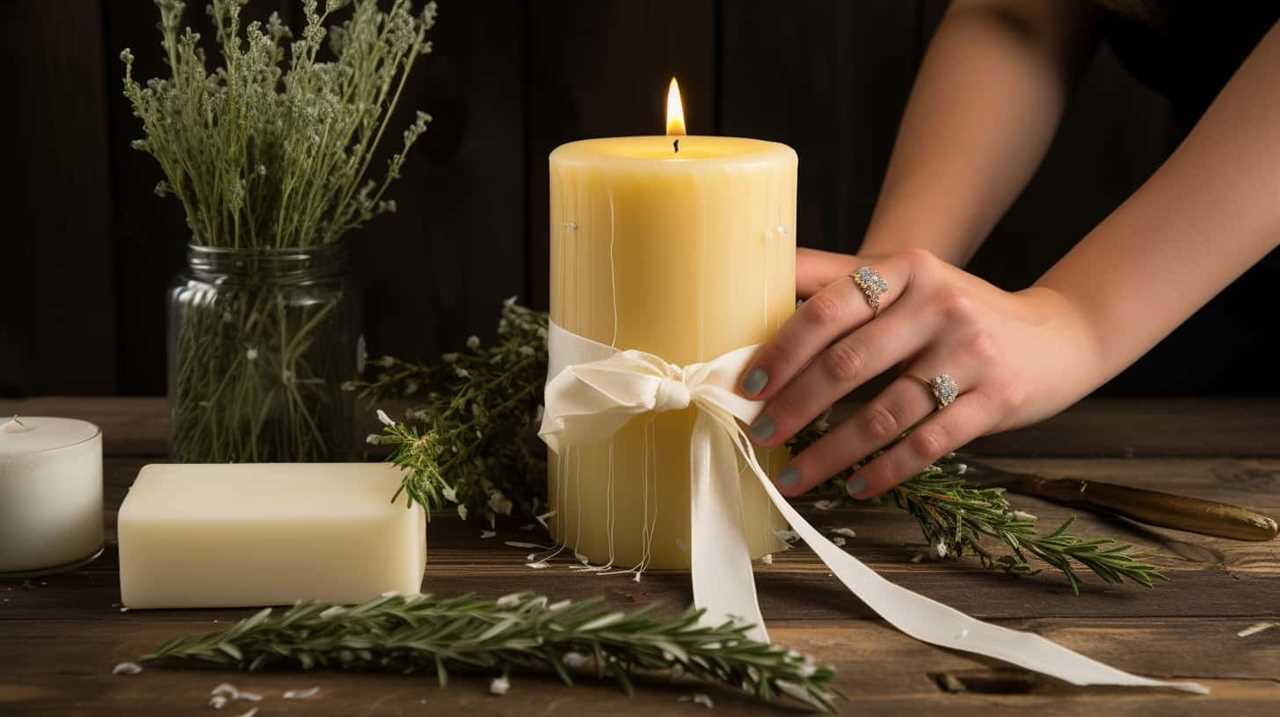
Have you ever thought about creating your own votive candle? We’re here to assist you and demonstrate how simple and fulfilling the process can be! Making your own votive candles is a fantastic way to personalize your space or give a heartfelt gift to someone special.
In this guide, we’ll walk you through the simple steps of creating your very own votive candle. From gathering supplies to removing the candle from the mold, we’ll cover everything you need to know. No prior experience is necessary, so don’t worry if you’re new to candle making.
So, let’s get started on this wonderful journey of creating beautiful votive candles!
Key Takeaways
- Choose the right wax for your candle based on factors like burn time, scent retention, and eco-friendliness.
- Ensure a clean and well-ventilated workspace with protective gear like gloves and goggles.
- Consider factors like melting temperature and scent preferences when choosing your wax.
- Select a votive candle mold made from heat-resistant materials and consider size and desired burn time.
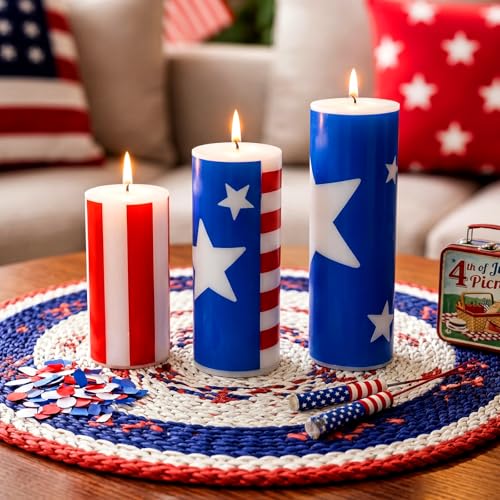
MTLEE 3 Pcs 4th of July Patriotic Candles Blue White Red Pillar Candles Flag American Stripe Home Decorations for 250th Anniversary Veterans Memorial Day Holiday Festival Table, 3 Size
4Th of July Candles Set: you will receive a set of patriotic themed candles, suitable for various occasions;...
As an affiliate, we earn on qualifying purchases.
Gather Supplies
To make a votive candle, we’ll first need to gather all of the necessary supplies. The first step is to choose the right wax for your candle. There are different types available, such as soy wax, beeswax, and paraffin wax. Consider factors like burn time, scent retention, and eco-friendliness when making your selection.

Next, it’s important to take safety precautions. Ensure you have a clean and well-ventilated workspace. Use a double boiler or a heat-resistant container to melt the wax, and never leave it unattended. Keep a fire extinguisher nearby, just in case.
Additionally, wear protective gloves and goggles to prevent any accidents. Use a thermometer to monitor the wax temperature and avoid overheating. Remember to keep flammable materials away from the melting area.

Simply Said, INC American Flag Candle, Strawberry Scented 11 oz Premium Soy Wax, Hand Poured in USA, CDL1543
American flag decor: Colorful ceramic jar candle features an American flag made of flowers. This two wick, 11...
As an affiliate, we earn on qualifying purchases.
Choose Your Wax
When it comes to making a votive candle, the choice of wax is crucial. There are different types of wax available, each with its own set of characteristics and benefits.
It’s important to consider factors such as melting temperature and whether you want a scented or unscented candle. Let’s explore these points in more detail to help you make an informed decision.
Different Wax Types
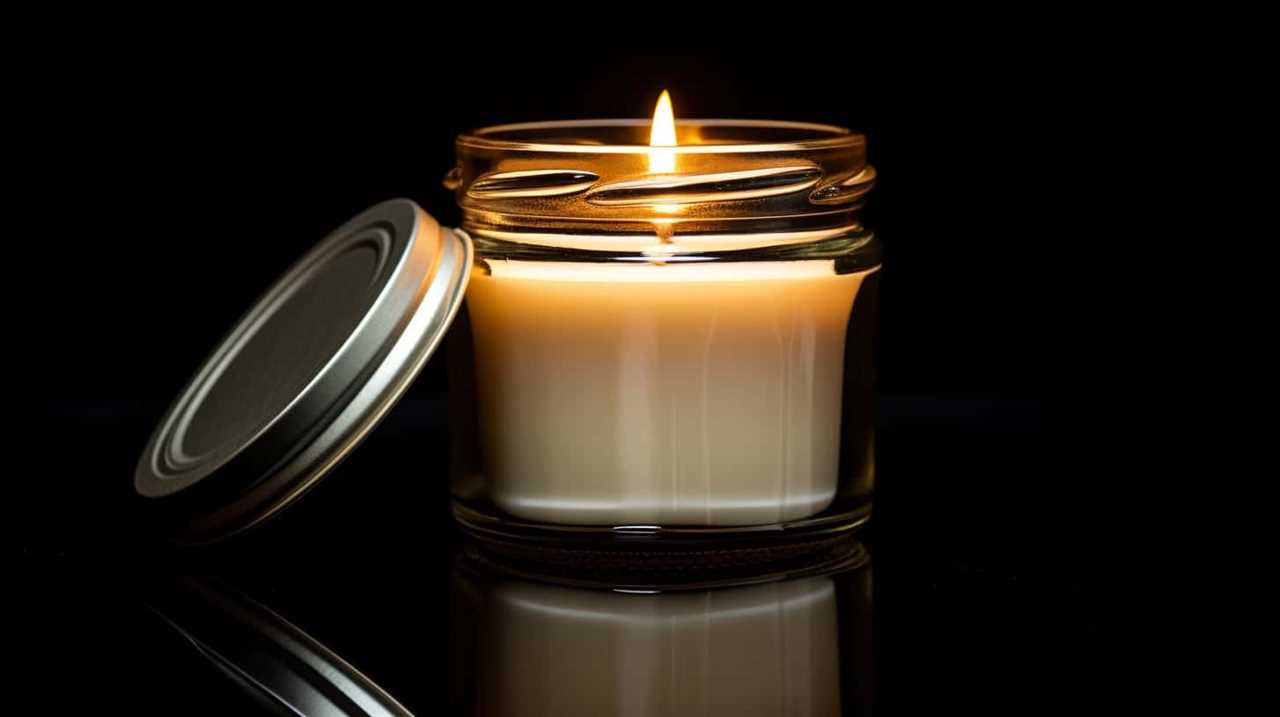
We prefer using soy wax for our votive candles due to its clean burning properties and eco-friendly nature. Soy wax is made from soybean oil and is biodegradable, making it a sustainable choice for your candle-making needs. However, there are other wax types available that you can choose from depending on your preferences and requirements. Here is a comparison of different wax types:
| Wax Type | Description |
|---|---|
| Soy Wax | Clean burning, eco-friendly, and derived from soybean oil. |
| Beeswax | Natural wax produced by bees, known for its sweet aroma and long burn time. |
| Paraffin Wax | Most commonly used wax, affordable, and available in various melting points. |
| Palm Wax | Made from palm oil, produces beautiful crystalline patterns and has a long burn time. |
When melting different wax types, it is important to follow the specific melting techniques recommended for each type to ensure a successful and safe candle-making process.
Melting Temperature Considerations
For melting different wax types, it’s crucial to consider the appropriate temperature to ensure a successful and safe candle-making process. Here are some important melting temperature considerations:
- Melting Point Comparison:
- Paraffin wax: Melts at around 120-160°F (49-71°C). It’s the most common and affordable wax option.
- Soy wax: Melts at a lower temperature, around 110-120°F (43-49°C). It’s a natural and eco-friendly choice.
- Beeswax: Melts at a higher temperature, around 144-147°F (62-64°C). It’s a premium option known for its pleasant scent.
- Safety Precautions:
- Always use a double boiler or a heat-resistant container to melt the wax to prevent accidents and fires.
- Avoid overheating the wax as it can cause discoloration, smoke, or even ignite.
- Never leave the melting wax unattended and keep it away from children and flammable objects.
Scented or Unscented Options
To determine whether to use scented or unscented wax for your votive candle, consider your personal preference and the desired atmosphere you want to create.
The scented vs. unscented debate is a common one among candle enthusiasts. Scented candles can add a delightful aroma to any space, creating a cozy and inviting ambiance. They can also help to mask unpleasant odors.
On the other hand, unscented candles are perfect for those who prefer a simple and clean burning experience, without any additional fragrance. They’re ideal for people with sensitivities to strong scents or for those who want to avoid conflicting smells in their home.
Ultimately, the choice between scented and unscented wax depends on your individual taste and the specific atmosphere you wish to achieve with your votive candle.

MTLEE 6 Pcs 250th Anniversary Candles 10 Inch Patriotic 4th of July Tall Dripless Tapered Candles American Flag Decorative Tapers Smokeless Unscented Long Burning for Independence Day Decor
Patriotic Themed Design: you will receive 6 handmade Patriotic Candles, commemorating the 250th anniversary, enough to meet your...
As an affiliate, we earn on qualifying purchases.
Select a Votive Candle Mold
First, gather a variety of votive candle molds in different shapes and sizes. There are several factors to consider when selecting a votive candle mold. Votive candle molds should be made from heat-resistant materials such as aluminum, silicone, or polycarbonate. These molds should also be sturdy and durable to withstand the heat of the melted wax.

Consider the size of the votive candles you want to make. Molds are available in various sizes, ranging from small tea lights to larger votives. Keep in mind the purpose of your candles and the desired burn time when selecting the size of the mold.
Explore different shapes and designs to add visual interest to your candles. From classic cylindrical molds to unique geometric shapes, there are plenty of options to choose from.
Now that you have gathered your votive candle molds, it’s time to prepare your work area for candle making.

RIZOOCE 250 Anniversary USA Merchandise - 4th of July Patriotic Candles Gifts for Men Women, Independence Day Gifts for Fathers Day, Patriotic Decorations for Table
UNITED STATES 250TH ANNIVERSARY TRIBUTE: Celebrate the nation's Semiquincentennial with our exclusive American birthday candle. Centered around the...
As an affiliate, we earn on qualifying purchases.
Prepare Your Work Area
Now that we have gathered our votive candle molds, let’s get our work area ready for candle making. It is important to set up a clean and organized space to ensure a smooth and safe candle-making process. Here are some steps to help you prepare your work area:
- Clear the space: Remove any clutter or unnecessary items from your work area to create a clean and spacious workspace.
- Protect the surface: Place a heat-resistant mat or tray on your work surface to protect it from any spills or drips.
- Gather your supplies: Arrange all the necessary materials, such as wax, wicks, fragrance oils, and tools, within easy reach.
Here is a table summarizing the work area setup for candle making:
| Step | Action |
|---|---|
| Clear the space | Remove clutter and unnecessary items |
| Protect the surface | Place a heat-resistant mat or tray |
| Gather your supplies | Arrange all the necessary materials |
Safety precautions are also crucial when working with candles. Be sure to:
- Use protective gear: Wear heat-resistant gloves and goggles to protect yourself from hot wax and potential splatters.
- Keep a fire extinguisher nearby: In case of accidents or emergencies, have a fire extinguisher readily accessible.
- Work in a well-ventilated area: Ensure proper ventilation to minimize exposure to fumes from the melting wax.
Melt the Wax
We melt the wax to prepare it for pouring into the votive candle molds. There are different wax melting methods you can choose from, depending on your preference and the resources available.
Here are three options:

- Double Boiler Method:
- Fill the bottom pot of a double boiler with water.
- Place the wax in the top pot.
- Heat the water on medium-low heat until the wax melts.
- Microwave Method:
- Cut the wax into small chunks.
- Place the wax in a microwave-safe container.
- Heat the wax in short intervals, stirring in between, until it melts completely.
- Slow Cooker Method:
- Place the wax in a heat-resistant container.
- Set your slow cooker to its lowest setting.
- Allow the wax to melt slowly over several hours, stirring occasionally.
Remember to follow safety precautions when melting wax. Use a thermometer to monitor the temperature and avoid overheating. Never leave the melting wax unattended, and keep it away from flammable materials.
Add Fragrance and Color (optional)
To enhance the scent and appearance of our votive candles, we can choose to add fragrance and color. Adding fragrance to our candles can create a pleasant and inviting atmosphere. There are various fragrance options available, such as lavender, vanilla, or citrus. These scents can help create a relaxing ambiance or a refreshing environment. Additionally, adding color to our candles can make them visually appealing and match our decor. We can select from a wide range of colors, including red, blue, or green. To help you choose the perfect fragrance and color for your votive candle, here is a table showcasing some popular options:
| Fragrance Options | Color Selection |
|---|---|
| Lavender | Purple |
| Vanilla | Cream |
| Citrus | Yellow |
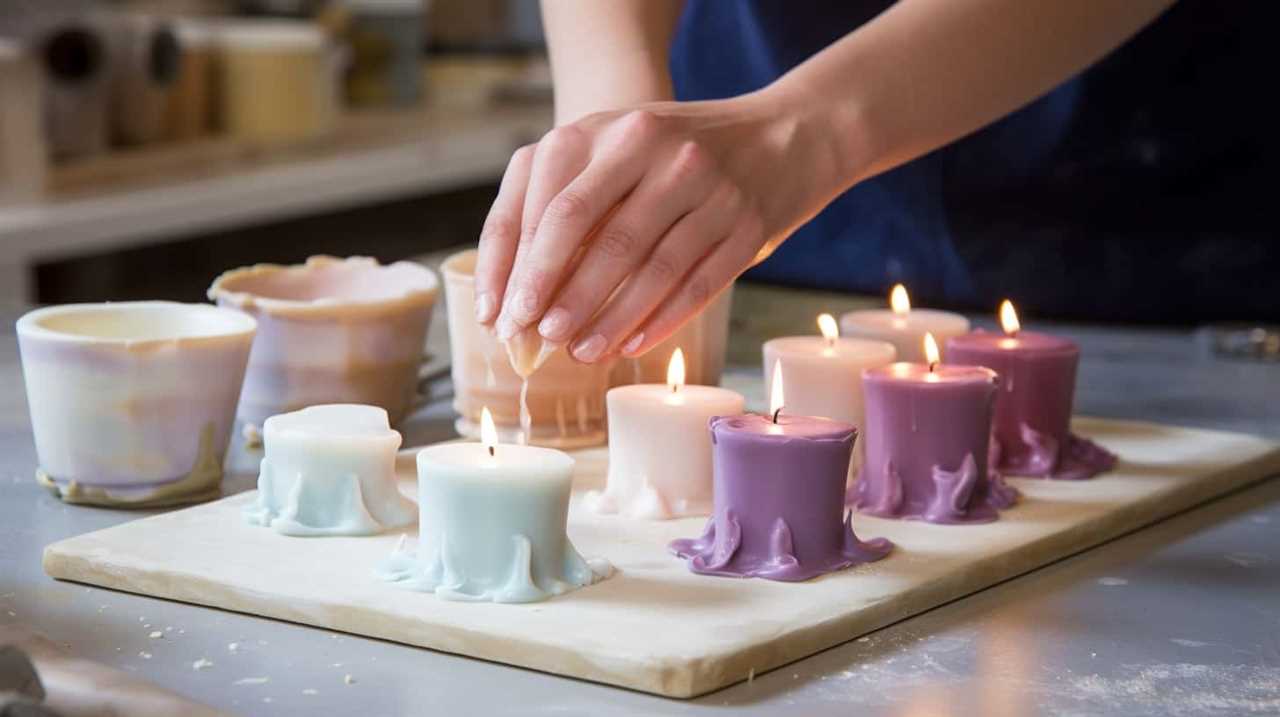
Pour the Wax Into the Mold
After adding fragrance and color to our votive candles, the next step is to carefully pour the wax into the mold. This is a crucial step in candle making, as proper molding techniques will ensure a beautiful and seamless finish. Here are some tips for preventing wax leakage and achieving perfect votive candles:
- Prepare your mold: Make sure it’s clean and dry before pouring the wax. Any moisture or debris can affect the final result.
- Secure the wick: Attach a wick to the bottom of the mold using a wick sticker or a small amount of melted wax. This will prevent it from moving during the pouring process.
- Slow and steady pour: Pour the melted wax into the mold slowly and steadily, allowing it to fill the mold gradually. Avoid pouring too quickly, as this can cause overflow and wax leakage.
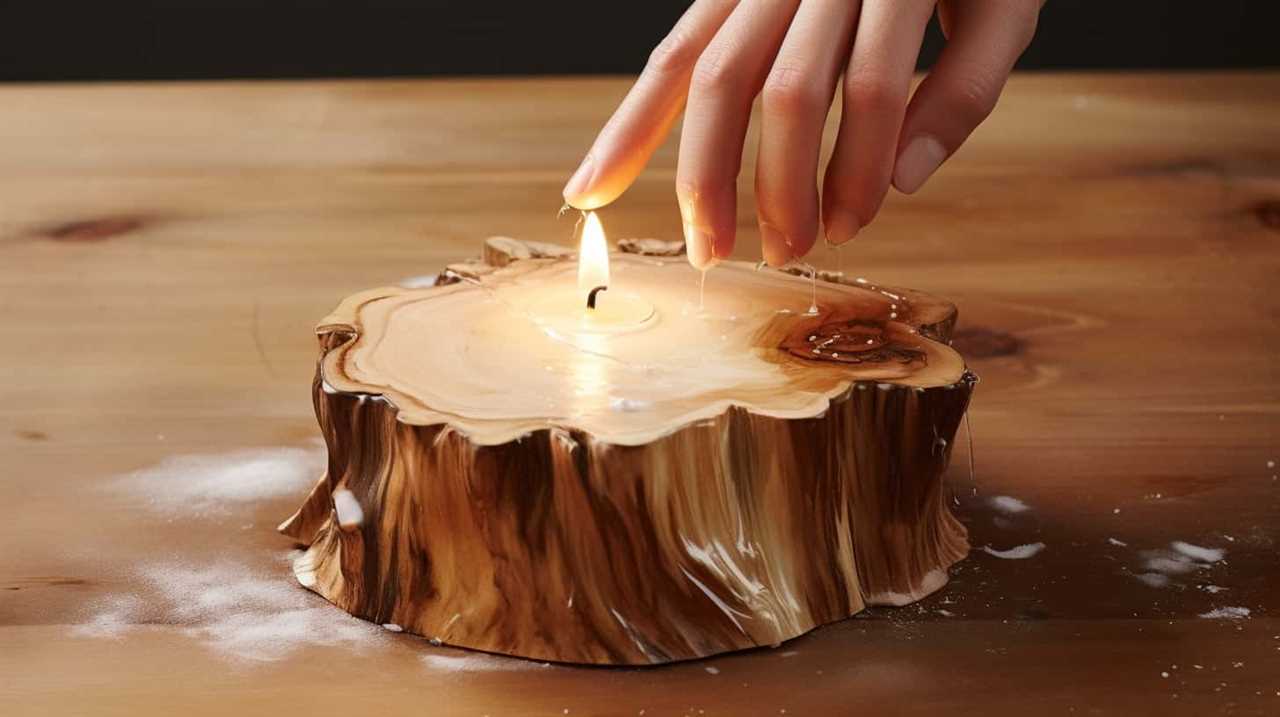
Insert the Wick
Once the wax has been poured into the mold, it’s time to insert the wick. Wick placement is crucial for a well-functioning votive candle.

Begin by measuring the wick size. It should be long enough to reach the bottom of the mold, with a little extra for trimming later.
Take the wick and dip one end into the melted wax, then quickly place it in the center of the mold, pressing it firmly against the bottom. Make sure the wick is straight and centered. To keep it in place, you can use a wick holder or simply secure it with a clothespin or pencil laid across the top of the mold.
Allow the wax to cool and harden completely before removing the holder and proceeding to the next step.
Allow the Candle to Cool
After inserting the wick, we need to allow the candle to cool completely in order for it to set properly. Here are some important steps to follow during this cooling process:

- Monitor the Temperature: It’s crucial to keep an eye on the candle’s temperature as it cools. If it cools too quickly, it may result in uneven setting or cracking. On the other hand, if it cools too slowly, it may cause the candle to sink in the middle. Troubleshooting the candle temperature ensures a high-quality finished product.
- Benefits of Using Soy Wax: Using soy wax in your votive candle offers several advantages. It has a lower melting point, allowing for a faster cooling process. Additionally, soy wax produces less soot and burns cleaner compared to other waxes. This makes it a healthier and more environmentally-friendly choice.
- Patience is Key: It’s essential to resist the temptation of rushing the cooling process. Allowing the candle to cool naturally and completely ensures a smooth and even finish. Remember, patience yields better results.
Once the candle has cooled completely, we can move on to the next step of removing it from the mold.
Remove the Candle From the Mold
Now that our votive candle has cooled, it’s time to remove it from the mold.
There are various molding techniques you can use to ensure a successful removal, such as using a release agent or freezing the mold.
However, sometimes candle removal can be tricky, so we’ll also discuss troubleshooting tips to help you if you encounter any difficulties.
Molding Techniques for Votives
To take the votive candle out of the mold, we carefully pry it loose using a butter knife. Once the candle is loose, we gently remove it from the mold, making sure not to damage its shape or any decorative elements.
Here are some molding techniques for votives to ensure a successful removal:
- Tap the mold: Lightly tap the sides and bottom of the mold to loosen the candle. This helps to release any air bubbles that may have formed during the pouring process.
- Freeze the mold: If the candle is stubbornly stuck, place the mold in the freezer for a few minutes. The cold temperature will cause the wax to contract slightly, making it easier to remove.
- Warm the mold: Conversely, if the candle isn’t coming out easily, warm the mold slightly by placing it in a bowl of warm water. This will help to loosen the wax and facilitate removal.
With these techniques, you can safely remove your votive candle from the mold without any issues.
Now, let’s move on to troubleshooting candle removal.
Troubleshooting Candle Removal
One common issue that may arise when removing the votive candle from the mold is difficulty in separating the wax from the mold’s surface.
To troubleshoot this problem, there are a few steps you can follow.
First, try placing the mold in the freezer for about 30 minutes. This will cause the wax to contract and make it easier to remove.
Once you take the mold out of the freezer, gently tap it on a hard surface to loosen the candle.

If the candle still doesn’t come out, you can try running warm water over the bottom of the mold. The heat will help soften the wax and facilitate its release.
Additionally, applying a thin coat of non-stick cooking spray to the inside of the mold before pouring the wax can prevent the candle from sticking in the first place.
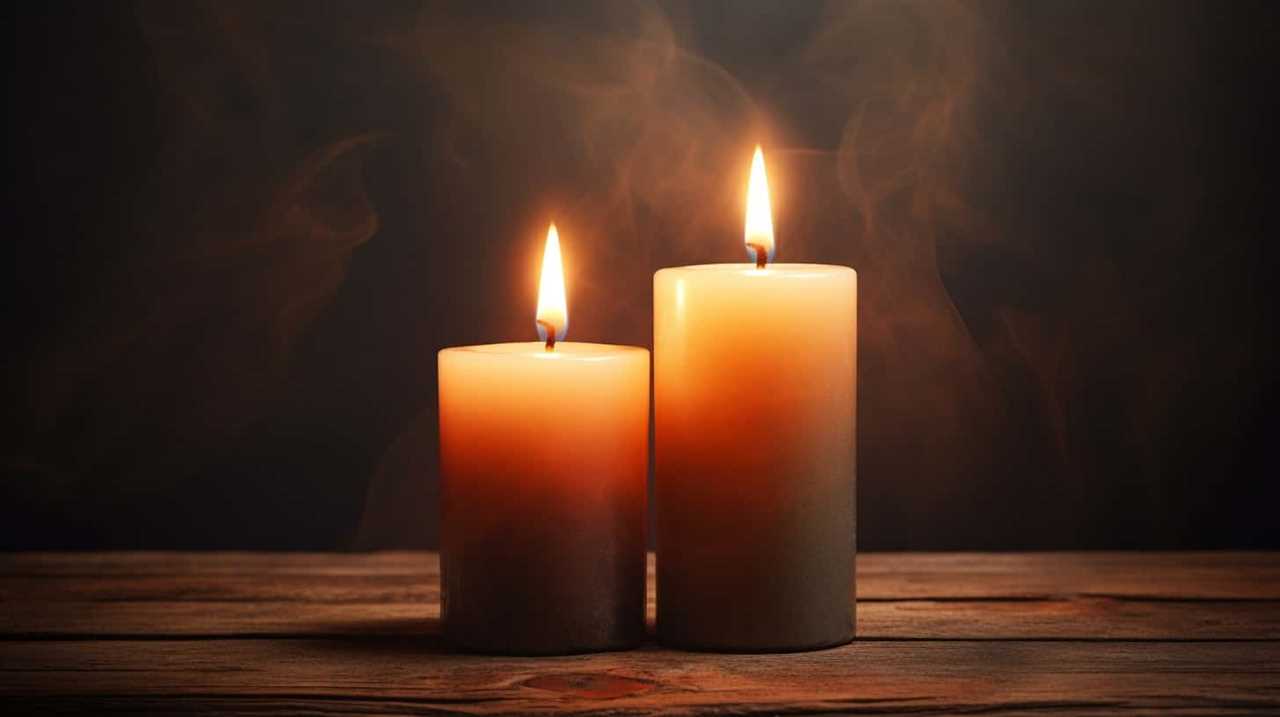
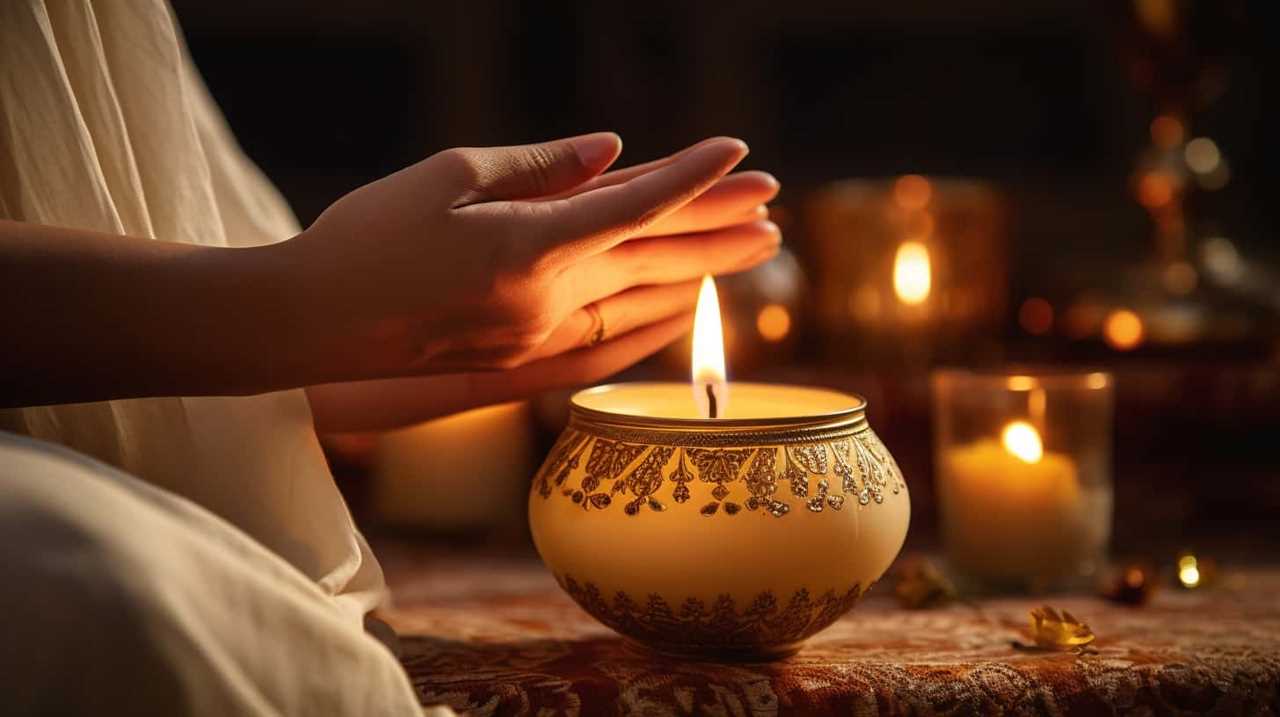
Enjoy Your Homemade Votive Candle
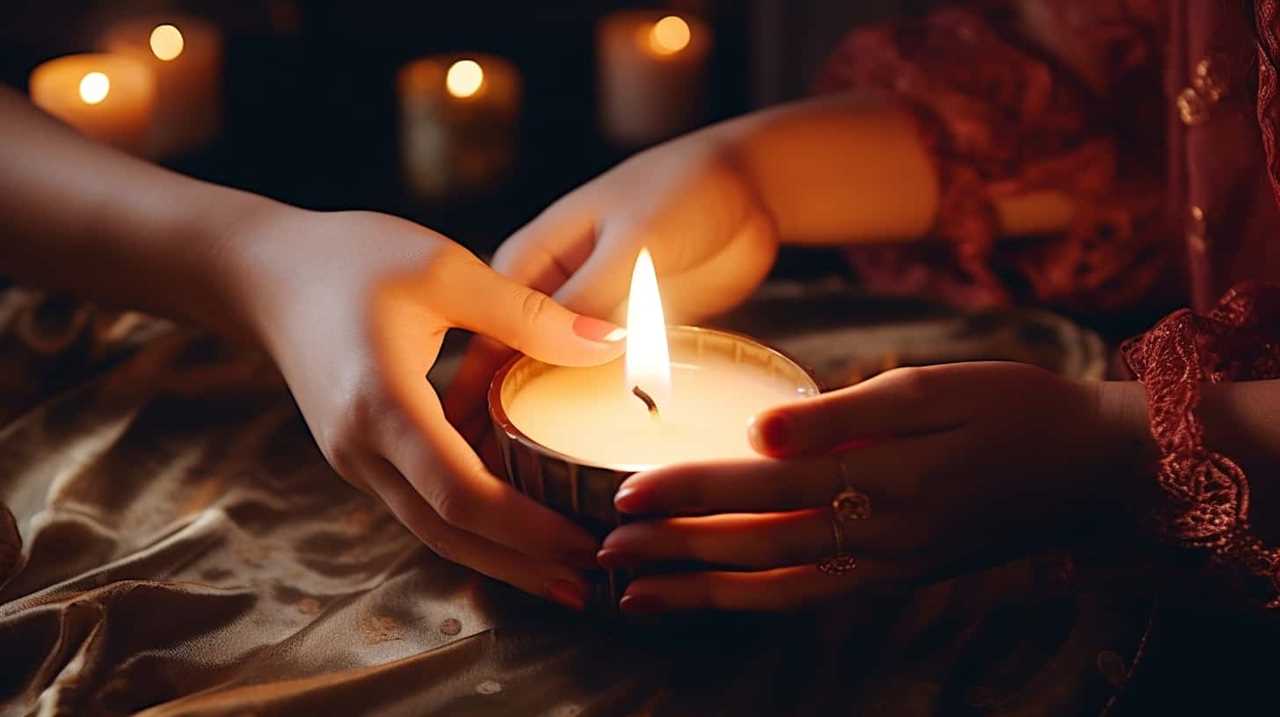
We can enhance our experience by savoring the warm glow and comforting ambiance of our homemade votive candle. Here are some tips to help you fully enjoy your creation:
- Set the mood: Find a quiet and cozy spot in your home where you can relax and unwind. Dim the lights and create a peaceful atmosphere to fully immerse yourself in the candlelight.
- Experiment with scents: Add essential oils or fragrance oils to your candle to create a pleasing aroma. Choose scents that promote relaxation and calmness, such as lavender or chamomile.
- Decorate your votive candle: Personalize your candle by adding decorative elements such as ribbons, beads, or dried flowers. Get creative and make it unique to your taste.
By following these candle making techniques and decorating your votive candle, you can create a soothing and enjoyable experience for yourself and others.

Frequently Asked Questions
How Long Does It Take for the Votive Candle to Cool and Solidify?
It takes a specific amount of time for a votive candle to cool and solidify. The cooling time and solidifying time depend on various factors, such as the type of wax used and the surrounding temperature.
Can I Use Essential Oils as Fragrance for My Votive Candle?
Yes, we can use essential oils as fragrance for our votive candle. Using natural fragrances like essential oils provides several benefits, such as creating a soothing ambiance and promoting relaxation.
How Can I Prevent Air Bubbles From Forming in the Melted Wax When Pouring It Into the Mold?
To prevent air bubbles when pouring melted wax into a mold, we recommend slowly and steadily pouring the wax, avoiding any sudden movements. Additionally, gently tapping the mold can help release any trapped air.
What Is the Average Burn Time for a Homemade Votive Candle?
The average burn time for a homemade votive candle can vary depending on various factors. These factors include the type of wax used, the size of the candle, and the presence of any additives such as fragrance oils.

Is It Possible to Reuse the Votive Candle Mold for Future Candle-Making Projects?
Yes, you can reuse the votive candle mold for future projects. It’s a cost-effective way to continue making candles. Additionally, you can experiment with alternative fragrances, allowing you to create unique scents every time.
Conclusion
So there you have it, a step-by-step guide on how to make your own votive candle.
With just a few supplies and a little bit of time, you can create a beautiful and personalized candle that will bring warmth and ambiance to any space.
So why not give it a try and let your creativity shine?
Illuminate your life with the glow of your very own homemade votive candle.