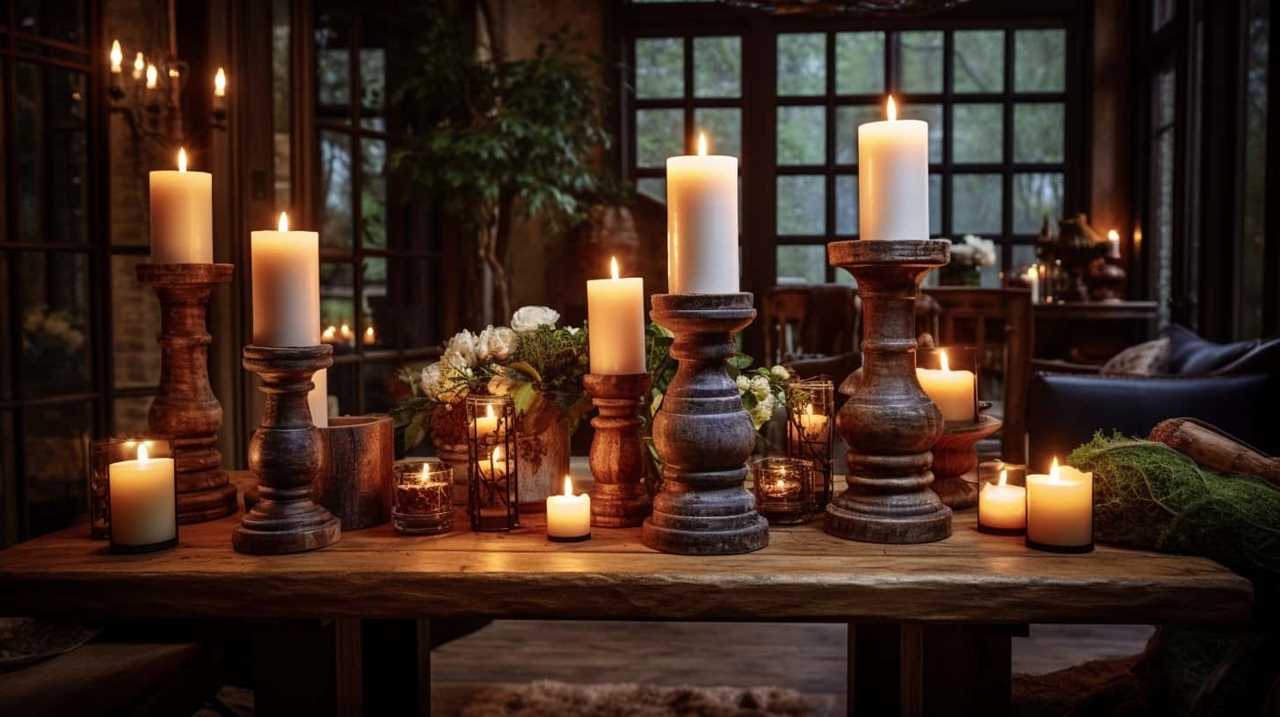
Hello friends, welcome to our tutorial on creating a candle with a silicone mold. Picture this, like a soft flame illuminating a dim space, you can also bring warmth and light to someone’s life with a candle made by your own hands.
In this tutorial, we will show you the simple steps to create a beautiful and fragrant candle that will surely delight those you serve. By using a silicone mold, you can easily shape your candle into various designs, making it a truly personalized gift.
So, let’s gather our supplies and get started on this fulfilling and creative journey of crafting candles with love and care.
Together, we can create something truly special!

Key Takeaways
- Choose the right scent and color for the desired ambiance.
- Properly position and secure the wick in the center of the mold.
- Thoroughly clean and dry the mold before each use.
- Follow candle safety practices to prevent accidents and fire hazards.

Scented Candles Set | Men Candle Set, Scented Candles for Home, Gifts for Men Aromatherapy Gift Set - 4 Pack Manly Gifts for Dad Fathers Day, Soy Candle of Leather/Smoke & Vanilla/Oak/Lavender
Gifts for Him: Scented candles tailored for men make wonderful gifts for Fathers Day, birthdays, holidays, or special...
As an affiliate, we earn on qualifying purchases.
Gather Your Supplies
We will gather the supplies needed to make a candle using a silicone mold.
First, let’s talk about choosing the right scent. Consider the purpose of the candle and the atmosphere you want to create. For a relaxing ambiance, go for lavender or chamomile. If you want a fresh and clean scent, try citrus or eucalyptus.
Next, let’s focus on proper candle wick placement. It’s crucial to position the wick in the center of the mold to ensure an even burn. Use a wick sticker or a small amount of melted wax to secure the wick at the bottom of the mold. Make sure the wick is long enough to reach the top of the candle once it’s poured.
With these supplies and considerations in mind, we’re ready to move on to the next step in making our candle.


UDIKEFO Gifts for Dad, Fathers Day Christmas Birthday Dad Gifts from Daughter Son - Sandalwood Scented Candle
FUNNY GIFTS FOR DAD- This sandalwood candle with a humorous saying: Dad, Please Light This Candle.It is a...
As an affiliate, we earn on qualifying purchases.
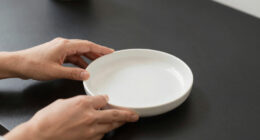
Prepare the Silicone Mold
To ensure a successful candle-making process, proper preparation of the silicone mold is essential.
Before using the mold, it’s important to check for any signs of damage or wear. Inspect the mold for cracks, tears, or any areas that may affect the final candle’s shape. If you notice any issues, it’s best to replace the mold to ensure a smooth and even burn.
Additionally, silicone mold maintenance is crucial for long-lasting use. After each use, clean the mold thoroughly with warm, soapy water and allow it to dry completely. This helps to remove any residue or leftover wax, ensuring that each candle you make comes out perfectly.
Lastly, to prevent air bubbles from forming on the surface of your candle, tap the mold gently on a flat surface to release any trapped air before pouring in the melted wax.

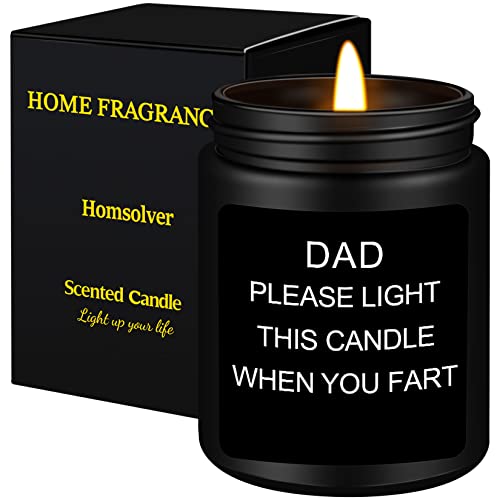
Homsolver Dad Gifts from Daughter Son, Gift for Dad Who Wants Nothing, Birthday Fathers Day Christmas for Stepdad Adoptive Father, Dad's Last Nerve Sandalwood Scented Candle
Dad's Gifts from Daughter: This black cedarwood juniper and sandalwood candle with a humorous saying "Dad's last nerve...
As an affiliate, we earn on qualifying purchases.
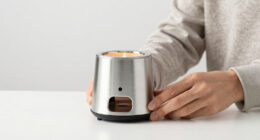
Melt the Wax
To melt the wax, gather all the necessary materials and tools. Here is a table outlining the materials and tools you will need:
| Materials | Tools |
|---|---|
| Wax flakes or blocks | Double boiler or a heat-resistant container |
| Thermometer | Stirring utensil |
| Fragrance oil (optional) | Heat source (stove or hot plate) |
| Color dye (optional) |
When melting the wax, it is important to use proper wax melting techniques to ensure a successful outcome. Start by placing the wax flakes or blocks in a double boiler or a heat-resistant container. If using a double boiler, fill the bottom pot with water and place the wax in the top pot. If using a heat-resistant container, set it on a heat source such as a stove or hot plate. Heat the wax slowly and continuously stir it with a stirring utensil to promote even melting. Use a thermometer to monitor the temperature and ensure it stays within the recommended range for your specific type of wax.
If you encounter any troubleshooting wax melting issues, such as the wax not melting evenly or becoming too hot, try adjusting the heat source or stirring more frequently. Additionally, make sure to follow the manufacturer’s instructions for your specific wax type.
Once the wax is completely melted, it is time to move on to the next step: adding fragrance and color to your candle.

Homsolver Gift for Dad, Fathers Day Christmas Birthday Dad Gifts from Daughter Son - Sandalwood Scented Candle (7OZ)
FUNNY GIFTS FOR DAD- This black cedarwood juniper & sandalwood candle with a humorous saying: Dad, Please Light...
As an affiliate, we earn on qualifying purchases.
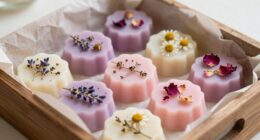
Add Fragrance and Color
Now, let’s talk about adding fragrance and color to your candle.
When it comes to scented candles, the options are endless. From floral to fruity, you can choose a fragrance that suits your preferences.
Additionally, selecting the right dye is crucial for achieving the desired color intensity.
Scented Candle Options
We can enhance our candles by adding fragrance and color options.
Adding fragrance to our candles not only creates a pleasing aroma but also helps to create a relaxing and inviting ambiance. There are various options available for adding fragrance to our candles, such as using essential oils or candle fragrance oils.
Essential oils offer a natural and therapeutic option, while candle fragrance oils provide a wide range of scents to choose from.
To add color to our candles, we can use candle dyes or natural colorants like herbs and spices. Candle dyes come in a variety of colors and allow us to customize our candles to match our preferences and decor.
Additionally, using natural colorants can provide a unique and earthy touch to our candles.

Choosing the Right Dye
For optimum results in adding fragrance and color to our candles, it’s important to choose the right dye.
When it comes to dye selection, there are various options available in the market. It’s essential to choose dyes that are specifically designed for candle making, as they’re formulated to withstand the heat and provide vibrant color. Look for dyes that are labeled as non-toxic and safe for candle use.
Additionally, consider the type of wax you’re using, as some dyes work better with certain wax types.
To achieve unique and custom colors, you can also experiment with color mixing techniques. By blending different dyes together, you can create a wide range of beautiful hues for your candles.

Remember to follow the manufacturer’s instructions and guidelines for dye usage to ensure the best results.
Pour the Wax Into the Mold
Now that we’ve prepared our fragranced and colored wax, it’s time to pour it into the silicone mold.
There are a few key techniques to keep in mind when pouring the wax to ensure a smooth and even fill.
Additionally, we’ll share some tips on how to properly fill the mold to prevent any air bubbles or imperfections in the finished candle.
Wax Pouring Techniques
To pour the wax into the silicone mold, carefully melt the wax and slowly pour it into the mold, ensuring a smooth and even distribution.
Here are some wax pouring techniques to help you create beautiful candles:
- Use a double boiler or a wax melting pot to melt the wax evenly and avoid scorching.
- Stir the wax gently to ensure it melts completely and any additives are well incorporated.
- If you encounter any issues while pouring, such as air bubbles or uneven distribution, try tapping the mold gently on a flat surface to release trapped air.
- To prevent leakage, make sure the mold is secured tightly and use a heat-resistant tape or putty if needed.
- Consider using a pouring pitcher or a ladle with a spout to have better control over the pouring process.
Now that you know how to pour the wax into the mold, let’s move on to some helpful tips for filling the mold and creating stunning candles.
Mold Filling Tips
Once the wax has been melted and prepared, we can begin filling the silicone mold by carefully pouring the wax into it. To ensure a clean and smooth candle, it is important to clean the mold thoroughly before pouring the wax. Any residue or debris in the mold can affect the appearance of the finished candle. Additionally, to prevent air bubbles from forming in the candle, it is crucial to pour the wax slowly and steadily into the mold. This will allow the wax to fill the mold evenly and minimize the chances of air bubbles forming. Taking the time to clean the mold and pour the wax carefully will result in a beautifully crafted candle. Now that the mold is filled, it’s time to let the candle cool and set.

| Mold Filling Tips | |
|---|---|
| Clean the mold | Thoroughly clean the mold to ensure a clean candle. |
| Prevent air bubbles | Pour the wax slowly and steadily to prevent air bubbles. |
In the next section, we will discuss how to let the candle cool and set properly.
Let the Candle Cool and Set
After pouring the melted wax into the silicone mold, we need to allow the candle to cool and set for a minimum of four hours. This step is crucial to ensure that the candle solidifies properly and doesn’t melt or warp when burned.
Here are some important tips to follow during this cooling period:
- Keep the candle in a cool, well-ventilated area to promote even cooling.
- Avoid moving or touching the candle while it sets to prevent any distortions.
- Place a cover or lid over the candle to protect it from dust or debris.
- Check the wax periodically to ensure it’s solidifying evenly and there are no air bubbles forming.
- Practice candle safety by keeping the candle away from flammable objects and never leaving it unattended.
By following these steps, you can ensure a successful cooling and setting process for your homemade candle.
Remove the Candle From the Mold
We carefully lift the silicone mold to remove the cooled and set candle.
Removing the candle from the mold requires some candle release techniques to ensure it comes out smoothly.
First, we gently flex the sides of the mold to loosen the candle. This helps to release any suction that may have occurred during the cooling process.
If the candle is still sticking, we can try placing the mold in the freezer for a few minutes to shrink the wax slightly and make it easier to remove.

Another troubleshooting technique is to warm the mold slightly with a hairdryer, which can help loosen the candle.
Frequently Asked Questions
How Long Does It Typically Take for the Candle to Cool and Set in the Silicone Mold?
Typically, the candle takes a certain amount of time to cool and set in the silicone mold. We can provide you with detailed information on the cooling time and setting time for a candle made using a silicone mold.
Can I Use Any Type of Fragrance and Color for My Candle, or Are There Specific Ones That Work Best With Silicone Molds?
When making candles using a silicone mold, it is important to choose fragrance and color options that are compatible with the mold. Certain fragrances and dyes work better than others, so it’s best to follow guidelines for successful candle removal.
Is It Necessary to Use a Double Boiler to Melt the Wax, or Can I Use a Microwave Instead?
Using a microwave instead of a double boiler to melt wax has its pros and cons. It’s quicker, but heat distribution may be uneven. Be cautious to prevent overheating or burning.

Can I Reuse the Silicone Mold After I Remove the Candle, or Is It a One-Time Use?
Yes, you can reuse the silicone mold after removing the candle. It’s not a one-time use. If you’re looking for alternatives to silicone molds, you can try metal or glass containers.
Are There Any Special Precautions I Should Take When Removing the Candle From the Silicone Mold to Ensure It Doesn’t Break or Get Damaged?
To prevent candle damage when removing from a silicone mold, we recommend a few tips. First, let the candle cool completely before attempting to remove it. Second, gently flex the mold to release the candle. Third, support the candle from underneath to avoid any breakage or damage.
Conclusion
In conclusion, making a candle using a silicone mold is a simple and enjoyable process. By following the steps outlined above, you can create beautiful and fragrant candles to decorate your home or give as gifts.
Remember, ‘A candle loses nothing by lighting another candle.’ So go ahead and spread the warmth and light with your handmade creations.

Happy candle making!