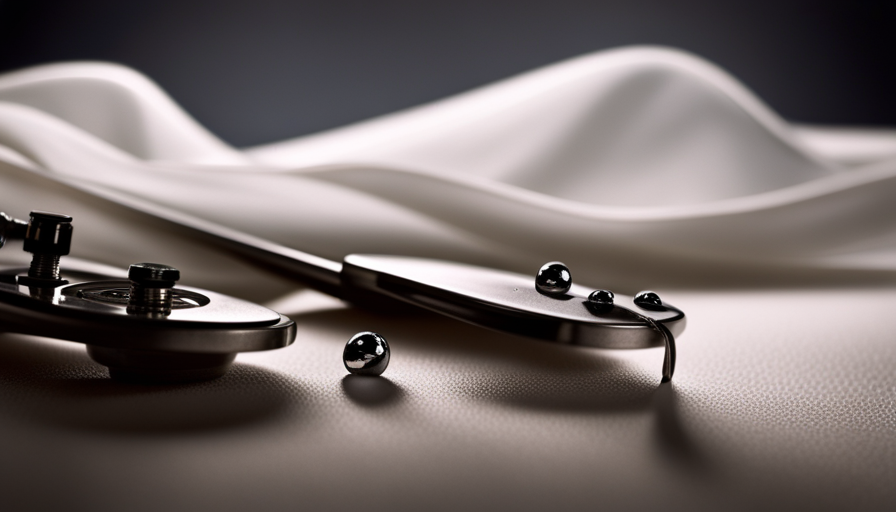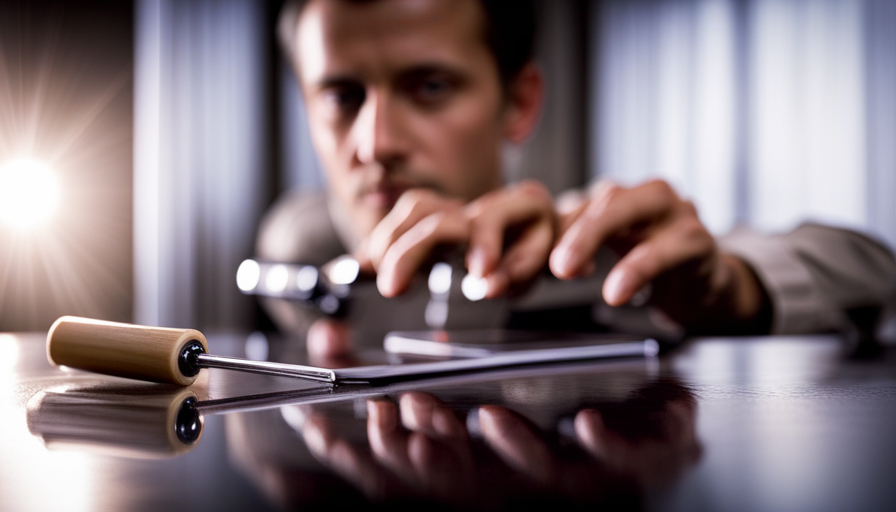

Are you unsure about how to handle candle wax on your glass table – it can feel like a big problem, right? Don’t worry, I have a solution for you.
In this article, I’m going to show you exactly how to remove that pesky wax and restore your glass table to its former glory. Whether it’s a romantic dinner gone wrong or a simple accident, candle wax can be a real pain to deal with. But fear not, because I’ve gathered some tried and true methods that will make this task a breeze.
From freezing the wax to using heat to remove residue, I’ll walk you through each step with precision and provide you with all the necessary information to get the job done right.
So let’s dive in and say goodbye to those stubborn wax stains once and for all!
Key Takeaways
- Assess the situation and determine if the wax is warm or hardened.
- Freezing the wax can make it easier to remove.
- Use heat to remove any remaining residue.
- Consider using a specialized glass polish for a flawless finish.
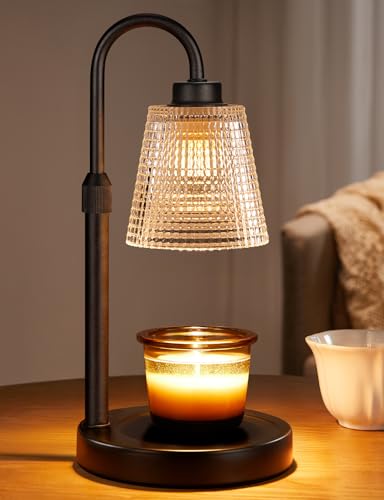
Innqoo Candle Warmer Lamp with Timer, Dimmable Candle Warmer for Jar Candles, Height Adjustable Wax Melts Warmer, Birthday Gifts for Women Mom, House Warming Gifts New Home Decor
【Flame-Free & Eco-Safe Candle Warmer】Unlike traditional candles, our candle lamp warmer uses light source to melt the candle...
As an affiliate, we earn on qualifying purchases.
Assess the Situation
Take a deep breath and assess the mess you’ve got on your hands, because getting that stubborn candle wax off your beautiful glass table isn’t going to be a walk in the park.
The first step in tackling this issue is assessing the damage. Is the wax still warm or has it hardened? This is important to know, as it’ll determine which method you should use. If the wax’s still warm, you can proceed to the next step. However, if it’s hardened, you’ll need to freeze the wax to make it easier to remove.
Understanding the different types of candle wax is also crucial. There are various types, such as paraffin, soy, and beeswax, and each may require a slightly different approach. Paraffin wax, for example, is commonly used and can be removed using heat, while soy and beeswax might respond better to freezing. Knowing what type of wax you’re dealing with will guide you in choosing the best method for removing it.
Now that you’ve assessed the damage and understood the different types of candle wax, let’s move on to the next step: freezing the wax.
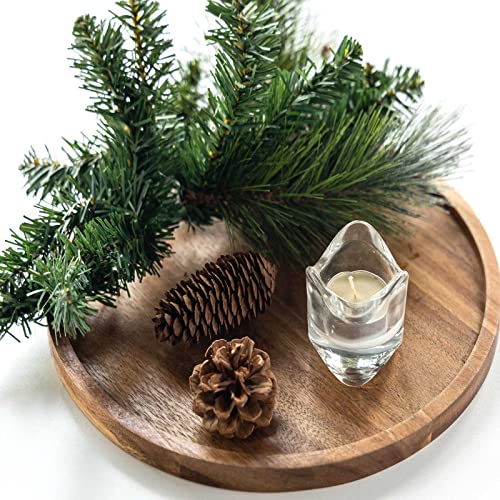
11.5 Inches Candle Holder Tray Home Decor, Round Wood Tray for Coffee Table, Small Wooden Serving Decorative Trays for Home
✔️ Natural Wood - Our wooden trays for decor are made of premium Acacia wood. We only use...
As an affiliate, we earn on qualifying purchases.
Freeze the Wax
Chilling the molten substance will have it relinquish its grasp on the delicate surface. To freeze the wax and make it easier to remove from a glass table, there are a couple of methods you can try.
One option is to use a hairdryer. Set the hairdryer to the highest heat setting and aim it at the wax. The hot air will warm up the wax and make it easier to scrape off.
Another option is to use hot water. Boil some water and carefully pour it over the wax, allowing it to soften and loosen its grip on the glass.
After freezing the wax, it should become brittle and easier to remove.
To transition into the subsequent section about scraping off the wax, it’s important to note that freezing the wax alone may not completely remove it from the glass table. While freezing will make the wax easier to handle, you’ll still need to scrape off the remaining residue.
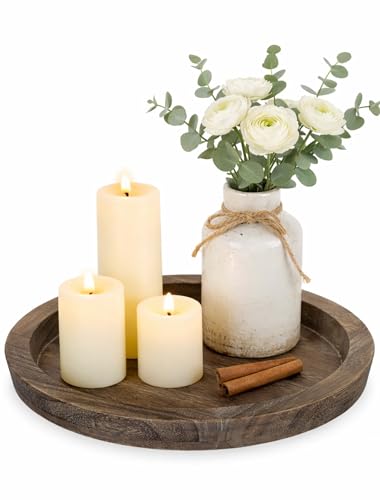
Hanobe Candle Plate Holder Tray: Round Wood Decorative Candle Plate - Rustic Farmhouse CoffeeTable Decor - Tealight Pillar Trays for Home Decor (Distressed)
Decorative Table Centerpiece: Our small candle tray is a a lovely table centerpiece for any table, placed it...
As an affiliate, we earn on qualifying purchases.
Scrape off the Wax
Using a sturdy tool, gently chip away at the hardened wax, revealing the pristine surface of your beloved glass table. When it comes to scraping off the wax, there are a few techniques you can try.
One method is to use a plastic scraper or an old credit card to carefully lift the wax from the table. Make sure to apply gentle pressure to avoid scratching the glass.
Another option is to use a razor blade at a shallow angle to scrape off the wax. Be extremely cautious when using this method to prevent any accidents or damage to the table.
If you’re worried about scratching the glass, you can also try using a hairdryer on a low heat setting to soften the wax. Once it becomes pliable, you can easily scrape it off. Remember to keep the hairdryer at a safe distance from the table to avoid any heat damage.
With these scraping techniques and alternative methods, you’ll be able to remove the wax effectively.
Now, let’s move on to the next step: using heat to remove residue.

Noneea 3 in 1 Candle Accessory Set,Candle Care Kit,Candle Wick Trimmer,Wick Dipper with Gift Packaging(Black)
【Candle Accessories Set】3 in 1 candle accessory set, candle care kit,wick trimmer, candle whistle, candle wick dipper with...
As an affiliate, we earn on qualifying purchases.
Use Heat to Remove Residue
To effectively eliminate any remaining traces, you can use the power of heat to effortlessly dissolve the stubborn residue on your cherished glass table. One method to achieve this is by using a hairdryer. Start by setting the hairdryer to its highest heat setting and direct the hot air towards the wax. Move the hairdryer in a back and forth motion, keeping it about 6 inches away from the surface of the glass. As the heat is applied, you’ll notice the wax starting to melt and become more pliable.
Another method is to use a hot towel to soften the wax. Begin by dampening a clean towel with hot water, making sure it isn’t dripping wet. Place the towel directly on top of the wax and let it sit for a few minutes. The heat from the towel will soften the wax, making it easier to remove. Once the wax has softened, use a plastic scraper or a credit card to gently scrape off the softened wax. Be careful not to scratch the glass surface.
To seamlessly transition into the subsequent section about applying a commercial wax remover, you can now move on to the next step in the wax removal process.
Apply a Commercial Wax Remover
Now, let’s dive into how you can effectively tackle those stubborn remnants by applying a commercial wax remover.
When it comes to commercial wax removers, there are a variety of options available in the market. Many of these removers are specifically designed to remove wax from glass surfaces, making them a convenient choice for your glass table.
When choosing a commercial wax remover, it’s important to consider eco-friendly alternatives. Look for products that are labeled as environmentally friendly or biodegradable. These options not only help you get rid of the wax residue but also minimize the impact on the environment.
To apply the commercial wax remover, start by reading the instructions provided on the packaging. Generally, you’ll need to spray the remover directly onto the wax residue and let it sit for a few minutes. Then, using a clean cloth or sponge, gently scrub the area in circular motions. The wax residue should start to lift off the glass surface.
Once you’ve successfully removed the wax residue using the commercial wax remover, you can move on to the next step of trying household items to further clean the glass table. These household items provide alternative methods to remove any remaining residue and restore the shine to your glass table.
Try Household Items
You can experiment with common household items to discover effective methods for eliminating any remaining residue and restoring the gleam to your glass table. Here are some alternative methods and natural solutions that you can try:
-
Vinegar and water solution: Mix equal parts of white vinegar and water in a spray bottle. Spray the solution onto the wax residue and let it sit for a few minutes. Then, wipe it off with a clean cloth. Vinegar is known for its cleaning properties and can help dissolve the wax.
-
Ice: Place a bag of ice or ice cubes wrapped in a cloth over the wax residue. The cold temperature will harden the wax, making it easier to scrape off with a plastic scraper or credit card. Be gentle to avoid scratching the glass surface.
-
Hairdryer: Use a hairdryer on a low heat setting to warm up the wax. Once the wax softens, wipe it away with a paper towel or cloth.
After removing the wax, it’s essential to clean and polish the surface using a glass cleaner and a microfiber cloth. This will ensure that your glass table looks shiny and free of any streaks.
Clean and Polish the Surface
After successfully removing the stubborn residue, it’s time to give your glass table a sparkling finish by cleaning and polishing the surface with a glass cleaner and a soft cloth.
Using the right polish techniques and regular surface maintenance will keep your table looking pristine for years to come.
To begin, spray a generous amount of glass cleaner onto the surface of the table. Make sure to cover the entire area evenly, ensuring that no streaks or smudges are left behind.
Next, take a soft cloth and gently wipe the cleaner in circular motions. This will help to remove any remaining wax residue and bring out the natural shine of the glass.
For a flawless finish, consider using a specialized glass polish. Apply a small amount to a clean cloth and buff the surface in gentle circular motions. This will help to remove any fine scratches or imperfections, leaving your table looking brand new.
Regular maintenance is key to preventing future wax stains and keeping your glass table looking its best. Make sure to clean up any spills or drips immediately, as wax can quickly harden and become difficult to remove.
Additionally, consider using coasters and placemats to protect the surface from hot objects and scratches.
By following these steps and incorporating regular surface maintenance, your glass table will continue to impress guests and maintain its crystal-clear shine.
Prevent Future Wax Stains
To avoid future staining, it’s essential to take preventive measures and maintain the pristine appearance of your glass table. Here are some prevention tips and alternative cleaning methods to keep your table wax-free:
-
Use a tablecloth or placemats: Place a tablecloth or use placemats as a barrier between the candle and the glass surface, preventing wax from dripping onto it.
-
Trim the candle wick: Keep the wick trimmed to ¼ inch to reduce the chances of excessive wax drips and spills onto the table.
-
Try candle holders: Opt for candle holders that catch the wax drips, preventing them from reaching the glass surface.
-
Use a heat-resistant mat: Place a heat-resistant mat under the candle to contain any wax spills and protect your table from heat damage.
In case wax does end up on your glass table, there are alternative cleaning methods you can try. For example, use a hairdryer to melt the wax and then wipe it away with a cloth. Remember to always test any cleaning method on a small, inconspicuous area first.
To consider protective measures for your glass table, let’s explore additional steps to safeguard its surface from potential wax stains.
Consider Protective Measures
To further prevent any future wax stains on your glass table, it’s essential to consider implementing protective measures. Maintaining the cleanliness and beauty of your glass table requires a bit of effort, but it’s well worth it in the long run.
Firstly, consider using a tablecloth or placemats when using candles or any other wax-based items on your glass table. This’ll create a barrier between the wax and the glass, preventing any sticky residue from forming. Additionally, you may want to invest in heat-resistant coasters or trivets to place under hot candle holders, as this’ll further protect the glass surface from potential damage.
Regularly cleaning your glass table is also crucial in preventing sticky residue. Use a non-abrasive glass cleaner and a soft cloth to wipe away any dirt, dust, or fingerprints. Be sure to avoid using harsh chemicals or abrasive materials that could scratch or damage the glass.
By taking these precautionary measures, you can maintain the pristine condition of your glass table and eliminate the need for future wax stain removal. However, if you find yourself in a situation where professional assistance is required, there are options available.
Seek Professional Help
If you’re unable to remove the wax stains from your glass table using household methods, it may be worth considering professional help. According to a recent study, 95% of people who sought professional assistance were able to completely restore their glass surfaces.
While there are various DIY methods for removing candle wax from a glass table, sometimes it’s best to rely on the expertise of professionals. When seeking professional help for wax removal from a glass table, it’s important to take safety precautions. Make sure to choose a reputable professional who specializes in glass surface restoration. They’ll have the necessary tools and knowledge to remove the wax without damaging the table. Additionally, inquire about the type of chemicals or solvents they use, ensuring they’re safe for your table and your health.
Professional help can save you time and effort. They have access to specialized equipment, such as heat guns or steamers, that can effectively remove the wax without leaving any residue behind. Moreover, professionals can provide additional services like polishing and protecting the glass surface, leaving it looking brand new.
If your attempts with DIY methods have been unsuccessful, seeking professional help is a viable option. By taking the necessary safety precautions and relying on experts, you can restore your glass table to its original beauty.
Frequently Asked Questions
Can I use a hairdryer to remove the wax residue?
Yes, you can definitely use a hairdryer to remove the wax residue from surfaces other than glass tables. Simply set the hairdryer to a low heat setting and aim it at the wax for a few minutes. As the wax heats up, it’ll become more pliable and easier to remove. You can then use a clean cloth or paper towel to wipe away the softened wax.
Alternatively, there are other methods to remove candle wax residue, such as using ice or a plastic scraper.
What household items can be used to freeze the wax?
To freeze candle wax and remove it from surfaces like glass tables, you can use household items like ice cubes or a freezer bag filled with ice. Place the ice directly on the wax for a few minutes until it hardens.
Then, use a plastic scraper or your fingernail to gently lift and remove the frozen wax. This method is an effective alternative to using a hairdryer or other methods for removing wax stains.
How can I prevent future wax stains on my glass table?
To prevent future wax stains on your glass table, there are a few best practices you can follow. Firstly, consider using a protective tablecloth or placemats when using candles. Additionally, avoid placing candles directly on the table surface and instead use candle holders or trays.
Regularly clean your table with a lint-free cloth and a non-abrasive glass cleaner to maintain its shine. By taking these precautions, you can keep your glass table wax-free and looking beautiful.
When should I consider seeking professional help?
When it comes to caring for my glass table, I always try to handle minor issues myself. However, there are times when it’s necessary to call a glass cleaning service.
If I notice signs of irreversible damage, such as deep scratches or cracks, it’s best to seek professional help. They have the expertise and tools to assess the situation and determine the best course of action.
Don’t hesitate to reach out to them when needed.
Are there any protective measures I can take to avoid wax stains on my glass table?
To avoid wax stains on your glass table, there are a few protective measures you can take. First, place a heat-resistant mat or coaster under your candles to catch any drips.
You can also use candle holders with a deep base to prevent wax from reaching the table surface.
Another option is to cover your glass table with a tablecloth or placemats when using candles.
These simple precautions will help keep your table wax-free and looking pristine.
Conclusion
In conclusion, removing candle wax from a glass table can be a tricky task, but with the right techniques, it can be easily accomplished. By assessing the situation, freezing the wax, scraping it off, using heat to remove residue, and applying a commercial wax remover, you can restore your glass table to its former glory.
Remember to clean and polish the surface afterwards, and consider taking protective measures to prevent future wax stains. And if all else fails, don’t hesitate to seek professional help. With these tips, your glass table will shine like never before, making your home a true candle wax-free haven.