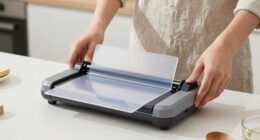
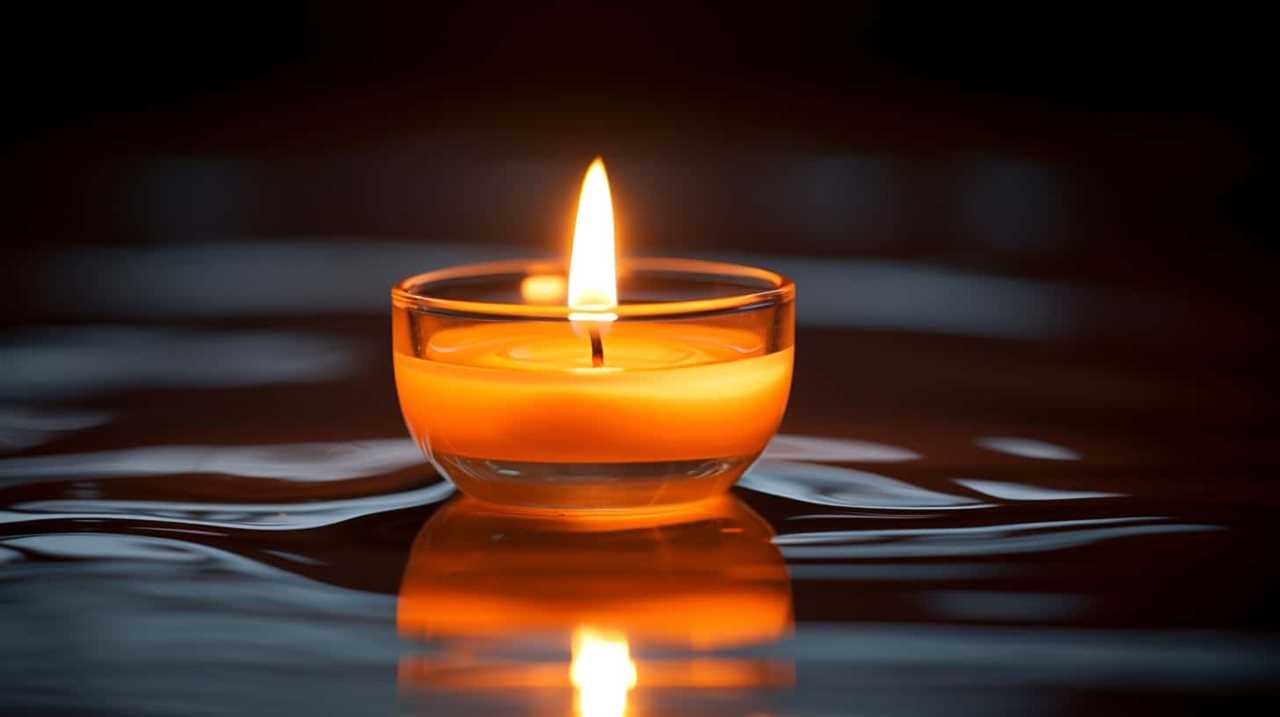
Today, you have joined us to learn how to correctly position a candle wick in the center. Believe us, this skill is extremely important to perfect!
Ensuring your wick is perfectly centered not only helps your candle burn evenly, but it also enhances its overall appearance.
We’re going to guide you through the process step by step, so you can create beautiful, well-balanced candles every time.
From gathering the necessary tools to adjusting if the wick is off-center, we’ve got you covered.
Stay patient, take your time, and soon you’ll be a pro at this essential candle-making technique.
Let’s get started!
Key Takeaways
- Proper wick centering is important for achieving an optimal burning experience and enhancing the appearance of the candle.
- Off-center wicks can cause uneven burning, excessive smoke, and wasted wax.
- Using wick centering tools and wick stickers can help achieve precise wick placement.
- Gathering the necessary tools such as a wick holder, wick stickers, and a ruler is essential for achieving precise wick placement.

Kirecoo Candle Snuffer Extinguisher with Long Handle, Polished Stainless Steel Wick Flame Snuffer for Putting Out Wick Flame Safely, Black Candle Accessory
Candle Accessory - Candle snuffer extinguisher for any candle Lover, it perfect for housewarming, xmas or birthday.
As an affiliate, we earn on qualifying purchases.
Understanding the Importance of Centering
In this article, we’ll explore the importance of centering the candle wick. Achieving perfect wick placement is vital for ensuring an optimal burning experience and maximizing the life of your candle.
When the wick isn’t properly centered, it can lead to uneven burning, excessive smoke, and wasted wax. To avoid these issues, there are several wick centering techniques you can employ.
One effective method is to use a wick centering tool that helps you position the wick in the center of the container before pouring the wax. Alternatively, you can use a wick sticker to secure the wick in place at the bottom of the container.

Noneea 2PCS Candle Snuffer, Extinguish Candle Flame Safely with Long Handle Putting Out Fire, Candle Extinguisher Tool (Rose Gold)
【Premium Materials】The candle snuffer is made of polished stainless steel with attractive polished, have a long longevity, sturdy...
As an affiliate, we earn on qualifying purchases.
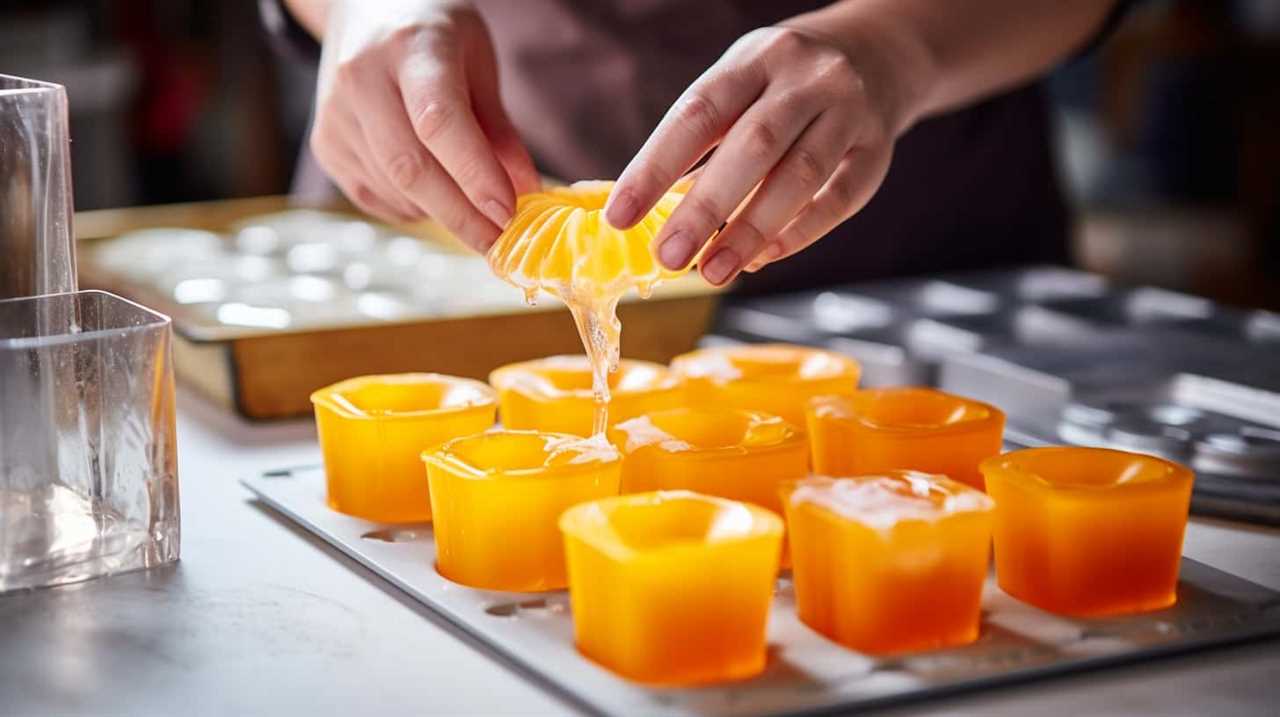
Gather the Necessary Tools
Now that we understand the importance of centering the candle wick, let’s gather the necessary tools to achieve precise positioning.
There are a few key tips to keep in mind when it comes to wick placement, such as ensuring it’s straight and not touching the container’s sides.
To achieve proper wick centering, you’ll need tools like a wick holder, wick stickers, and a ruler for accurate measurements.

These tools will help you achieve a beautifully centered wick for a clean and even burn.
Wick Placement Tips
To ensure proper wick placement, we’ll begin by gathering the necessary tools. Here are the items you’ll need:
- Candle wick: Choose a wick that’s appropriate for the size of your candle. A thicker wick is ideal for larger candles, while a thinner wick works well for smaller ones.
- Wick holder: This tool helps keep the wick centered during the pouring process. It ensures that the wick remains in the middle of the candle, promoting even burning.
- Wick stickers: These adhesive tabs are used to secure the wick to the bottom of the container. They prevent the wick from moving or floating when the wax is poured.
- Wick trimmer: This tool is used to trim the wick to the recommended length, which is typically around ¼ inch. Trimming the wick helps maintain a steady flame and prevents excessive smoking.
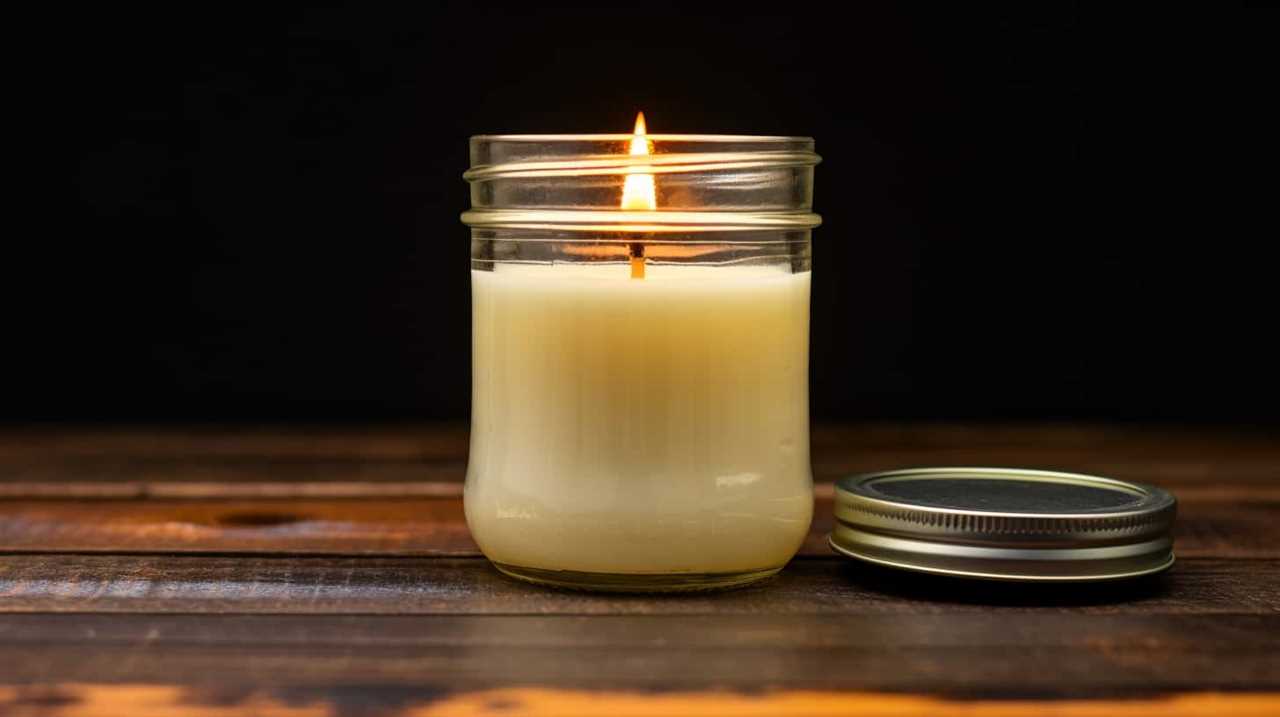
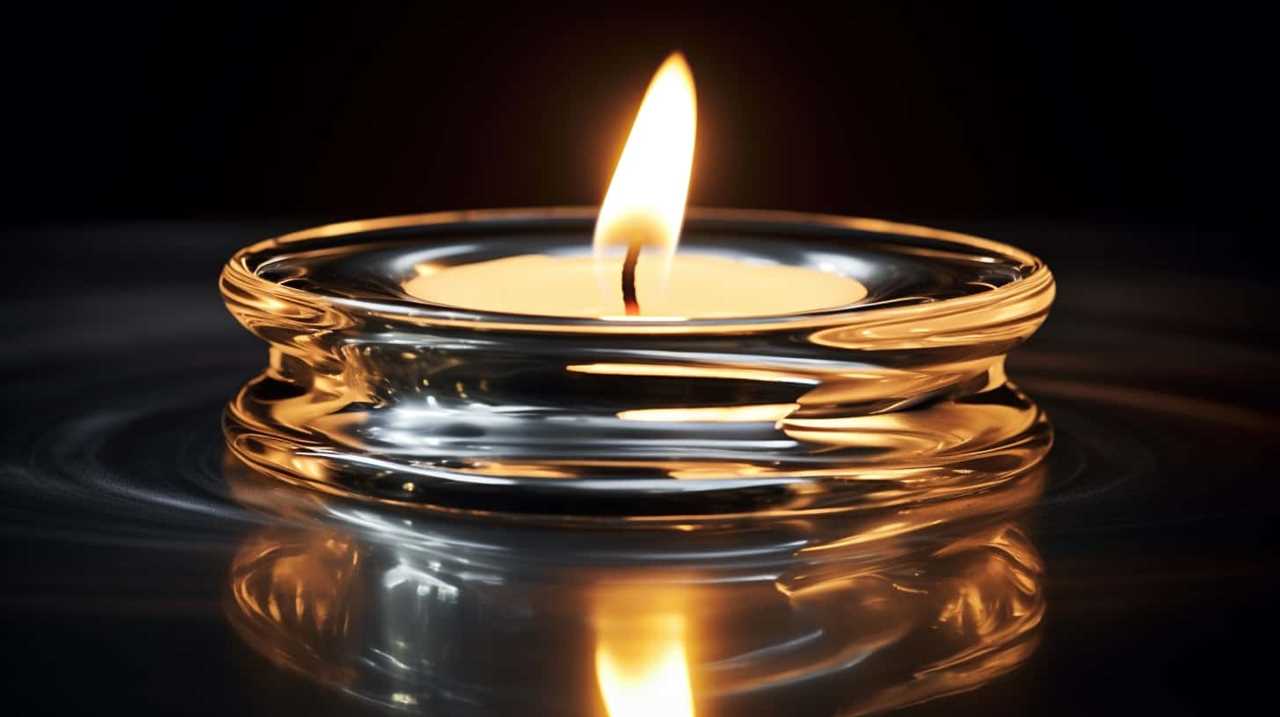
Proper Wick Centering
We frequently gather the necessary tools for properly centering the candle wick. Wick centering techniques play a crucial role in ensuring a clean and even burn, as well as preventing potential safety hazards. When the wick is off-center, it can cause uneven melting and lead to tunneling, where wax accumulates around the edges instead of burning evenly across the surface. To help you troubleshoot wick position and achieve optimal centering, we have prepared a handy table with some essential tools:
| Tool | Description |
|---|---|
| Wick centering device | Metal or plastic clip that holds the wick in place |
| Wick trimmers | Specialized scissors to trim the wick |
| Pencil or chopstick | To gently nudge the wick into position |
| Ruler or tape measure | For precise measurements |
| Tweezers | To adjust the wick if necessary |
Tools for Precise Positioning
First, let’s gather the necessary tools for precise wick positioning. To achieve the perfect centering of your candle wick, you’ll need a few key items. Here’s what you’ll need:
- Wick centering tool: This handy tool helps you precisely position the wick in the center of the candle. It typically consists of a metal or plastic base with a hole in the center to hold the wick upright.
- Ruler or measuring tape: Accurate measurements are crucial when it comes to wick centering techniques. Use a ruler or measuring tape to ensure your wick is centered perfectly.
- Pencil or marker: Marking the center of your candle before inserting the wick can help you achieve more accurate results. Use a pencil or marker to make a small dot at the center.
- Tweezers or needle-nose pliers: These tools will come in handy when adjusting the wick’s position if it’s not centered properly.

Gold Metal Candle Snuffer with Long Handle,Wick Extinguisher,Elegant Home Decor, Candle Accessories and Fireplace Tools (Antique Gold Finish)
ELEGANT DESIGN: Beautifully crafted metal candle snuffer featuring an antique gold finish that adds a touch of sophistication...
As an affiliate, we earn on qualifying purchases.
Prepare Your Candle for Wick Placement
How can we ensure that our candle is ready for wick placement?
Before we can achieve perfect wick placement, it’s essential to prepare our candle properly.
First, ensure that the candle is clean and free from any debris or dust. This will provide a smooth surface for the wick to adhere to and prevent any interference with the flame.
Next, check the size of the wick hole in the candle. If it’s too small, use a wick centering technique to enlarge it slightly using a skewer or toothpick.

Finally, make sure that the candle is at room temperature before inserting the wick. This will prevent any warping or melting of the wax during the process.

TEENGSE Candle Snuffer Accessory, 5.9inch Long Handle Candlesnuffer Polished Wick Extinguisher Stainless Steel Wick Flame Snuffer Metal Candle Accessory, Black
▶【Perfect Handle Size】:The candle snuffer is 5.9inch long.You can comfortably hold its end and easily extinguish the flame...
As an affiliate, we earn on qualifying purchases.
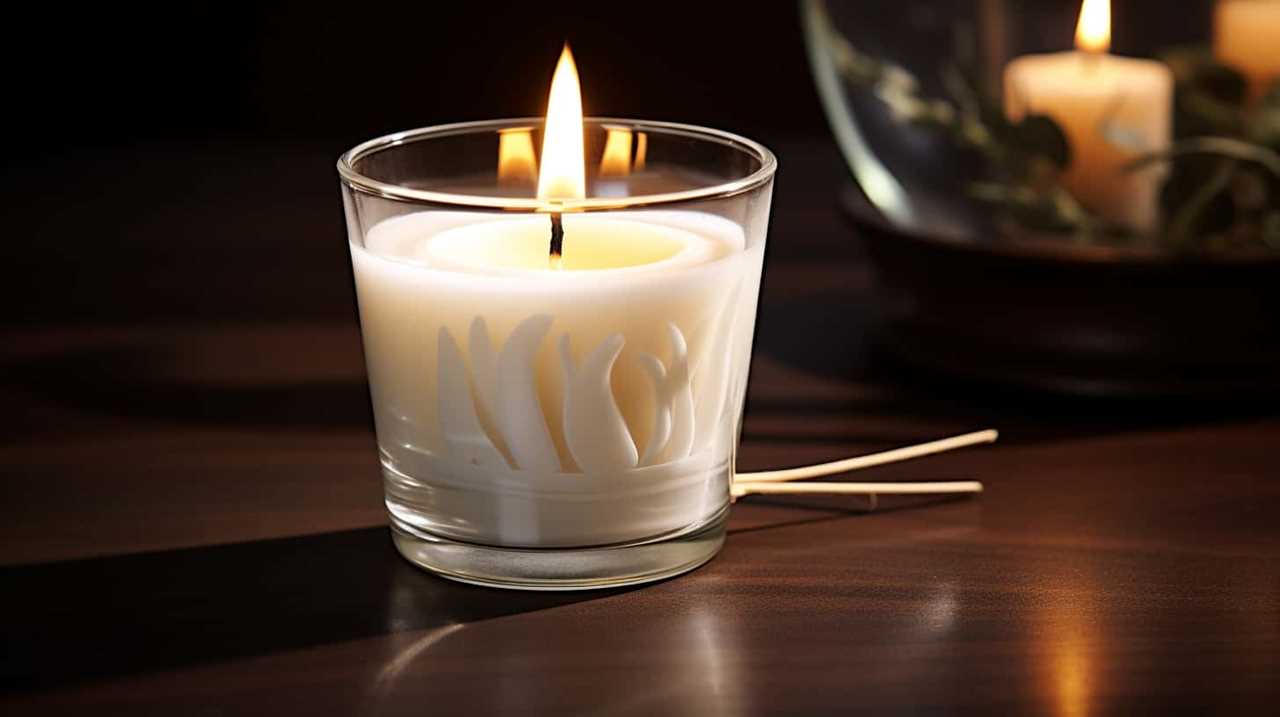
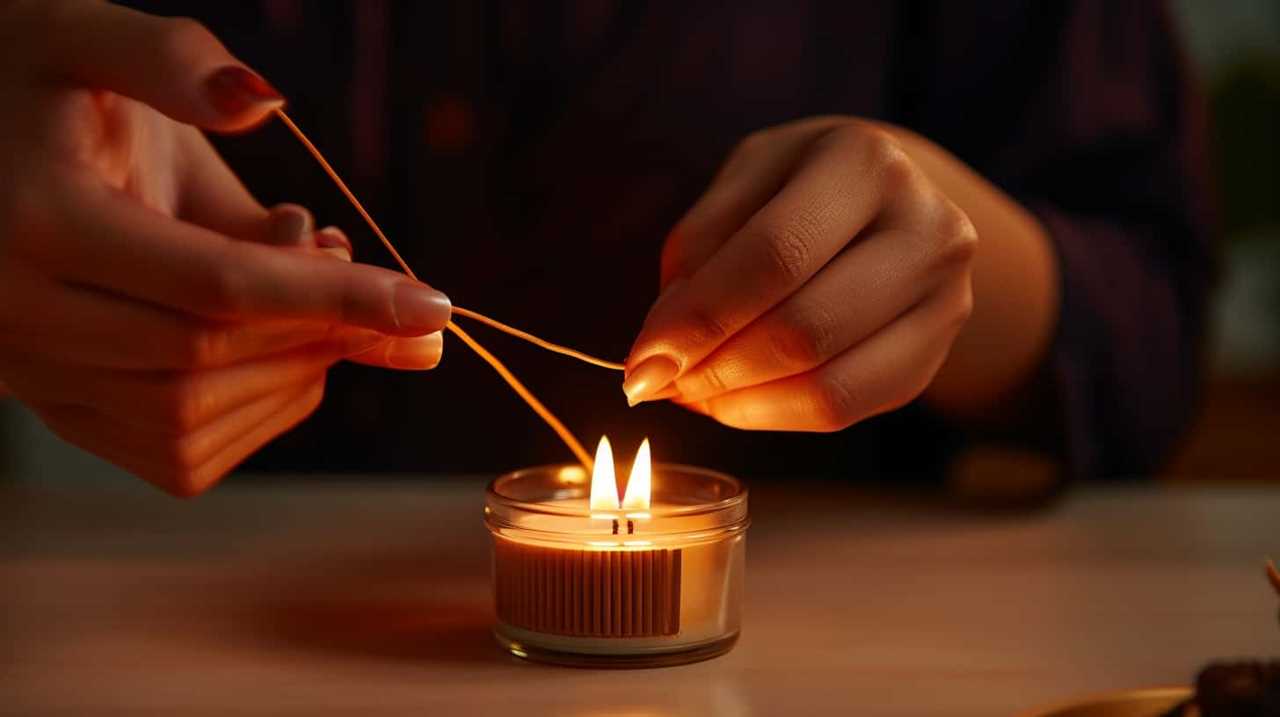
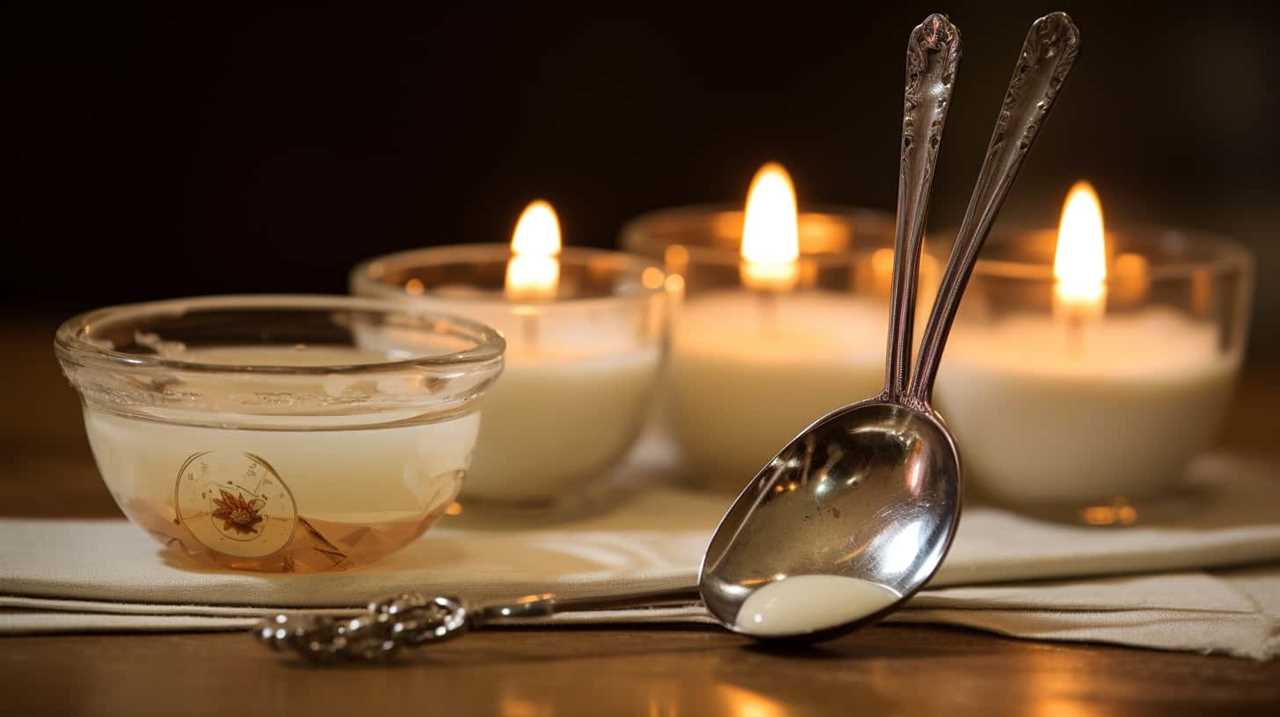
Measure and Cut the Wick
Now let’s talk about the crucial step of measuring and cutting the wick for your candle. Getting the right length is essential for a successful burn, so make sure to measure it properly before cutting.
Using the proper cutting techniques will ensure a clean and even burn, preventing any issues like tunneling or excessive smoke.
Additionally, centering the wick in the candle is important to promote an even melt pool and prevent the wick from leaning or causing uneven burning.
Wick Length and Measurement
To ensure a properly centered candle wick, we begin by measuring and cutting the wick to the appropriate length. This step is crucial for achieving an even and steady burn.
Here are some important considerations when it comes to wick length and measurement:
- Wick trimming:
- Regularly trim the wick to about ¼ inch before each burn.
- This prevents the flame from becoming too large and creating excessive smoke or soot.
- Wick maintenance:
- Keep an eye on the wick during the burning process.
- If the flame starts flickering or the wick develops a mushroom-shaped tip, it’s time to trim it again.
Proper Wick Cutting Techniques
We measure and cut the wick to the appropriate length using a ruler or scissors. When trimming the wick, it’s essential to follow proper techniques to ensure optimal burning performance and avoid potential safety hazards.
One effective technique is to use wick centering tools, such as wick trimmers or wick holders. These tools help to maintain the wick’s position in the center of the candle, promoting an even burn and preventing the formation of soot or tunneling.
To measure the correct wick length, it’s recommended to consult the candle manufacturer’s guidelines or use the general rule of trimming the wick to about 1/4 inch. Properly trimmed wicks contribute to a clean and efficient burn, enhancing the overall candle experience.
Now, let’s delve into the importance of wick centering and its impact on candle performance.
Importance of Wick Centering
After measuring and cutting the wick to the appropriate length, our next step is to focus on the importance of wick centering. Proper alignment of the wick is crucial for the stability of the candle and ensures optimal burning performance.
Here are the benefits of proper wick alignment:

- Improved Burn Time: When the wick is centered, it allows for an even distribution of heat, resulting in a longer burn time. This means you can enjoy your candle for more extended periods.
- Reduced Tunneling: A properly centered wick helps prevent tunneling, which is when the wax burns down the center, leaving wasted wax on the sides. This ensures that the entire candle melts evenly, maximizing its lifespan.
Attach a Wick Sustainer
To secure the candle wick in place, my partner and I use a wick sustainer made of metal or glass. Wick sustainers are small devices that hold the wick in the center of the candle while it’s being poured and cooled. They come in various shapes and sizes to accommodate different candle sizes and wick thicknesses.
The wick sustainer is attached to the bottom of the wick and then placed in the center of the candle container. This ensures that the wick remains straight and centered as the wax hardens. Wick sustainers are essential tools for achieving an even burn and preventing the wick from leaning or tunneling.
They make the candle-making process much easier and help create beautiful, well-centered candles.
Use a Wick Centering Device
By utilizing a wick centering device, we can ensure that the candle wick remains perfectly aligned during the pouring and cooling process. This tool is designed specifically to hold the wick in place, preventing it from moving or leaning to one side.

Here are some advantages of using a wick centering device:
- Convenience: A wick centering device eliminates the need for manual adjustment, saving time and effort.
- Accuracy: These devices provide precise wick positioning, ensuring a consistent burn throughout the candle’s lifespan.
When using a wick centering device, it’s important to consider alternative options and techniques for wick centering, such as:
- Pencil and tape method: Simply place a pencil across the container’s opening and secure the wick to it using tape.
- Clothespin technique: Attach a clothespin to the wick, allowing it to hang in the center of the container.
Alternatives to Wick Centering Devices
For alternative methods of wick centering, we can consider using household items readily available. If you don’t have a wick centering device on hand, don’t worry! There are several DIY wick centering methods you can try.
One option is to use two pencils or chopsticks. Simply place them on either side of the wick, ensuring they’re evenly spaced and the wick is centered.
Another option is to use bobby pins or paperclips. Bend them into a U-shape and insert them into the wax, parallel to the wick, to hold it in place.
Additionally, you can use a clothespin or a binder clip. Attach it to the wick and rest it on the rim of the container to keep the wick centered while the wax sets.
With these wick centering alternatives, you can achieve a perfectly centered wick without needing specialized tools.
Using a Wick Sticker
Using a wick sticker helps ensure that the wick stays centered while the candle is being made. It’s a convenient and effective tool that many candle makers rely on.
Here are a few reasons why using a wick sticker is beneficial:
- Easy to use: Wick stickers are simple to apply and remove, making the candle-making process hassle-free.
- Keeps the wick in place: With a wick sticker, you can easily secure the wick at the bottom of the container, preventing it from moving around.
- Provides stability: A centered wick promotes even burning, ensuring that the candle burns uniformly and efficiently.
While there are alternatives to wick stickers, such as using a hot glue gun or a wick centering device, a wick sticker offers convenience and reliability.
Now that the wick is securely centered, let’s move on to the next step: anchoring the wick in place.
Anchoring the Wick in Place
To ensure the wick remains securely in place, we’ll anchor it using a small amount of melted wax. Anchoring the wick is an essential step in the candle-making process, as it prevents the wick from moving or leaning to one side while the wax sets.
There are several wick centering techniques you can use to secure the wick in place. One common method is to pour a small amount of melted wax into the bottom of the container and then place the wick in the center of the wax. Allow the wax to cool and harden, creating a solid base for the wick.
Another technique is to use a wick holder or wick centering device, which helps keep the wick in place as the wax solidifies.
Whichever method you choose, ensuring the wick is securely anchored will result in a well-centered and evenly burning candle.
Checking for Proper Centering
Now let’s talk about the important points to keep in mind when it comes to checking for proper centering of the candle wick. Proper centering ensures an even burn and prevents tunneling, so it’s crucial to get it right.

We’ll explore different methods for centering the wick and discuss the tools that can help you achieve precise centering.
Methods for Centering Wick
We frequently check for proper centering of the wick using a simple method. Ensuring the wick is centered is crucial for an even and clean burn. Here are two effective wick centering techniques we use:
- The Eye Test: We visually inspect the wick’s position in the candle. We look for a straight and centered alignment. If the wick is leaning to one side, we gently adjust it by using a wick centering tool or a toothpick.
- The Tug Test: We gently tug on the wick to see if it moves freely. If the wick is properly centered, it should move with ease. If it feels stuck or resists movement, we know it needs adjustment.
Tools for Precise Centering
To ensure accurate centering of the wick, we often rely on specific tools designed for precise alignment. These tools are essential in achieving perfect centering, as they enable us to check and adjust the position of the wick with ease.
One common tool used is a wick centering device. This device consists of a metal or plastic piece with holes in it, allowing the wick to pass through. By placing the wick through the appropriate hole, we can ensure that it’s perfectly centered in the candle.

Another tool that comes in handy is a wick bar. This tool is a metal rod with a small hook on one end. We can use the hook to grab the wick and pull it towards the center, ensuring it’s aligned correctly.
Additionally, a ruler or measuring tape can be useful for measuring the distance between the wick and the edges of the candle to ensure proper centering.
These tools for precision make the process of centering the wick much easier and more efficient, resulting in a perfectly centered candle.
Adjusting if the Wick Is Off-Center
If the wick is off-center, carefully tilt the candle and gently push it to the desired position using a small tool or the tip of your finger. Adjusting wick alignment is important to ensure an even burn and prevent tunneling. Here are some tips to fix off-center wicks:

- Use a small tool: A toothpick or a skewer can be handy to nudge the wick back into place without touching the hot wax.
- Use your finger: If the wick isn’t too hot, you can use the tip of your finger to gently push it back to the center.
Remember to be patient and take your time when fixing off-center wicks. Rushing may cause the wick to become crooked again, leading to uneven burning.
Now, let’s move on to the next section and explore the importance of being patient throughout the candle centering process.
Be Patient and Take Your Time
Take our time and be patient throughout the candle centering process to ensure the best results. Patience is essential when it comes to centering a candle wick. Rushing through this step can lead to uneven burning and a shorter candle lifespan.
By taking our time, we can carefully adjust the wick to the exact center of the candle, ensuring an even and steady burn. The importance of patience can’t be overstated, as it allows us to make small adjustments and ensure the wick is perfectly aligned.

When we rush, we may end up with a wick that’s slightly off-center, resulting in an uneven burn and wasted wax. By being patient and taking our time, we can achieve a beautifully centered wick and enjoy the benefits of a longer-lasting, evenly burning candle.
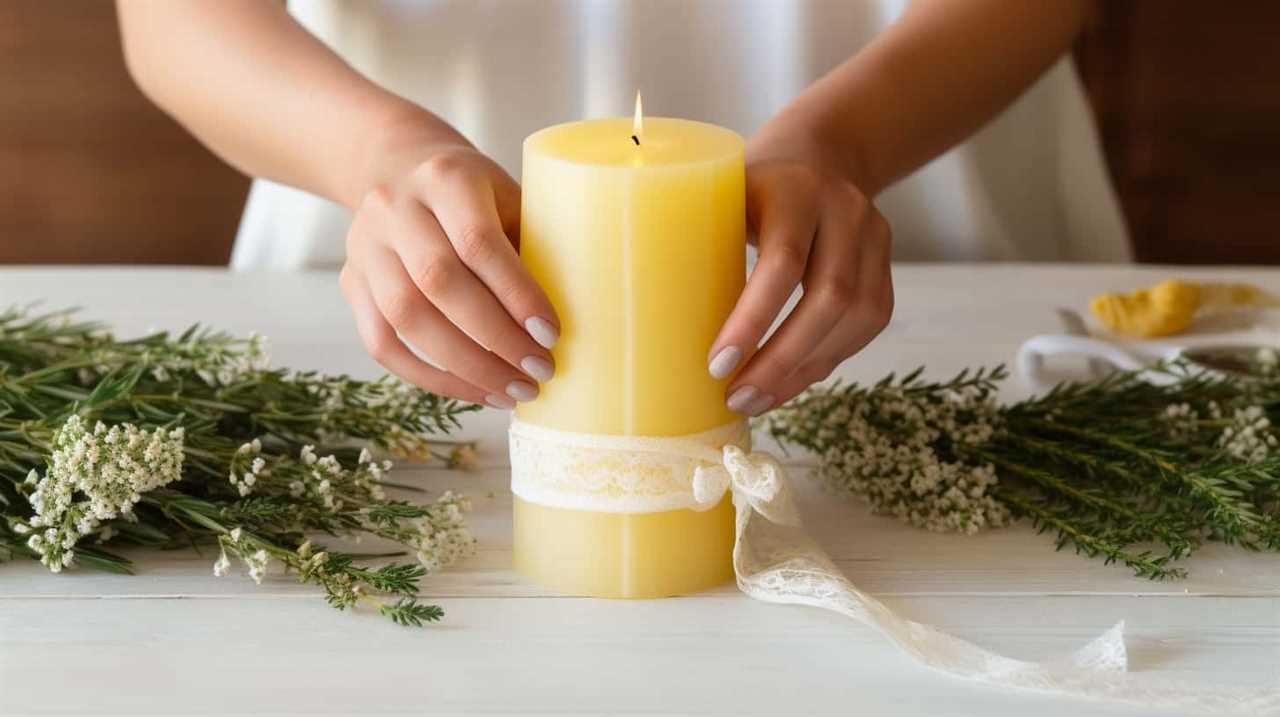
Tips for Different Candle Types
When it comes to different candle types, understanding how to center the wick is crucial. For tapers, it’s important to position the wick in the center to ensure an even burn.
When dealing with pillar candles, taking the time to properly center the wick will prevent tunneling and ensure an efficient burn.
Mastering these techniques will help us create beautifully burning candles every time.

Wick Positioning for Tapers
To achieve optimal wick positioning for tapers, we recommend experimenting with different candle types. Tapers, with their long and slender shape, require special attention when it comes to centering the wick. Here are some tips to help you get it right:
- Wick Positioning Tools
- Use a wick centering tool: This handy tool helps you position the wick in the center of the taper. Simply insert the tool into the candle and adjust the wick to the desired position.
- Try a wick holder: These small metal or plastic devices hold the wick in place while the candle is being poured. They ensure that the wick stays perfectly centered throughout the process.
- Troubleshooting Wick Centering
- Trim the wick: If the wick is off-center, try trimming it slightly. This will help redirect the flame towards the center.
- Re-position the wick: If the wick is too close to one side, gently nudge it towards the center using a wick centering tool or a toothpick.
With these tips and tools, you’ll be able to achieve perfectly centered wicks for your tapers, ensuring an even burn and a beautiful candle every time.
Centering Wicks in Pillars
For centering wicks in pillars, there are three key tips that can help achieve optimal positioning for different candle types.
Wick centering techniques are essential to ensure an even burn and prevent tunneling or uneven melting.
Here are the three tips for troubleshooting wick placement in pillar candles:
- Use a wick centering device: These devices, made of metal or plastic, can be placed at the bottom of the mold or container before pouring the wax. They help keep the wick centered as the wax solidifies.
- Secure the wick with a wick sticker: Before pouring the wax, attach a wick sticker to the bottom of the wick and press it firmly onto the base of the mold or container. This will keep the wick in place during the pouring process.
- Use a wick holder: If you’re making a pillar candle with multiple wicks, using a wick holder can help keep the wicks centered and evenly spaced. Simply place the wick holder over the opening of the mold or container and insert the wicks through the holes.
Troubleshooting Common Wick Centering Issues
We often encounter several common wick centering issues when making candles. Properly centering the wick is crucial for a clean and even burn. Here are some common wick placement mistakes and tips for troubleshooting:
- Uneven wax pool:
- Ensure the wick is placed in the center of the container before pouring the wax.
- Use a wick centering tool to adjust the wick if it starts to drift off-center during the cooling process.
- Tunneling:
- If your candle is tunneling, it means the wick isn’t properly centered.
- Gently push the wick towards the center of the candle using a wick centering tool or a skewer.
Frequently Asked Questions
How Long Does It Take for the Candle Wick to Center Itself?
It doesn’t take long for the candle wick to center itself. To fix an off center wick, gently nudge it back to the middle. To prevent it from moving during burning, make sure to trim the wick and place it in the center before lighting.
Can I Use a Regular Household Item Instead of a Wick Centering Device?
Using a household alternative instead of a wick centering device can be an option. Pros include cost savings and convenience. However, cons may include difficulty in achieving precise centering and potential fire hazards.
What Should I Do if the Wick Sustainer Keeps Falling Off?
If the wick sustainer keeps falling off, there are a few things we can do to fix it. First, try using a small amount of hot glue to secure it in place. Additionally, you can try using a wick centering device for easier maintenance.
How Do I Know if the Wick Is Properly Centered Before Lighting the Candle?
To troubleshoot candle wick issues, we recommend checking if the wick is properly centered before lighting the candle. This ensures an even burn. Follow these tips for properly trimming candle wicks to maintain a clean and centered wick.
What Can I Do if the Wick Keeps Moving and Becoming Off-Center While the Candle Is Burning?
To prevent the candle wick from moving and becoming off-center while burning, here are some tips we’ve found helpful: trim the wick to 1/4 inch, ensure the candle is on a level surface, and avoid placing it in drafty areas.
Conclusion
In conclusion, centering the wick of your candle is a crucial step in ensuring an even and efficient burn. By following the steps outlined in this article and using the necessary tools, you can easily center your candle wick and avoid common issues.
Remember to be patient and take your time, as this process requires precision. With a properly centered wick, you can enjoy a beautiful and long-lasting candle experience.
Happy candle making!