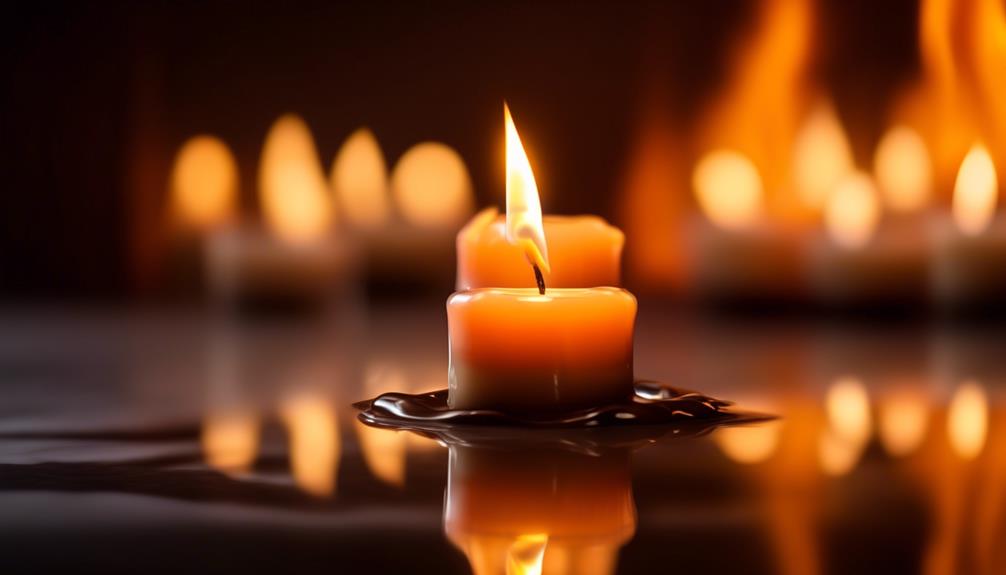

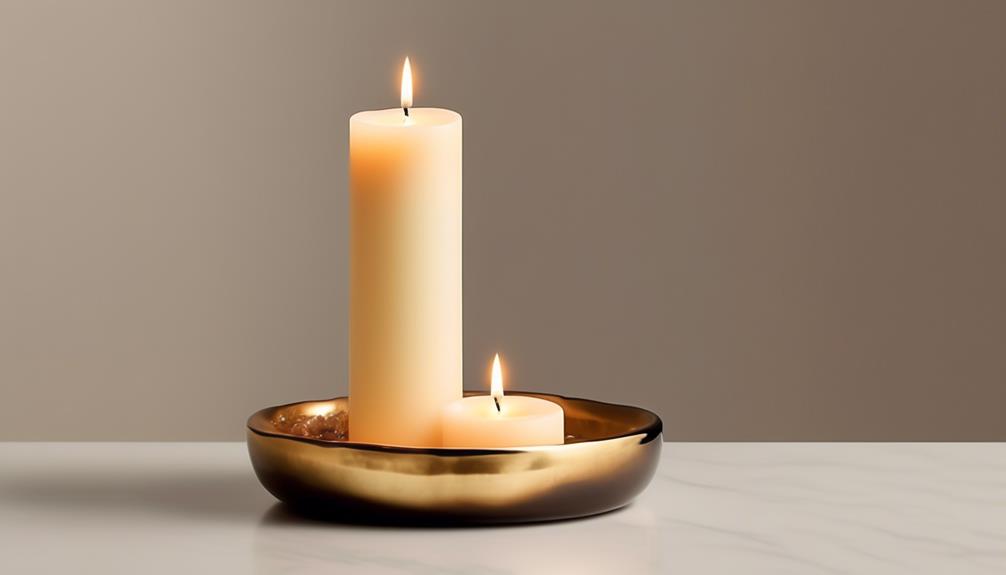
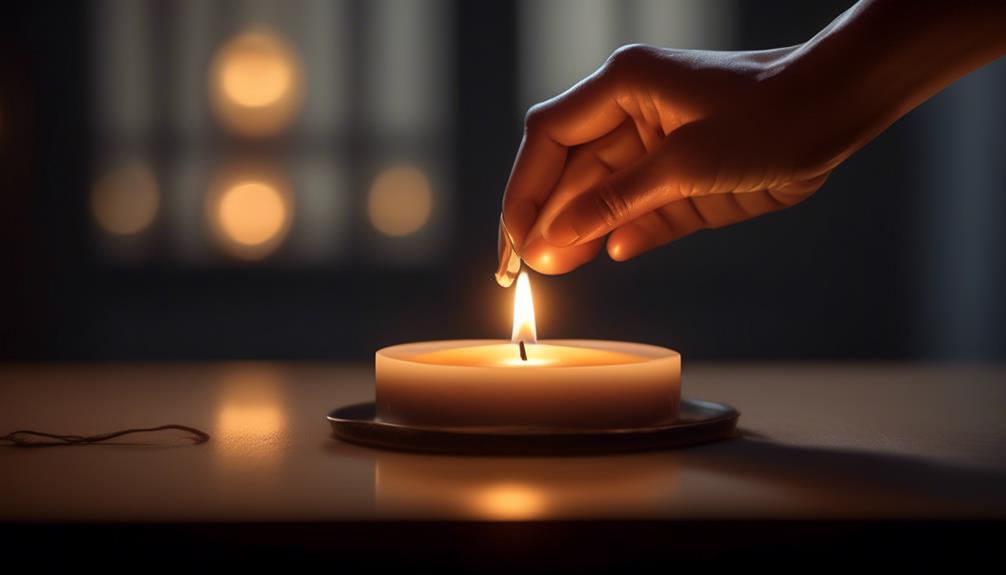
To properly burn a candle, it takes more than what is apparent. The gentle glow of a candle can set a warm atmosphere, but to excel in the skill of candle burning, one must meticulously think about all the intricacies.
From the way we trim the wick to the environment we place the candle in, each step plays a crucial role in ensuring a safe and enjoyable burning experience.
So, let's shed light on the essential practices that elevate a simple candle into a ritual worth savoring.
Key Takeaways
- Trim the wick before each use to a quarter of an inch.
- Burn candles for one hour per inch in diameter.
- Allow the candle to form a full melt pool during each use.
- Keep candles away from drafts and heat sources for a steady burn.

Wesiti Wax Melt Molds Clear Empty Plastic Wax Melt Clamshells Container Pet Single Cube 1 oz Candle Molds for DIY Chocolates Wickless Candles Soap Making(100 Pcs)
Sufficient Quantity: you will receive 100 wax melt containers, the sufficient quantity can meet your more daily use...
As an affiliate, we earn on qualifying purchases.
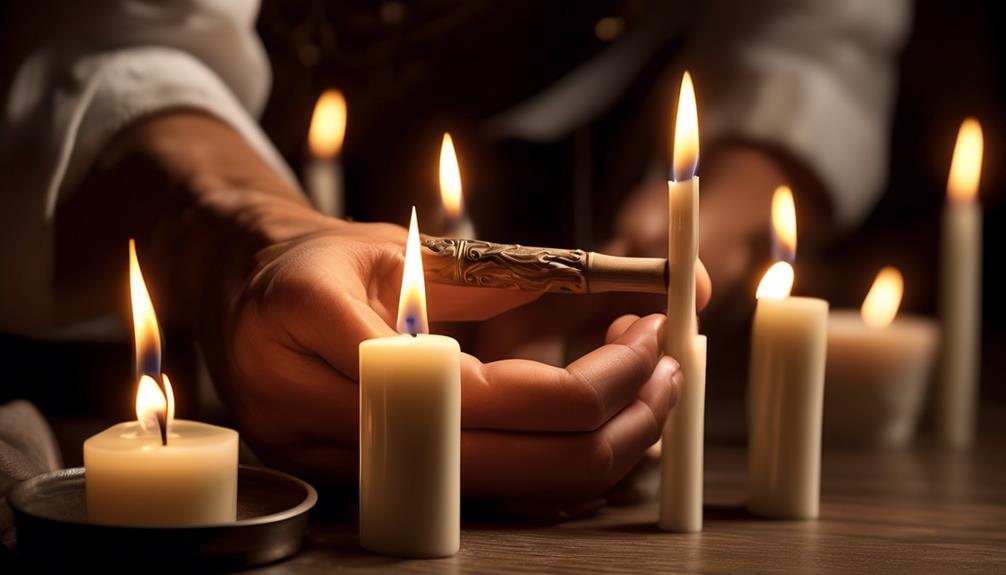
Proper Wick Trimming Technique
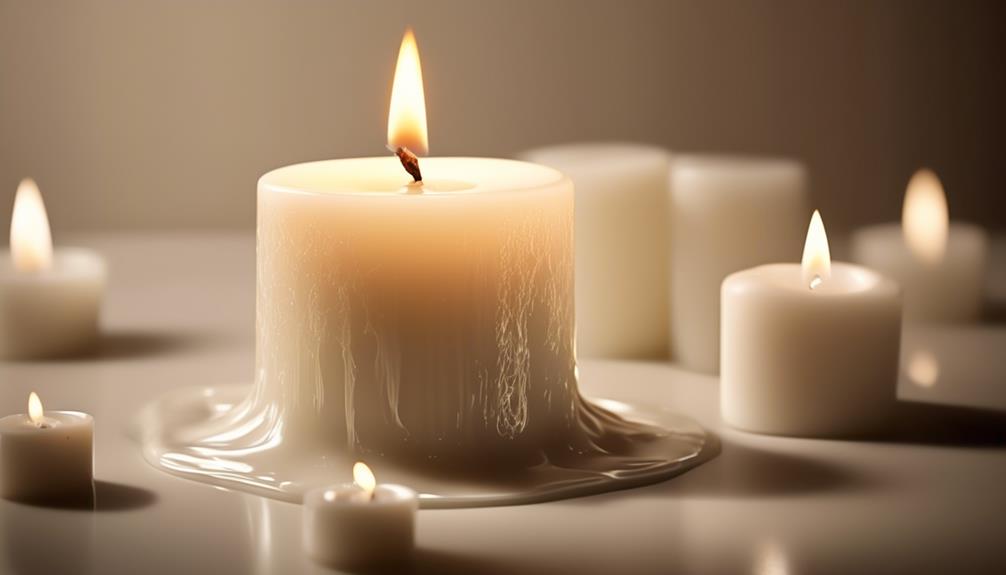
Regularly trimming the candle wick to a quarter of an inch before each use ensures a clean burn and prevents excessive soot buildup. This proper trimming technique is crucial for maintaining the quality and longevity of your candle. When the wick is too long, it can cause the candle to burn unevenly, creating a tunneling effect where wax is wasted.
To trim the wick correctly, use sharp scissors or a wick trimmer to snip off the excess, leaving about a quarter of an inch above the wax. This length is optimal for allowing the candle to burn efficiently and cleanly.

50 Packs Wax Melt Clamshells Molds,Wax Melt Containers,6 Cavity Clear Plastic Cube Tray for Wickless Wax Melt Candles
Perfect Size:Each clamshell mold is 4.5 x 3 x 1 inch and each mold has 6 cubes,every cube...
As an affiliate, we earn on qualifying purchases.
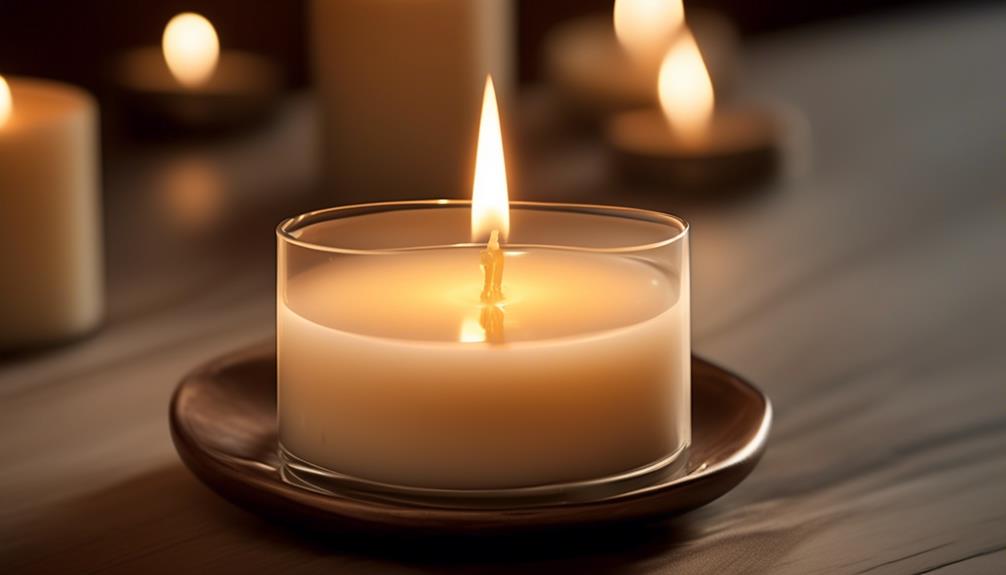
Ideal Candle Burning Duration
When it comes to achieving the most from your candles, knowing the ideal burning duration is crucial. By allowing your candle to burn for an optimal amount of time, you can prevent tunneling, ensuring an even and long-lasting burn.
Our experience has shown that following recommended burn times can significantly enhance your candle-burning experience.
Optimal Burn Time
Ensuring the ideal burning duration for a candle is essential for maximizing its fragrance and longevity. To achieve the optimal burn time, it's crucial to allow the candle to form a full melt pool during each burn. This means burning the candle for a long enough duration, typically one hour per inch in diameter.
For example, a three-inch-wide candle should burn for at least three hours to prevent tunneling and ensure a proper burn. Remember to always trim the wick to about 1/4 inch before each lighting session using a wick trimmer for an even burn.
Additionally, the first burn sets the stage for subsequent burns, so make sure to allow enough time for the wax to melt completely across the entire surface of the candle during the first burn.
Preventing Tunneling
To prevent tunneling and achieve optimal candle burning duration, it's crucial to allow the candle to form a full melt pool during each use. This means burning the candle for a long enough period to ensure that the melted wax reaches the edges of the container.
By doing so, you prevent uneven burning and tunneling, where the wax only melts in the center, leaving a ring of unmelted wax around the wick.
To achieve this, ensure you burn the candle for a long enough duration, typically 1 hour per inch of diameter, allowing the entire top layer to become liquid.
Remember to trim the wick to 1/4 inch before each use to prevent soot buildup and ensure a clean, even burn.

Wesiti 100 Pcs Wax Melt Molds Clear Empty Plastic Wax Melt Clamshells Container PET Single Cube 1 oz Candle Molds for DIY Chocolates Soap Wickless Candles Making
Sufficient Quantity: you will receive 100 wax melt containers, the sufficient quantity can meet your more daily use...
As an affiliate, we earn on qualifying purchases.
Importance of Avoiding Drafts
Keeping candles away from drafts is crucial for ensuring a steady and clean burn. Drafts can cause the flame to flicker and dance, leading to an uneven burn and potential soot buildup on the container or walls. To prevent this, always place your candle in a draft-free area, away from windows, doorways, vents, or fans that can create moving air currents.
| Drafts Do's | Drafts Don'ts |
|---|---|
| Place candles on a flat surface away from windows or vents | Avoid placing candles near open windows or doorways |
| Use candle holders to protect the flame from drafts | Don't burn candles near fans or air conditioning units |
| Trim the wick to 1/4 inch to maintain a steady flame | Avoid burning candles in high-traffic areas where people walk by frequently |
| Consider using a candle snuffer to extinguish the flame | Don't burn candles in areas prone to sudden gusts of air |
| Opt for jar candles or candles with lids for added protection | Avoid burning candles outdoors where wind can affect the flame |

150 Pack Wax Melt Clamshells Molds, 6-Cavity Clear Empty Plastic Cubes Wax Melt Container for DIY Wax Melt Candles Wickless Tarts Candles (Square)
Material: The 6-hole clam shell wax melting container is made of PET material, odorless, durable, and will not...
As an affiliate, we earn on qualifying purchases.
Storing Candles Correctly
When it comes to storing candles correctly, it's essential to keep them away from direct sunlight and heat sources to prevent them from melting or becoming misshapen.
Additionally, storing candles in a cool, dark place will help maintain their color and scent for longer periods.
Proper Candle Storage
Properly storing candles ensures their longevity and maintains their quality for future use. When it comes to candle storage, following these guidelines is crucial:
- Keep candles away from direct sunlight: Sunlight can cause the wax to soften or fade, affecting the candle's appearance and scent.
- Store candles in a cool, dark place: Extreme temperatures can warp the shape of the candle or cause the wax to melt unevenly when burned.
- Ensure proper wick maintenance: Before storing candles, trim the wick to about a quarter of an inch to prevent uneven burning and excess smoke. This step also helps the candle maintain its quality over time.
Length of Storage
To maintain candles in optimal condition for an extended period, consider the length of time they're stored and adhere to proper storage practices.
When storing candles, ensure they're kept in a cool, dry place away from direct sunlight and heat sources. It's best to use candles within a year of purchase to ensure they burn evenly and efficiently. Avoid storing candles for extended periods as they may lose their fragrance and quality over time.
Always trim the wick to 1/4 inch before each use to prevent your candle from producing excess soot and ensure a cleaner burn. Additionally, if you're burning a candle for the first time, use a candle snuffer to extinguish the flame gently and prevent wax splatter.
Enhancing Fragrance Throw
For achieving a stronger fragrance throw, consider placing the candle in a smaller room with good air circulation. This can help distribute the scent more effectively throughout the space.
To further enhance the fragrance throw, here are three essential tips:
- Trim the Wick: Keeping the wick trimmed to about 1/4 inch before each use can prevent the wick from producing excessive smoke and soot, which can hinder the fragrance throw.
- Burn Candles for a Sufficient Amount of Time: Allow the candle to burn for at least 1-2 hours during each use. This ensures that the entire top layer of wax melts, preventing tunneling and maximizing the release of fragrance.
- Avoid Burning for Extended Periods: While it may seem counterintuitive, burning candles for too long can actually reduce the fragrance throw. Extinguish the candle when the pool of wax reaches about half an inch deep to prevent the wick from sinking and releasing soot.
Preventing Tunneling Issues
When enhancing fragrance throw by burning candles in a smaller room with good air circulation, addressing tunneling issues becomes crucial for maintaining an optimal burn experience. To prevent tunneling issues, it's essential to allow the candle to burn long enough during each use.
When lighting the candle, ensure the wax melts evenly across the entire surface. This process helps prevent the formation of a tunnel down the center of the candle. By allowing the candle to create a memory ring during the initial burns, you encourage an even melt pool and prevent wasted wax along the sides.
Maintaining the candle's wick at an appropriate length also aids in preventing tunneling problems. Trim the wick to about 1/4 inch before each use to ensure a clean, steady burn.
Additionally, placing the candle in a draft-free area and away from vents can help maintain an even burn and prevent the formation of a tunnel. By following these steps, you can enjoy a longer-lasting candle with a consistent fragrance throw.
Maximizing Candle Lifespan
Let's talk about how we can make our candles last longer by following a few key practices.
Trimming the wick before each use helps maintain a clean burn and prevents soot buildup.
Ensuring the wax pool reaches the edges of the container each time you light the candle promotes even burning and maximizes its lifespan.
Additionally, keeping candles away from drafts and direct sunlight can prevent uneven melting and extend their overall burn time.
Wick Trimming Importance
Regularly trimming the wick of your candle is essential for maximizing its lifespan and ensuring a clean, efficient burn. When the wick is too long, the candle burns inefficiently and produces excess soot.
Here are three key reasons why trimming the wick is crucial:
- Prevents Soot Build-Up: A trimmed wick leads to a steadier flame, reducing the amount of soot that can accumulate on the container or surroundings.
- Maintains Flame Size: Properly trimming the wick helps control the size of the flame, preventing it from becoming too large and causing uneven burning.
- Enhances Candle Lifespan: By regularly trimming the wick to a recommended length of about 1/4 inch, you extend the overall burning time of your candle and ensure a clean, consistent burn.
Even Wax Pooling
To maximize the lifespan of your candle and achieve even wax pooling, it's crucial to ensure proper burning techniques are consistently applied.
When lighting candles, let them burn for at least one hour during each use. This allows the wax to melt evenly across the candle's surface, preventing tunnelling and ensuring a full melt pool.
A full melt pool means the wax has liquefied all the way to the edges of the container, promoting an even burn and maximizing the candle's scent throw.
By practicing this method, you can extend the life of your candles and enjoy their fragrance to the fullest.
Avoid Drafts and Sun
After achieving even wax pooling by letting the candle burn for at least one hour during each use, it's important to protect the candle from drafts and direct sunlight to further maximize its lifespan. When it comes to burning candles efficiently, avoiding drafts and sun exposure is crucial. Here are three key points to consider:
- Avoid Drafts and Sun: Position the candle away from air conditioners, open windows, or direct sunlight to prevent uneven burning and soot buildup.
- Blow Out a Candle: Never leave a lit candle unattended. To extinguish it, use a snuffer or gently blow on the wick to prevent wax splattering.
- Moving air can disturb: Even a slight breeze can cause the flame to flicker, leading to uneven burning and potential wax wastage.
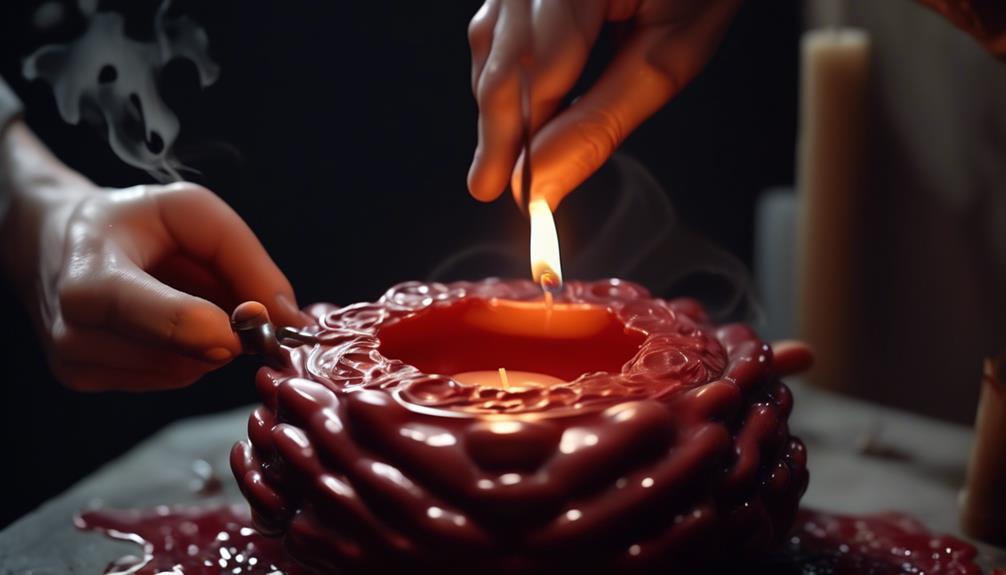
Safely Extinguishing Flames
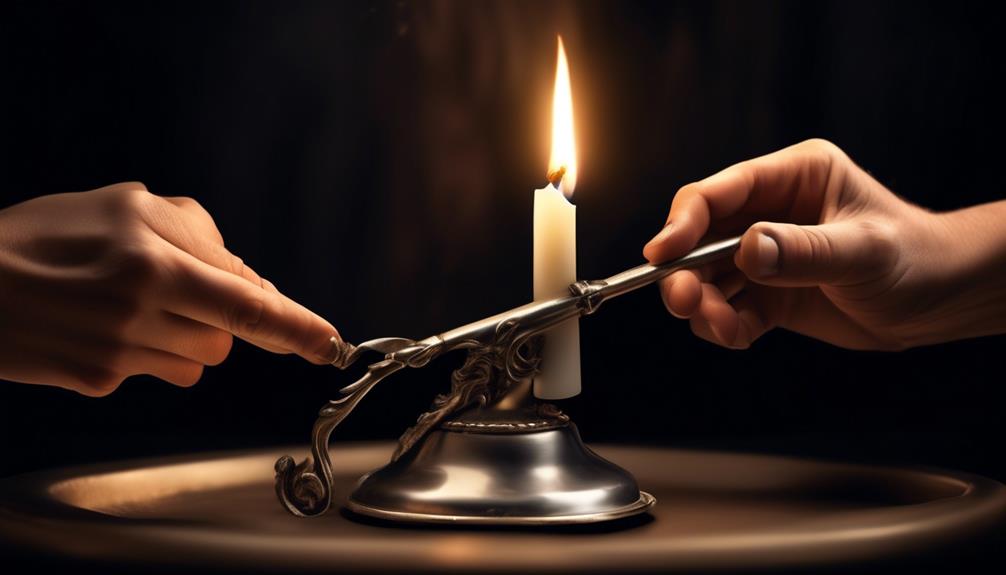
When extinguishing a candle flame, ensure it is fully out before leaving the room or going to sleep. Properly extinguishing a candle is crucial for Fire Safety. To extinguish the flame, use a tool like regular scissors to snuff it out instead of blowing it, which can cause hot wax to splatter. Here's a simple guide on how to safely extinguish a candle:
| Step | Description |
|---|---|
| Use a snuffer or lid | Extinguish the flame by placing a snuffer or lid over the candle. This method prevents wax from splattering. |
| Dip the wick | Use a tool to dip the wick into the wax pool and then straighten it back up. This helps to extinguish the flame and primes the wick for next use. |
| Wait for the wax to cool | Allow the wax to cool before attempting to move the candle. Hot wax can cause burns if handled too soon. |
| Check for leftover embers | After extinguishing the flame, check for any leftover embers or sparks before leaving the candle unattended. |
Using Candle Snuffers Effectively
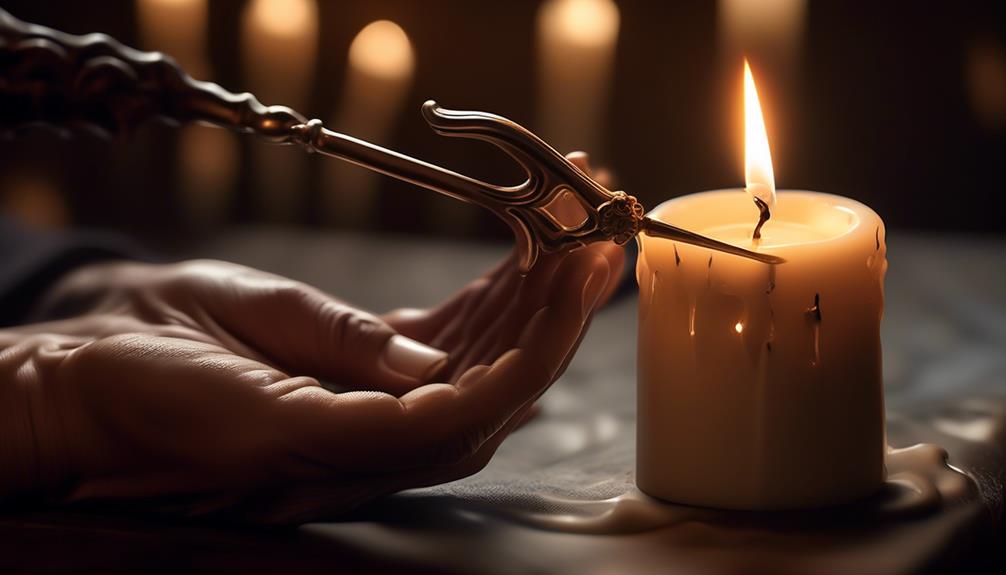
We find that using a candle snuffer effectively enhances the candle-burning experience by safely and efficiently extinguishing the flame. When it comes to using candle snuffers, there are specific techniques that can help you get the most out of your candle-burning ritual.
- Gently Cover the Flame: When using a candle snuffer, gently place the snuffer over the flame. Avoid pressing down too hard, as this could lead to soot and smoke.
- Wait for the Wick to Stop Glowing: After covering the flame with the snuffer, wait a few seconds until the wick stops glowing. This ensures that the candle is completely extinguished.
- Prevent Unmelted Wax: Using a snuffer helps prevent splattering wax that can result from blowing out a candle. This method also helps maintain the top layer of wax, ensuring an even burn the next time you light your candle.
Monitoring Burn Time
To maximize the efficiency of your candle-burning ritual, a crucial aspect to consider is monitoring the burn time to ensure safe and optimal use of your candles. Properly monitoring burn time involves paying attention to how long you light a candle during each burning session. It's essential to follow the recommended burn times provided by the candle manufacturer to help your candle achieve an even burn pool and prevent tunneling.
Monitoring burn time also helps in preventing the candle from burning too long, which can lead to overheating and potentially dangerous situations. As experienced candle users, we recommend using a timer or setting alarms to remind you when it's time to extinguish the candle. This practice not only ensures the safety of your space but also prolongs the lifespan of your candles, allowing you to enjoy them for longer periods.
Reusing Candle Containers
Consider cleaning out the remaining wax from the candle container using hot water and dish soap, ensuring to dry it thoroughly before repurposing it for other uses. When reusing candle containers, there are essential steps to follow to ensure safety and effectiveness:
- Scrape Stubborn Wax: Use a butter knife to scrape out any stubborn wax residue that may be clinging to the sides or bottom of the container. This step helps in preparing the container for its new purpose and prevents any old wax from entering the new content.
- Remove Wick Holder: If possible, remove the wick holder from the container. This allows for a smoother and cleaner surface inside the container, making it easier to repurpose.
- Repurpose Creatively: Once the container is clean and dry, consider repurposing it as a decorative storage jar, a plant pot, or a makeup brush holder. Get creative with how you reuse your candle containers to give them a new life while keeping safety in mind.
Maintaining Even Wax Melting
Maintain even wax melting by ensuring the candle is placed in a draft-free location and allowed to burn for at least one hour per inch in diameter. This practice ensures that the wax melts uniformly, preventing issues such as tunnelling or uneven burning.
When lighting the candle for the first time, it's crucial to let it burn until the wax pool reaches the edges of the container. This establishes a 'memory ring,' preventing the candle from creating a tunnel every time it's lit.
To maintain even wax melting, it's essential to allow the candle to burn for a long time during each use. This process ensures that the entire surface of the candle melts evenly, promoting a clean and efficient burn.
Frequently Asked Questions
How Do You Get a Candle to Burn Correctly?
When we light a candle, ensuring it burns correctly is crucial. To achieve this, we must follow specific steps.
Firstly, positioning the candle away from drafts is essential.
Next, trimming the wick to 1/4 inch before lighting prevents excessive smoking.
Lighting the candle evenly across the surface avoids tunneling.
Lastly, letting the candle burn for a few hours each time ensures an even wax pool.
These practices guarantee a well-burning candle.
How Do You Stop a Candle From Tunneling?
To prevent tunneling in candles, ensure to burn them for a sufficient amount of time during each use. This means allowing the candle to melt its wax entirely across the surface, forming a full melt pool.
By doing so, you avoid creating a tunnel in the center, which can lead to wasted wax and an uneven burn.
Remember to trim the wick before each use and keep the candle away from drafts for optimal burning.
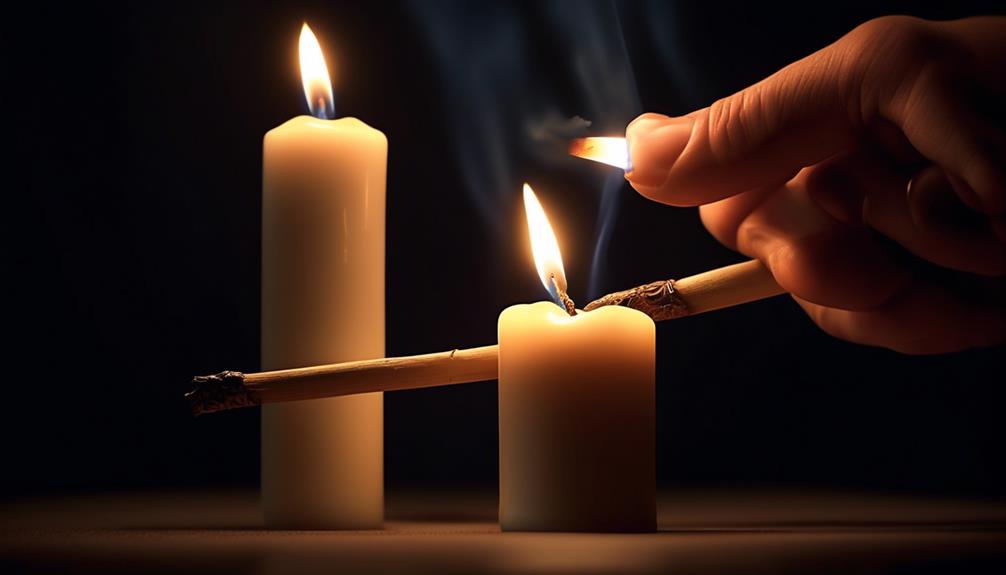
Is There a Proper Way to Light a Candle?
Oh, the art of lighting a candle properly. It may seem like a simple task, but there's indeed a proper way to do it. From selecting the right match to positioning the flame just right, every step plays a crucial role in ensuring a clean and even burn.
Let's guide you through the intricacies of this seemingly mundane task, revealing the secrets to a flawless candle-lighting experience.
Are You Supposed to Burn a Candle All the Way Down?
We believe it's important to consider the safety aspects of burning a candle all the way down. While some may choose to let the candle burn until the end, we recommend extinguishing it once it reaches about half an inch from the bottom.
This practice helps prevent the container from overheating and potentially cracking. Always follow the manufacturer's guidelines and never leave a burning candle unattended.
Conclusion
In conclusion, by following these simple steps, we can ensure that our candles burn properly and last longer.
Are you ready to create the perfect ambiance in your home with beautifully burning candles? Remember, a well-maintained wick, proper burn time, and careful storage are key to enjoying the full benefits of your favorite scents.
So, light up those candles and bask in the warm glow of a well-burning candle!