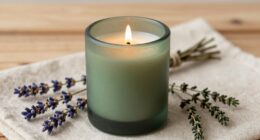

To create DIY pillar candles at home, start by gathering supplies like wax, wicks, molds, and a thermometer. Melt the wax evenly using a double boiler, add color if desired, and prepare your molds with a release agent. Pour the wax slowly into your molds, making sure to avoid air bubbles. Let the candles cool completely before removing them and finishing the edges. Keep exploring for more tips on customizing and decorating your perfect pillar candle.
Key Takeaways
- Select heat-resistant molds and apply a light coating of mold release for easy removal.
- Melt high-quality wax evenly using a double boiler, maintaining a consistent temperature with a thermometer.
- Pour wax slowly into prepared molds, avoiding air bubbles, and insert wicks centered and secured.
- Allow candles to cool in a draft-free environment, then gently remove from molds and smooth edges if needed.
- Decorate with layering, colors, or embellishments to enhance visual appeal and personalize your pillar candles.

Etienne Alair Organic Soy Candle Wax for Candle Making, 10 lbs Natural Candles Making Supplies, Beeswax-Free, Paraffin-Free, Pure Soy Wax Flakes Perfect for Candles, Tealights and Melts
All-In-One Starter Kit – Everything you need to dive into candle making! Our Etienne Alair soy candle wax...
As an affiliate, we earn on qualifying purchases.
Gathering Materials and Preparing Your Workspace
Before you begin making your DIY pillar candles, it’s important to gather all the necessary materials and set up a clean, organized workspace. Safety precautions should be your top priority; work in a well-ventilated area, wear gloves, and keep a fire extinguisher nearby. Organize your workspace by laying out your supplies—wax, wicks, molds, thermometer, and tools—in a way that minimizes clutter. Clear the area of any flammable objects and cover surfaces with newspaper or a protective cloth. Proper workspace organization helps prevent accidents and makes the process smoother. Incorporating Safety precautions such as working in a ventilated area and using protective gear ensures a safe candle-making experience. Additionally, understanding artistic techniques like color mixing and form shaping can enhance your candle design. Conducting some market research on popular candle styles and colors can inspire your creations. Taking these initial steps ensures you stay safe and focused, making your candle-making experience enjoyable and efficient from start to finish.

American Soy Organics Freedom Soy Wax Beads for Candle Making - Natural Candle Making Supplies - Paraffin-Free, Beeswax-Free Candle Wax for Container Candles, Tealights and Wax Melts, 25 lbs
NATURAL SOY WAX BEADS - Best candle making supplies make the best soy candles! These safe, ethically produced,...
As an affiliate, we earn on qualifying purchases.
Choosing the Right Candle Molds and Wicks
Choosing the right candle molds and wicks is vital for your DIY project. You need to take into account mold materials that are easy to work with and won’t stick, like silicone or metal. Additionally, selecting the proper wick size guarantees your candle burns evenly and safely. To ensure your candles have the desired look and burn quality, consider the candle design and how it complements your overall decor.
Selecting Mold Materials
How do you select the best mold materials and wicks for your DIY pillar candles? Focus on mold material durability and eco-friendly options. Durable molds ensure they withstand repeated use without warping or cracking, making your projects more sustainable. Eco-friendly mold options, such as silicone or biodegradable materials, reduce environmental impact while offering flexibility and ease of use. When choosing molds, consider heat resistance and ease of release to prevent damage during demolding. Additionally, opting for eco-friendly mold materials can help minimize your environmental footprint and promote eco-conscious crafting.
Wick Size Considerations
Selecting the right wick size is essential for guaranteeing your candle burns safely and evenly. Proper wick size considerations directly impact candle safety by minimizing tunneling, excessive smoking, or dangerous flare-ups. If the wick is too small, the flame won’t generate enough heat to melt the wax evenly, causing uneven burn and waste. Conversely, a wick that’s too large produces a large, unstable flame, risking overheating or accidents. To choose the correct wick, consider your candle’s diameter and wax type. Thicker candles generally need a larger wick, while smaller ones require a more delicate wick. Always test your wick before pouring the entire candle to ensure it burns steady and clean. Ensuring a proper contrast ratio helps you create safe, beautiful, and well-burning pillar candles at home. Additionally, monitoring your air quality indicators during candle use can alert you to any combustion issues that may arise. Proper wick selection based on materials and candle size further enhances safety and performance. Knowing the right wick material also plays a crucial role in achieving an even burn and optimal scent throw.

TOPYS 6 Holes Long Cylinder Silicone Candle Molds, Pillar Cylinder Shape Mold for Aromatherapy Candle Soy Wax Soap Clay Craft Plaster Resin Handmade Crafts Gifts Birthday Cake Decor(5.9in)
【High-quality Material 】The modle resin mold is made of high-quality silicone, which is durable and not easily deformed,...
As an affiliate, we earn on qualifying purchases.
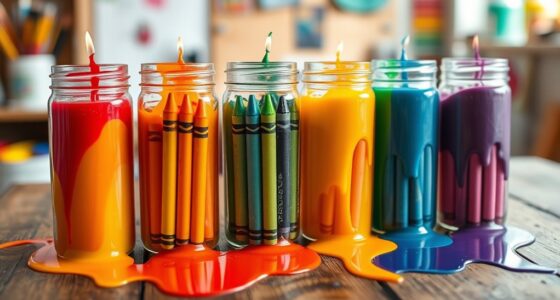
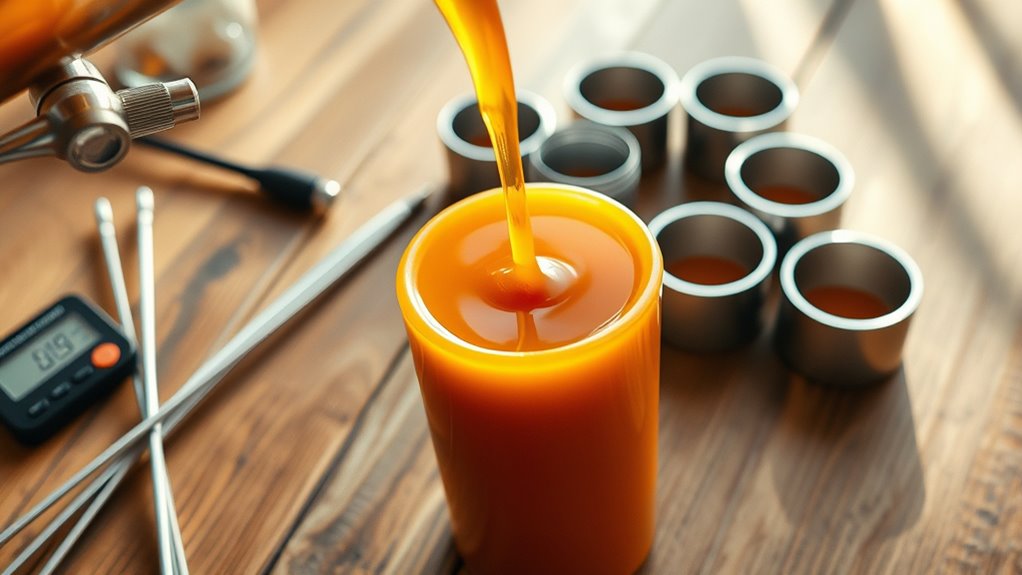
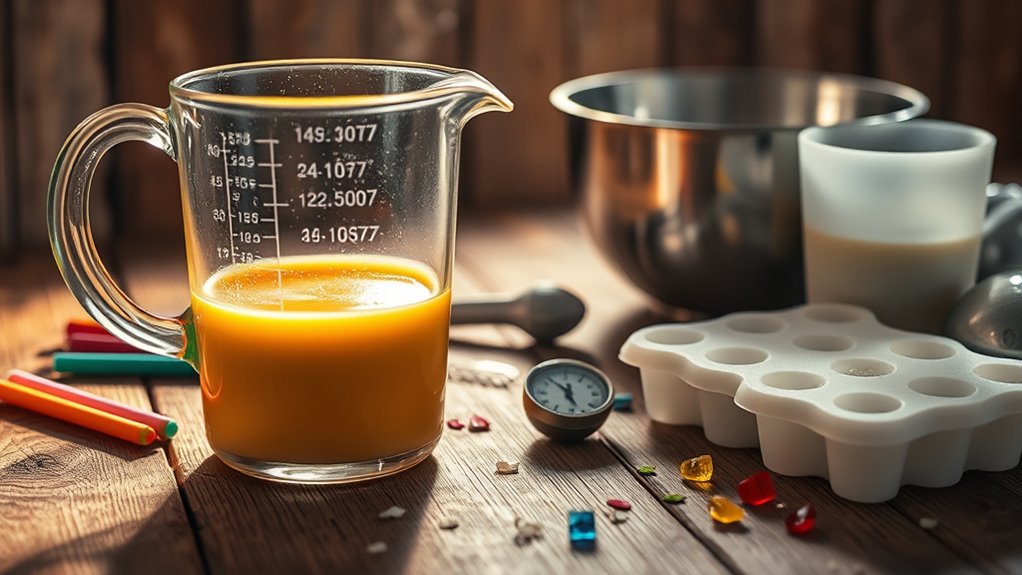
Melting and Coloring Your Candle Wax
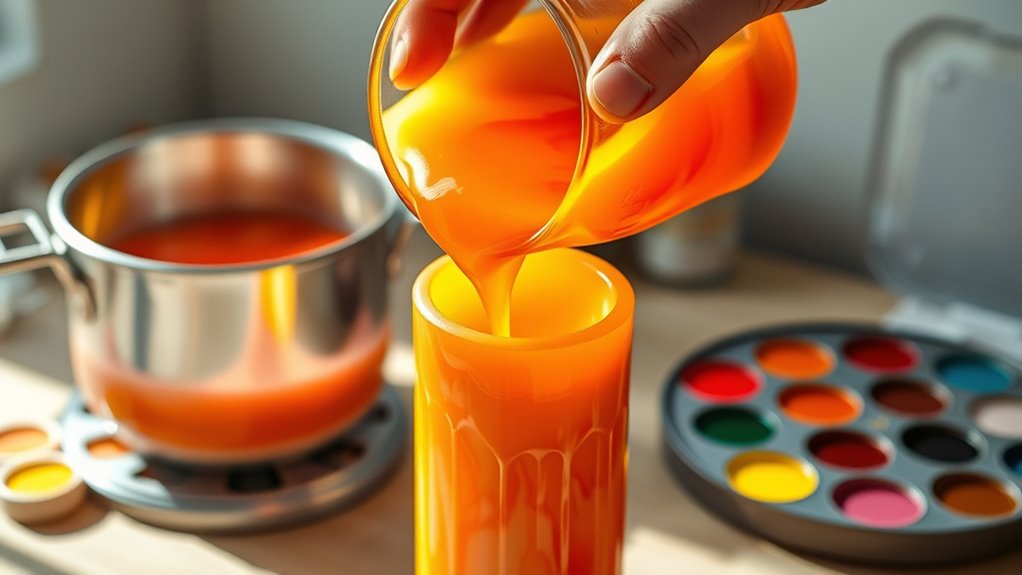
To melt your candle wax, set up a double boiler or use a heat-safe container in a pot of simmering water. This wax melting technique guarantees even heat distribution and reduces the risk of burning. Once melted, you can add color additives to customize your candles. Stir thoroughly to evenly distribute the color. Here are some tips to keep in mind:
- Use high-quality dye chips or liquid colorants for vibrant results
- Add color gradually, testing the shade before pouring
- Keep the wax at consistent temperature to prevent uneven coloring
- Vetted – Mad Tasting offers insights into optimal techniques for achieving professional-looking candles.
- Ensuring proper temperature control is essential for smooth pouring and a polished finish.
- Monitoring candle wax temperature with a thermometer can help achieve the desired consistency and prevent issues like cracking or poor adhesion.

2 Pack 6 Inch Cylinder Candle Mold Pillar Candle Molds Taper - Resin Casting Silicone Molds for Home Decor & Candle Making Wave Spiral Mold
[High Quality] This Mold made from food grade silicone, flexibility and durable to reuse. Smooth interiors to demold.
As an affiliate, we earn on qualifying purchases.
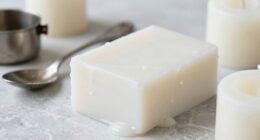
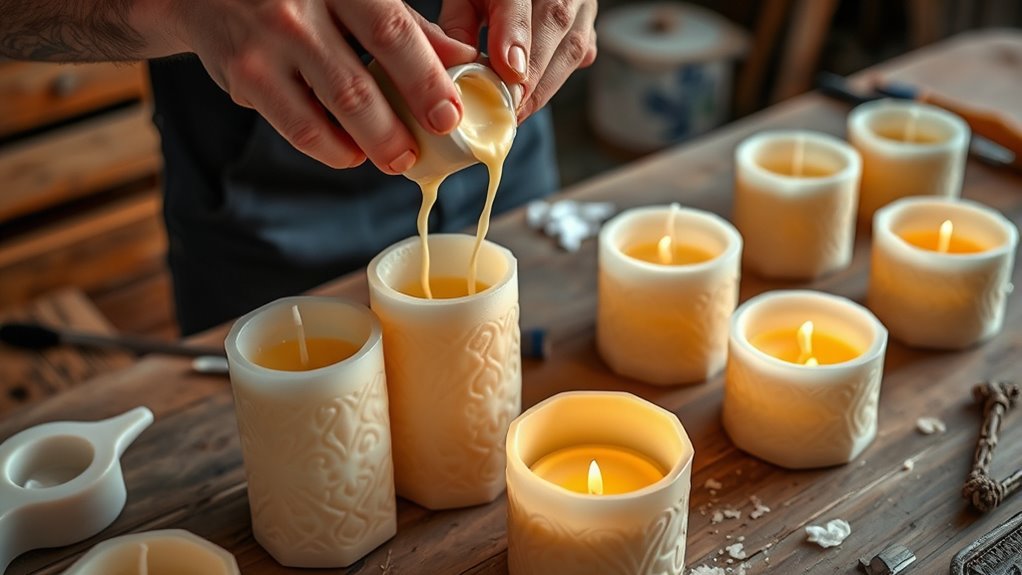
Pouring the Wax Into Molds for a Smooth Finish
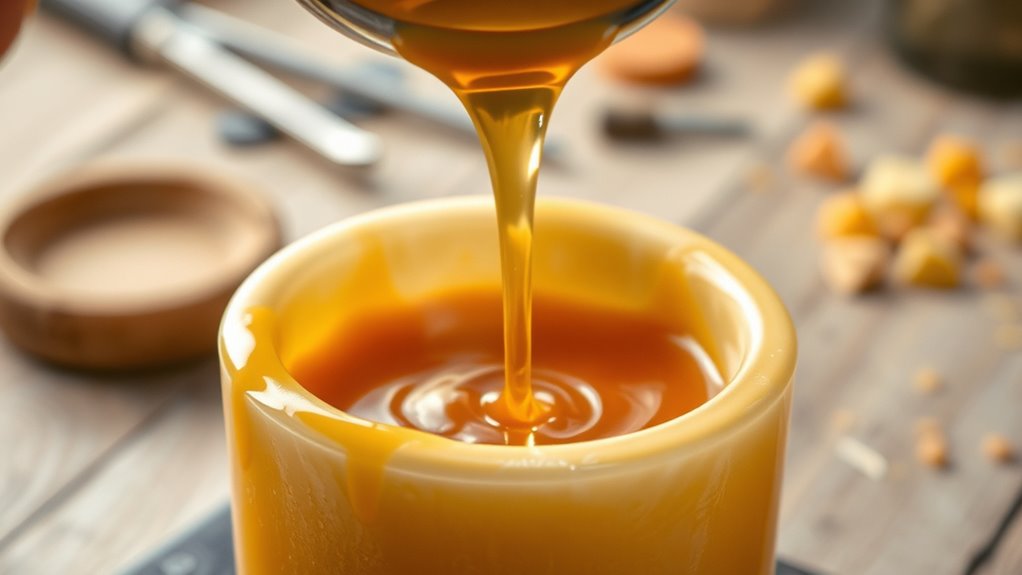
Once your wax is melted and colored to your liking, it’s time to pour it into your molds. Achieving the right wax consistency is key for a smooth finish; it should flow easily but not be too runny. Before pouring, ensure your molds are well-lubricated with a mold release or a light coating of oil to prevent sticking and bubbles. Pour slowly to reduce air pockets and maintain a steady flow. To help you visualize, here’s a quick guide:
| Step | Action | Tip |
|---|---|---|
| 1 | Prepare molds | Use mold lubrication |
| 2 | Pour wax into molds | Keep wax at proper consistency |
| 3 | Fill molds evenly | Avoid overfilling |
| 4 | Tap molds gently to release bubbles | Use a toothpick if needed |
| 5 | Allow excess wax to drip off | For a cleaner finish |
This guarantees a smooth, professional-looking candle. Proper technique during pouring can also help prevent imperfections and ensure a polished result.
Cooling and Setting Your Solid Candles
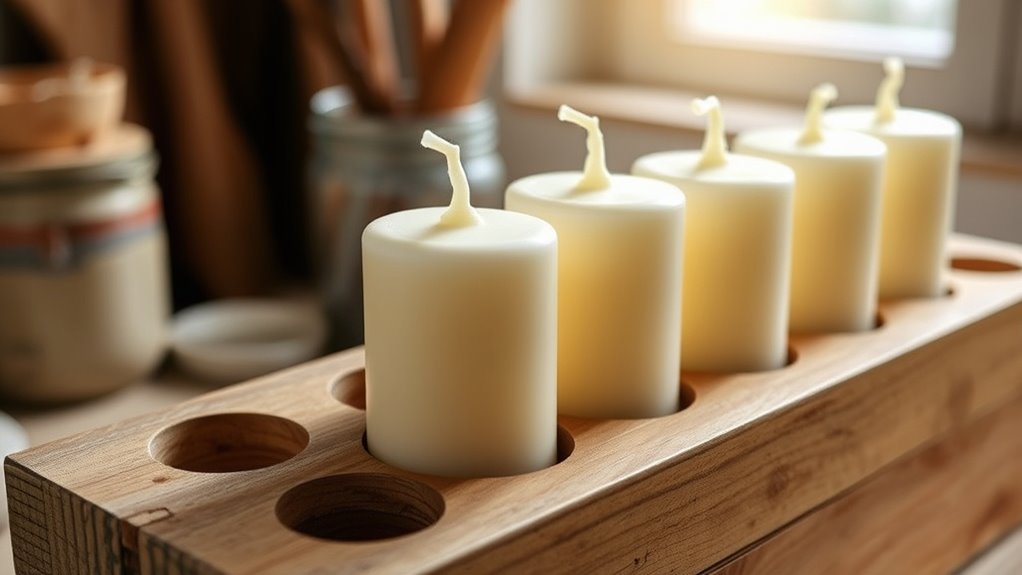
After pouring your candles, it’s essential to allow them to cool and set undisturbed to guarantee a smooth and even finish. Proper temperature control during cooling prevents cracks and uneven surfaces. Keep your candles in a draft-free area at room temperature, avoiding sudden temperature changes. If you plan to add fragrance, do so when the wax reaches the ideal pour temperature, ensuring the scent binds well. During the cooling process, resist the urge to move or touch the candles, which could distort their shape. Patience is key for a professional-looking result. Once fully set, your candles will have a solid, uniform appearance, ready for any finishing touches.
Allow candles to cool undisturbed in a draft-free, room-temperature environment for a smooth, professional finish.
- Maintain consistent room temperature for even cooling
- Add fragrance at the correct temperature for best scent throw
- Avoid moving candles until fully cooled and solid
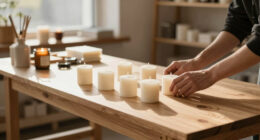
Removing Candles From Molds and Finishing Touches
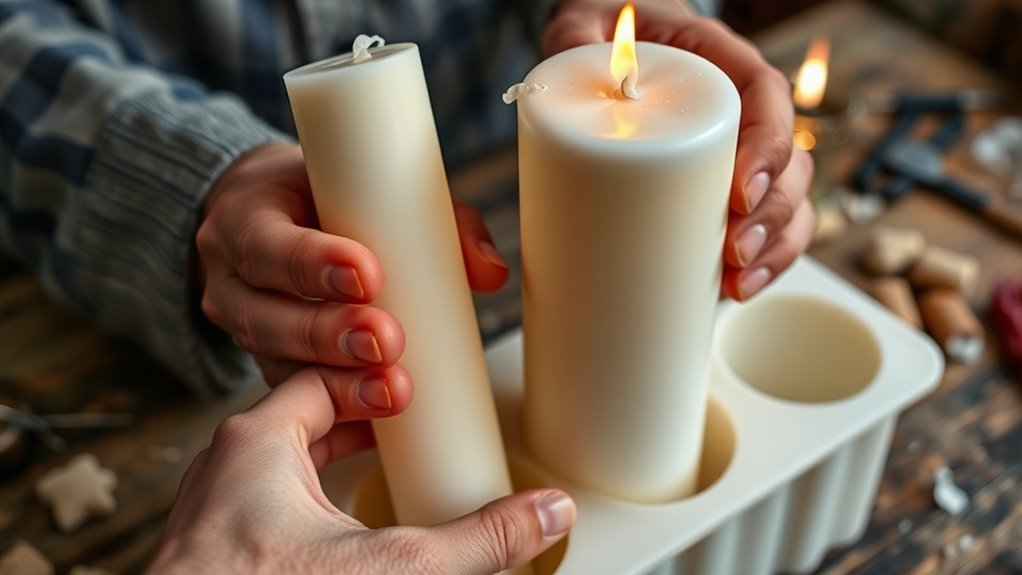
Removing your candles from the molds requires patience and gentle handling to preserve their shape and finish. To ease removal, ensure you’ve applied a proper mold release before pouring. Slowly invert the mold and tap lightly to loosen the candle. If resistance occurs, warm the mold slightly—cold molds can cause sticking. Once freed, inspect for imperfections and smooth rough edges with a heat gun or fine sandpaper. Proper candle storage is essential to maintain your candles’ quality; keep them in a cool, dry place away from direct sunlight. Incorporating layering techniques can enhance the visual appeal of your candles, especially in trench or pillar designs. Using the right cooling methods can also help achieve a cleaner finish and prevent cracking. Carefully managing the cooling process ensures your candles set properly and maintain their intended shape. Use the following table to guide your finishing process:
| Step | Tip | Tool Needed |
|---|---|---|
| Remove from mold | Gentle tap and warm mold if needed | Heat gun or warm water |
| Smooth edges | Sandpaper or flame smoothing | Fine grit sandpaper |
| Final inspection | Check for imperfections | Good lighting |
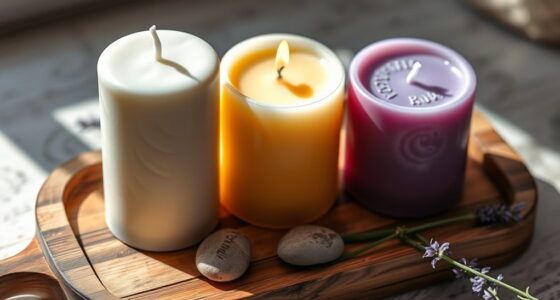
Tips for Customizing and Decorating Your Pillar Candles

Now that your candles are clean and smooth, you can personalize and enhance their appearance with creative decorating techniques. To make your pillar candles unique, consider adding personalized patterns or decorative embellishments that reflect your style. Use stencils, wax paints, or etching tools to create intricate designs or messages. Embellishments like ribbons, charms, or metallic accents can add texture and visual interest. Experiment with layering different colors or textures for a striking look. Remember, the key is to keep your decorations balanced so they don’t overpower the candle’s natural beauty. With some creativity, your candles will become both functional and artistic focal points in your space. Mindful decluttering can help you organize your supplies and tools efficiently, making your decorating process more enjoyable and sustainable.
Frequently Asked Questions
How Long Does It Take for Homemade Pillar Candles to Fully Cure?
It takes about 1 to 2 weeks for homemade pillar candles to fully cure. During this cure time, the fragrance develops and becomes stronger, ensuring a better scent throw when you burn them. To speed up the process, keep your candles in a cool, dark place and avoid handling them excessively. Patience is key for ideal fragrance development and a clean, even burn.
What Safety Precautions Should I Take During Candle Making?
You should prioritize fire safety by never leaving melting wax unattended and keeping a fire extinguisher nearby. Guarantee proper ventilation practices by working in a well-ventilated area to avoid inhaling fumes. Wear protective gear like gloves and goggles to prevent burns. Keep flammable objects away from your workspace, and always handle hot wax carefully. These precautions help you stay safe while making candles at home.
Can I Use Recycled Wax From Old Candles?
Yes, you can reuse wax from old candles through wax recycling, but first, make sure you remove any debris or wick remnants. Melt the old wax carefully, strain it to eliminate impurities, and then pour it into your mold or container for candle reuse. This process not only helps reduce waste but also allows you to create new, unique candles from recycled wax, making your candle-making more sustainable and eco-friendly.
How Do I Prevent Sinkholes in My Pillar Candles?
A stitch in time saves nine, so start by preventing sinkholes early. To do this, make certain your wax temperature is just right—not too hot or cold—and thoroughly prepare your mold with a release agent. Pour your wax slowly, allowing it to settle evenly. Proper mold prep and temperature control are key; they help prevent air pockets and sinkholes, giving your pillar candles a smooth, professional finish.
What Are Some Eco-Friendly Options for Candle Dyes and Wicks?
You can choose eco-friendly options like natural dyes, such as beetroot powder, turmeric, or spirulina, to color your candles sustainably. For wicks, opt for biodegradable wicks made from cotton or wood, which break down safely in the environment. These choices help reduce your ecological footprint while allowing you to create beautiful, eco-conscious candles at home. Make certain to research suppliers to guarantee the materials are truly biodegradable and non-toxic.
Conclusion
Now that you know how to craft your own pillar candles, imagine creating a personalized centerpiece for a special dinner. For instance, Sarah poured and decorated candles for her wedding reception, adding her favorite colors and scents. With a little practice, you can customize your candles just like her—adding a personal touch to any occasion. So gather your materials, get creative, and enjoy the satisfying process of making beautiful, homemade candles that reflect your style.