To create stunning marble and ombre candles, start by preparing your workspace with all supplies within reach and safety gear on. For a marble effect, pour layered wax in different colors and gently swirl with a skewer for intricate patterns. To achieve a smooth ombre gradient, pour gradually darker shades and blend with a heat gun for seamless progressions. Master these techniques and more tips are gained as you explore further to craft truly unique candles.
Key Takeaways
- Use layered pouring and gentle dragging with a skewer or toothpick to create marbled patterns in candles.
- Gradually add darker or lighter wax shades for smooth ombre gradients, blending with heat tools like a heat gun or hairdryer.
- Experiment with dye mixing and overlapping warm colors during pouring to achieve unique, seamless color transitions.
- Maintain controlled pouring temperatures and slow cooling to preserve intricate patterns and prevent color bleeding.
- Incorporate color theory and elemental inspiration to select harmonious hues that enhance the visual appeal of marble and ombre candles.

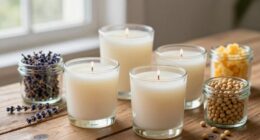
Complete Candle Making Kits for Adults Beginners, DIY Candle Making Supplies Include Soy Wax,Wax Melter,Scents,Dyes,Wicks,Wicks Sticker,Candle Tins & More-Full Candle Maker Set – Arts & Crafts Kits
All-IN-ONE Complete Premium DIY Candle Making Kit: The candle making supplies are suitable for all levels and contain…
As an affiliate, we earn on qualifying purchases.
As an affiliate, we earn on qualifying purchases.
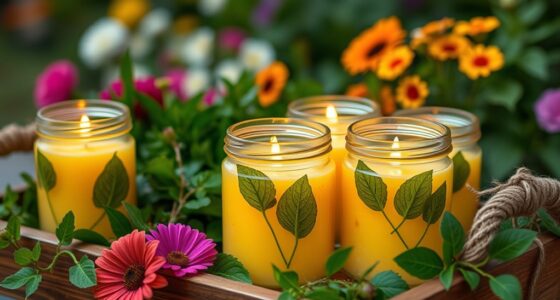
Gathering Your Supplies and Preparing the Workspace

Before you begin creating your DIY marble and ombre candles, capturing all the necessary supplies and setting up a clean, organized workspace is vital. Start by gathering your wax, dye, wicks, and molds, making sure you have everything within reach. Safety precautions are essential, so keep a heat-resistant surface, gloves, and eye protection nearby. Proper workspace organization helps prevent accidents and keeps your project running smoothly. Clear the area of clutter, and cover surfaces with newspaper or a protective cloth to catch drips and spills. Make certain your workspace is well-ventilated, especially when melting wax. Additionally, understanding power consumption insights can inspire innovative techniques for candle design and personalization. Being mindful of energy efficiency can also help reduce waste and improve the sustainability of your craft. Taking these steps ensures a safe, efficient process, allowing you to focus on creating stunning candles without unnecessary interruptions or hazards.
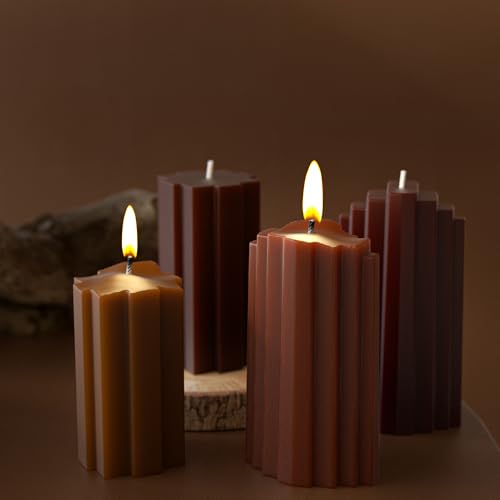
2 Pack Stripe Cylinder Pillar Spiral Candle Resin Mold – Resin Casting Silicone Molds for Home Decor & Candle Making Wave Spiral Mold
[Product Size] This Mold include 2 pieces silicone dragon mold, mold size is show in the picture.
As an affiliate, we earn on qualifying purchases.
As an affiliate, we earn on qualifying purchases.
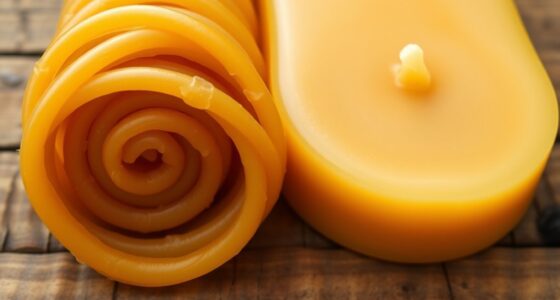
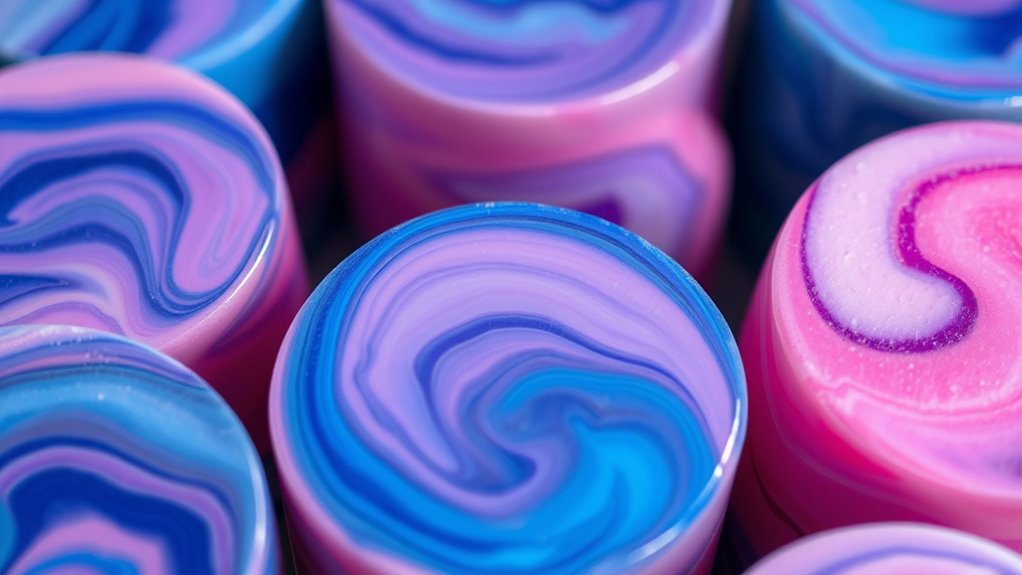
Creating a Marble Effect With Layered Wax Swirls
To create a striking marble effect with layered wax swirls, start by pouring different colored waxes into your mold one at a time. Focus on wax layering, allowing each color to settle before adding the next to build depth. As you pour, vary the amounts and angles to encourage natural progression, forming dynamic color swirls. Use a skewer or toothpick to gently drag through the layers, creating intricate patterns that mimic marble’s natural veining. Be careful not to overmix—partial blending enhances the marbled look. Continue layering and swirling until the mold is filled to your desired level. Once cooled, the layered wax will reveal a beautiful marble pattern, showcasing the elegant interplay of your chosen colors.

SEEKONE Mini Heat Gun, 350W 2-Temp Settings 500℉ & 842℉(260℃& 450℃) Fast Heat Hot Air Gun Tool with Reflector Nozzle and 4.9Ft Long Cable Overload Protection for Crafting, Vinyl Wrap and Shrink Tubing
【Dual Temperature Mode】SEEKONE HG350 mini heat gun has been upgraded to a new dual temperature mode: 500°F (260°C)…
As an affiliate, we earn on qualifying purchases.
As an affiliate, we earn on qualifying purchases.
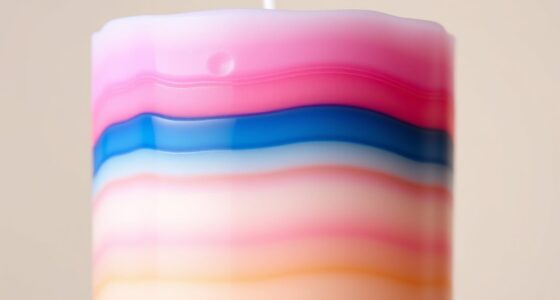
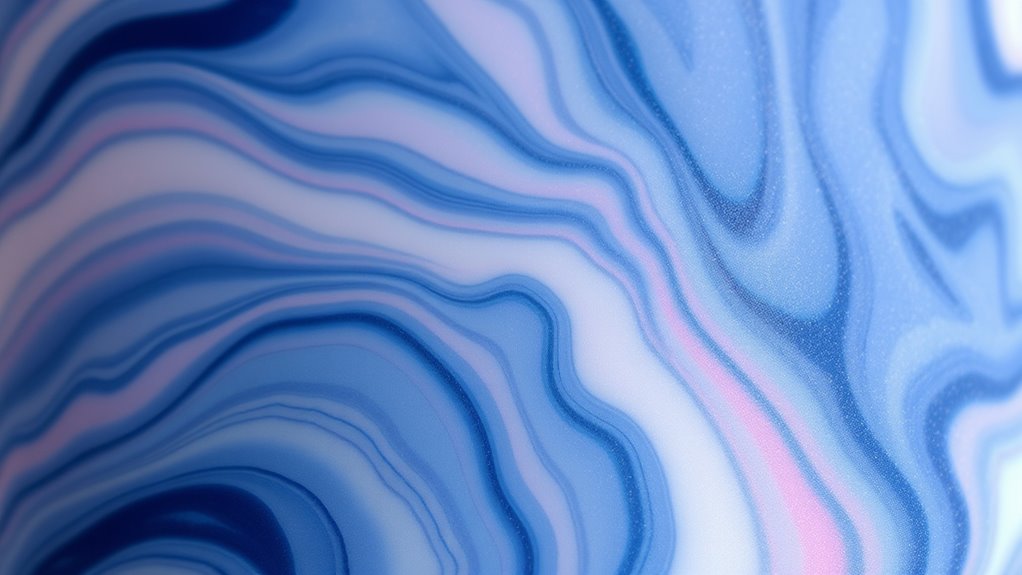
Achieving the Smooth Gradient With the Ombre Technique
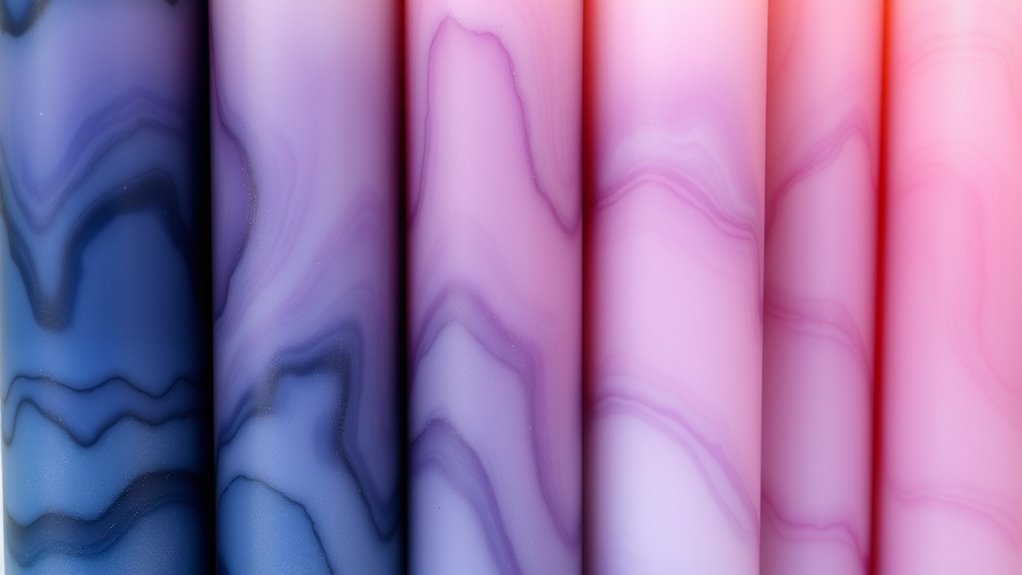
Building on the layered marble look, achieving a smooth gradient with the ombre technique involves blending colors seamlessly from light to dark. To create a stunning color gradient, start with your lightest wax at the top and gradually add darker shades as you pour. Stir gently to guarantee smooth transitions, maintaining visual harmony. Use a heat gun or a hairdryer to blend the colors further, softening harsh lines. Keep your workspace clean to prevent unwanted color mixing. Proper temperature control is essential for wax consistency, ensuring your colors blend smoothly without creating bubbles or imperfections. Adjusting the temperature as needed can help achieve a more even color and professional finish. Here’s a quick guide:
| Step | Action |
|---|---|
| 1 | Pour lightest wax at the top |
| 2 | Gradually add darker shades |
| 3 | Gently stir for seamless blend |
| 4 | Use heat to enhance gradient |
| 5 | Guarantee smooth transitions for harmony |
This technique results in a harmonious, eye-catching candle with a beautiful, fluid color gradient.
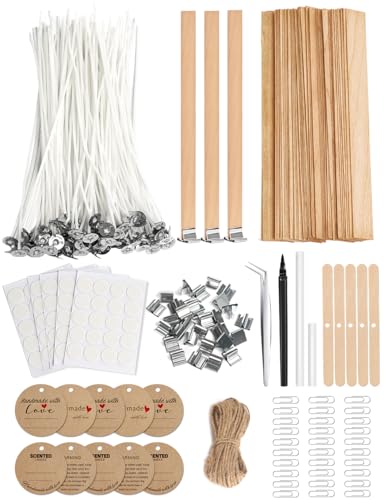
Multiwins 130 Pcs Candle Wicks for Candle Making Kit: 100 Cotton & 30 Wood Wicks with Complete Tool Set (Wick Holders, Wick Stickers, Candle Tabs, Tweezers, Pen), for Soy Beeswax DIY Candles
Ultimate Candle Making Kit – Includes 100 pre-waxed cotton wicks (4"), 30 wooden wicks (5"), 5 wick holders,…
As an affiliate, we earn on qualifying purchases.
As an affiliate, we earn on qualifying purchases.
Using Color Blending and Mixing for Unique Patterns

You can create stunning candle patterns by mastering color blending techniques and experimenting with dye mixing. Try combining different hues to see how they interact and develop unique effects. Focus on achieving seamless gradient shifts to make your candles truly one-of-a-kind. For added inspiration, consider exploring the pop culture influence behind trending candle designs to enhance your creative process. Additionally, understanding color theory can help you select harmonious color combinations for more visually appealing results. Incorporating knowledge of water-based dye blending techniques can further elevate your candle art by allowing smoother transitions and more vibrant color interactions. Being aware of dye stability ensures your colors remain vibrant throughout the candle-making process.
Master Color Blending Techniques
Mastering color blending techniques is essential for creating striking patterns in your candles. Understanding color theory helps you choose harmonious hues, while knowledge of pigment chemistry ensures consistent results. To blend effectively, imagine your palette as a grid:
| Light Tones | Mid Tones | Deep Tones |
|---|---|---|
| Soft pastels | Rich hues | Dark shades |
| Subtle blends | Vibrant mixes | Contrasting tones |
| Gentle progressions | Bold statements | Depth effects |
Use this framework to visualize how colors interact. By carefully blending adjacent shades, you create smooth progressions or mesmerizing marbled effects. Remember, precise control over pigment chemistry prevents muddiness or separation. Practice layering and mixing small amounts to refine your technique, and soon, you’ll craft candles with dynamic, captivating color patterns. Paying attention to color blending techniques enhances the overall aesthetics of your candles, making each piece uniquely beautiful. Incorporating color harmony principles can further elevate your designs and ensure pleasing visual transitions, especially when experimenting with various wax coloring methods.
Experiment With Dye Mixing
Experimenting with dye mixing opens up a world of possibilities for creating unique candle patterns. By understanding color theory, you can combine dyes to produce harmonious or striking effects, enhancing your design. Adjust dye saturation carefully—adding more dye results in richer, more intense colors, while less creates subtle shades. Experiment with blending different hues to see how they interact; some combinations produce stunning marbled effects, while others craft soft gradients. Keep track of your dye ratios to replicate successful results or modify for new patterns. Remember, small variations in saturation and mixing can dramatically change your candle’s appearance, so test before pouring. Additionally, color contrast is key to making your designs pop and adding depth to your candles. This approach allows you to customize your candles with complex, eye-catching colors that reflect your style and creative vision. Color blending techniques are essential for achieving the desired visual impact in your candles.
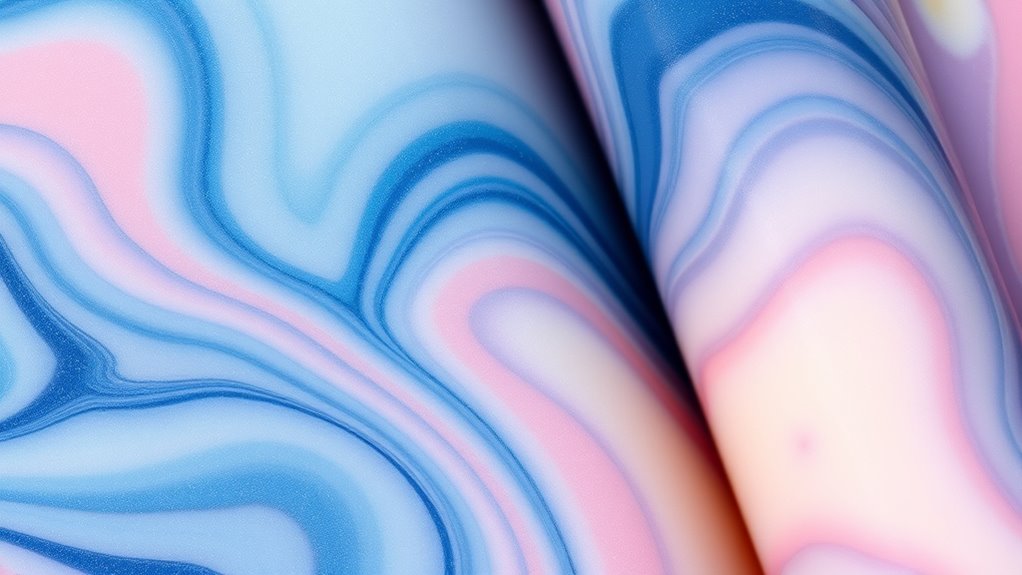
Achieve Seamless Gradient Transitions
Creating seamless gradient progressions in your candles involves carefully blending colors to achieve smooth, flowing shifts from one hue to another. To facilitate a flawless transition, focus on maintaining good color adhesion between layers, which prevents separation or streaking. When pouring, slightly overlap each color while still warm to promote natural blending, creating a seamless gradient. Additionally, consider scent integration; adding fragrance oils at the right stage helps preserve scent consistency without disrupting the visual flow. Use a gentle motion to blend colors subtly, avoiding harsh lines. Proper color adhesion is essential for achieving smooth gradients and preventing separation in your candles. As you develop your technique, understanding the significance of elemental associations can inspire creative color combinations and enhance the overall aesthetic. With patience and precision, you’ll craft candles that showcase elegant, smooth transitions, making your designs look professional and captivating. Mastering these techniques elevates your candle-making, resulting in stunning, cohesive color patterns.
Tips for Pouring and Cooling to Enhance Color Effects
To achieve stunning marble and ombre effects, paying close attention to how you pour and cool your candles is essential. Your cooling techniques and pouring temperature directly influence the final look. Pour at a steady, controlled temperature to prevent color blending issues. After pouring, cool your candles gradually to preserve distinct color layers and patterns. Rapid cooling can cause cracking or unwanted swirling. Use the following table to guide your process:
| Technique | Description | Benefit |
|---|---|---|
| Slow Cooling | Cool in a draft-free environment | Sharp, defined patterns |
| Room Temperature | Keep at ambient temperature during cooling | Prevents cracking |
| Cold Water Bath | Submerge container in cold water briefly | Enhances color separation |
| Fan or Airflow | Gentle air circulation during cooling | Evens out temperature, reduces cracks |
| Avoid Sudden Changes | No abrupt temperature shifts | Keeps patterns crisp and clear |
Additionally, understanding the importance of color separation techniques can help you achieve more precise effects. Proper cooling methods are crucial for maintaining the integrity of your patterns and ensuring the best visual outcome. Using a consistent pouring technique can also significantly improve pattern formation and overall appearance.
Troubleshooting Common Color and Pattern Issues
When your candle patterns don’t turn out as expected, identifying the underlying issue is key to fixing it. One common problem is color bleeding, which occurs when wax colors mix too much during pouring or cooling, ruining the distinct marble or ombre effect. To prevent this, ensure each layer cools and solidifies before adding the next, and avoid pouring too hot or too quickly. Pattern inconsistency often happens when wax isn’t stirred evenly or when you don’t pour at a consistent temperature. To fix this, stir your wax thoroughly and maintain a steady pouring temperature. Also, work in a controlled environment to reduce temperature fluctuations. Maintaining proper material quality can also significantly influence the clarity of your designs. With attention to timing and temperature, you can minimize color bleeding and pattern inconsistency, achieving cleaner, more precise designs. Additionally, understanding dog behavior can help you better interpret how your candles might be affected by environmental factors, ensuring more predictable results. Proper custodian services can also support your efforts by providing high-quality supplies and storage options. Being aware of the performance of your wax and dyes allows for adjustments that improve pattern consistency.
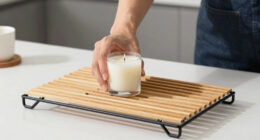
Finishing Touches: Trimming and Displaying Your Candles
Once you’ve perfected your candle patterns, the next step is to give your creations a polished finish. First, trim the wicks to about ¼ inch to ensure a clean burn and prevent soot. Next, consider adding a scent; lightly re-melt the top layer and incorporate your favorite essential oils or fragrance blends, then allow it to set. Proper wicks placement guarantees even burning and safety, so double-check that each wick is centered and secure. Finally, display your candles on a sleek tray or in decorative holders that complement their design. This not only enhances their aesthetic appeal but also preserves their beauty. By carefully trimming, scenting, and thoughtfully displaying, your candles become both functional and artistic pieces.
Frequently Asked Questions
Can I Use Non-Traditional Wax Types for These Techniques?
Yes, you can use alternative waxes for these techniques, but you need to take into account dye compatibility first. Different wax types, like soy, beeswax, or palm wax, react uniquely to dyes, affecting the color vibrancy and blending. Test small batches to make sure the dye adheres well and achieves the marbled or ombre effects you want. Adjust the dye amount if necessary to get the best results with your chosen wax.
What Safety Precautions Should I Take During Candle Creation?
Imagine you’re creating a stunning marble candle when suddenly, a small fire hazard appears. To stay safe, always wear protective equipment like gloves and goggles, and work in a well-ventilated area. Keep a fire extinguisher nearby, and avoid overfilling your containers with wax. These precautions help prevent accidents, ensuring your creative process remains enjoyable and safe. Safety first keeps your candle-making fun and risk-free.
How Do I Fix Uneven or Muddled Colors After Pouring?
If your candle colors appear uneven or muddled after pouring, start with quick color correction by lightly reheating the affected area. Use blending techniques like gentle swirls or a small brush to integrate the colors seamlessly. Work swiftly before the wax cools, and layer or re-pour if needed for a cleaner look. Practicing these steps helps you master color control and achieve beautifully blended, vibrant candles.
Are There Alternative Tools for Creating Marble and Ombre Effects?
Yes, you can use alternative tools like toothpicks, skewers, or even a creative palette brush to create marble and ombre effects. These tools give you more control over blending colors and adding intricate details, making your candles more unique. Experimenting with different tools helps you achieve the desired look, allowing your creativity to shine through. So, don’t hesitate to try out various tools to enhance your candle-making process.
How Long Does It Typically Take for the Candles to Fully Cool and Set?
Patience is a virtue, especially when it comes to candle making. Usually, the cooling time for candles to fully set is about 4-6 hours, but it can vary depending on size and wax type. During this setting duration, you should avoid moving or disturbing them. For best results, let your candles cool completely at room temperature to guarantee they harden properly and reveal beautiful marble or ombre effects.
Conclusion
Remember, patience is a virtue when crafting your candles. With these creative wax color techniques, you can transform simple supplies into stunning art pieces. Don’t be afraid to experiment and make mistakes — that’s how the best designs are born. As the saying goes, “Practice makes perfect,” so keep honing your skills, and soon you’ll be creating beautiful marble and ombre candles that truly reflect your style and creativity. Happy candle making!