To guarantee an even burn in your DIY multi-wick candles, select the right wicks that match your candle size and material, and position them evenly across the container. Secure the wicks firmly during pouring and pour wax at the proper temperature for a smooth melt. Allow your candles to cure fully before burning, trim the wicks regularly, and watch for signs of uneven burning. Keep these tips in mind, and you’ll create candles that burn beautifully each time. If you continue, you’ll discover more expert techniques to perfect your candles.
Key Takeaways
- Properly select and size wicks to promote balanced, steady burning across all wicks.
- Space wicks evenly and secure them firmly before pouring to prevent shifting during setting.
- Use the correct pouring temperature and avoid disturbing the wax during cooling for an even melt pool.
- Cure candles for 1-2 weeks to ensure consistent scent throw and proper burn performance.
- Regularly trim wicks to about ¼ inch to maintain safe, even flames and prevent soot or tunneling.
Selecting the Right Wax and Fragrance for Multi-Wick Candles
Choosing the right wax and fragrance is essential for creating successful multi-wick candles. Your choice of wax influences how well the candle burns and how evenly the wicks work together. For color mixing, opt for waxes that hold color well without bleeding or fading, ensuring your design looks vibrant and cohesive. When it comes to scent layering, select fragrances that complement each other and release evenly across multiple wicks. This balance enhances the overall aroma without overwhelming the senses. Experiment with different wax blends and fragrance combinations to find what works best for your design goals. Additionally, understanding air purifier technologies can help you select the best systems for maintaining a clean and healthy environment while candle making. Remember, the right wax and fragrance set the foundation for a beautiful, evenly burning, and aromatic multi-wick candle. Proper wick selection can also significantly impact how evenly your candle burns and how well the fragrance disperses across the multiple wicks, ensuring a consistent and enjoyable burn. Incorporating knowledge of candle chemistry can further refine your process and improve the final product.
Choosing the Proper Wicks for Balanced Burning
Selecting the right wicks is essential for a clean, even burn in your multi-wick candles. You need to take into account wick thickness, material compatibility, and proper placement to prevent tunneling or soot. Focusing on these points helps ensure your candles burn safely and beautifully. Additionally, considering the effectiveness of eye patches can guide you in choosing products that deliver consistent, visible results over time.
Wick Thickness Selection
The thickness of your wick plays an essential role in ensuring your candle burns evenly and safely. Choosing the right wick size depends on your candle’s diameter and wax type. A wick that’s too thick can create a large flame, leading to excessive soot and uneven burning. Conversely, a wick that’s too thin may result in a weak flame, causing tunneling or incomplete melting of the wax. To select the proper wick thickness, start with a wick size recommended for your candle’s diameter, often found on wick packaging or in testing charts. Adjust if necessary by testing a small burn. Proper wick size promotes a steady, even burn and prevents common issues like flickering or tunneling, ensuring your multi-wick candle performs beautifully. Additionally, understanding vetted wick options can help you choose the safest and most effective wicks for your project. When selecting wicks, considering AI in Education advancements can provide insights into innovative materials that enhance candle safety and performance. Developing a good understanding of wick materials can also improve your ability to select the most suitable wicks for different wax blends and burning conditions. Exploring wick testing methods can further assist in optimizing your candle’s burn quality.
Material Compatibility Checks
Ensuring your wick material is compatible with your wax is essential for achieving balanced burning in your multi-wick candle. Incompatible wicks can cause uneven burn, poor scent diffusion, or excessive soot. To visualize, consider this table:
| Wick Material | Benefits |
|---|---|
| Cotton | Good wick insulation, even burn |
| Wood | Strong scent diffusion |
| Metal-core | Stable, minimal soot |
Matching wick types to your wax ensures proper wick insulation, preventing one wick from overpowering others. This balance promotes even burning and consistent scent diffusion across all wicks. Additionally, wick size and material choice play a crucial role in achieving optimal performance. Proper wick sizing helps prevent issues like tunneling or incomplete combustion. Always test different materials before finalizing your design. Choosing the right wick material helps you create a safe, beautiful, and efficient multi-wick candle that burns evenly and releases fragrance uniformly. Proper wick selection is crucial for optimal candle performance and safety.
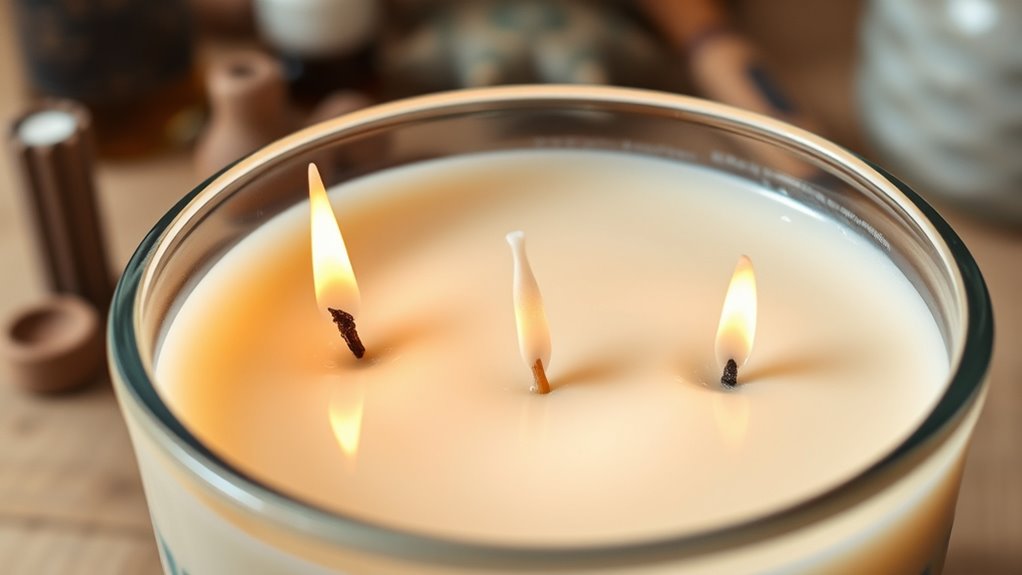
Proper Wick Placement
Choosing the proper wicks is essential for achieving balanced burning in your multi-wick candle. Correct wick placement ensures each wick burns evenly, preventing tunneling or uneven melt pools. Position the wicks so they are spaced equally across the candle’s diameter, avoiding crowding or gaps that could affect candle aesthetics. Proper wick placement also influences how the flames interact, promoting a unified burn and reducing soot or wax residue. Measure carefully to keep the wicks centered and aligned, especially with larger candles. Keep in mind that the wick placement directly impacts both the candle’s appearance and performance. Additionally, understanding how wicks interact with the wax can help you optimize your candle’s burn and longevity. Wick sizing and selection are also crucial factors in achieving the desired burn quality. Being aware of regional differences in candle-making techniques can also enhance your crafting process. By paying attention to these details, you’ll create a visually appealing candle that burns cleanly and evenly, enhancing both its function and your craftsmanship.
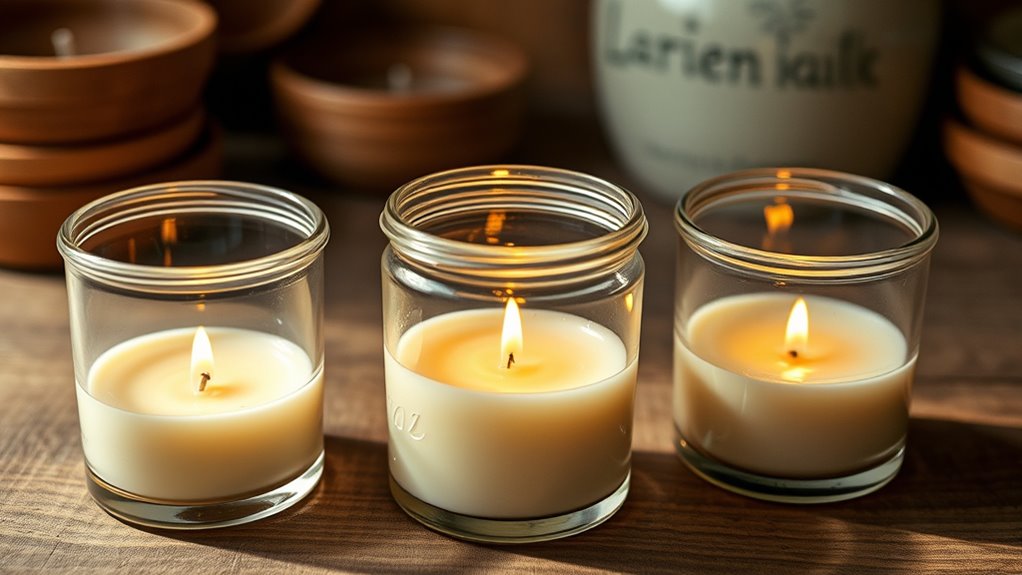
Preparing Your Candle Mold and Wicks Before Pouring
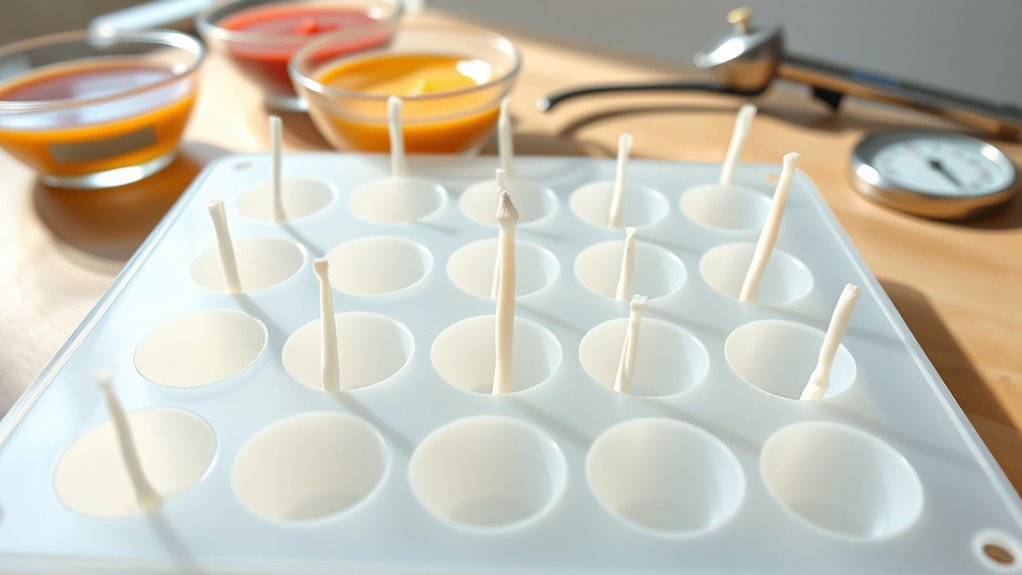
Before pouring your candle wax, preparing your mold and wicks properly is vital. First, guarantee your mold is clean and dry to prevent imperfections. Next, select wicks compatible with your wax type and size—wicks that match wax compatibility ensure an even burn. Then, secure the wicks at the center of the mold using a wick sticker or hot glue, positioning them precisely to avoid shifting during pouring. For multi-wick setups, space the wicks evenly to promote uniform burning and prevent tunneling. When placing the wicks, keep in mind wick placement to maximize heat distribution. Proper cookie management during the preparation process can help ensure consistent results and prevent issues like uneven burning. Additionally, choosing the right candle containers can influence the overall burn quality and safety of your candles. Ultimately, attach the wicks to a wick sustainer or hold them in place with a wick bar, so they stay aligned throughout the pour and curing process. Customer service can assist with any questions about selecting or preparing your wicks and molds.
Calculating the Correct Wick Size and Placement
Calculating the correct wick size and placement is essential for a safe and evenly burning candle. Your wick size determines how much heat it produces, which affects how well the wax melts and the candle’s overall burn. If the wick is too small, the flame won’t melt the wax evenly, leading to tunneling. Conversely, a wick that’s too large can cause excessive flames and soot. To find the right wick size, consider the candle’s diameter and wax type. Wick placement also matters; position each wick so it’s centered and spaced evenly across the candle’s surface. Proper wick placement ensures consistent burning and prevents uneven tunneling, while the right wick size promotes a clean, steady burn. Adjusting these factors helps you create a safe, beautiful multi-wick candle. Additionally, understanding heat transfer can help optimize wick selection and placement for a more efficient burn. Proper wick selection is crucial for achieving the desired candle performance and safety. Being aware of candle safety guidelines can further prevent accidents and ensure a pleasant burning experience. To optimize performance further, consider the material properties of your wax, which influence how the heat is distributed during burning.
Melting and Pouring Wax for Even Distribution

To melt and pour wax evenly, start by using the double boiler method to prevent scorching. Keep a close eye on the temperature to guarantee the wax melts smoothly without overheating. Make sure to mix the wax thoroughly for a consistent pour and even distribution across your candles. Additionally, monitoring the wax temperature ensures optimal pouring conditions and prevents common issues like cracks or sinkholes. For best results, consider oil type considerations to adjust your process and avoid uneven burning or surface imperfections. Maintaining proper candle care practices can also extend the lifespan of your candles and improve burn quality.
Use Double Boiler Method
Using the double boiler method guarantees your wax melts evenly without scorching or burning. Fill a pot with water and bring it to a gentle simmer. Place your wax in a heatproof container or bowl on top, making certain it doesn’t touch the water. As the wax melts, stir gently to promote wick reinforcement and even scent layering. Visualize:
- The shimmering wax slowly melting, smooth and uniform.
- The gentle steam rising as heat transfers evenly.
- Your multi-wick setup, ready for precise pouring.
This method prevents hot spots and maintains ideal temperature. It also allows you to control the heat better, ensuring the wax remains fluid without overheating. By melting your wax this way, you ensure a balanced pour that promotes even burn and proper wick reinforcement, resulting in a high-quality candle.
Monitor Temperature Carefully
Monitoring the temperature of your wax throughout melting and pouring is essential for an even distribution and a smooth finish. Maintaining proper temperature control guarantees your wax stays within the ideal range, preventing issues like burning or uneven melting. Use a reliable thermometer to keep an eye on the temperature, adjusting heat as needed to maintain thermal stability. Too high a temperature can cause the wax to burn or become too thin, while too low may result in incomplete melting. Consistent thermal stability allows for better flow and adhesion, leading to a more uniform candle. Take your time to monitor and adjust, especially during pouring, to achieve the best results. Precise temperature control is key to creating beautiful, evenly burning multi-wick candles.
Mix Waxes Thoroughly
Achieving a smooth, consistent candle requires thoroughly mixing your wax as it melts. This *guarantees* even wax melting and proper fragrance blending throughout the entire mixture. As your wax warms, gently stir it to prevent separation and promote uniformity. Imagine stirring a pot of thick honey—resist the urge to rush. Instead, focus on these steps:
- Break up clumps to maintain a smooth, liquid texture.
- Blend fragrances evenly by stirring slowly to incorporate scent oils uniformly.
- Monitor temperature to keep the wax at an *ideal* melting point, avoiding overheating or cooling spots.
Securing Wicks to Prevent Shifting During Pouring
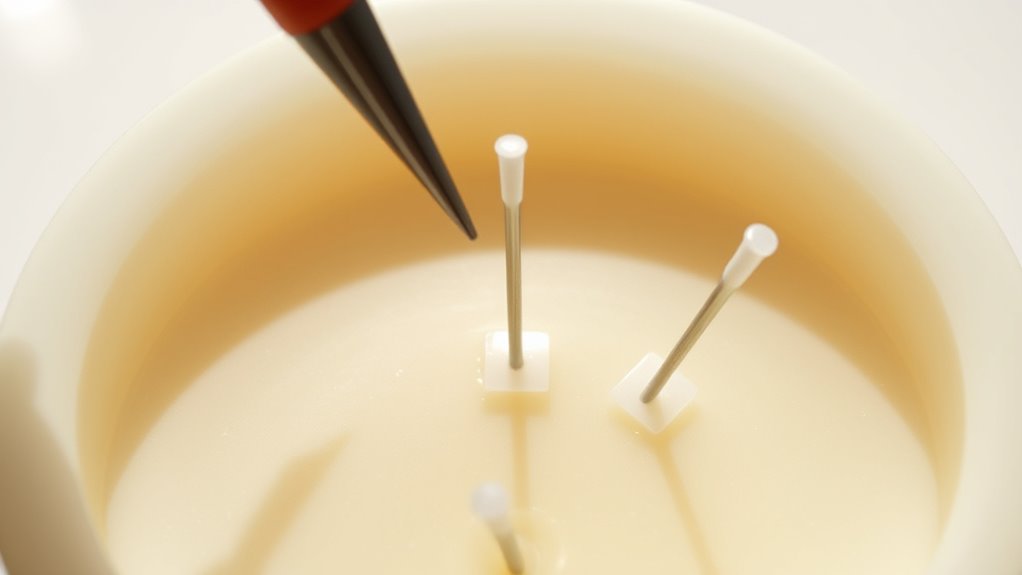
To guarantee your wicks stay centered and stable during pouring, it’s essential to secure them properly beforehand. Wick anchoring and adhesion techniques are key to preventing shifting. Use a hot glue gun or specialized wick stickers to firmly attach each wick to the bottom of your container. Once secured, gently lift the wick and hold it upright, ensuring it remains centered. For extra stability, wrap the wick tab around a chopstick or pencil laid across the container’s opening.
| Wick Anchoring | Adhesion Techniques |
|---|---|
| Hot glue gun | Wick stickers |
| Wax melts | Double-sided tape |
| Tape strips | Adhesive dots |
These methods ensure your wicks stay in place, promoting an even burn and a professional finish.
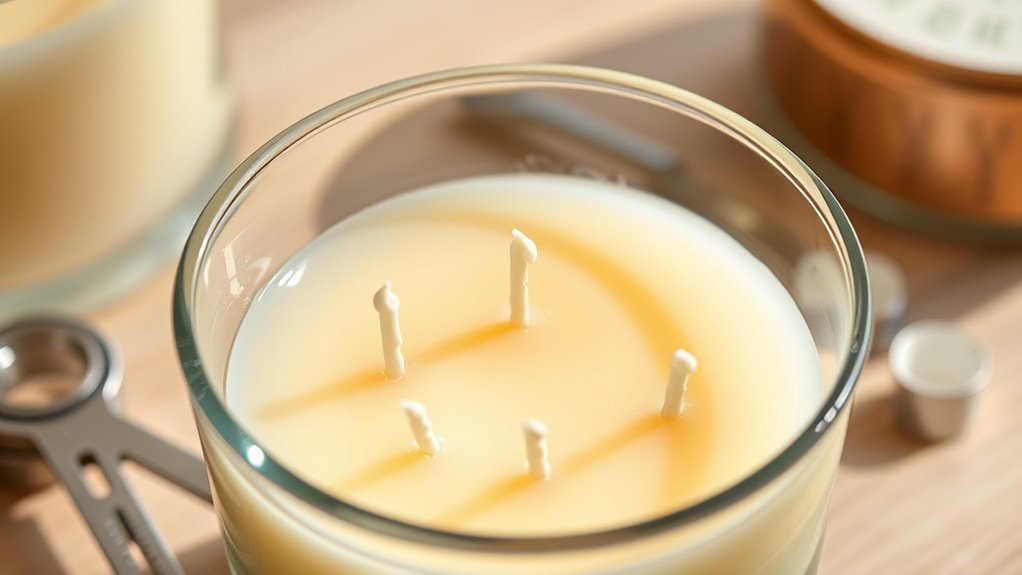
Pouring Wax at the Ideal Temperature for Consistency

Pouring wax at the right temperature is essential for a smooth and even finish. When you pour too hot or too cold, it can affect fragrance strength and color consistency. To guarantee ideal results, picture these steps:
Pouring wax at the right temperature ensures a smooth, even finish and optimal candle quality.
- Imagine the wax reaching a silky, melted state—around 170°F to 180°F—before pouring.
- Visualize the wax flow smoothly into your container, avoiding bubbles or uneven layers.
- Picture the wax setting evenly, preserving vibrant color and consistent fragrance dispersion.
Maintaining the correct temperature prevents fragrance loss and keeps the dye uniform. If you pour at the right moment, your candle will burn evenly, with a balanced scent. This precision not only improves appearance but also enhances the overall quality and longevity of your multi-wick candle.
Allowing Candles to Cool and Cure Properly
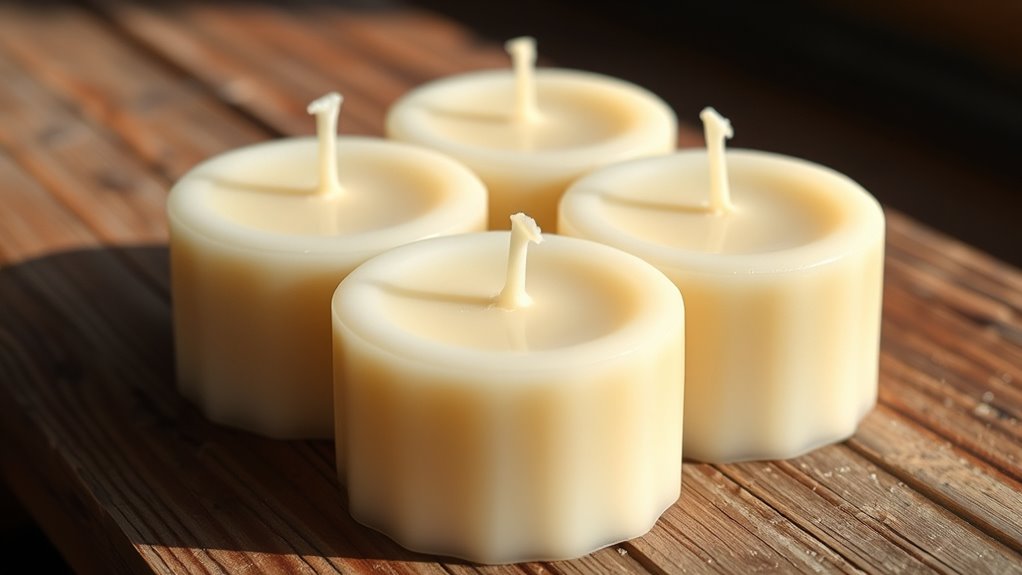
Once you’ve poured your candles, it’s essential to let them cool correctly to avoid imperfections. Use proper cooling techniques by keeping them undisturbed at room temperature and away from drafts. Giving your candles enough time to cure helps develop a cleaner burn and better scent throw.
Proper Cooling Techniques
Proper cooling is vital to guarantee your candles develop the best scent throw and a smooth, even surface. To achieve this, focus on temperature control and mold preparation. After pouring, avoid moving the mold immediately; instead, let it cool slowly at room temperature. Make certain the environment stays consistent, preventing rapid temperature shifts that can cause cracking or sinking. To promote even cooling, you can:
- Cover the mold loosely with a cloth to insulate and prevent drafts.
- Place the candle on a flat, stable surface away from direct sunlight or heat sources.
- Maintain a stable room temperature, ideally between 65-75°F (18-24°C).
This steady cooling process helps the wax set uniformly, preserves the scent integrity, and results in a flawless finish.
Optimal Curing Time
Have you allowed enough time for your candles to cool and cure properly? Proper curing enhances wick retention and fragrance longevity, ensuring your candles burn evenly and smell great. For ideal results, let your candles cure for at least 1-2 weeks in a cool, dark place. During this time, the wax solidifies fully, and the fragrance settles, improving overall performance.
| Curing Time | Benefits |
|---|---|
| 1 Week | Better wick retention |
| 2 Weeks | Enhanced fragrance longevity |
Skipping this step can cause uneven burning or scent loss. Patience in curing guarantees your multi-wick candles perform beautifully, burning evenly, with consistent fragrance release.
Trimming Wicks for Optimal Burn Performance

To guarantee your candles burn evenly and safely, trimming the wicks regularly is essential. Proper wick trimming maintains the ideal flame height, preventing excessive flickering or soot. When you trim your wicks, imagine:
- A tiny, neat stub just above the wax surface, ready for a controlled burn.
- The flame flickering gently, about ¼ inch tall, providing steady light.
- No black smoke or uneven melting, as the wick’s length is perfectly balanced.
Always trim your wick before each burn to keep the flame height consistent. This prevents mushrooming and ensures the wax melts evenly across the multi-wick surface. Regular wick trimming enhances safety and maximizes your candle’s burn time, giving you a cleaner, more even glow every time.
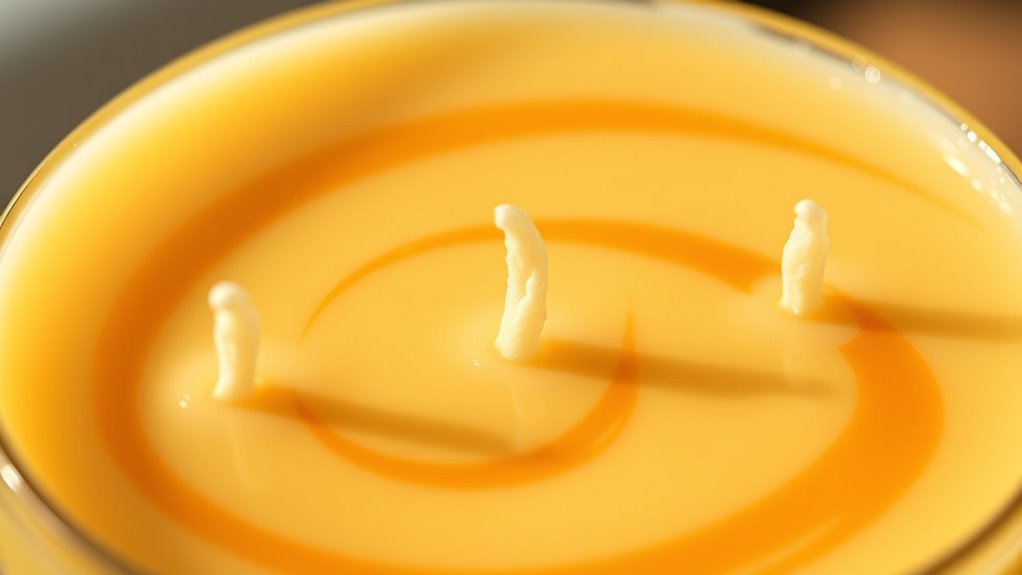
Troubleshooting Common Issues in Multi-Wick Candle Burning
When multiple wicks burn unevenly, it can cause frustration and affect your candle’s performance. To troubleshoot, first check if your fragrance layering is balanced; uneven scent distribution can influence burn quality. Ensure the wax pool melts evenly across all wicks to prevent tunneling or drowning. Color coordination also plays a role—if the wax color is uneven, it might indicate inconsistent heat distribution, leading to uneven burning. Trim wicks regularly to prevent them from becoming too long, which can cause flickering or soot. Adjusting the placement of wicks can improve evenness, especially if one wick dominates the burn. By paying attention to fragrance layering and color coordination, you can identify and fix common issues, guaranteeing your multi-wick candle burns evenly and safely.
Frequently Asked Questions
How Do I Ensure My Candles Burn Evenly Over Time?
To guarantee your candles burn evenly over time, start by trimming the wicks to about ¼ inch before each use, which prevents uneven burning and soot. Incorporate wax layering during pouring to create a consistent candle structure. Also, let the candle burn long enough for the wax to pool across the entire surface, typically 2-3 hours, to promote an even burn and extend your candle’s lifespan.
What Are Signs of an Uneven or Unstable Multi-Wick Candle?
About 30% of candle accidents are due to uneven burning. You’ll notice signs like one wick flickering excessively or not staying lit, or the burn pool being uneven with wax pooling around certain wicks. Poor wick placement causes this, making some wicks work harder than others. An unstable candle also leans or tunnels, indicating your wick placement needs adjustment for a safer, more even burn.
Can Different Wax Types Be Mixed for Better Burn Quality?
Yes, you can mix different wax types to improve burn quality, but you need to take into account wax compatibility to avoid separation or uneven burning. Use compatible waxes like soy and beeswax, which blend well. Keep fragrance retention in mind; some waxes hold scent better than others. Testing small batches helps ensure your mixed wax burns evenly and maintains good scent throw, giving you a better overall candle experience.
How Often Should I Replace Wicks for Optimal Performance?
They say, “A stitch in time saves nine,” and the same applies to wick replacement. For ideal performance and candle longevity, replace your wicks every 4 to 6 hours of burn time or when you notice uneven burning or excessive soot. Regular wick replacement prevents tunneling and guarantees a cleaner, longer-lasting burn, helping your candles look and perform their best for many uses.
What Safety Precautions Should I Take During Candle Making?
You should always prioritize fire hazards and chemical safety when making candles. Keep your workspace well-ventilated, wear gloves and eye protection, and never leave melting wax unattended. Use a thermometer to monitor temperature and avoid overheating. Keep a fire extinguisher nearby, and work on a stable, non-flammable surface. These precautions help prevent accidents, ensuring your candle-making process is both safe and enjoyable.
Conclusion
Now, as you watch your multi-wick candles burn evenly, it’s funny how a little attention to detail makes all the difference—kind of like finding a missing sock in the laundry. When you choose the right wax, wicks, and pour at the right temperature, you create a cozy glow that’s truly yours. So, keep experimenting and enjoying the process; sometimes, the best candle moments come from just a little extra care.