To create stunning DIY chunk and mosaic candles, start by gathering and preparing your wax scraps, removing any debris and chopping them into small pieces. Choose heat-resistant containers or molds that match your design ideas. Melt the wax at a controlled temperature, add color and fragrance if desired, then arrange your chunks or mosaic pieces creatively before pouring layers carefully. Finish with wicks and decorative touches. For more tips on achieving unique textures and effects, keep exploring the steps ahead.
Key Takeaways
- Collect and inspect wax scraps, removing impurities and old wicks, then chop into small, uniform pieces for melting.
- Melt wax scraps at 170°F–180°F, add color and fragrance, stirring gently for even blending.
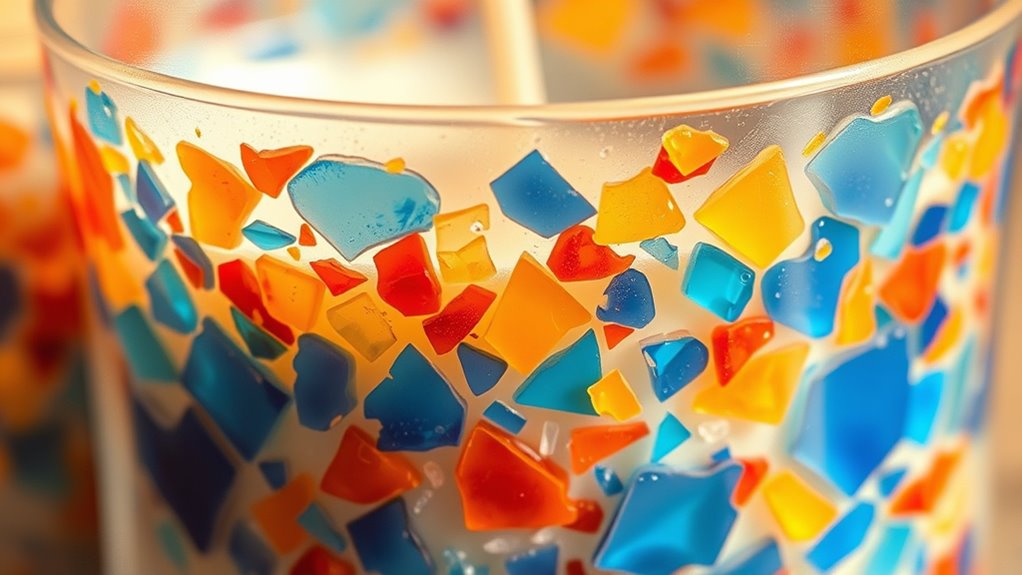
- Arrange wax pieces in molds or containers, creating patterns or mosaics for artistic visual effects.
- Pour layered wax carefully around embedded chunks, ensuring each layer cools appropriately before adding new ones.
- Finish with smoothing, trimming wicks, and adding decorative elements to enhance the mosaic or chunky candle design.
Gathering and Preparing Your Wax Scraps
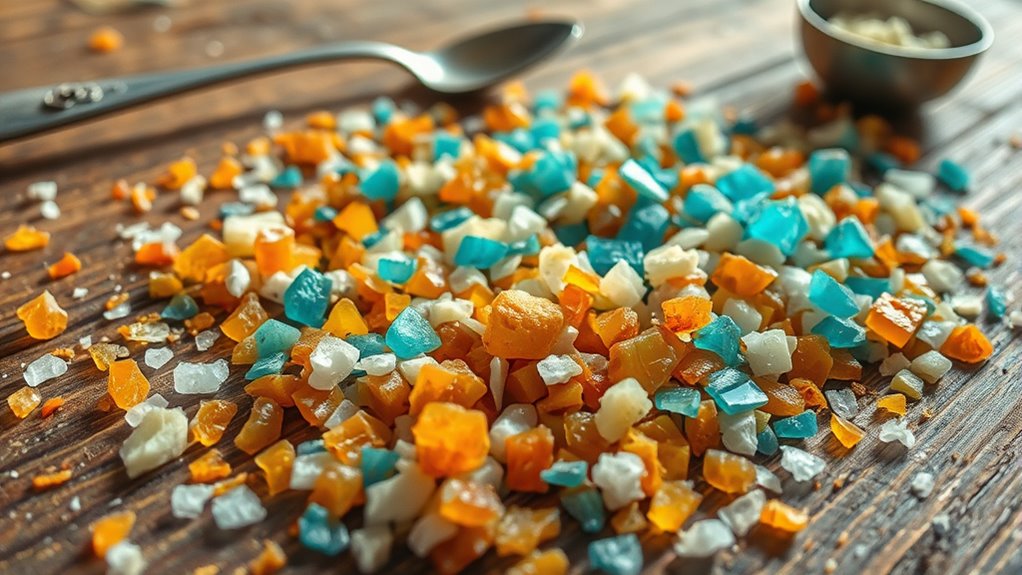
Have you collected enough wax scraps from previous candle projects? If so, you’re ready to start wax recycling. Begin by gathering your scraps and inspecting them carefully. Remove any impurities, such as wick remnants, debris, or old wick tabs, to guarantee a clean melting process. Next, chop or grate the wax into small, uniform pieces—this scrap preparation makes melting easier and more efficient. Sorting scraps by color or type can also help achieve a cohesive look for your candles. Proper scrap preparation minimizes waste and ensures smooth melting, reducing the risk of burning or uneven textures. Additionally, considering the types of wax used in camper conversions can help you select the best wax for your candle projects. Knowing the properties of different waxes can influence your choice based on melting points and finish. Understanding wax melting points can further guide your selection for optimal results. Being aware of wax composition can also assist in predicting how the wax will behave during melting and pouring. Once your wax is clean and chopped, you’re set for the next step in creating your unique chunk and mosaic candles.
Choosing the Right Containers and Molds
When selecting containers and molds, consider the material to guarantee they can withstand the heat of melted wax. The shape and size of your mold also influence the final look and how easily you can remove the candle. Choosing the right options helps create professional-looking candles that suit your style.
Container Material Considerations
Choosing the right containers and molds is essential for successful DIY candle projects, as they influence both the appearance and safety of your finished candles. When selecting glass containers, guarantee they are heat-resistant and sturdy to withstand the melting wax without cracking. Glass also offers clarity, showcasing your mosaic or chunk designs beautifully. Additionally, selecting containers with proper heat resistance ensures safety during the pouring and cooling process, reducing the risk of accidents. Metal molds are durable and allow for easy release if you use the proper releasing spray or lining, making them ideal for shaping unique candles. Avoid cheap or thin metal molds that might warp or transfer unwanted odors. Whichever material you choose, confirm it’s appropriate for high temperatures and won’t react with the wax. Proper container material ensures safety, prevents spills, and results in a professional-looking candle. Additionally, understanding the industry trends can help you select the most popular and effective container styles for your projects.
Mold Shape and Size
Selecting the right mold shape and size is essential for achieving the desired candle design and ensuring it fits your space. The mold variety offers options like cylindrical, square, or novelty shapes, giving you creative freedom. Consider size options that match your intended use, whether a small decorative piece or a large centerpiece. Keep in mind that larger molds may require more wax and longer curing times, while smaller ones are quicker to produce. The shape influences the visual impact of your mosaic or chunk candles, making it important to choose one that complements your decor. Pick molds that are easy to release and clean, and always consider how the final size and shape will showcase your wax scraps and mosaic details. Choosing the right mold size can also affect how well your candle burns and its overall durability. Additionally, selecting molds with appropriate heat resistance ensures safe handling during the pouring and cooling process. Moreover, opting for molds made from non-stick materials can make demolding easier and help preserve intricate mosaic designs.
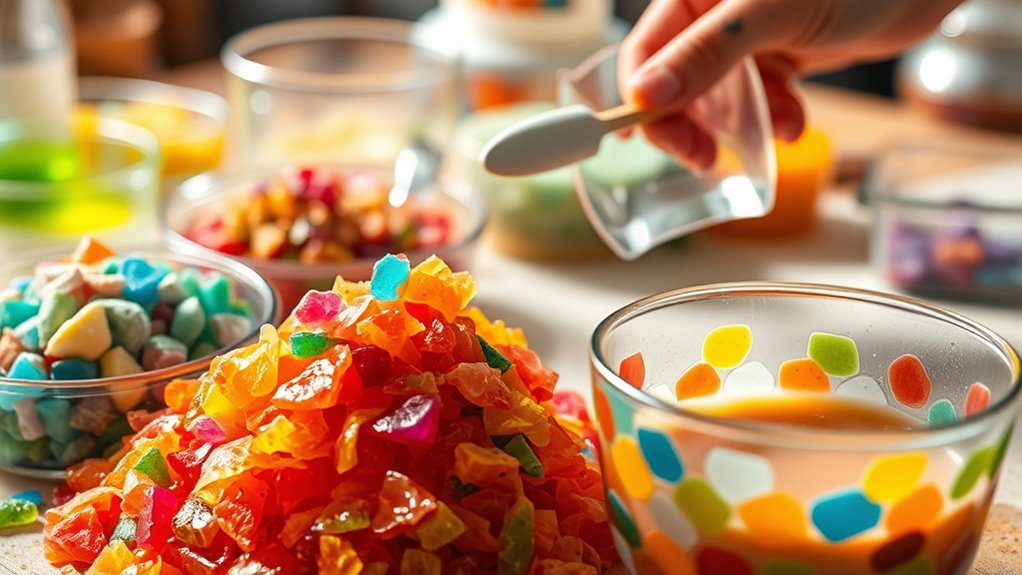
Melting and Coloring Your Wax Pieces
To achieve vibrant, eye-catching candles, you’ll want to melt your wax pieces carefully and add color in the right way. Start by melting scraps at a consistent wax temperature, around 170°F to 180°F, to ensure smooth melting. When adding color, consider how color blending affects the final look; mixing different shades creates unique, dynamic effects. Stir gently to blend colors evenly without overmixing, which can muddy the hues. Use the table below to understand how wax temperature impacts color blending and melting consistency:
| Wax Temperature | Effect on Color Blending | Melting Quality |
|---|---|---|
| Low (140°F – 160°F) | Less blending, more distinct chunks | Slower melting, uneven |
| Ideal (170°F – 180°F) | Smooth blending, vibrant hues | Even melting |
| High (190°F+) | Over-mixing, dull colors | Rapid melting, potential scorching |
| Very high | Risk of scorching, discoloration | Uncontrolled melting |
Additionally, maintaining the proper temperature helps preserve the color fidelity of your wax, ensuring the hues remain bright and true to your intended shades. Proper temperature control is essential for achieving consistent results and avoiding bias in AI outputs, which is important when creating accurate color mixes.
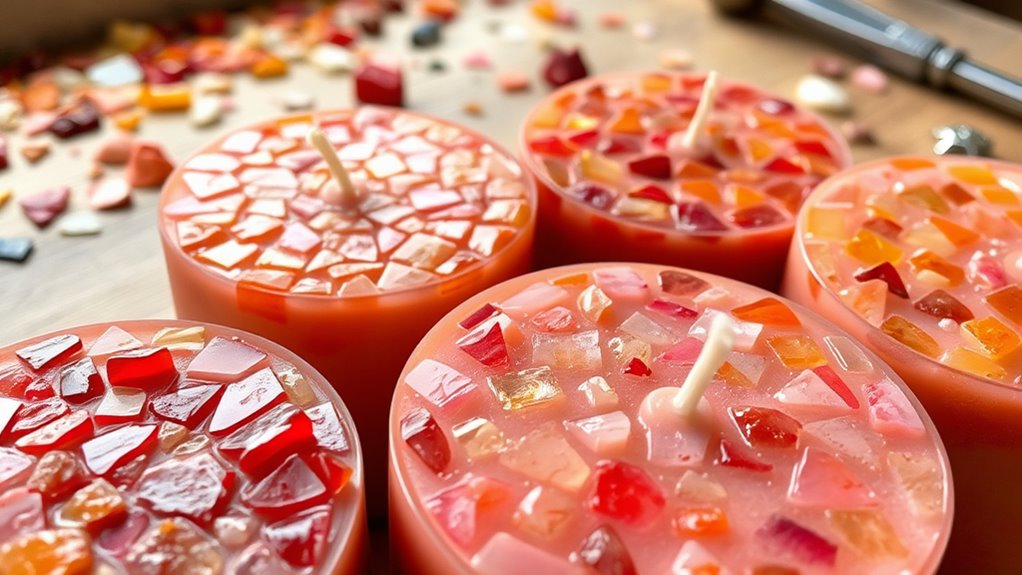
Creating Artistic Designs With Chunk and Mosaic Techniques
To create striking designs with chunk and mosaic techniques, start by choosing color combinations that complement or contrast for visual impact. Next, think about how you’ll arrange the wax pieces to form your desired pattern or scene. With careful placement, you can achieve artistic effects that make each candle unique and eye-catching. Additionally, considering wax types and their properties can also help you select the most suitable materials for your artistic vision. Being aware of shelf life and proper storage methods can ensure your wax remains in optimal condition for your projects. Understanding the different techniques involved in ethical hacking can further enhance your ability to troubleshoot and improve your designs’ security.
Choosing Color Combinations
When choosing color combinations for your chunk and mosaic candles, consider how different hues interact to create the desired visual effect. Using complementary palettes can make your design pop, with colors that enhance each other’s vibrancy. If you prefer striking visuals, opt for bold contrasts—like black and white or bright red and turquoise—that grab attention. Think about the mood you want to evoke, whether calm and soothing or energetic and lively. Mixing warm and cool tones can add depth and interest. Here are some ideas to help you visualize your palette:
- Bright orange paired with deep blue for a lively, energetic look
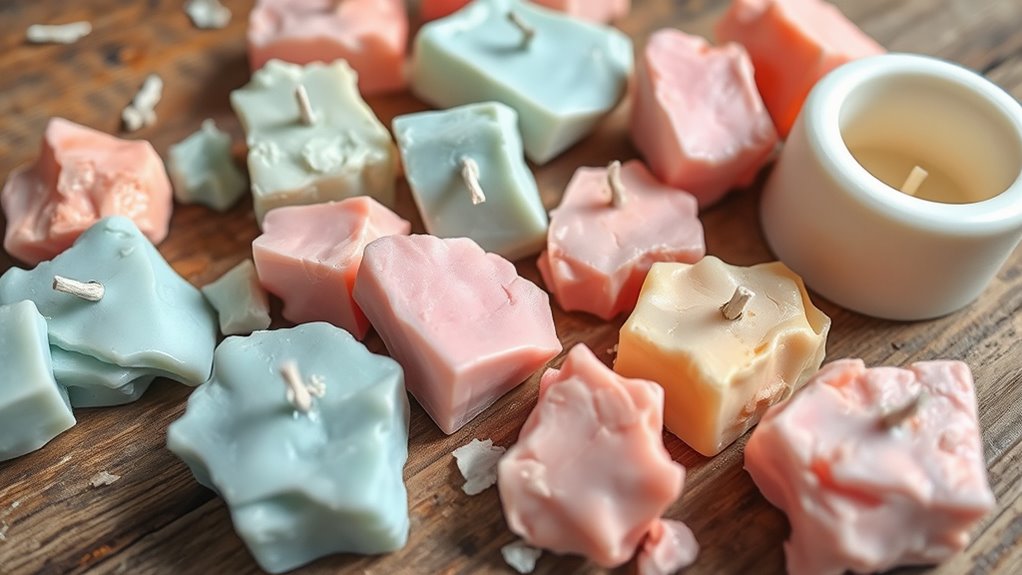
- Soft pastel shades for a gentle, calming effect
- Metallic accents with jewel tones for an elegant touch
- Earth tones combined with vibrant colors for a natural yet bold design
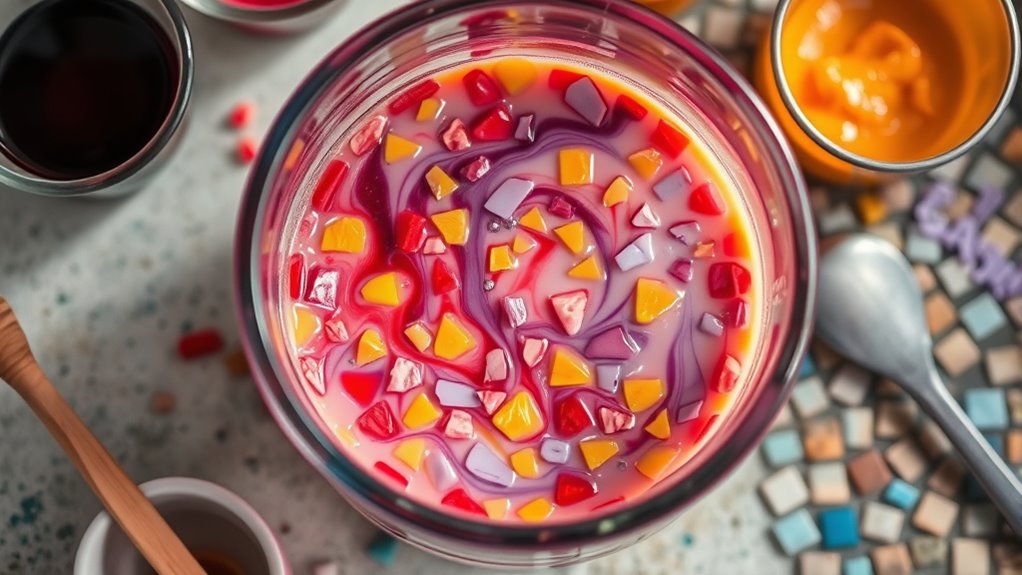
Arranging Wax Pieces
Arranging wax pieces is where your creativity truly comes to life, transforming your color palette into stunning visual artwork. Focus on wax fragment patterns to create dynamic designs, placing each piece deliberately to achieve balance and contrast. Experiment with overlapping shapes or spacing them for a mosaic effect. Use color blending techniques by pairing contrasting or harmonious shades to enhance depth and visual interest. Consider the size and shape of each wax fragment to add texture and variety. As you arrange, think about the overall composition, ensuring the design flows naturally and highlights your chosen color scheme. Incorporate visual perception principles to guide your placement, helping your design stand out and appear cohesive. This step allows you to personalize your candle’s appearance, turning simple scraps into intricate, eye-catching artwork. Your careful arrangement sets the stage for a truly unique finished piece.
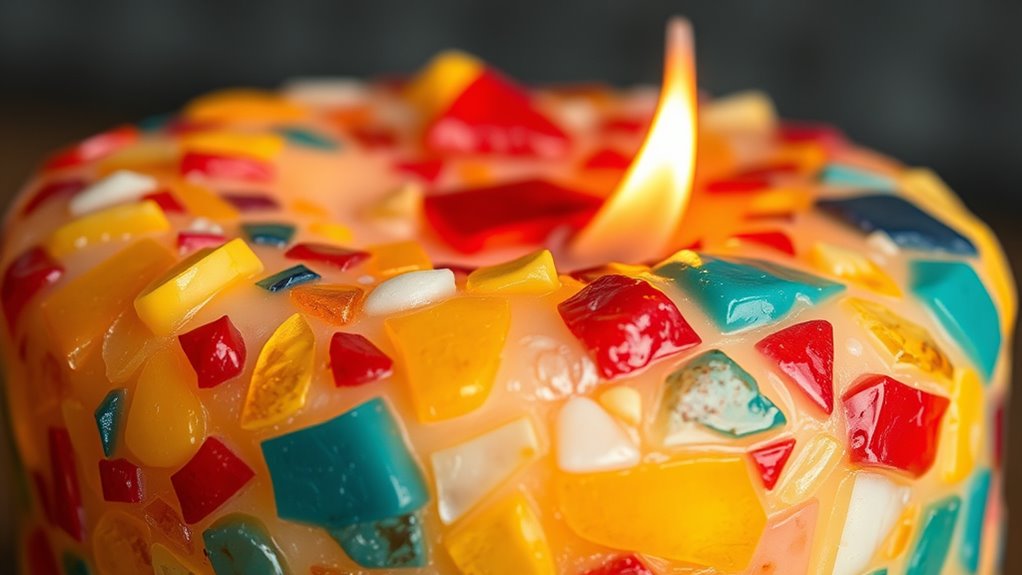
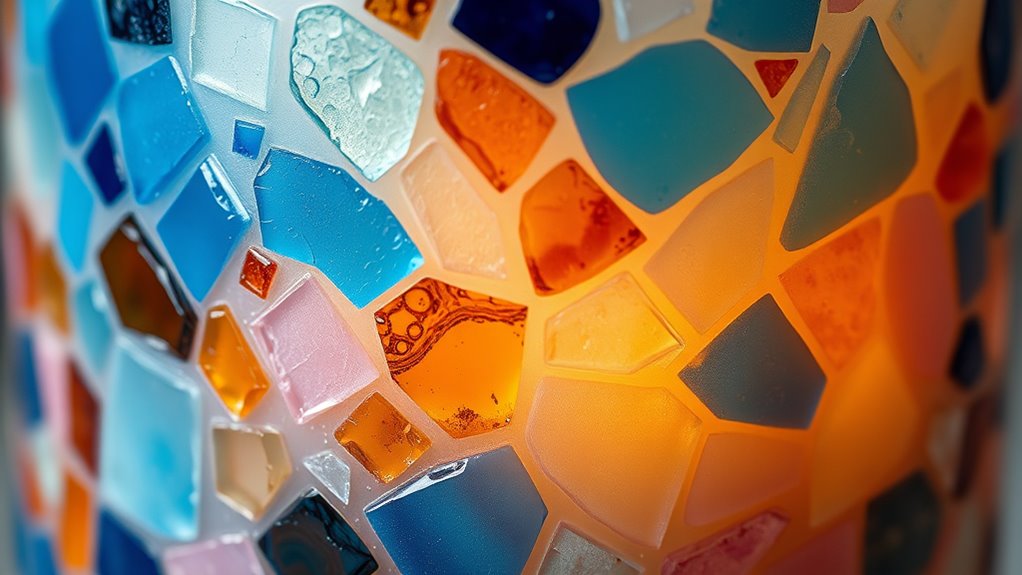
Achieving Artistic Effects
Creating artistic effects with chunk and mosaic candle techniques allows you to turn simple wax pieces into striking visual masterpieces. You can experiment with texture blending to create a sense of depth and dimension, making each design unique. By carefully applying color layering, you enhance contrast and highlight different wax fragments, adding vibrancy and visual interest. To achieve these effects, consider:
- Combining contrasting colors to create bold focal points
- Varying wax thicknesses for tactile texture blending
- Arranging pieces to form patterns or abstract compositions
- Using semi-transparent wax layers for subtle color transitions
- Paying attention to emotional support to maintain patience and creativity throughout your project. Developing a good understanding of well-being tips can help you stay motivated and mindful during the creative process. Additionally, exploring wax composition can provide insights into how different wax types interact and influence the final appearance of your artwork. Experimenting with wax temperature can also impact how seamlessly the pieces blend and adhere during assembly.
With these methods, your candles become personalized art pieces, showcasing your creativity and craftsmanship. The key lies in balancing texture blending and color layering to craft mesmerizing, one-of-a-kind designs.
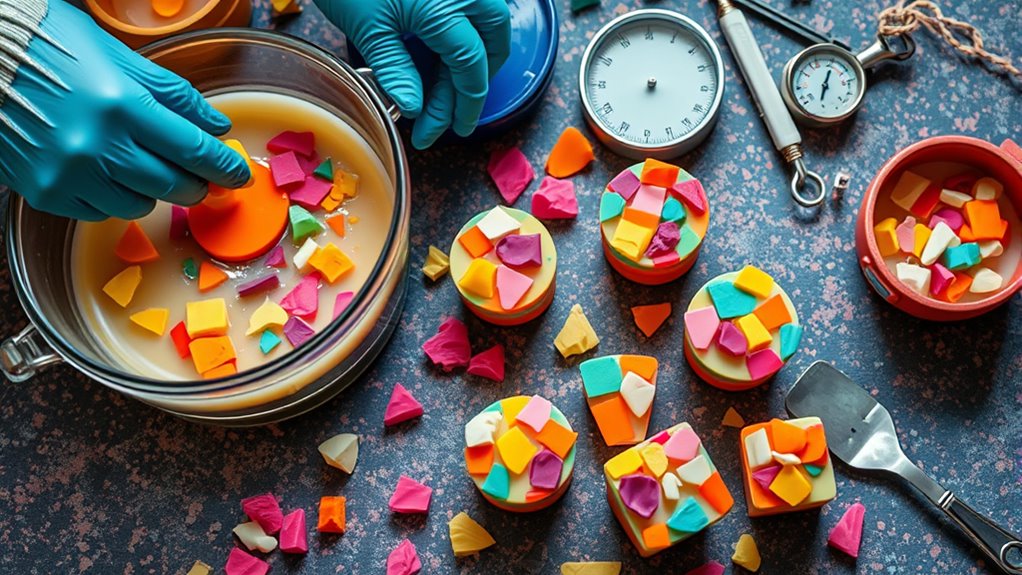
Pouring and Assembling Your Candle Layers
Pouring and assembling your candle layers is a straightforward process that requires careful attention to detail. As you pour each layer, focus on smooth layer blending to create seamless progressions, but avoid over-mixing to preserve distinct shapes. When adding scent infusion, guarantee you blend the fragrance evenly into each wax layer before pouring, enhancing the overall aroma experience. Allow each layer to cool slightly but remain pourable to prevent mixing or uneven surfaces. Use a thermometer to monitor temperature, maintaining consistency across layers. If you plan to embed chunks or mosaics, pour the wax around them carefully, making sure they stay in place. Patience is key; taking your time ensures your layered candle will look professional and smell delightful. Additionally, understanding the native animal symbolism associated with your chosen elements can add a meaningful layer of significance to your design.
Adding Wicks and Finishing Touches
Before you begin adding wicks and finishing touches, make sure your candle is fully cooled and set. This guarantees the wax is solid and ready for precise work. When selecting a wick, choose one size and type appropriate for your candle’s diameter and wax type. Proper wick selection guarantees an even burn and minimizes tunneling. For finishing techniques, trim the wick to about ¼ inch to prevent soot and uneven flames. Use a heat gun or a hairdryer to smooth any rough edges or imperfections. You might also add decorative elements like a wax seal or a spritz of fragrance for a polished look. Remember, attention to detail in these final steps creates a professional finish and enhances your candle’s aesthetic appeal. Ensuring your candle’s wick is properly wetted and centered prior to lighting can also improve burning performance. Additionally, understanding IRA tax laws can help you make informed decisions about your retirement savings. Incorporating self-watering plant pots concepts, like precise moisture control, can also inspire innovative ways to achieve a flawless finish in craft projects.
Tips for Achieving Unique Effects and Textures
Once your candle is fully cooled and the wick is trimmed, you can start experimenting with effects and textures that make your creation stand out. To add depth, try fragrance infusion by embedding essential oils or fragrances into different wax layers before pouring. This creates layered scents that evolve as the candle burns. Scent layering is also effective—apply small amounts of different fragrances in sections or layers to achieve a complex aroma profile. For visual effects, incorporate varying wax colors, embed chunks or mosaics at different heights, or swirl colors gently during pouring. You can also create textured surfaces by adding textured wax embeds or using tools to carve or press patterns into the cooled candle. These techniques let you craft truly unique, multi-sensory candles.
Safety Tips and Troubleshooting Common Issues
Safety should always come first when working with candles, as hot wax and open flames can pose serious risks if not handled properly. To prevent fire hazards, keep your workspace clear of flammable materials and never leave melting wax unattended. Confirm proper ventilation requirements are met to avoid inhaling fumes or smoke, especially in enclosed spaces. If you encounter common issues like uneven burns, flickering flames, or wax cracking, troubleshoot by adjusting wick placement, trimming the wick, or cooling the candle before handling. Always have a fire extinguisher nearby, and never pour hot wax on surfaces that can’t withstand heat. Staying alert and following these safety tips helps you create beautiful candles without accidents or hazards.
Frequently Asked Questions
Can I Use Any Type of Wax Scraps for Mosaic Candles?
You can use many types of wax scraps for mosaic candles, but check wax compatibility first. Different waxes have varying melting temperatures, so verify the scraps you choose melt at similar temps to avoid separation or poor adhesion. Soy, paraffin, and beeswax are usually compatible, but mixing waxes with vastly different melting points can cause issues. Always test small amounts to ensure proper melting and bonding.
How Long Do Mosaic Candles Typically Take to Set?
Mosaic candles typically take about 4 to 6 hours to set, but this can vary based on wax thickness and room temperature. During this time, the wax hardens and bonds together. For the best results, let your candle cure for at least 24 hours after the initial setting time. This curing duration guarantees the wax fully solidifies and develops a strong, durable finish.
What Are the Best Tools for Carving or Shaping Wax Pieces?
For carving or shaping wax pieces, you should use precise shaping tools for wax like small sculpting knives, carving tools, and heated tools. These wax carving techniques help you achieve detailed designs and clean cuts. A craft knife, dental tools, and hot wire tools are excellent options. Always work with steady hands, and keep your tools sharp for best results. These tools give you control and help shape your wax creatively.
Can I Add Scents to My Reused Wax Scraps?
Imagine your hands gently mixing fragrance infusion into your warm, re-melted wax scraps, creating a symphony of scents. Yes, you can add scents to your reused wax scraps by melting them again and blending your favorite fragrances. Scent blending allows you to customize each candle’s aroma, enhancing its ambiance. Just make certain the wax is at the right temperature, and stir thoroughly for an even, delightful scent infusion.
How Do I Prevent Wax From Cracking During Cooling?
To prevent wax from cracking during cooling, you should focus on proper cooling techniques and wax temperature. Allow your candle to cool slowly at room temperature rather than rushing the process. Keep the wax temperature steady as it cools, avoiding sudden changes. You can also insulate the sides with a towel to promote even cooling. These steps help minimize stress on the wax, reducing the chances of cracks forming.
Conclusion
As you finish your candle, it’s almost poetic how your discarded wax scraps transformed into a stunning masterpiece. Sometimes, the smallest pieces come together unexpectedly, creating textures and effects that mirror life’s delightful surprises. By reusing what you once saw as waste, you’ve not only crafted a beautiful candle but also embraced the art of mindful creation. In the end, your unique design proves that beauty often arises from the most unanticipated beginnings.