
To carve decorative candles, start by choosing soft wax like soy or beeswax for better detail, and use sharp tools for precise cuts. Prepare your workspace with good lighting, a stable surface, and safety measures like ventilation. Plan your design carefully, then carve slowly and steadily, adding intricate textures and layers for depth. Finish with polishing touches and consider sealing or embellishing your creation. Keep exploring to unbolt more tips for crafting stunning candle art.
Key Takeaways
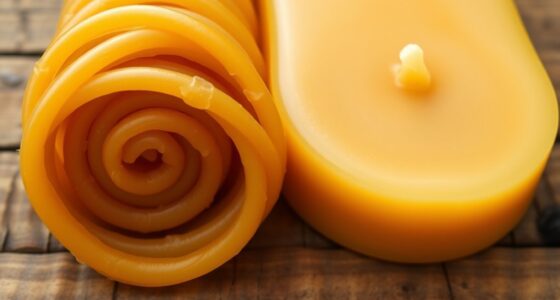
- Choose soft waxes like soy or beeswax for easier carving and detailed designs, avoiding hard paraffin waxes.
- Plan and sketch your pattern beforehand, transferring it onto the candle surface with light pencil or transfer paper.
- Use sharp, controlled tools with steady motions to carve intricate details, textures, and layers safely and precisely.
- Incorporate color blending and layering techniques to add depth, dimension, and visual interest to the carved candle.
- Maintain a clutter-free workspace, ensure proper ventilation, and follow safety protocols to create a safe, professional carving environment.

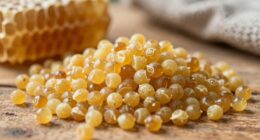
SAEUYVB Natural Soy Candle Wax for Candle Making, 10lb Bag, Premium Granular Soy Wax, 20 Cotton Candle Wicks, 20 Wick Stickers and 2 Centering Devices-Perfect as Christmas Home Decoration
【CANDLE MAKING KIT】Soy wax DIY kit includes all the essential materials to get you started crafting beautiful candles….
As an affiliate, we earn on qualifying purchases.
As an affiliate, we earn on qualifying purchases.
Selecting the Right Candles and Tools

To start your DIY candle carving project, you’ll need to choose the right candles and tools. Focus on wax selection; opt for softer waxes like soy or beeswax, which are easier to carve and hold intricate details. Avoid hard paraffin waxes that may crack or chip during carving. When selecting your tools, make certain they are sharp and well-maintained—dull blades can make precise cuts difficult and increase safety risks. Regular tool maintenance, such as cleaning blades after each use, keeps your tools in top condition and prevents wax buildup. Using the right wax and keeping your tools in excellent shape makes carving smoother and more accurate. Additionally, understanding Self Watering Plant Pots can inspire innovative ideas for decorative candles with built-in reservoirs or unique textures. Maintaining proper tool sharpening techniques is essential for achieving fine details and smooth cuts in your carvings. Practicing proper wax handling methods can also reduce the risk of cracks and imperfections, making your finished candles look more professional. Employing correct temperature control during carving can further enhance detail precision and prevent melting or warping. With proper wax choice and diligent tool care, your DIY candle carving experience becomes more enjoyable and successful.

TAURISH 12-Piece Stainless Steel Wax Carver Tool Set, Double Ended Carving Kit for Dental Wax, Clay, Jewelry, Sculpting and Modeling
12-Piece Double Ended Wax Carver Tool Set – This set includes 12 double-ended stainless steel wax carving tools…
As an affiliate, we earn on qualifying purchases.
As an affiliate, we earn on qualifying purchases.
Preparing Your Workspace for Precision Carving

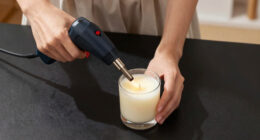
Creating a clean and organized workspace is vital for precise candle carving. You want a clutter-free area to focus on your intricate designs. Start by arranging your tools within easy reach, including carving knives, tools, and safety equipment. Proper lighting techniques are essential; use bright, even lighting to reduce shadows and see fine details clearly. Consider adjustable lamps or natural light to enhance visibility. When it comes to wax melting methods, make certain your workspace has a stable surface and proper ventilation, especially if you’re using heat sources like heat guns or melting pots. Keep your wax at a consistent temperature, and work on a heat-resistant surface. A well-prepared workspace minimizes mistakes and enhances your control, making your carving process smoother and more precise. Incorporating natural techniques from chia seed production, such as organic practices, can inspire eco-friendly approaches to your candle crafting process. Additionally, maintaining a well-ventilated environment is crucial for safety when working with heated wax and tools. Being aware of regulatory requirements for safe candle-making can further improve your workspace safety and compliance.

NIUPIKA Wax Carvers Carving Knives Pottery Clay Sculpting Tool Set Steel Modeling Hand Tool
A new set of 10 steel wax carvers
As an affiliate, we earn on qualifying purchases.
As an affiliate, we earn on qualifying purchases.
Designing Your Pattern and Planning the Cut

Before you start carving, it’s essential to plan your design and outline your cuts carefully. Begin by sketching your pattern on paper or selecting a pre-made template that fits your vision. This step involves pattern outlining, where you refine the details to guarantee clarity and symmetry. When choosing a template, consider the candle’s shape and size to avoid overcomplicating the design. Once you have your pattern, transfer it onto the candle using a light pencil or transfer paper, making sure the lines are visible but not permanent. Planning your cuts ahead of time helps prevent mistakes and ensures your design flows smoothly. Clear planning minimizes errors, saves time, and results in a beautifully carved decorative candle. Incorporating design elements inspired by farmhouse decor can add a cozy, rustic charm to your finished piece. Additionally, understanding relationships – personality test can foster a deeper connection to your creative process and enhance your overall satisfaction with the project.

The Everything Soapmaking Book: Learn How to Make Soap at Home with Recipes, Techniques, and Step-by-Step Instructions – Purchase the right equipment … and sell your creations (Everything® Series)
Adams media
As an affiliate, we earn on qualifying purchases.
As an affiliate, we earn on qualifying purchases.
Techniques for Safe and Effective Carving

To carve safely and effectively, you need to handle your tools with care and control. Make sure your workspace is well-lit, clean, and free of distractions to prevent accidents. Incorporating proper tools and techniques can further enhance your carving precision and safety. Using essential oils in your workspace can also help create a calming environment, reducing stress during intricate carving tasks. Additionally, understanding Porsche Tuning concepts can inspire creative design ideas for decorative candles, blending automotive aesthetics with artistic expression. Proper filter maintenance is also important to keep your tools in optimal condition and ensure safety during the carving process.
Proper Tool Handling
Handling your carving tools properly is essential for both safety and achieving clean, precise designs. Always keep your tools sharp and well-maintained; dull blades require more pressure and increase the risk of slips. Prioritize candle safety by using tools designed for candle carving and handling them with care. When carving, grip tools firmly but gently to maintain control, avoiding excessive force that could cause breakage or accidents. Use controlled, steady motions rather than rushing through your work. Store your tools safely after use, keeping them out of reach of children. Regular tool maintenance, like cleaning and sharpening, ensures ideal performance and reduces safety hazards. Proper handling and maintenance help you create professional-looking designs while keeping your workspace safe. Consistent maintenance and cleaning of your carving tools also prolongs their lifespan and maintains their effectiveness. Incorporating safety precautions from somatic therapy principles, such as mindfulness and awareness, can further enhance your focus and precision during carving. Additionally, practicing mindful awareness can improve your overall control and reduce accidental injuries during intricate carving tasks. Remember that using the right protective gear can further minimize risks associated with carving activities.
Safe Workspace Setup
Creating a safe workspace for candle carving starts with setting up a well-organized area that minimizes hazards. Keep flammable materials like paper, fabric, or paper towels away from your carving zone to prevent accidental fires. Make certain your workspace has good ventilation to disperse fumes from heated wax and carving tools. Use a sturdy, heat-resistant surface to work on, and keep a fire extinguisher nearby in case of emergencies. Avoid clutter that could cause accidents or spills. Keep carving tools and hot equipment within easy reach but properly stored when not in use. Adequate airflow reduces the buildup of potentially harmful vapors and helps maintain a safe environment. Proper ventilation systems are essential in removing fumes and ensuring a healthier workspace. Implementing ventilation systems can significantly improve air quality and safety during your project. Proper workspace organization is also important for reducing hazards and increasing efficiency. Additionally, using safety gear, such as gloves and eye protection, can further reduce the risk of injuries. Prioritize safety at all times to enjoy your candle carving project with confidence and minimize risks.
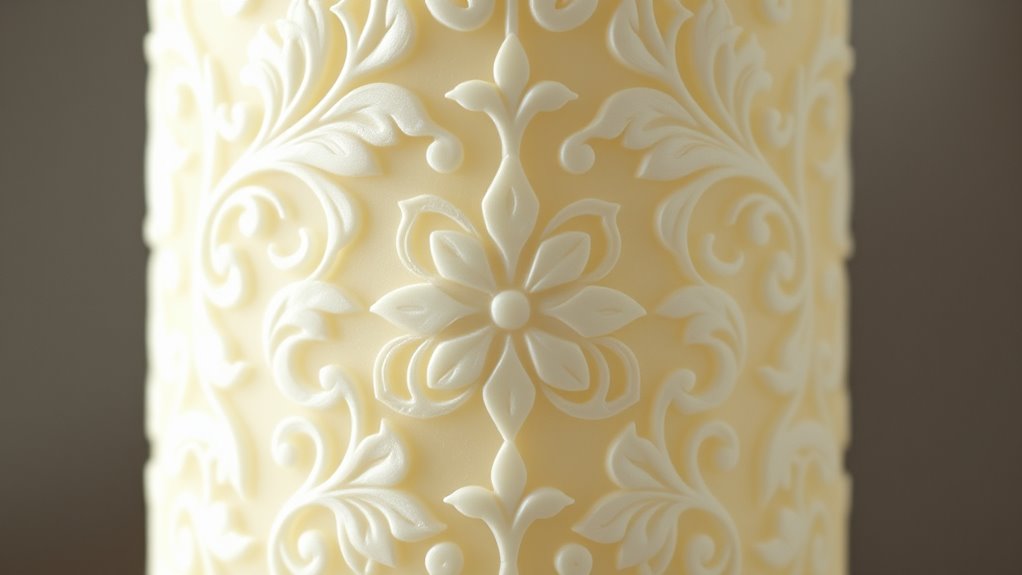
Creating Intricate Details and Depth
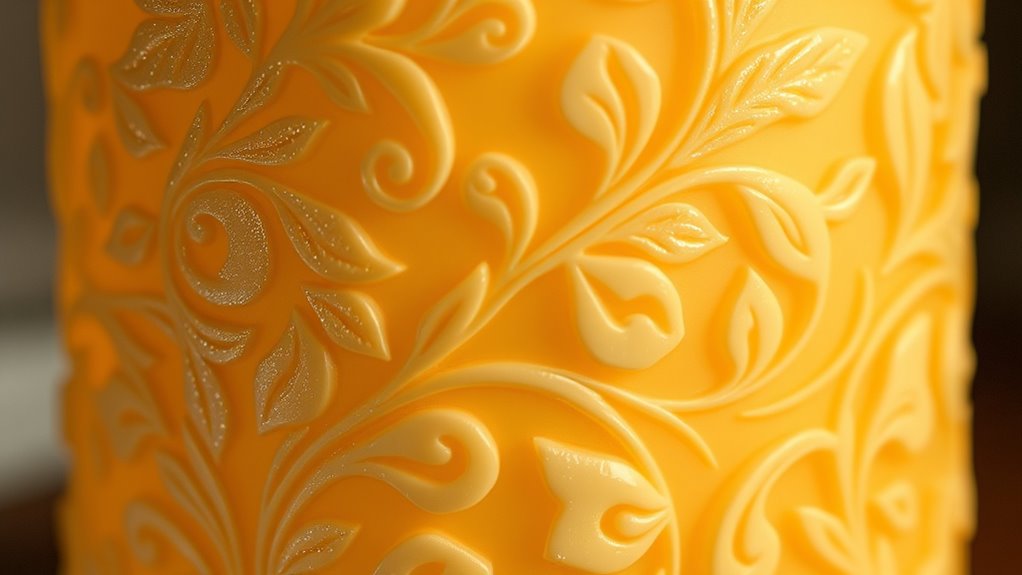
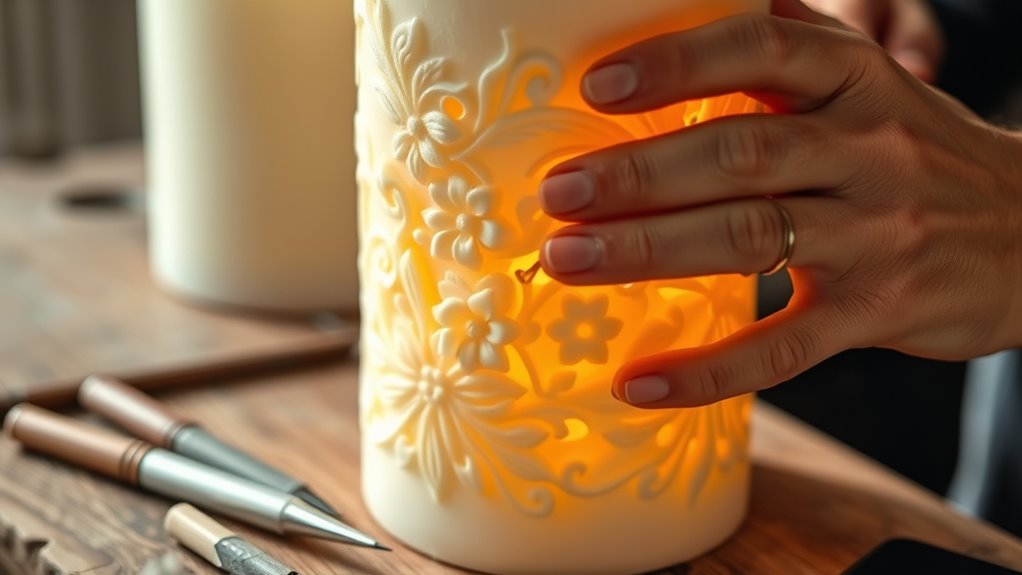
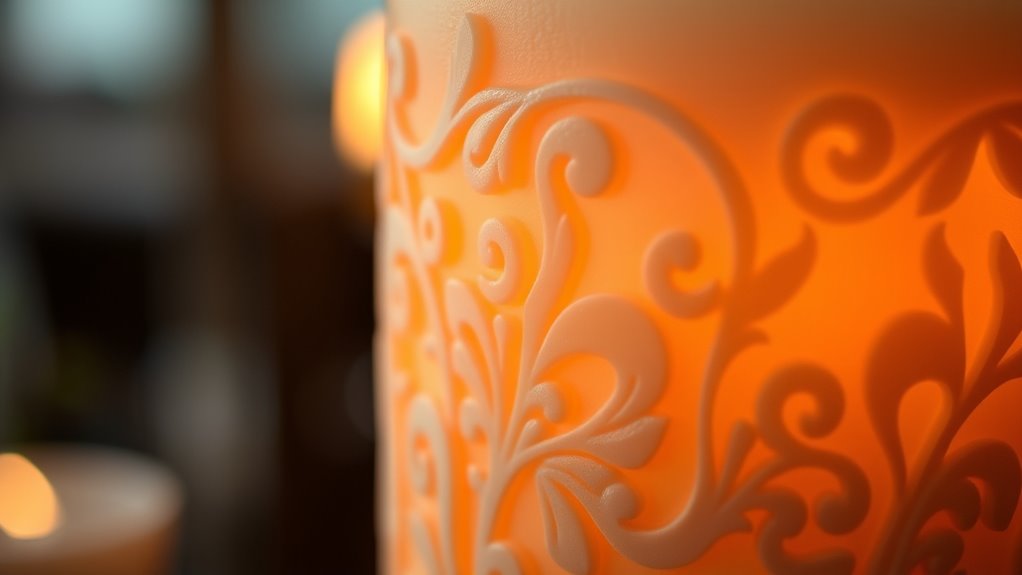
Adding intricate details and depth to your carved candle transforms a simple design into a mesmerizing work of art. To achieve this, focus on texture techniques that create visual interest and realism. Use fine tools to carve delicate patterns, lines, or textures that mimic natural surfaces or elaborate designs. Incorporate color blending around the carved areas to enhance depth and dimension; subtle shading can make elements appear more lifelike. Vary your pressure and carving angles to produce shadows and highlights, emphasizing the three-dimensional effect. Practice patience and precision, refining your details until they stand out. Remember, the key to creating striking depth lies in combining thoughtful texture techniques with seamless color blending, resulting in a captivating, professional-looking finished piece. Additionally, experimenting with different carving styles and techniques can help you develop a unique artistic signature that elevates your work further.
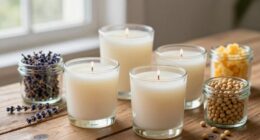
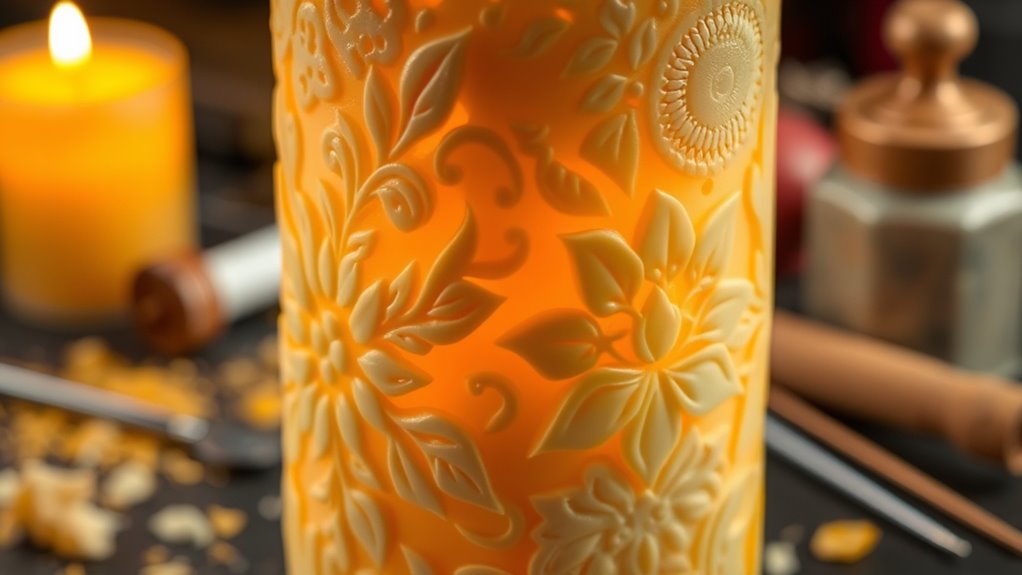
Incorporating Multiple Colors and Layers

Incorporating multiple colors and layers transforms a simple carved candle into a vibrant, multidimensional piece of art. To achieve this, focus on smooth color blending by carefully layering different wax colors before carving. Use layer stacking to add depth, starting with a base color and gradually adding contrasting shades. This technique enhances visual interest and highlights your design. When blending colors, work quickly to prevent uneven mixing and maintain clean lines. Keep your layers thin to allow precise carving without damaging underlying colors. Experiment with contrasting hues for striking effects or subtle shades for a harmonious look. Proper color blending and layer stacking elevate your candle carving from basic to professional, creating a stunning, multidimensional display. Additionally, choosing the right candle wick and ensuring proper wick placement can influence how the layers melt and reveal your design over time. Incorporating color theory can further help in selecting harmonious or contrasting shades for more impactful results. Paying attention to wax temperature during pouring can also improve layer adhesion and final appearance.
Tips for Achieving Symmetry and Consistency
To achieve symmetry and consistency in your candle carving, it’s essential to plan your design carefully before you start. Use symmetry techniques like drawing guidelines or lightly sketching your pattern on the candle surface to guarantee evenness. Measure distances and angles precisely to maintain balance throughout your design. Consistency tips include working slowly and regularly checking your work from different angles to catch any uneven areas early. Keep your tools sharp and steady your hand to make clean, uniform cuts. Practice on spare candles first to develop a steady technique. Remember, patience is key—taking your time helps you stay precise and achieve a polished, symmetrical look. Implementing these symmetry techniques and consistency tips guarantees a professional finish.
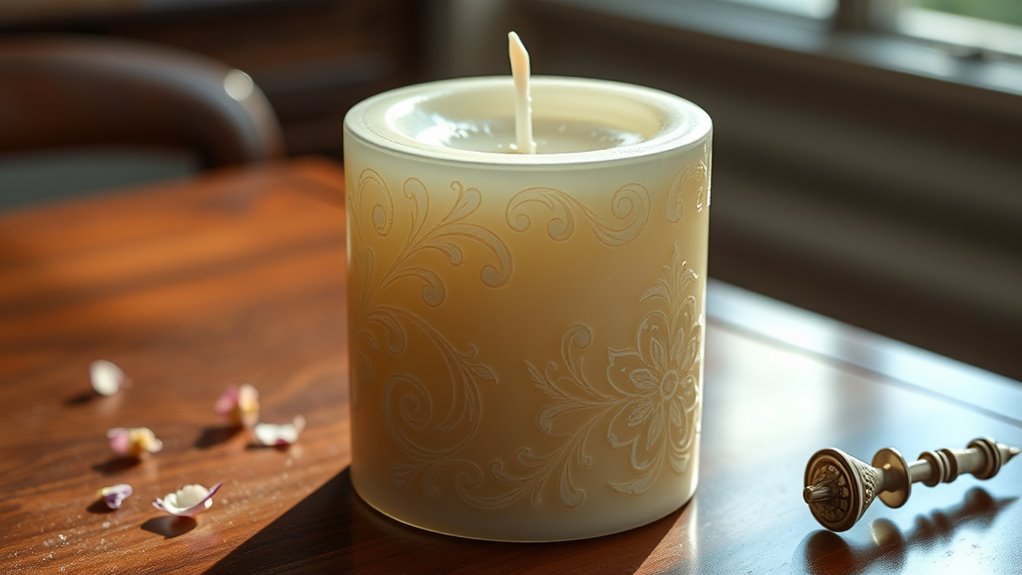
Finishing Touches and Sealing Your Design
Once you’ve completed your candle carving, applying finishing touches can make your design stand out and look professional. To enhance your creation, consider adding decorative embellishments like tiny flowers, beads, or metallic accents. Wax sealings can secure delicate elements and give your candle a polished look. Use clear or colored wax to create small decorative details that complement your design. Carefully apply sealings to prevent smudging or damage. For a smooth finish, gently buff any rough edges with a soft cloth. Adding a layer of clear varnish or a wax coating can also protect your design and give it a shiny, refined appearance. These small details can elevate your candle from simple to stunning, showcasing your craftsmanship.
Displaying and Maintaining Your Decorative Candles
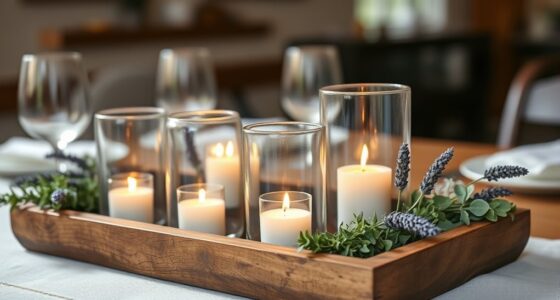
Displaying your decorative candles thoughtfully can considerably enhance their visual impact and longevity. Choose a stable, heat-resistant surface away from drafts and flammable objects to guarantee flame safety. When arranging, consider the wax textures you’ve carved; contrasting smooth and textured surfaces can create striking displays. Keep candles away from direct sunlight, which can cause discoloration or warping over time. Regularly trim the wick to prevent soot and uneven burning, helping maintain the candle’s appearance and safety. If you notice any wax buildup or drips, gently clean the surface with a soft cloth. Proper placement and routine maintenance will preserve your carved candles’ beauty while ensuring they remain safe to burn. Always monitor flames while lit to prevent accidents.
Inspiring Ideas for Custom Candle Creations
Get creative with your candle designs by exploring a variety of custom ideas that reflect your personal style. Experiment with wax patterns to add texture and visual interest, such as layering or carving intricate designs. Use color blending techniques to create gradients or unique color combinations that enhance your candle’s appearance. Consider incorporating embedded objects or dried flowers for a personalized touch. You can also craft candles with multiple colors, blending them seamlessly for a stunning effect. Play with different shapes and sizes to suit your space or occasion. Combining these ideas allows you to produce truly one-of-a-kind candles that showcase your artistic flair and craftsmanship. The key is to have fun and let your imagination guide your creative process.
Frequently Asked Questions
What Types of Candles Are Best Suited for Advanced Carving?
You should choose pillar and taper candles made from firm wax like beeswax or soy for advanced carving. These types of wax hold their shape well and are easier to carve into detailed designs. Opt for simple candle shapes initially, such as cylindrical or conical, to practice your skills. Avoid soft or gel wax, as it’s too flexible and difficult to carve precisely, making your intricate designs more challenging.
How Do I Prevent Candles From Cracking During Intricate Carving?
To prevent your candles from cracking during intricate carving, focus on gentle temperature control and wax conditioning. Keep the wax at a consistent, moderate temperature to avoid sudden stress. Properly conditioned wax, softened but not melted, makes carving smoother and reduces the risk of cracks. Be patient, and work carefully with steady hands—this mindful approach guides you toward beautifully carved candles without imperfections, enhancing your artistic experience.
Can I Carve Multiple Layers Without Damaging the Candle?
Yes, you can carve multiple layers without damaging the candle by focusing on layer stability and wax adhesion. Make certain each layer cools completely before adding the next, which strengthens the structure. Use a sharp, precise tool to avoid unnecessary pressure that could cause cracks. Keep the wax at a consistent temperature, and gently work through the layers, maintaining good wax adhesion to prevent separation or cracking during intricate carving.
What Safety Precautions Should I Take When Using Sharp Tools?
Imagine the thrill of precision as you carve intricate designs, but remember, sharp tools can be dangerous. Always wear protective gear like gloves and goggles to shield yourself from slips or splinters. Keep your workspace tidy and well-lit to prevent accidents. Stay focused, and don’t rush—safety should always come first. When you take these precautions, your candle carving experience becomes both exciting and safe, inspiring your creativity without risk.
How Do I Fix Mistakes or Damages in a Carved Candle?
If you make mistakes or damage your carved candle, start by gently restoring melted wax with a heat tool or hairdryer, then carefully refill any gaps. To smooth rough edges, use a warm, flat tool like a metal spatula or a heated knife. Be patient and precise, working slowly to blend repairs seamlessly. This approach helps you fix imperfections while maintaining your candle’s decorative design.
Conclusion
Now that you’ve revealed the secrets to advanced candle carving, your creations can shine like gems in a treasure chest. With patience and practice, each intricate design becomes a shining beacon of your artistry. Remember, every cut is a brushstroke and every candle a canvas — so let your imagination flow freely. As your skills grow, your candles will tell stories that glow in the dark, turning simple wax into works of art that captivate and inspire.