To make your own candle wicks, start by gathering quality materials like cotton or hemp, and prepare them by trimming to an appropriate length. Form and shape the wicks using molds or brushing techniques, then assemble the core and covering layers snugly without tightness. Let them dry and cure in a well-ventilated area. Before use, prime your wicks by dipping in melted wax. For detailed steps and tips to perfect your craft, keep exploring.
Key Takeaways
- Select durable materials like cotton or hemp, cut to proper length, and shape or braid for consistent burning.
- Form wicks using molds or templates, then wrap or braid coverings to enhance durability and performance.
- Dry and cure homemade wicks in ventilated areas for days to improve longevity and scent integration.
- Prime wicks by dipping in melted wax, allowing to cool, then trimming to appropriate length before use.
- Test and adjust wick size based on flame behavior, ensuring steady, even burns for safe and optimal candle performance.

VEVOR 20Lbs Wax Melter for Candle Making, 10 L Extra Large Electric Wax Melting Pot, with Easy Pour Spout and 9-Level Temp Control, Easy Clean for Candle Soap Cream Beauty Bulk Production Business
Quick Heating: This wax melting pot with easy pour spout can quickly heat and melt wax with 1100W...
As an affiliate, we earn on qualifying purchases.
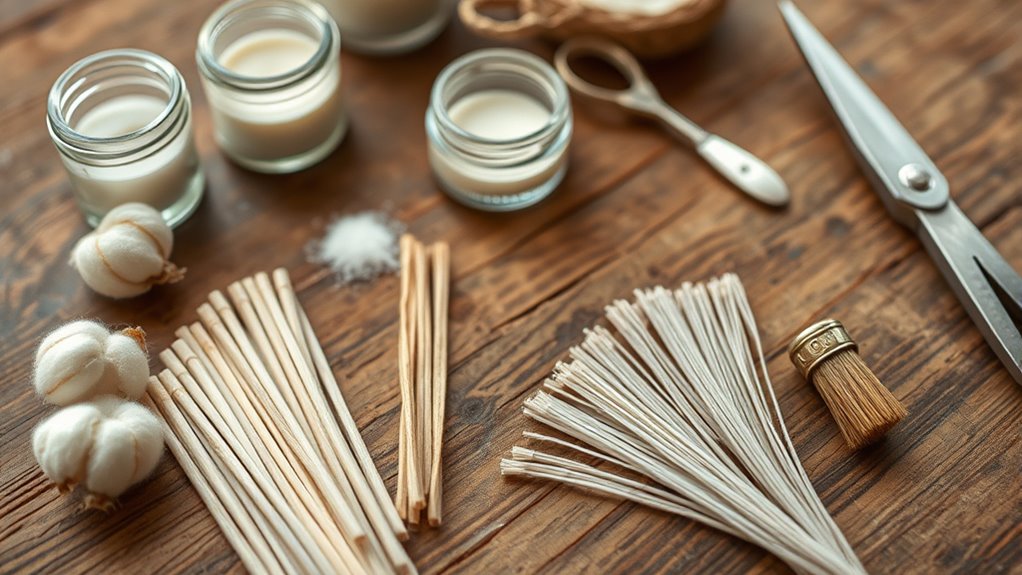
Gathering Materials and Tools Needed for Candle Wick Making
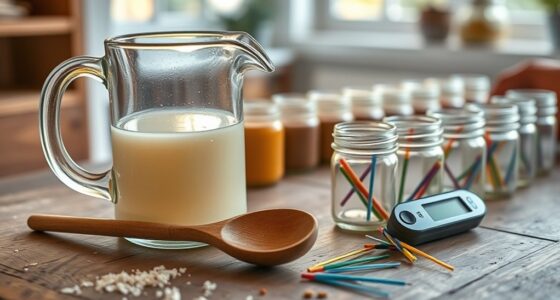
Before you start making your own candle wicks, it’s important to gather all the necessary materials and tools. For scented wicks, you’ll need high-quality cotton or hemp wicks, which absorb fragrance oils well and burn cleanly. If you’re aiming for decorative wicks, consider adding color or unique textures to enhance your candle’s appearance. You’ll also need a container or mold, fragrance oils, and a melting pot or double boiler for preparing the wax. Scissors or wick holders help keep the wick centered during pouring. Don’t forget to have a heat-resistant surface and safety equipment like gloves and goggles. Collecting these materials beforehand ensures a smooth process, whether you’re creating scented or decorative wicks, so you can focus on crafting beautiful, functional candles. Additionally, understanding the importance of wick material quality can help ensure a consistent and safe burn for your finished candles.
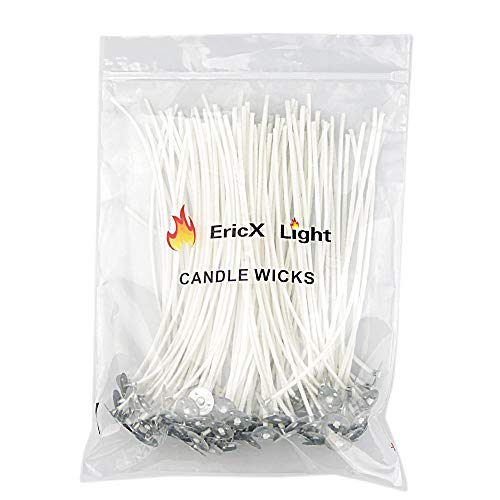
EricX Light 100 Piece Natural Candle Wick, Low Smoke 6" Pre-Waxed & 100% Natural Cotton Core,For Candle Making,Candle DIY
Pre-waxed and tabbed
As an affiliate, we earn on qualifying purchases.
Selecting the Right Materials for Your Candle Wicks
Choosing the right materials for your candle wicks is essential to guarantee a clean, steady burn and the desired aesthetic effect. You should consider wick material durability to prevent uneven burning or excessive soot. For scented wick options, select materials that won’t interfere with fragrance release or cause discoloration. Cotton wicks are popular for their durability and consistent burn, while wood wicks add a unique aesthetic. Additionally, understanding celebrity lifestyle Insights can inspire creative choices in candle design and presentation. Considering candle safety tips is also important when selecting your materials to ensure a safe burning experience. Selecting appropriate wick sizes based on your candle container and wax type can further optimize burn quality and reduce tunneling. Proper wick selection also contributes to the overall aesthetic appeal of your finished candles.

buluker 300Pcs Functional Smokeless Candle Wicks - Pre Waxed Cotton Wick with Metal Sustainer Tabs for Pillar Candle Making and DIY, 9cm/3.5in, 15cm/6in, 20cm/8in
value pack:There are 3 different sizes of 4 "+6"+8 ", each with 100 pieces, including 10pcs of wooden...
As an affiliate, we earn on qualifying purchases.
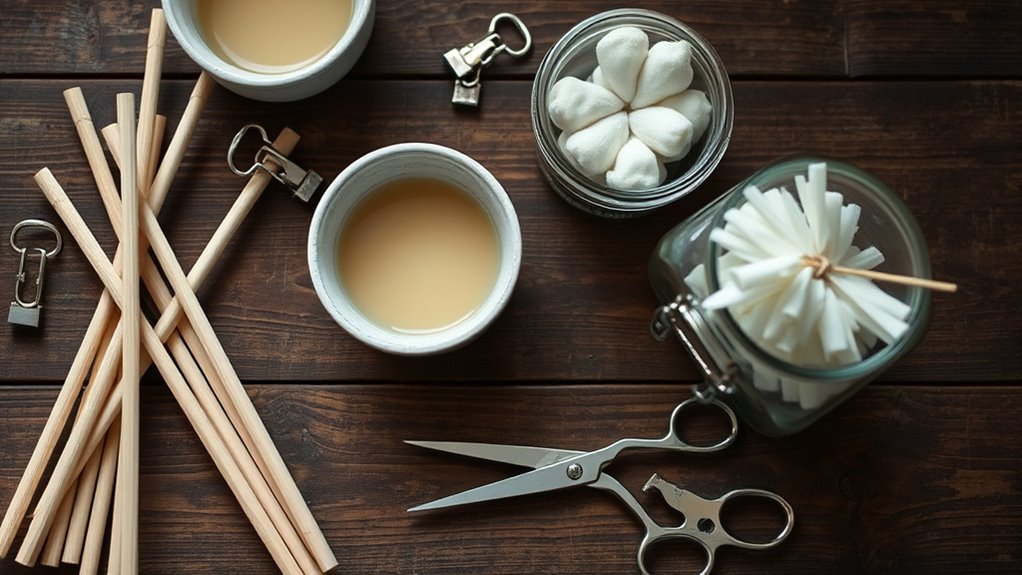
Cutting and Preparing Wick Materials for Crafting

Once you’ve chosen your wick materials, it’s time to cut and shape them for your candle. Make certain to select the right length and thickness based on your candle size for a steady burn. Properly prepared wicks will ensure your candle burns evenly and safely.
Selecting Suitable Materials
Selecting the right materials is essential for creating effective candle wicks. You need fibers with good fiber strength to support a steady burn and ensure the wick doesn’t fall apart. Flame stability is equally important, preventing flickering or tunneling. To choose suitable materials, consider these factors:
- Fiber strength for durability during burning
- Flame stability to maintain a consistent flame
- Absence of impurities that could cause uneven burning
- Compatibility with your wax type for ideal performance
Opt for natural fibers like cotton or hemp, which offer reliable fiber strength and flame stability. Synthetic fibers may burn differently and pose safety concerns. Always test your chosen material before finalizing your wick to ensure a clean, steady burn. Selecting the right material sets the foundation for a successful candle, and understanding father-daughter bond can inspire creative ways to decorate your finished candles. Incorporating safety considerations into your preparation also helps prevent potential hazards during burning and handling.
Cutting and Shaping Wicks
After you’ve picked the right wick material, the next step is to cut and shape it to fit your candle design. Start by determining the appropriate wick length, which should be about twice the height of your intended candle. Use sharp scissors or wire cutters to trim the wick to this length, ensuring clean cuts without fraying. Pay attention to wick thickness, as a thicker wick burns longer and produces more heat, while a thinner wick is suitable for smaller candles. If necessary, shape or trim the wick to maintain uniform thickness along its length, which promotes a steady burn. Properly cut and shaped wicks will help your candle burn evenly and safely, making for a more successful craft. Additionally, selecting appropriate wick types can significantly influence the burning performance and overall safety of your candles. To achieve consistent results, it’s also important to measure and mark your wicks accurately before cutting, ensuring uniformity and reliable burning behavior.

CandMak Candle Wick Kit - 60 Cotton Wicks with Candle Making Tools (Thick 4"+6"+8")
Suggested use in approx. 2.4" - 2.8" ( 6cm - 7cm ) diameter containers.
As an affiliate, we earn on qualifying purchases.
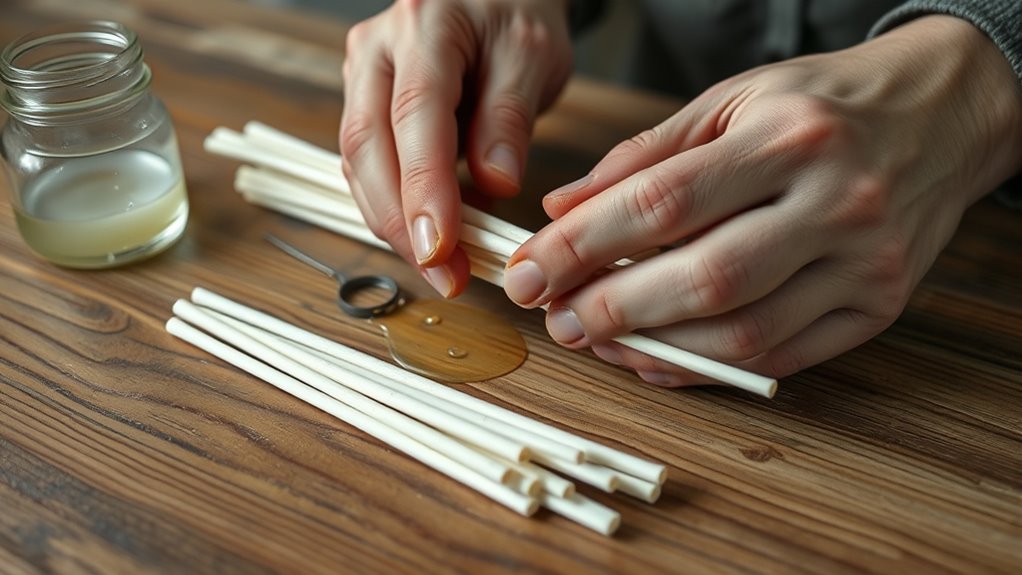
Assembling the Wick Core and Covering Material

Start by choosing the right core material, like cotton or hemp, that suits your candle’s burn quality. Then, apply covering layers carefully, ensuring they’re snug but not too tight around the core. This step is essential for creating a wick that’s both effective and easy to handle during your candle-making process. Additionally, selecting the appropriate fragrance profile can enhance the overall ambiance of your finished candle. To ensure optimal performance, consider headphone compatibility with your devices when testing your DIY wicks. Incorporating knowledge about best free keto diet app options can inspire you to keep your craft space organized and motivated, just as tracking tools help with diet goals.
Selecting Core Materials
Choosing the right core materials is essential for creating a reliable and steady-burning wick. Your selection impacts how well your candle burns and how consistently it performs. Consider different fiber types, such as cotton, hemp, or linen, which are popular for their combustion qualities and ease of handling. These materials are often preferred because they naturally burn evenly and produce minimal soot. Metal choices include thin brass or zinc wires, which provide durability and stability when properly primed. When selecting your core material, keep these points in mind: safety considerations, durability and flexibility, and compatibility with wax type. Additionally, understanding the cybersecurity vulnerabilities principles behind testing your wick’s performance can help ensure your candle’s safety and effectiveness.
Applying Covering Layers
Applying covering layers to your wick core is a crucial step that guarantees the wick maintains its shape and burns evenly. These covering layers act as wick insulation, protecting the core from uneven burning or bending. To create effective covering layers, carefully wrap a thin, even coat of your chosen covering material—such as beeswax, paraffin, or fabric—around the core. Ensure the covering layers are smooth and uniform, avoiding gaps or overlaps that could compromise the wick’s performance. This additional insulation helps regulate the burn rate, preventing flickering or excessive soot. As you apply each layer, keep tension steady to maintain the wick’s straight shape. Properly covering your wick core improves its durability and ensures a cleaner, more consistent burn when lit. Consistent burn is essential for achieving an even and safe flame during candle use. Additionally, using the right covering materials can enhance the wick’s ability to burn steadily over time.
Forming and Shaping Your Candle Wicks
Forming and shaping your candle wicks is a crucial step to guarantee a clean and even burn. Proper wick formation ensures consistent combustion, while shape customization allows you to tailor your wicks for specific candle styles. To achieve the best results, consider the following tips:
- Use a mold or template to create uniform wick shapes
- Twist or braid wicks for added strength and unique textures
- Trim excess material for precise wick length
- Experiment with different shapes to influence burn rate and flame size
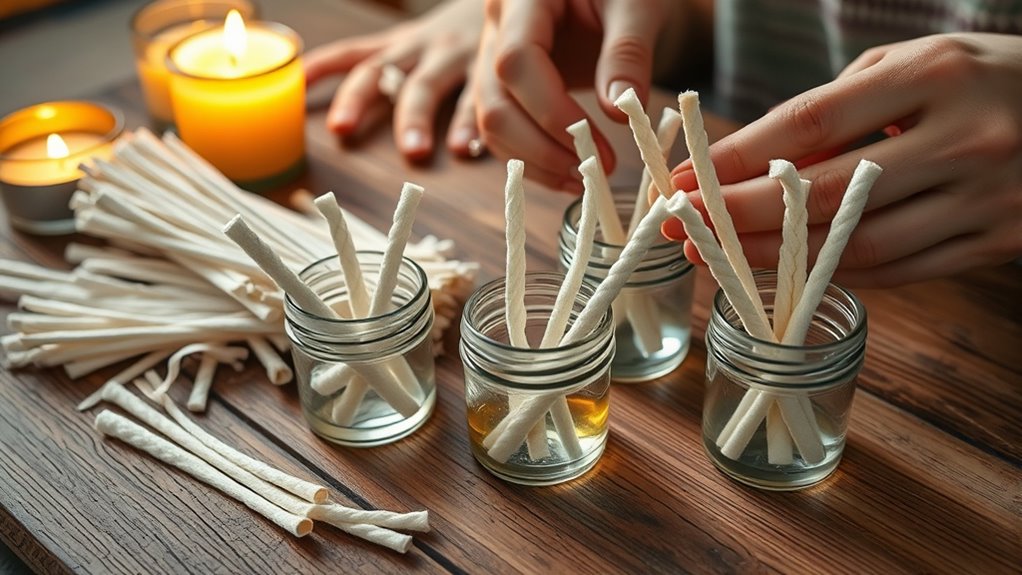
Drying and Curing Your Homemade Wicks
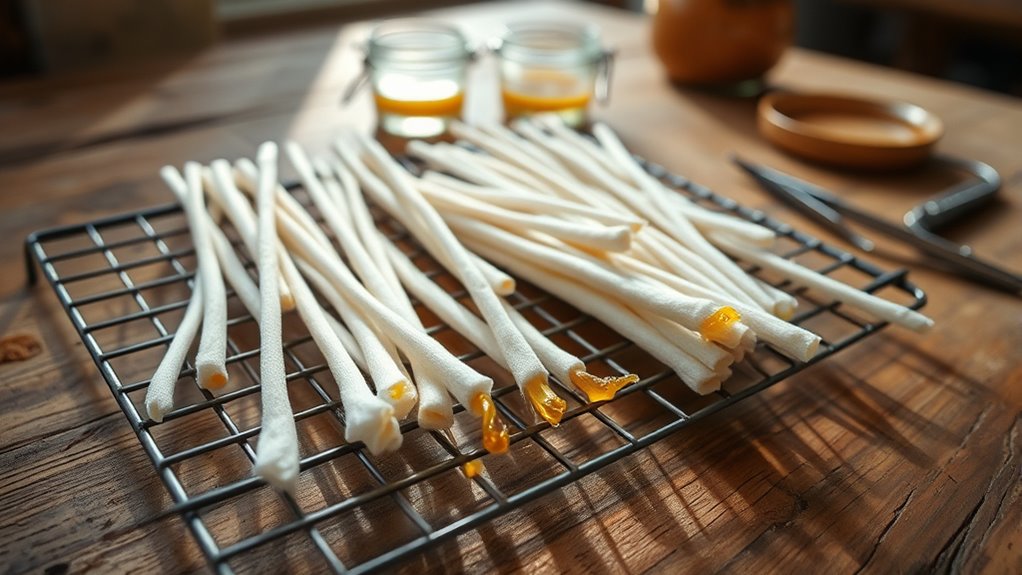
After shaping your candle wicks, the next step is to make certain they dry and cure properly. Proper drying helps improve wick longevity, ensuring your wicks burn evenly and last longer. Hang the wicks in a well-ventilated area away from direct sunlight, allowing moisture to escape completely. Automation in business can also streamline this process by scheduling and monitoring drying times more efficiently. Curing also enhances fragrance integration, giving your candles a smoother, more consistent scent when burned. Avoid rushing this process; drying can take several days, depending on thickness and humidity. Additionally, understanding the signs of spoilage in your materials can help ensure your wicks remain safe and effective over time. Proper curing not only improves overall burn quality but also minimizes smoke production during use, leading to a cleaner burning candle. Incorporating proper storage techniques can further extend the shelf life and quality of your homemade wicks.
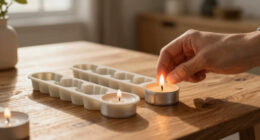
Techniques for Priming Your Candle Wicks
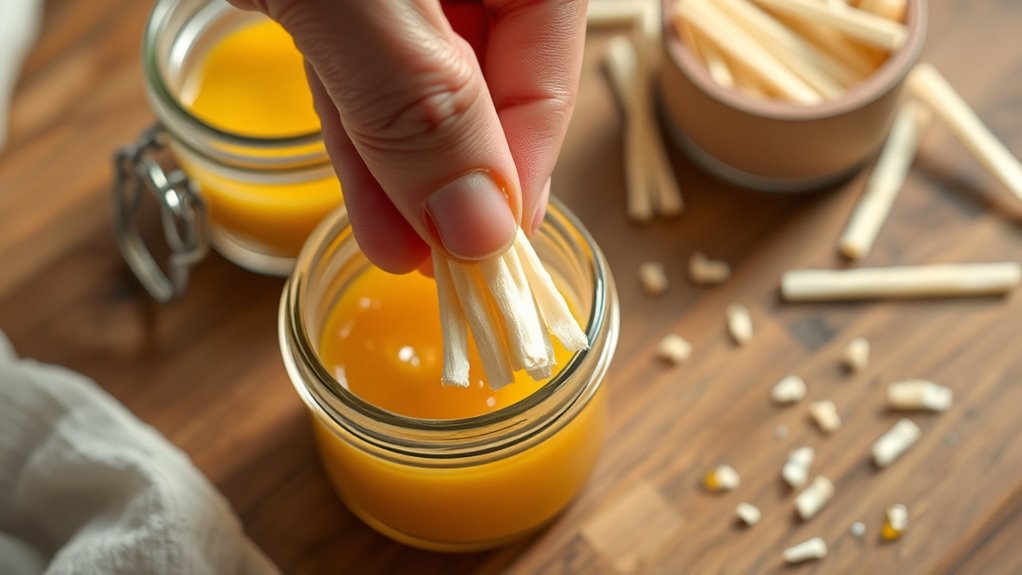
Wondering how to guarantee your wicks light easily and burn evenly? Priming your wicks is essential for wick safety and ensuring a smooth burn. To do this effectively, consider these techniques:
- Dip the wick in melted wax to coat it thoroughly, which helps with scent infusion.
- Allow the coated wick to cool and harden before lighting.
- Trim the wick to the proper length, avoiding excess that could cause uneven burning.
- Store your wicks in a cool, dry place to keep them ready for use.
- Ensuring your wicks are properly prepared can help prevent lighting issues and promote a consistent burn. Proper wick maintenance, such as regular cleaning and correct placement, further enhances candle performance.
Testing and Adjusting Your Wicks for Optimal Performance
To achieve the best burn and scent throw, you need to test your wick performance and make adjustments as necessary. Start by lighting your candle and observing the burn. Check if the flame is too tall or flickers excessively; this indicates the wick might be too thick or long. If the flame is small and flickers, the wick may be too thin or short. Adjust the wick length by trimming it to about ¼ inch before each burn. Consider changing the wick thickness if you notice uneven melting or tunneling—thicker wicks burn faster, while thinner ones burn slower. Keep testing and refining until you get a steady, even burn with a healthy flame. Proper modifications ensure your candle performs safely and maximizes scent throw.
Tips for Safe Handling and Storage of Candle Wicks
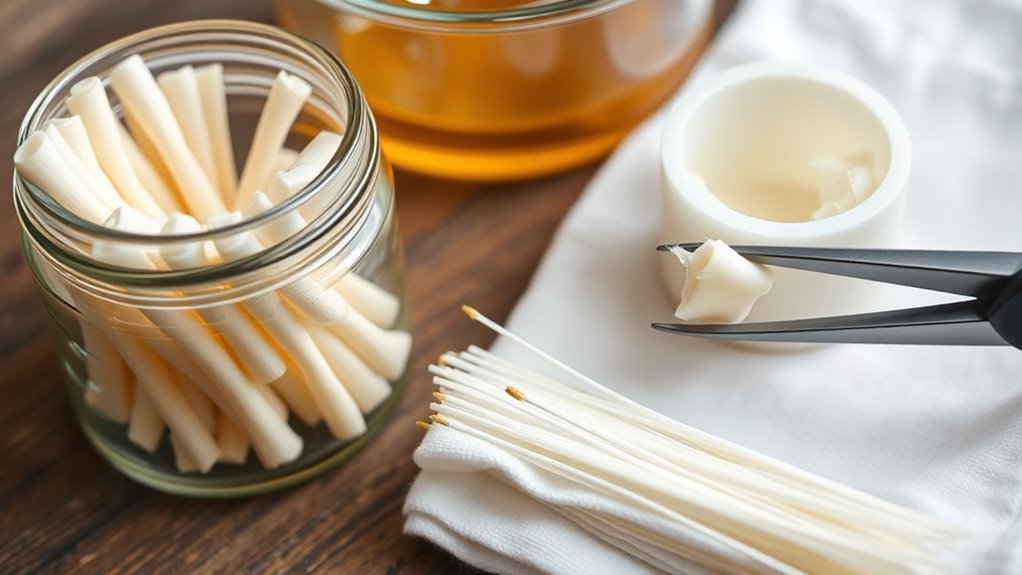
Handling and storing candle wicks safely is vital to prevent accidents and make certain your supplies stay in good condition. Always keep your wicks away from open flames and heat sources to reduce fire safety risks. Use appropriate storage containers to organize your supplies and prevent damage or contamination.
Remember these tips:
- Store wicks in a cool, dry place to avoid deterioration.
- Keep them in airtight containers to prevent moisture absorption.
- Label containers clearly for easy identification.
- Avoid storing near flammable materials to minimize fire safety hazards.
Proper storage not only prolongs the life of your wicks but also guarantees safety during handling. Follow these guidelines to keep your workspace safe and your candle-making supplies in top shape.
Frequently Asked Questions
Can I Use Recycled Materials for Candle Wicks?
Yes, you can use recycled materials for candle wicks, but you need to take into account recycling methods and material safety. Make sure the materials are clean, non-toxic, and safe for burning, like natural fibers or metal threads. Avoid using recycled paper or plastics, which may release harmful fumes. Always test your recycled wicks thoroughly to ensure they burn safely and evenly, prioritizing safety and proper recycling methods.
How Long Do Homemade Wicks Typically Last?
Think of your homemade wick as a trusted companion on a candle’s journey; it typically lasts about 20-40 hours depending on your materials and wick size. Its wick durability influences how long it keeps burning brightly without soot or flickering. Proper priming and choosing quality materials can extend its wick longevity. Keep an eye on it, and you’ll enjoy consistent, beautiful flames that symbolize warmth and safety in your space.
What Are the Best Ways to Store Unused Wicks?
To store unused wicks properly, keep them in a cool, dry place away from humidity and direct sunlight. Use airtight containers or resealable bags to protect them from dust and moisture. Wick preservation methods include wrapping wicks in tissue or paper to prevent tangling. Follow these wick storage tips to ensure your homemade wicks stay in good condition for your next candle project, extending their usability and maintaining quality.
Are There Eco-Friendly Options for Wick Materials?
Yes, there are eco-friendly options for wick materials. You can choose sustainable fibers like cotton, hemp, or bamboo, which are biodegradable and renewable. These materials burn cleanly and reduce environmental impact. When selecting your wick, look for biodegradable options that decompose naturally, minimizing waste. Using these eco-friendly fibers helps you make candles that are not only beautiful but also gentle on the planet.
How Do I Prevent My Wicks From Curling or Twisting?
A stitch in time saves nine, so to prevent your wicks from curling or twisting, guarantee proper wick stabilization during preparation. Use a flat, heat-resistant surface to straighten your wick before it cools. Secure the wick with a pin or clip while it sets. Regularly check and gently wick straightening as needed during the drying process. This keeps your wicks straight, ensuring a clean, even burn every time.
Conclusion
Now that you know how to craft and prime your own candle wicks, you’re well on your way to creating glowing masterpieces. Think of your wicks as the heartbeat of your candles—keep them well-made and primed for a steady, even burn. With a little patience and care, you’ll turn simple materials into a flickering dance of light that brightens any space. Happy candle making, and let your creativity shine!